

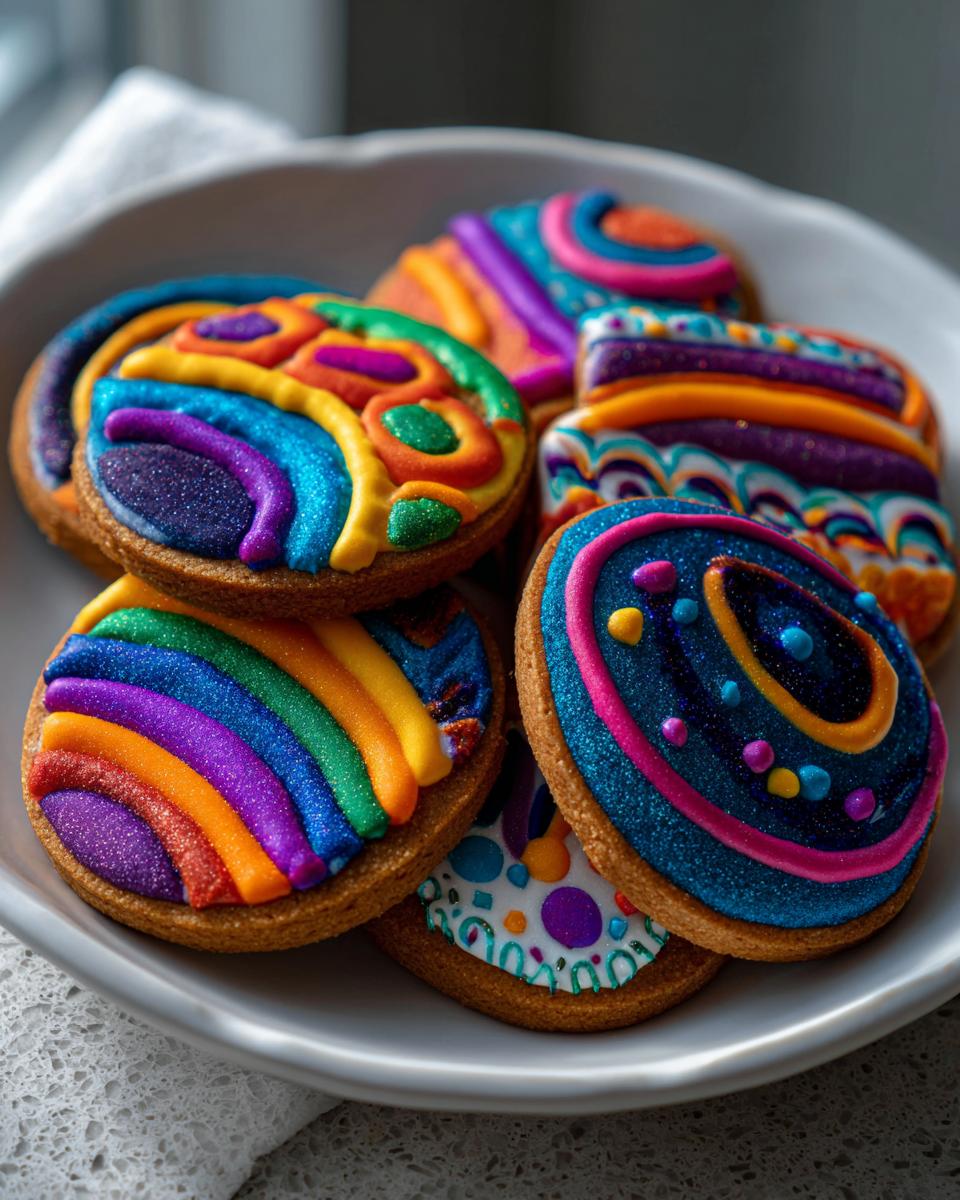
Oh, I know that feeling! You spend hours perfecting those cut-out sugar cookies—they look gorgeous, they taste buttery, and then you frost them only to watch the icing smudge the second you try to stack them for gifting. It’s the absolute worst, right? That’s why when I was trying to balance my busy career with my desire to actually enjoy homemade treats, I became obsessed with finding the one bulletproof **cookie icing** recipe. Forget those thin, sticky glazes that never really set. I needed something that dried rock-solid, looked incredibly smooth, and gave me that amazing, professional gloss. This reliable Royal Icing recipe, born from my own need for simplicity and gorgeous results under pressure, delivers exactly that—a foolproof coating that dries firm and shiny every single time.
This preparation is the key to stress-free holiday baking, and you can find a few more reliable frosting ideas over here if you want to compare it to something like my soft, chewy frosting for bars, but trust me, for intricate decorating, this is the one you want.
- Why This Is The Best Cookie Icing Recipe
- Ingredients for Foolproof Royal Cookie Icing
- How to Make Icing for Decorated Cookies Step-by-Step
- Essential Tips for Perfect Royal Cookie Icing Techniques
- Ingredient Notes and Substitutions for Your Cookie Icing
- Storage and Keeping Your Cookie Icing Fresh
- Frequently Asked Questions About This Cookie Icing
- Estimated Nutritional Values for Cookie Icing
- Share Your Beautifully Decorated Cookies
Why This Is The Best Cookie Icing Recipe
There are a million ways to top a sugar cookie, but when you need that professional, bakery-style finish, this Royal Icing is unmatched. Simple powdered sugar glaze feels lovely for five minutes, but it never gives you that reliable result. My focus is always on creating a sugar cookie icing that hardens perfectly so your hard work doesn’t get ruined. This recipe beats those simple glazes because we use meringue powder, which stabilizes the protein structure immediately. That’s the secret to a truly durable cookie frosting that holds up to gifting and traveling!
Check out my brown butter sugar cookies—they are the perfect canvas for this stiff icing.
Achieving a Durable Cookie Topping That Dries Firm
The true magic that transforms this from sticky frosting to a rock-hard shell is twofold: the meringue powder and aggressive beating time. Meringue powder acts as a fantastic stabilizer—it’s what helps your finished **cookie icing** set up firm, giving you that satisfying, crisp shatter when you bite into it. This means you can stack your holiday cookies high without fear of smudging or denting.

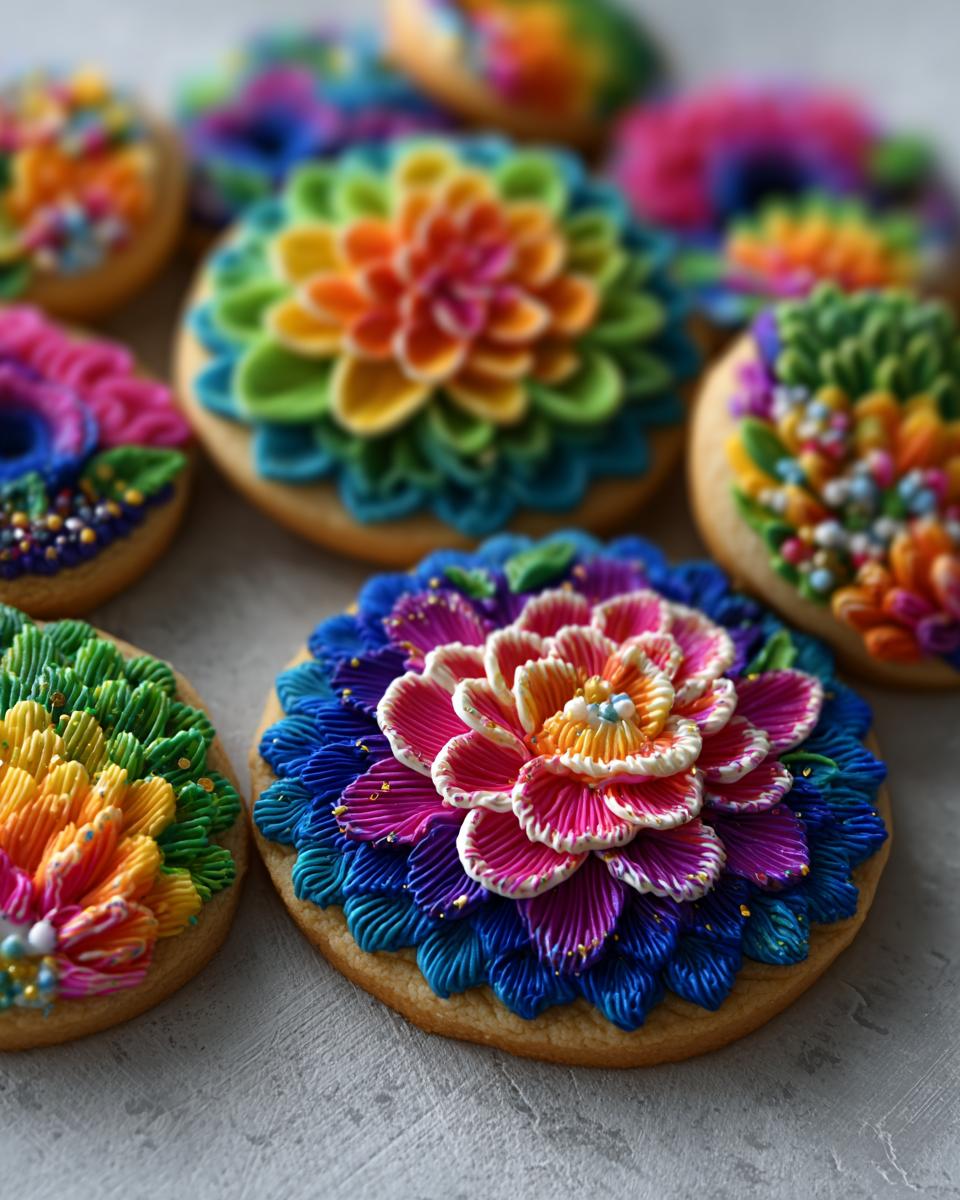
The Secret to Smooth Glossy Cookie Icing
Nobody wants a grainy coating on their beautiful cookies, right? To get that signature smooth glossy cookie icing, you absolutely must sift your powdered sugar first. Then, you have to commit to beating it for a full 7 to 10 minutes. Yes, it sounds like a long time! But that extended whipping actually dissolves any lingering sugar grains and incorporates the air needed for that beautiful, streak-free sheen. That’s how you get perfection.
Ingredients for Foolproof Royal Cookie Icing
Getting this **cookie icing** right starts with having good ingredients ready to go. I always follow my written list exactly when I’m making a batch for a big event because I rely on that perfect, hard finish. You’ll notice that we’re using meringue powder here, which is really the backbone of why this icing performs so well!
Here is exactly what you need on hand:
- 4 cups powdered sugar, sifted (Don’t skip the sifting!)
- 3 tablespoons meringue powder
- 6 tablespoons warm water
- 1 teaspoon vanilla extract or clear vanilla extract
A quick note from my own experience: If you are making vibrantly colored icing—especially bright reds or blues—I highly recommend reaching for the clear vanilla extract. Regular vanilla, even just a teaspoon, can slightly tint your finished icing a pale ivory color, and we want pure white for those crisp holiday designs. Plus, a good vanilla or clear extract really brightens up the sweetness! You can find more of my essential baking links right here if you need other baking inspiration.
How to Make Icing for Decorated Cookies Step-by-Step
Okay, now we get to the fun part, but you have to follow my lead on the mixing speed! Trust me on this: we are avoiding a sugar cloud explosion in the kitchen. Get your biggest bowl ready.
First, you’ll combine the sifted powdered sugar and the meringue powder. Then, dribble in that warm water and vanilla extract. When you turn on the mixer, start on low speed—just until everything looks like sticky sand. If you go high right away, that sifted sugar goes everywhere, and we don’t want that mess!
Once incorporated, crank that mixer up to medium-high and set a timer for 7 to 10 minutes. This long beating time is non-negotiable for strong **cookie icing**. It makes the mixture stiff, bright white, and gives it the structure it needs to dry hard.
After the long whip, you’ll split your batch based on what you are decorating first. If you need more detailed instructions on making sugar cookies first, you can check out the dough recipe notes here, but let’s focus on the icing consistency now!
Achieving Piping Consistency for Outlining Cookie Icing
For outlining, you need the icing stiff enough to hold a clean line without spreading too much—this is your piping consistency icing recipe. Once the main batch is done whipping, take a scoop out for outlining. You’ll add water one tiny teaspoon at a time, mixing gently after each addition. You know it’s ready when you lift up a spatula and the icing flows off slowly, almost dragging its tail. It shouldn’t be runny at all!
Adjusting for Flooding Consistency in Your Cookie Icing
Next up is the flooding consistency, which is for filling in the centers of your cookies smoothly. This consistency needs to be thinner than piping icing, but be careful not to go too far! Keep adding water one teaspoon at a time. The test here is the 10-to-15 second rule: take a dollop of icing and let it drop back into the bowl. If that drop smooths back into the surface of the bowl perfectly within 10 to 15 seconds, you have achieved flawless flooding consistency for your **cookie icing**.

If you want to see exactly how an expert achieves this, you can check out some great visual guides, like this detailed one on royal icing techniques, which really emphasizes getting these two textures right!
Essential Tips for Perfect Royal Cookie Icing Techniques
Now that you’ve got your piping and flooding consistencies down—which is half the battle for beautiful, durable cookie frosting—we have to talk technique. This is where things move from just making icing to actually decorating like a pro. I remember one of my very first sugar cookie decorating attempts; I excitedly flooded the blue outlines immediately, and the colors just melted right into each other. What a mess! You absolutely must let that outline set up before you flood.
A huge tip I learned early on is about coloring: always, always use gel food coloring if you can. Liquid food coloring is water-based, and adding too much of it will throw off the delicate balance of your **cookie icing** consistency. Gel colors are concentrated, so a tiny toothpick dip gives you vibrant color without adding extra liquid that could make your piping runny.
If you are looking for inspiration on how to get that beautiful finish that dries hard, this guide on how to make sugar cookie icing that hardens is fantastic.
Drying and Setting Your Decorated Cookies
This is the most important scheduling step for achieving that perfect, hard shell. If you are doing layered designs, you need patience! After you finish outlining a specific shape, stop! Let that border air dry completely before you try to flood inside it. Depending on how humid your kitchen is, that can take 30 minutes, sometimes longer. If you rush it, the runny flood icing will just creep right underneath your outline.
Once a cookie is fully flooded, you need to let it be. We’re talking several hours, ideally overnight, left out at room temperature. This is what creates that satisfyingly hard, glossy finish that makes your cookies look bakery-quality and stackable. I love checking them the next morning to see that perfect, crisp surface—it’s the best reward!
To complement your decorating skills, make sure you’re using a great cookie base. My recipe for sugar cookie cheesecake is a decadent treat, but these royal icing techniques work best on a sturdy foundation!
Ingredient Notes and Substitutions for Your Cookie Icing
I always have people asking me if they can skip the meringue powder because maybe they don’t keep it on hand, or perhaps they just don’t like ordering specialty items. It’s a totally valid question when you’re trying to whip up a batch of this **cookie icing** on a whim! It’s important to know that the meringue powder is truly what gives us that professional, hard-drying shell compared to a regular powdered sugar glaze.
If you don’t have meringue powder, or you’re allergic, you can absolutely swap it out for 2 large, fresh egg whites. Just know that the overall drying time might be a bit longer, and you might need to beat the icing slightly longer to get that stiffness we talked about earlier. It’s a simple substitution that keeps the recipe going!
But here’s a note that might surprise you, and it’s crucial for storing any leftover icing. You absolutely cannot refrigerate royal icing! I learned this the hard way when I tried to save some in the fridge overnight for a big holiday batch. The condensation that builds up when you take it out causes the icing to “weep”—meaning the colors run and the surface gets all spotty. Nope! Keep your leftover **cookie icing** tightly sealed in an airtight container at room temperature. It stays perfect for up to two weeks that way. It’s one of those practical tips I gathered from years of trial and error.
If you are already planning ahead for your next baking project, you might want to save my recipe for easy creamy maple fudge! Planning ahead is half the battle in the kitchen.
Storage and Keeping Your Cookie Icing Fresh
One thing I love about this specific **cookie icing** is that it’s actually perfect for prepping ahead of time, which is a lifesaver when you’re tackling cookies for holidays or big parties. Who has time to make icing the day of decorating? Not me!
Remember what I said earlier about not refrigerating it? That’s the most important rule here. This royal icing, once mixed, needs to stay sealed up tight at room temperature. If you are using an airtight container—like a glass jar with a tight lid or a bowl covered completely with plastic wrap pressed right down onto the surface of the icing—it will stay perfectly good for about two full weeks.
The seal is key! If air gets to it, even small amounts, the whole batch will start to develop a hard shell on top, and then the texture underneath gets weird and tough. I usually press a piece of plastic wrap directly onto the surface of the icing before I put the lid on the container. That little step prevents drying out and keeps your colors vibrant for days.
If you are storing it for a long time, say more than a week, you might notice it looks a little stiff when you take it out. That’s fine! Just give it a gentle stir by hand, or whip it in your mixer on low speed for just 30 seconds. It will smooth right back out and be ready to go. It’s so nice knowing that half your decorating job is done days before you even start rolling out the dough! If you’re already planning ahead, maybe save my recipe for easy creamy maple fudge too; it keeps beautifully!
Frequently Asked Questions About This Cookie Icing
I always get the same questions popping up when folks first try making royal icing. It’s a little different from your standard buttercream, so knowing how to troubleshoot is key to getting that beautiful, hard finish for your decorations. Let’s tackle the most common concerns I hear about this **cookie icing** recipe!
Can I use regular egg whites instead of meringue powder for this cookie icing?
Yes, you definitely can substitute those 2 large egg whites for the meringue powder, and I know lots of bakers do it! Meringue powder is just such a reliable performer for me; it ensures a very consistent drying time for that durable cookie frosting. When using egg whites, you might find your icing needs a slightly longer whipping time to hit that stiff peak, and honestly, the drying time can vary a bit more depending on the freshness of the whites. But it absolutely works if that’s what you have!
Why is my royal icing grainy, even after mixing?
If your icing feels gritty or grainy, you missed one of two vital steps, but don’t worry, it’s an easy fix next time! First, you didn’t sift your powdered sugar. Seriously, that step is non-negotiable if you want that smooth glossy cookie icing. Second, you probably didn’t whip it long enough. That 7 to 10 minutes of beating isn’t just for show; it’s what dissolves those last few sugar crystals. You need that long whip time to get that perfectly smooth texture that professional decorators rely on.
How long does it take for this icing to dry completely?
This depends a lot on what the weather is doing in your kitchen, which is something I always have to account for when planning my decorating schedule. In a really dry, low-humidity environment, you might be able to handle your cookies after 4 or 5 hours, but for guaranteed results, especially for stacking or gifting, you should plan on letting them set up overnight. This extended time ensures that your sugar cookie icing that hardens does so completely, giving you that perfect crisp shell you want. If it’s a rainy or very humid day, give it even longer!
If you need other quick tips or tricks for balancing your kitchen schedule, you can always check out my guide to easy pizza pinwheels—sometimes having quick snacks ready helps make time for detailed cookie decorating!
Estimated Nutritional Values for Cookie Icing
Okay, I know that when we are making something delicious like a beautifully decorated cookie, nutrition usually isn’t the main concern—it’s about joy and celebration! However, since we’re focused on creating the best cookie icing recipe using fundamental ingredients, I took a look at what’s in this royal icing batch. Because we are making a large yield that covers about three dozen cookies, these numbers are calculated per serving size, which usually ends up being about 1/4 cup of the mixed icing.
Please remember, baking is an art, and these numbers are just estimates based on the standard quantities provided. If you use less sugar or add extra coloring, things might shift a little, but here is the breakdown we usually see for this simple, shiny mixture:
- Calories: 180
- Sugar: 45g (Yep, it’s mostly powdered sugar!)
- Carbohydrates: 45g
- Protein: 1g
- Fat: 0g
It’s mostly sugar, as expected from a crusting cookie icing, but it’s so concentrated that a small amount goes a long way for decorating. If you are ever curious about alternatives that might be a bit lighter in overall sweetness, I actually have a whole section dedicated to healthy dessert swaps on the site, but for this specific look and hard-setting quality, sugar is what gets the job done!
Share Your Beautifully Decorated Cookies
I truly hope this recipe for Royal Icing takes the stress out of your next decorating session! When you manage to get that perfect, smooth, glossy finish that dries completely hard, you deserve a grand applause. I’d love to see your creations! Please take a moment after you’ve let those beautiful cookies set up to leave a rating for this recipe—five stars makes my day and tells me you achieved that excellent, hard-setting **cookie icing**.
More than just a rating, I really want to see your artwork! Tag me on social media when you share photos of your decorated cookies. Seeing how you use these techniques to make stunning treats—whether tiny snowmen or intricate holiday patterns—is honestly the best part of my job.
If you ran into any snags, or if you found a favorite trick for getting the icing just right, please drop a comment below! I love hearing feedback on what worked for your home kitchen. And if you ever need to get in touch with me directly for more baking advice or quick meal ideas, you can always reach out through my contact page. Happy decorating!
PrintFoolproof Royal Icing Recipe That Hardens Smoothly for Decorated Cookies

Learn how to make the best cookie icing that dries firm and glossy. This simple royal icing recipe is perfect for detailed sugar cookie decorating and ensures your creations look professional.
- Prep Time: 15 min
- Cook Time: 0 min
- Total Time: 15 min
- Yield: Coats approximately 3 dozen medium cookies 1x
- Category: Baking
- Method: Mixing
- Cuisine: American
- Diet: Vegetarian
Ingredients
- 4 cups powdered sugar, sifted
- 3 tablespoons meringue powder
- 6 tablespoons warm water
- 1 teaspoon vanilla extract or clear vanilla extract
Instructions
- In a large bowl, combine the sifted powdered sugar and meringue powder.
- Add the warm water and vanilla extract to the dry ingredients.
- Using an electric mixer, start on low speed until the ingredients are just combined to avoid a sugar cloud.
- Increase the speed to medium-high and beat for 7 to 10 minutes until the icing is very stiff, bright white, and holds stiff peaks. This develops the structure needed for hardening.
- To achieve a piping consistency for outlining, add water one teaspoon at a time until the icing flows slowly off a spatula.
- To achieve a flooding consistency for filling in areas, add water one teaspoon at a time until the icing flows easily and smooths over itself in about 10 to 15 seconds.
- Color the icing as desired using gel food coloring, mixing thoroughly.
- Use the icing immediately for outlining cookies. Let the outline dry for at least 30 minutes before flooding the center with the thinner consistency icing.
- Allow the decorated cookies to air dry completely at room temperature for several hours, or overnight, until the icing is completely hard and glossy.
Notes
- For the smoothest finish, sift your powdered sugar before measuring.
- If you do not have meringue powder, you can substitute 2 large egg whites, but the drying time may be slightly longer.
- Store unused royal icing in an airtight container at room temperature for up to two weeks; do not refrigerate, as this causes weeping.
- To clean your mixer, dip the beaters in warm water before washing.
Nutrition
- Serving Size: 1/4 cup icing
- Calories: 180
- Sugar: 45g
- Sodium: 5mg
- Fat: 0g
- Saturated Fat: 0g
- Unsaturated Fat: 0g
- Trans Fat: 0g
- Carbohydrates: 45g
- Fiber: 0g
- Protein: 1g
- Cholesterol: 0mg