
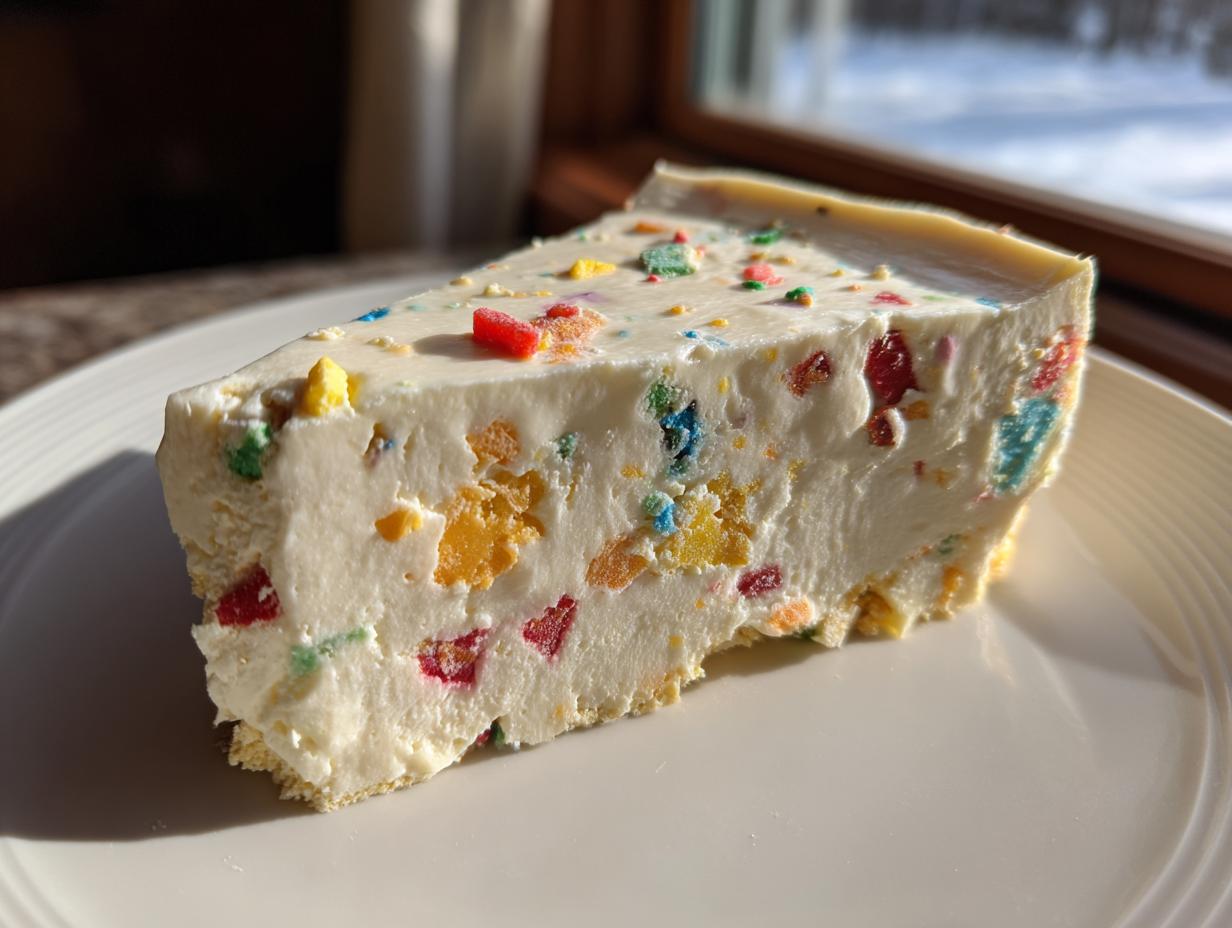
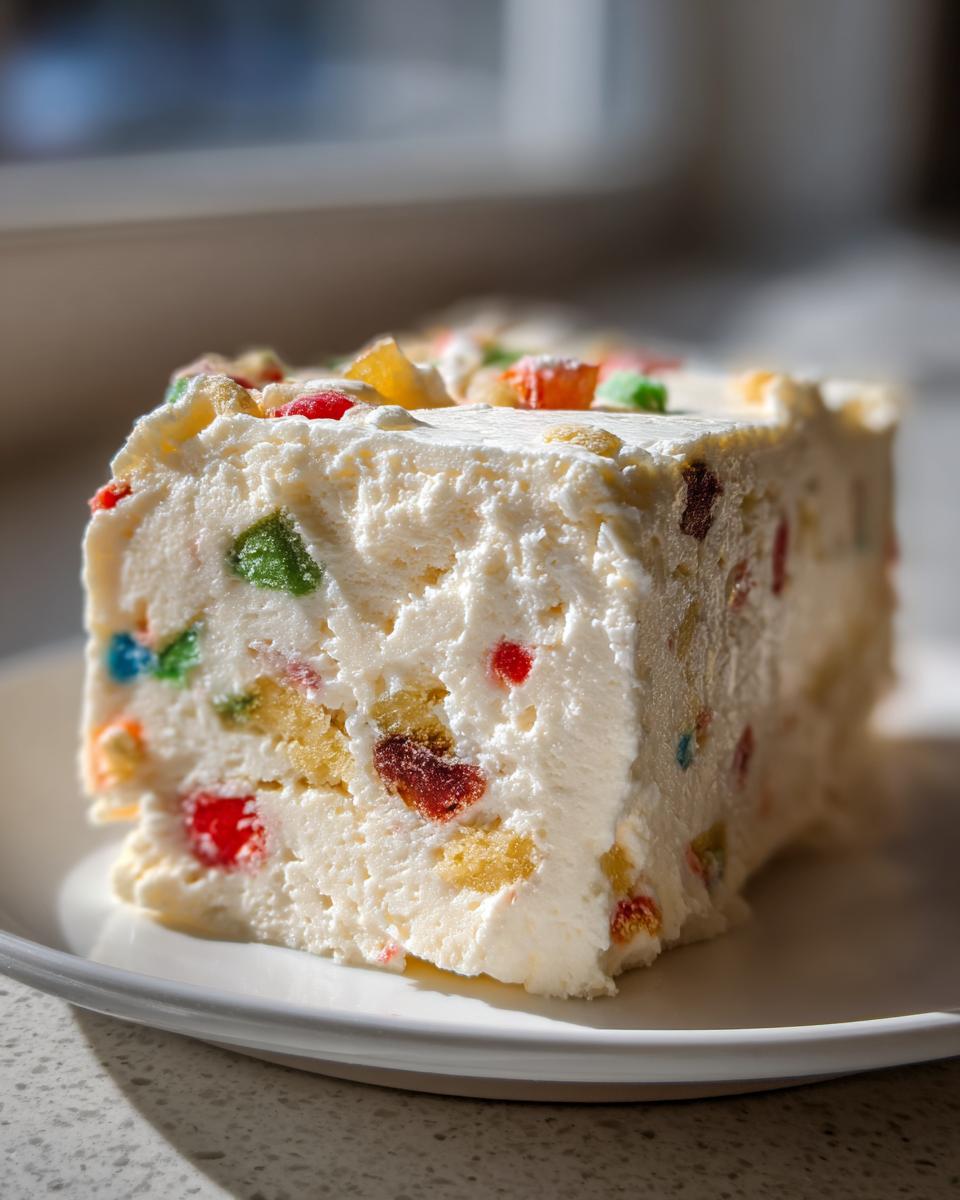
Oh my goodness, are you tired of complicated holiday baking already? I totally get it. Between the shopping lists that never end and the pressure to make everything look like it belongs on a magazine cover, sometimes you just want something that screams *Christmas* without requiring you to be a pastry architect. That’s exactly why I am so thrilled to share this absolute lifesaver: the Little Debbie Christmas Tree Cheesecake.
Seriously, this festive cheesecake captures all the magic and nostalgia of the season using those iconic snack cakes we all secretly adore. It is the ultimate showstopper dessert that requires minimal fuss. When I first started Pure Plate Path, I promised myself I would find ways to bring meaningful, delicious food back into frantic holiday schedules—and this incredible christmas tree cheesecake is the perfect example of that mission!
- Why This Little Debbie Christmas Tree Cheesecake Recipe Delivers Holiday Nostalgia
- Gathering Ingredients for Your Christmas Tree Cheesecake
- Step-by-Step Instructions for the Baked Christmas Tree Cheesecake
- Tips for the Ultimate Little Debbie Christmas Tree Cheesecake
- Ingredient Notes and Substitutions for Your Creamy Christmas Dessert
- Serving Suggestions for Your Christmas Party Dessert Centerpiece
- Storage and Reheating Instructions for Christmas Tree Cheesecake
- Frequently Asked Questions About This Holiday Cheesecake Idea
- Nutritional Estimates for Your Festive Treat
- Share Your Showstopping Holiday Dessert Experience
Why This Little Debbie Christmas Tree Cheesecake Recipe Delivers Holiday Nostalgia
Look, everyone wants that perfect, showstopping holiday dessert, but nobody wants to spend three days stressed out about it. That’s where this recipe swoops in like Santa’s sleigh!
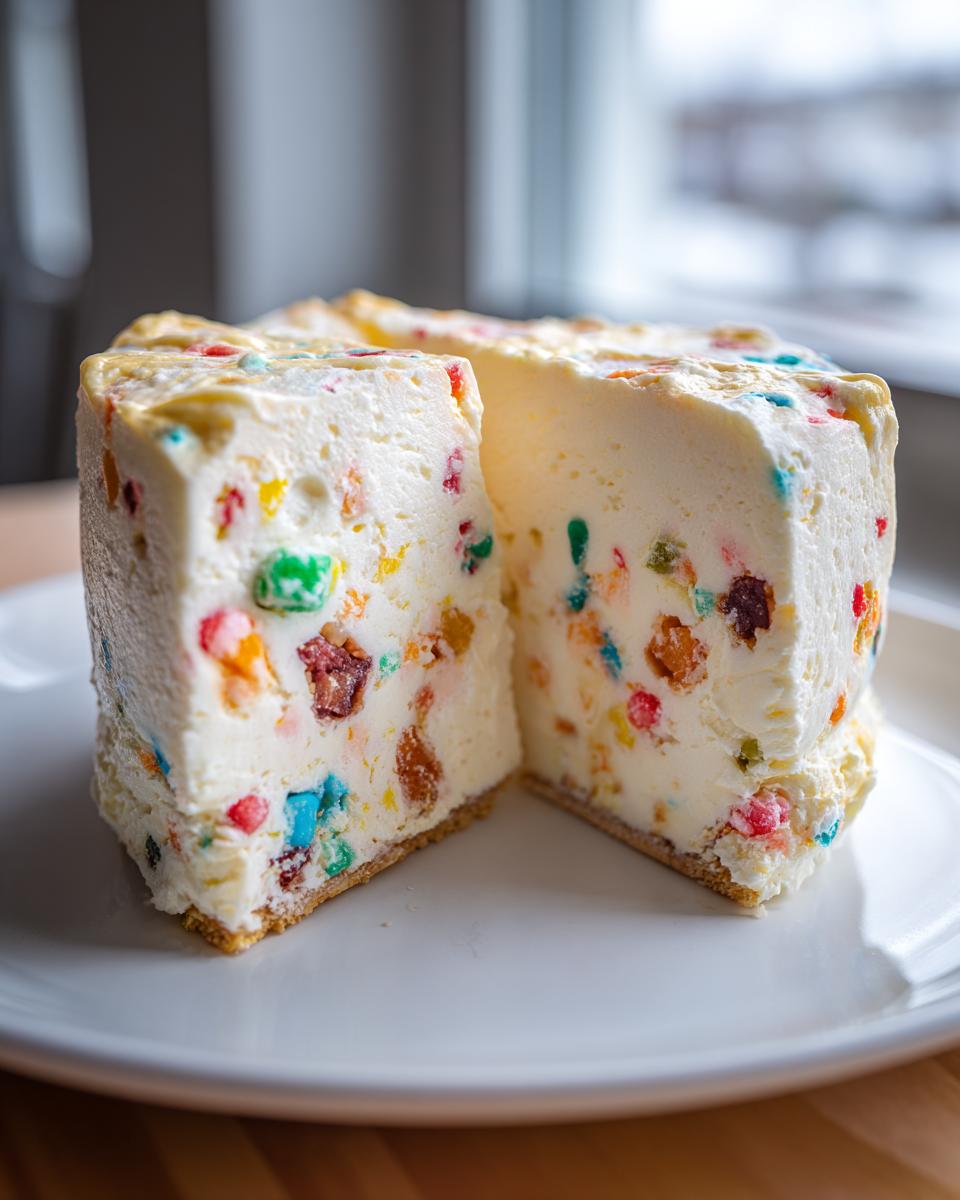
What I love most is that this isn’t just a cheesecake; it’s pure, unadulterated fun. Tucking those chopped Little Debbie cakes right into the creamy filling releases that wonderful, nostalgic flavor profile we all remember from childhood Christmas mornings. It hits all the right notes for nostalgic holiday treats without any of the fuss of elaborate piping or shaping.
When you pull this out at a party, trust me, people stop mid-conversation. It’s instantly recognizable and guaranteed to get compliments. It truly is the easiest way to create an unforgettable, creamy Christmas dessert centerpiece. If you’re looking for spectacular results with minimal active time, this is your go-to recipe. You can even check out my German Chocolate Pie if you need another make-ahead stunner!
Gathering Ingredients for Your Christmas Tree Cheesecake
Okay, the secret weapon for any great cheesecake—especially one this fun—is making sure every ingredient is accounted for *before* you start. We need to get that cream cheese perfectly soft and make sure we have all the nostalgic pieces ready to go. Trust me, having everything measured out prevents that late-stage panic when you realize you’re out of sugar!
The highlight, obviously, is incorporating those specific Little Debbie Christmas Tree Cakes right into the mix. They provide that unique flavor and a lovely, soft texture surprise once baked. Remember, precision here ensures that perfect, creamy consistency we are aiming for in this easy no-bake peanut butter bars alternative!
Crust Components for the Christmas Tree Cheesecake
For the base layer, we just need simple, buttery goodness. Keep it classic:
- 180 g graham cracker crumbs
- 85 g unsalted butter, melted
Creamy Filling and Little Debbie Integration for the Christmas Tree Cheesecake
This is where the magic happens! Make sure your cream cheese is truly soft—room temperature is non-negotiable for a lump-free filling.
- 675 g cream cheese, softened
- 100 g granulated sugar
- 1 package Little Debbie Christmas Tree Cakes, chopped (yes, roughly chopped, ready to hide throughout the batter!)
Finishing Touches: Toppings for Your Decorated Christmas Cheesecake
These are what transform our creamy dessert into that beautiful holiday centerpiece. Think white, snowy branches and festive sparkle!
- White ganache or whipped cream (enough to cover/pipe generously)
- Holiday sprinkles for decoration
Step-by-Step Instructions for the Baked Christmas Tree Cheesecake
Alright, putting together this Sweet Potato Cheesecake variation is really straightforward once you break it down. The key to a fantastic Christmas Tree Cheesecake Recipe is following the steps in order, especially when it comes to temperature changes. Don’t rush the cooling, or you’ll get cracks, and nobody wants a sad, cracked tree on Christmas!
Preparing the Crust and Oven Setup
First things first, let’s get the oven warmed up to 325°F (160°C). Grab your 9-inch springform pan and get that simple crust ready. Mix up your graham cracker crumbs and the melted butter until it looks like wet sand. Press that mixture down really firmly on the bottom of the pan. Pop it into the oven to bake for just 10 minutes. When it comes out, just let it sit there on the counter while you whip up the filling. We need it cool before we pour over the good stuff.
Creating the Creamy Filling for Your Christmas Tree Cheesecake
Time for the cream cheese! Make sure it’s soft—this is critical! Beat that softened cream cheese until it’s smooth as velvet, no lumps allowed. Next, slowly add your granulated sugar and mix until it’s just combined. Now, for the fun part: gently fold in those chopped Little Debbie Christmas Tree Cakes. I mean gently! If you beat the cakes in, you’ll deflate all the air you just worked into the cream cheese, and we want that creamy structure intact.
Baking and Essential Cooling for Perfect Texture
Pour that delicious filling right over your cooled crust. Bake this beauty for about 45 to 55 minutes. You are looking for the edges to be set, but the very center should still have a tiny bit of wiggle, like Jell-O. Here is my non-negotiable tip to prevent cracks: as soon as the time is up, turn the oven off completely! Crack the oven door open just a little bit—you can wedge a wooden spoon in there—and just let it sit in that warm, residual heat for a full hour. This slow cooling is pure gold for a crack-free top.
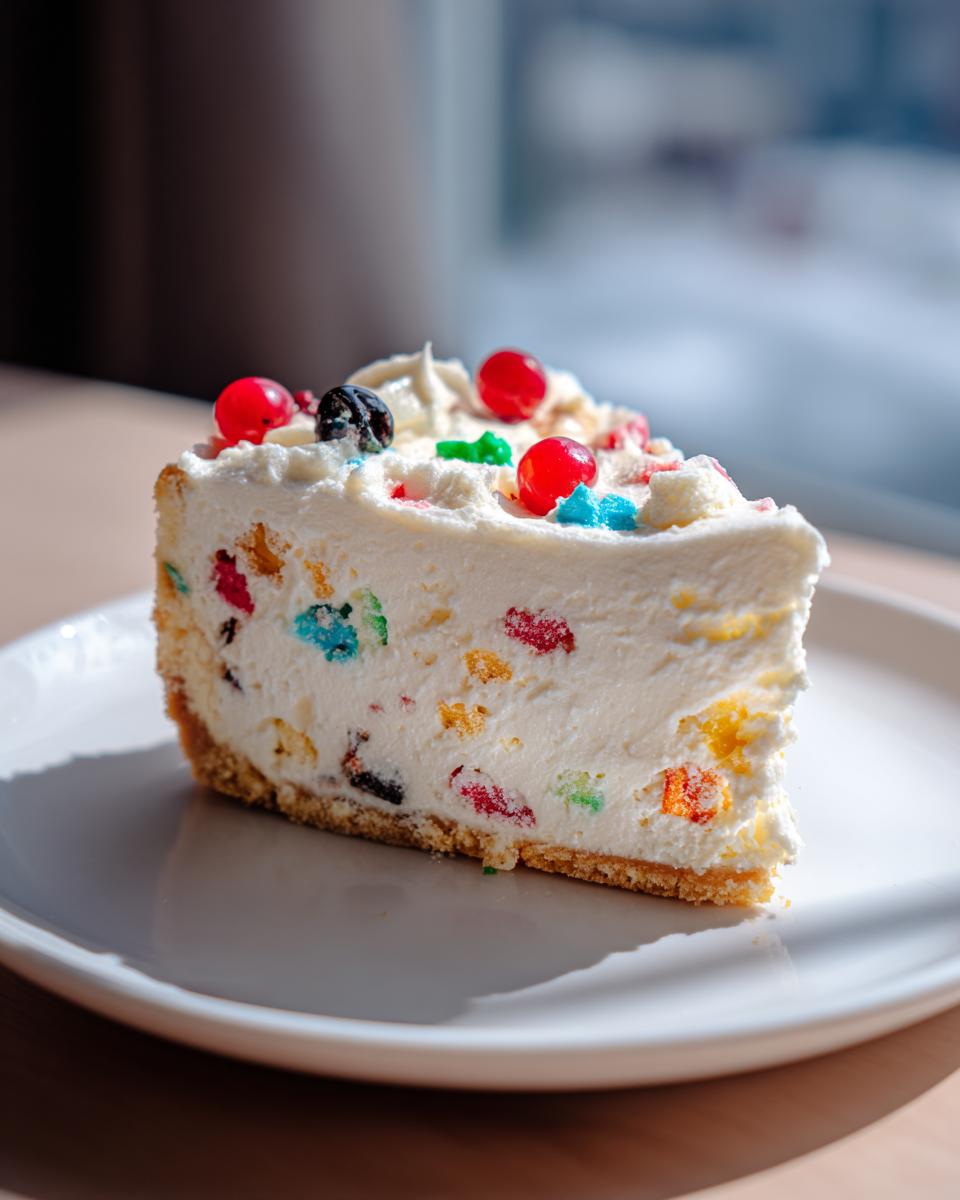
Chilling and Decorating the Showstopping Holiday Dessert
Once it’s done its hour in the oven, take it out and let it cool completely on a wire rack. Then, it needs to chill, chill, chill! Seriously, aim for at least 6 hours, but overnight is always the best for those firm, clean slices. Once chilled, cover that magnificent surface with your white ganache or piped whipped cream. This is where you create your ‘tree branches’ look, then immediately shower it with those festive holiday sprinkles. Done! You have a showstopper!
Tips for the Ultimate Little Debbie Christmas Tree Cheesecake
Even though this Red Velvet Cheesecake Recipe variation is pretty hard to mess up, I always get asked about making it look extra special or how to cheat if time is super tight. We want this to be the best holiday cheesecake on your table, right? These little tweaks are what separate good holiday baking from truly memorable, creative Christmas desserts.
Achieving the Perfect Tree Shaped Cheesecake Presentation
So, the standard recipe gives you a beautiful round cheesecake—and that’s totally fine if you plan on serving it like a traditional pie! But if you want that literal Christmas tree shape, you have two main options. If you happen to have a tree-shaped springform pan, use it! It takes all the guesswork out of it.
If you only have the standard round pan (which most of us do), don’t panic! Once that cheesecake is thoroughly chilled—and I mean rock solid after that minimum six-hour chill—you can carefully take it out of the pan. Use a sharp knife, maybe dipping it in hot water and wiping it dry between cuts, to slice off pieces from the sides until you create a triangular or tree-like silhouette. Then, just decorate right on the serving platter. It looks amazing and feels incredibly intentional, even though it’s super simple compared to sculpting!
Converting to a No Bake Christmas Tree Cheesecake
I know sometimes the oven is just booked solid with turkey or ham, or maybe you just don’t want to deal with the whole cooling process. Good news! You absolutely can turn this into a fantastic No Bake Christmas Tree Cheesecake.
The only major change needed is that you skip Steps 1 through 7 entirely. Prepare the crust as written, but don’t bake it; just chill it for about 15 minutes while you mix the filling. Then, fold in the Little Debbie pieces, pour it into the pan, and toss it straight into the fridge. You need to let it chill for at least 8 hours—preferably overnight—until it is completely firm. It sets up beautifully without any heat, giving you that ultra-creamy mouthfeel!
Ingredient Notes and Substitutions for Your Creamy Christmas Dessert
When you’re dealing with a classic like cheesecake, even though we are throwing cake chunks in there, the base structure has to be perfect. I always get questions about the cream cheese, and honestly, this is the most important tip I can give you for getting that beautiful, smooth texture, whether you follow my easy creamy caramel sauce recipe for drizzle or not.
You absolutely must use room temperature cream cheese. And I don’t mean “left it out for ten minutes” room temperature. I mean, you can press your finger into it easily without resistance—like soft butter. If that cream cheese is cold, it will fight the sugar and the mixer, and you will end up with little lumps that ruin the velvety texture of your final slice. Don’t skip this prep step!
Now, let’s talk about the crust. The graham cracker base is traditional and works perfectly well, but if you’re out of those or just want another layer of holiday flavor, don’t be afraid to switch it up! I’ve had fantastic results using vanilla wafer crumbs instead of graham crackers. They offer a slightly sweeter, rounder flavor that complements the vanilla notes in the Little Debbie cakes beautifully.
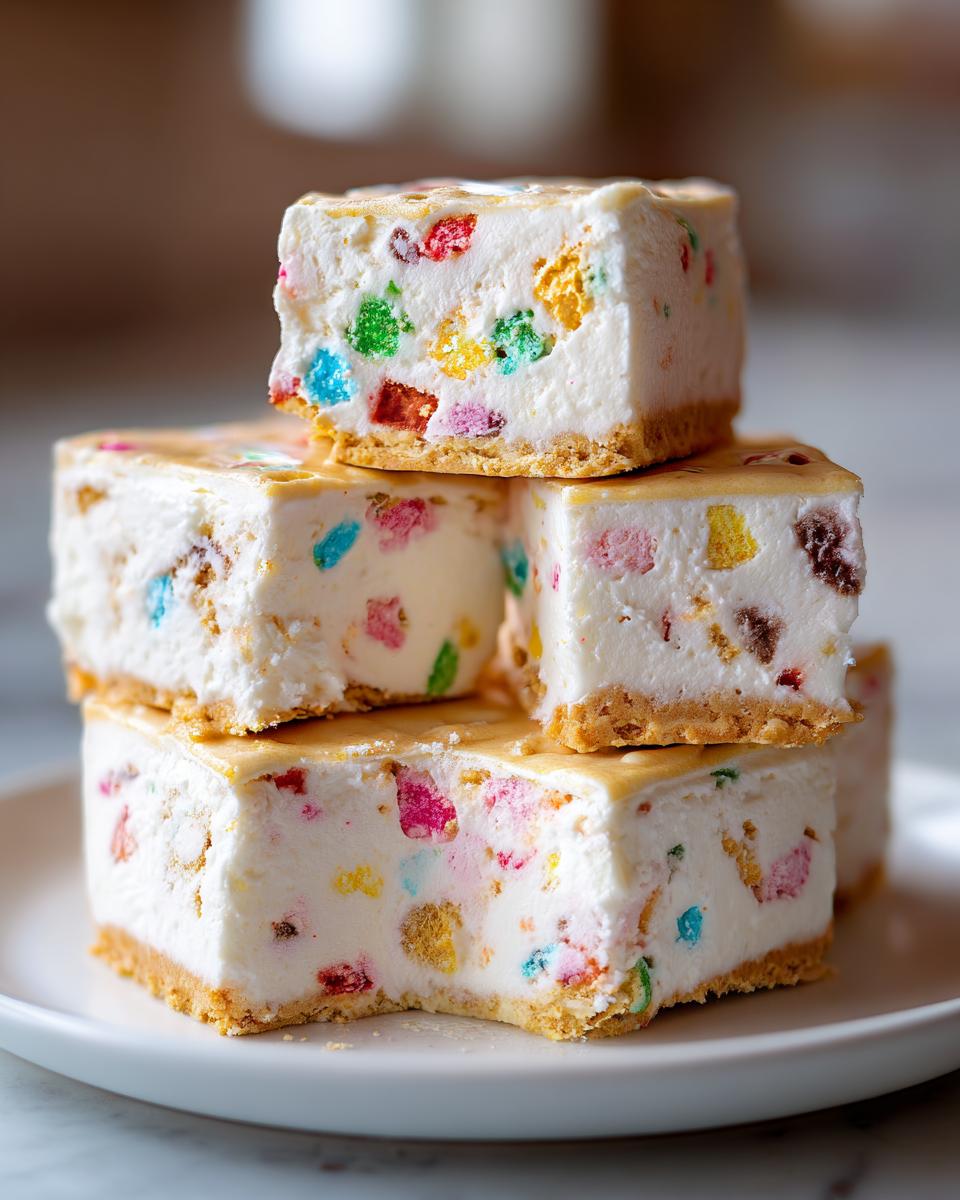
Another small thing: the Little Debbie cakes should be chopped—not pulsed too fine in the food processor. We want distinct, visible pieces in the final slice. That variance in texture is what makes this such a fun, nostalgic holiday treat!
Serving Suggestions for Your Christmas Party Dessert Centerpiece
Now that you’ve created this magnificent, showstopping holiday dessert, we have to talk about presentation and pairings! This cheesecake is rich, sweet, and loaded with that lovely nostalgic flavor from the Little Debbie cakes mixed in. Because it is such a decadent treat, you want to serve it alongside something that cuts through that richness a little bit, keeping the palate refreshed between bites.
For the ultimate pairing, you can’t go wrong with a hot beverage. Think about serving slices alongside rich, warm coffee or, even better, my homemade pumpkin spice latte recipe. The warmth and spice of the latte marry perfectly with the vanilla and creamy texture of the cheesecake. It elevates the whole experience!
If you’re having this as part of a larger dessert spread, I always suggest adding a side of fresh, tart fruit. A little bowl of raspberries or even sliced kiwi brings a beautiful pop of color and a necessary acidic note. It keeps the dessert table balanced! These are just lovely festive cheesecake desserts; they look stunning next to something bright and fresh.
And when it comes to serving, remember that cheesecake slices best when it’s coming straight from the very cold fridge. Take it out maybe ten minutes before you serve it, but no longer. That slight temperature relief makes it easier to cut a clean wedge without tearing the beautiful white ganache topping. Trust me on this; you want those clean cuts for the serving platter!
Storage and Reheating Instructions for Christmas Tree Cheesecake
This gorgeous Christmas Tree Cheesecake is almost always the first dessert to disappear at a party, but if, by some miracle, you have leftovers? Don’t fret! Storing this beauty correctly ensures it tastes just as incredible the next day when that inevitable leftover craving hits.
Because this is a rich, dairy-heavy dessert, the most important thing is keeping it cold and covered. You always want to store any leftover slices straight in the refrigerator. Do not leave it sitting out on the counter, no matter how tempting that midnight snack might seem! Cheesecake really won’t last long at room temperature, and we want to keep that lovely creamy texture perfect.
Use an airtight container, or if you only have a slice or two left, cover the plate tightly with plastic wrap—make sure the plastic isn’t actually touching the ganache topping if you can avoid it, or it might stick! I love making this ahead of time, and luckily, it holds up really well in the fridge for about three to four days. It’s perfect for enjoying the holiday spirit long after Christmas day!
Now, let’s talk about reheating—and please listen to me on this one. Cheesecake is generally not something you want to put in the microwave or the oven. Heating it up tends to melt the structure, turning that beautiful, firm filling into a soupy mess, and it just doesn’t taste right warmed up. If you’re planning on eating leftovers, just pull the slice out of the fridge about 20 minutes before you plan on having it. That small amount of time lets it warm up just slightly from fridge-cold to perfectly cool and creamy. It’s much better served cold or slightly tempered!
If you need a recipe for a quick chocolate topping for next time, be sure to check out my recipe for easy chocolate frosting recipe smooth—it makes a wonderful alternative drizzle if you are all out of white ganache!
Frequently Asked Questions About This Holiday Cheesecake Idea
It’s totally normal to have questions when you’re trying a new, fun recipe like this! Baking shouldn’t feel mysterious, especially when you’re aiming for that perfect, showstopping holiday dessert. Here are a few things folks ask me most often about getting this Christmas Tree Cheesecake just right, making it part of your easy Christmas baking lineup.
Can I make this Christmas Tree Cheesecake Recipe entirely ahead of time?
Oh, yes, you absolutely should make it ahead! This recipe is fantastic for holiday planning because the chilling time is mandatory, not optional. The cheesecake truly sets up better, and the Little Debbie pieces settle into the filling perfectly after a good, long rest in the cold. I always aim to put it together the day before I need it so I have a full 24 hours for it to chill. You can safely keep it covered in the fridge for up to two full days. That means Christmas Eve is totally dedicated to decorating, not baking!
What if I cannot find Little Debbie Christmas Tree Cakes?
I know those snack cakes are seasonal, and sometimes you just can’t track them down! Don’t let that stop you from making this creamy creation. If you are missing the specific tree cakes but still want that soft, cakey texture inside, you have a couple of great options. My first choice would be to use roughly the same amount of plain vanilla wafer cookies, crushed up a bit larger than gravel. They offer a nice, buttery crunch. Alternatively, if you happen to have a simple, unfrosted vanilla pound cake lying around, chop that up into small chunks—that captures the vanilla flavor profile really nicely!
Ultimately, this recipe is so flexible. Have a look at my tips for easy soda bread sometime; sometimes the best substitutions are the most unexpected ones!
Do you have a question about shaping this into a perfect tree shaped cheesecake? Drop me a note below!
Nutritional Estimates for Your Festive Treat
Now, I know when we’re talking about a rich, creamy, full-fat cheesecake loaded with nostalgic snack cakes, we aren’t exactly aiming for low-calorie heaven! And that’s perfectly fine sometimes—holiday treats should be enjoyed, not stressed over. Since this is such a fun and decadent dessert, I always like to share a rough estimate of what you’re working with, just so you know what to expect.
Please remember, these numbers are just estimates, just like the ones I put together for my easy dirt cake recipe! The final count depends on the exact brand of cream cheese you use or if you decide to use a slightly different topping. This estimate is based on the standard recipe provided, yielding 10 generous servings—which, trust me, is plenty for a holiday crowd!
Here is a general breakdown per slice:
- Serving Size: 1 slice
- Calories: Around 450
- Fat: About 30g
- Saturated Fat: Roughly 18g
- Carbohydrates: 40g
- Sugar: Coming in around 35g
- Protein: 6g
See? It’s definitely a treat! But when you factor in how much joy that Christmas Tree Cheesecake brings to the table, it is worth every single calorie. Don’t worry about the specifics; just focus on making yourself a small slice, pour a cup of hot coffee, and enjoy that moment of peace. That’s what finding your pathway to wellness is all about—balance!
Share Your Showstopping Holiday Dessert Experience
Well, that’s it! We’ve whipped up a legendary Christmas Tree Cheesecake that should wow everyone at your holiday table. Now that you’ve gone through the work—which really wasn’t that much work, let’s be honest—the best part is seeing how your creation turned out!
I genuinely want to know what you think! Did you use the white ganache, or did you get creative with green whipped cream to really lean into the tree look? Drop your honest rating for this recipe right in the comments below. Knowing how this turned out for you—whether it took the full 7 hours or you skimped with the no-bake method—helps me, Sarah, continue creating recipes that truly fit into your busy life.
And please, please share pictures! I absolutely live for seeing your gorgeous, finished desserts on social media. Snap a quick photo when you slice into it—especially after that long chill—and tag us online. Seeing your magnificent party centerpieces really makes my day and reminds me why we started Pure Plate Path in the first place: making delicious, meaningful food accessible to everyone.
Go enjoy that creamy slice, my friend. You totally earned it this holiday season!
PrintLittle Debbie Christmas Tree Cheesecake
Make this show-stopping Little Debbie Christmas Tree Cheesecake for your holiday gathering. This recipe combines a creamy cheesecake filling with chopped nostalgic snack cakes, creating a festive centerpiece dessert.
- Prep Time: 25 min
- Cook Time: 55 min
- Total Time: 7 hours 20 min
- Yield: 10 servings 1x
- Category: Dessert
- Method: Baking
- Cuisine: American
- Diet: Vegetarian
Ingredients
- 180 g graham cracker crumbs
- 85 g unsalted butter, melted
- 675 g cream cheese, softened
- 100 g granulated sugar
- 1 package Little Debbie Christmas Tree Cakes, chopped
- White ganache or whipped cream for topping
- Holiday sprinkles for decoration
Instructions
- Preheat your oven to 325°F (160°C). Prepare a 9-inch springform pan.
- Combine graham cracker crumbs and melted butter. Press the mixture firmly into the bottom of the prepared pan to form the crust. Bake for 10 minutes, then let it cool.
- In a large bowl, beat the softened cream cheese until smooth. Gradually add the granulated sugar and mix until fully combined.
- Gently fold in the chopped Little Debbie Christmas Tree Cakes into the cream cheese mixture. Do not overmix.
- Pour the filling over the cooled crust in the springform pan.
- Bake for 45 to 55 minutes, or until the edges are set and the center has a slight jiggle.
- Turn off the oven, crack the door open, and let the cheesecake cool inside the oven for one hour. This prevents cracking.
- Remove the cheesecake from the oven and let it cool completely on a wire rack. Then, chill in the refrigerator for at least 6 hours, or preferably overnight.
- Before serving, top the chilled cheesecake with white ganache or piped whipped cream to resemble tree branches, and finish with holiday sprinkles.
Notes
- For a truly show-stopping holiday dessert, consider shaping the cheesecake in a tree-shaped pan or cutting the chilled round cheesecake into a tree shape before decorating.
- If you prefer a no-bake version, chill the filling mixture for at least 8 hours until firm, omitting the baking steps.
- Use cream cheese that is fully softened to avoid lumps in your creamy cheesecake filling.
Nutrition
- Serving Size: 1 slice
- Calories: 450
- Sugar: 35g
- Sodium: 300mg
- Fat: 30g
- Saturated Fat: 18g
- Unsaturated Fat: 12g
- Trans Fat: 0.5g
- Carbohydrates: 40g
- Fiber: 1g
- Protein: 6g
- Cholesterol: 95mg