
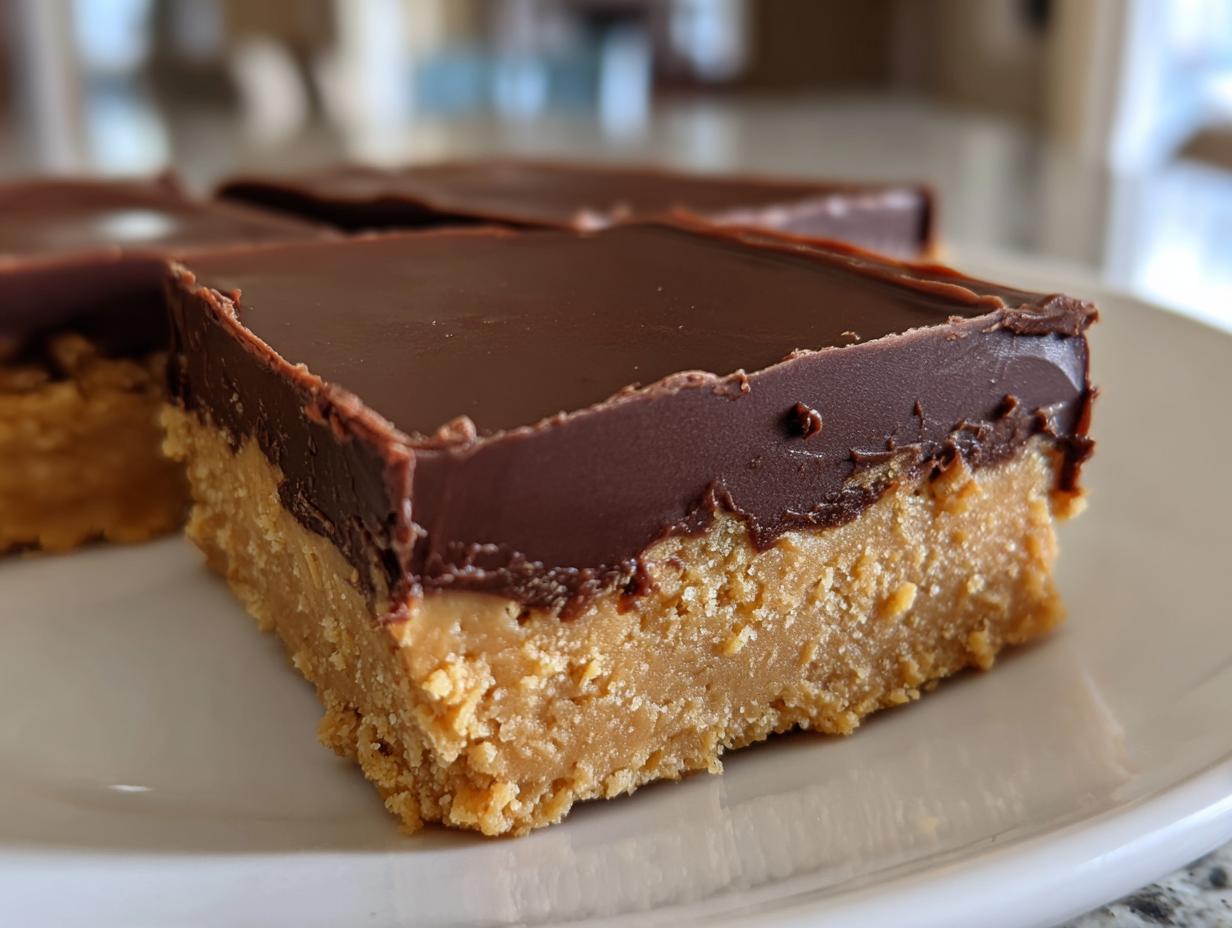
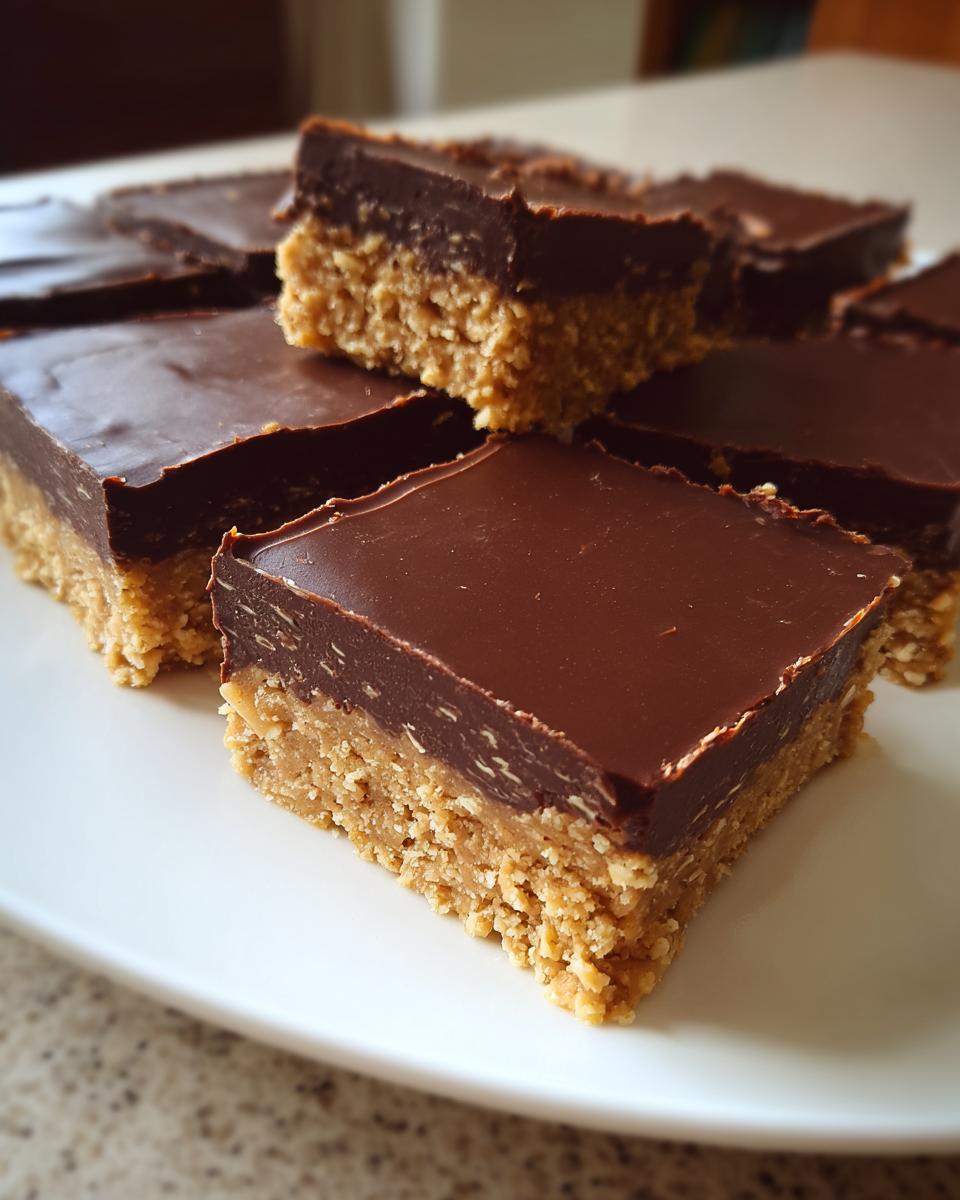
When life gets hectic, sometimes you just need something truly indulgent, right? Finding a dessert that hits that sweet spot—creamy, intensely satisfying, and quick enough to make when you’re running on fumes—feels almost impossible. That’s exactly why these Easy No-Bake Chocolate Peanut Butter Bars became a staple in my world. They’re rich enough to satisfy any chocolate peanut butter craving, they taste just like that amazing candy bar you remember, and best of all? No oven action required! Back when I was balancing my marketing career with trying to eat well, these were essential. They prove that simple ingredients can still result in an unforgettable treat.
- Why You Will Make These Peanut Butter Bars Repeatedly
- Essential Ingredients for Perfect No-Bake Peanut Butter Bars
- Step-by-Step Instructions for Making Creamy Peanut Butter Bars
- Tips for Success When Making Peanut Butter Bars
- Storage and Reheating Instructions for Leftover Peanut Butter Bars
- Variations on Classic Peanut Butter Bars
- Frequently Asked Questions About No Bake Peanut Butter Bars
- Estimated Nutrition for These Indulgent Peanut Butter Sweets
- Share Your Experience Making These Peanut Butter Bars
Why You Will Make These Peanut Butter Bars Repeatedly
I know you’re busy, so let me tell you exactly why these treats will end up in your regular rotation. They are the definition of efficiency without sacrificing flavor. If you need an Easy Peanut Butter Dessert that actually feels special, this is it.
- They are 100% **No Oven Desserts**, meaning no heat in the kitchen!
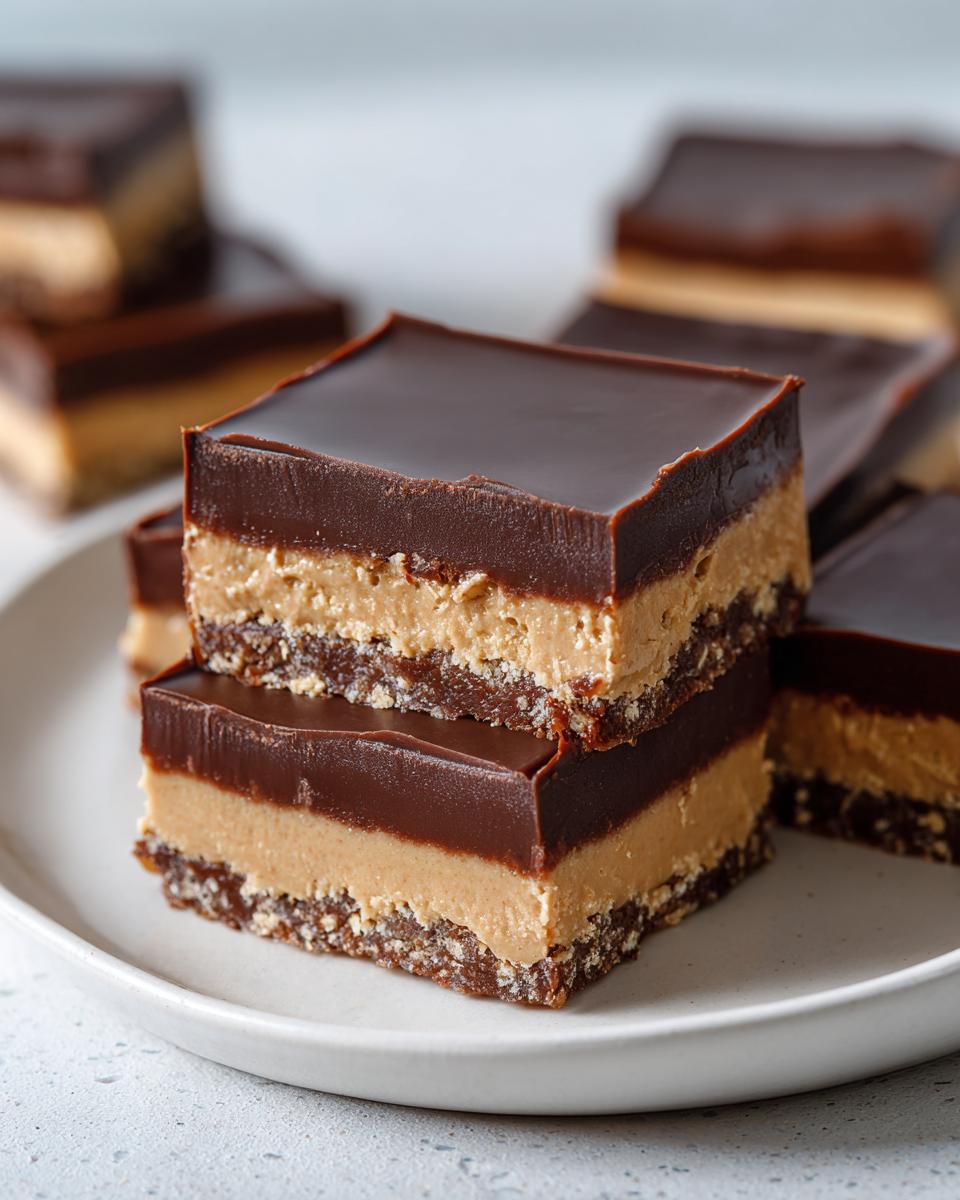
- The texture is completely irresistible: perfectly dense, creamy, and topped with smooth chocolate.
- Prep time is lightning fast—we’re talking under 15 minutes before they hit the fridge.
- They are perfect for any potluck or last-minute need because they set up so reliably.
Essential Ingredients for Perfect No-Bake Peanut Butter Bars
When you make something quick like these **peanut butter bars**, the quality and type of ingredient really shine through. Since there is no baking to mask any off-flavors, we need to be precise here. I’ve listed out absolutely everything you need below. Remember, this recipe is designed to be straightforward, but paying attention to a few details ensures you get that perfect, sliceable, and rich dessert experience. You can check out my guide for similar no-bake fudge when you’re ready for another simple indulgence!
- 1 cup unsalted butter, melted
- 2 cups powdered sugar
- 2 cups creamy peanut butter
- 2 cups graham cracker crumbs
- 1 teaspoon vanilla extract
- 1/2 teaspoon salt
- 1 cup semi-sweet chocolate chips (for topping)
- 2 tablespoons butter (for topping)
- 1/4 cup creamy peanut butter (for topping)
Ingredient Notes and Substitutions for Your Peanut Butter Bars
I always specify creamy peanut butter because we want that velvety smooth base layer, especially when aiming for that classic **Creamy Peanut Butter Bars** texture. If you only have salted butter on hand, feel free to use it, but cut back on the added salt in the base to half a teaspoon or even less. For the crumbs, graham crackers are classic, but if you run out, crushed vanilla wafers work surprisingly well too! Just ensure whatever you use is crushed finely so it packs down tightly.
Step-by-Step Instructions for Making Creamy Peanut Butter Bars
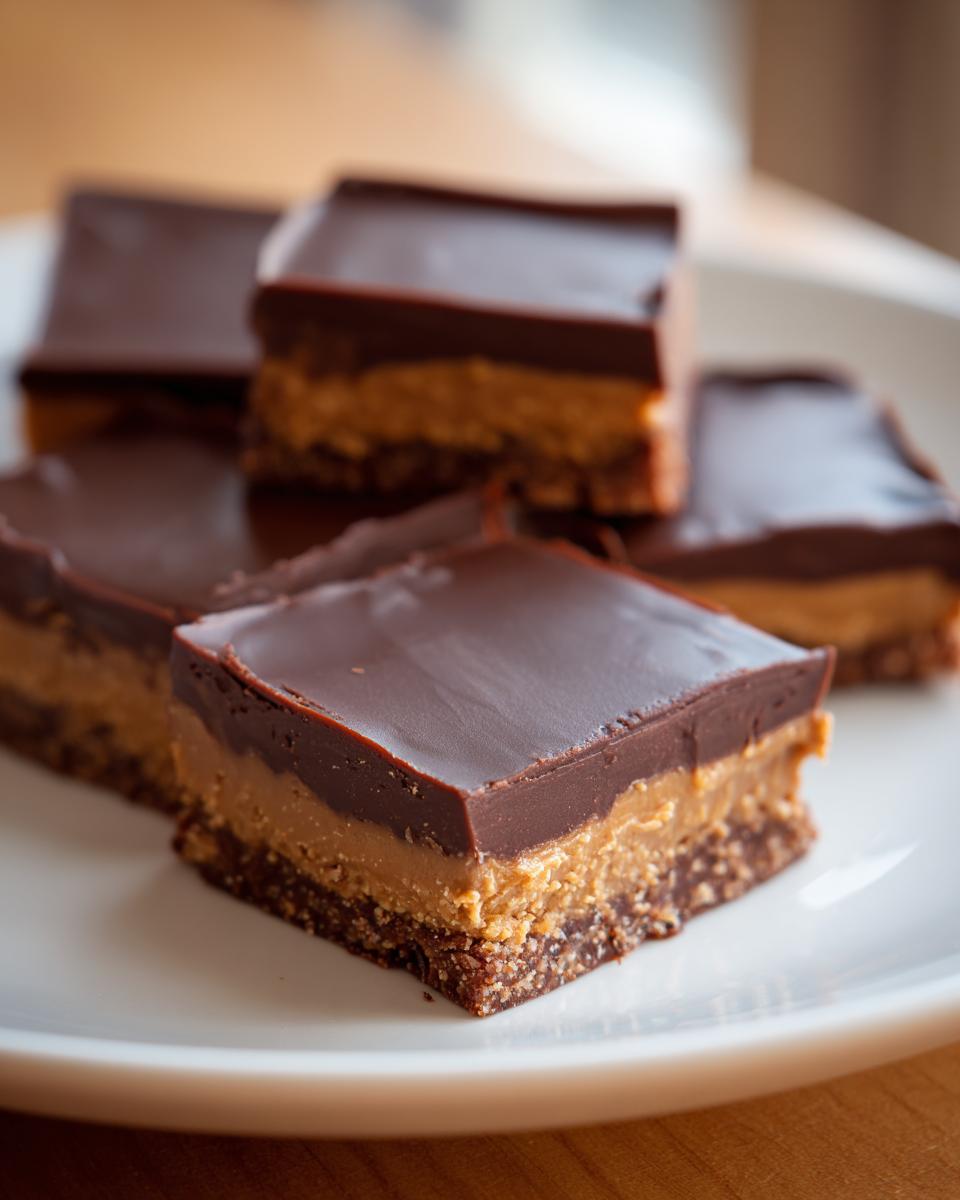
Okay, now for the fun part! Since these are **No Bake Peanut Butter Bars**, you won’t be waiting around for an oven to preheat. We move fast here, which is why I love these as a **Quick Dessert Idea**. The key to success is layering, so we tackle the base first, then the chocolate magic. You’ll see how quickly these amazing **Peanut Butter Squares Recipe** comes together!
Preparing the Base for Your Peanut Butter Bars
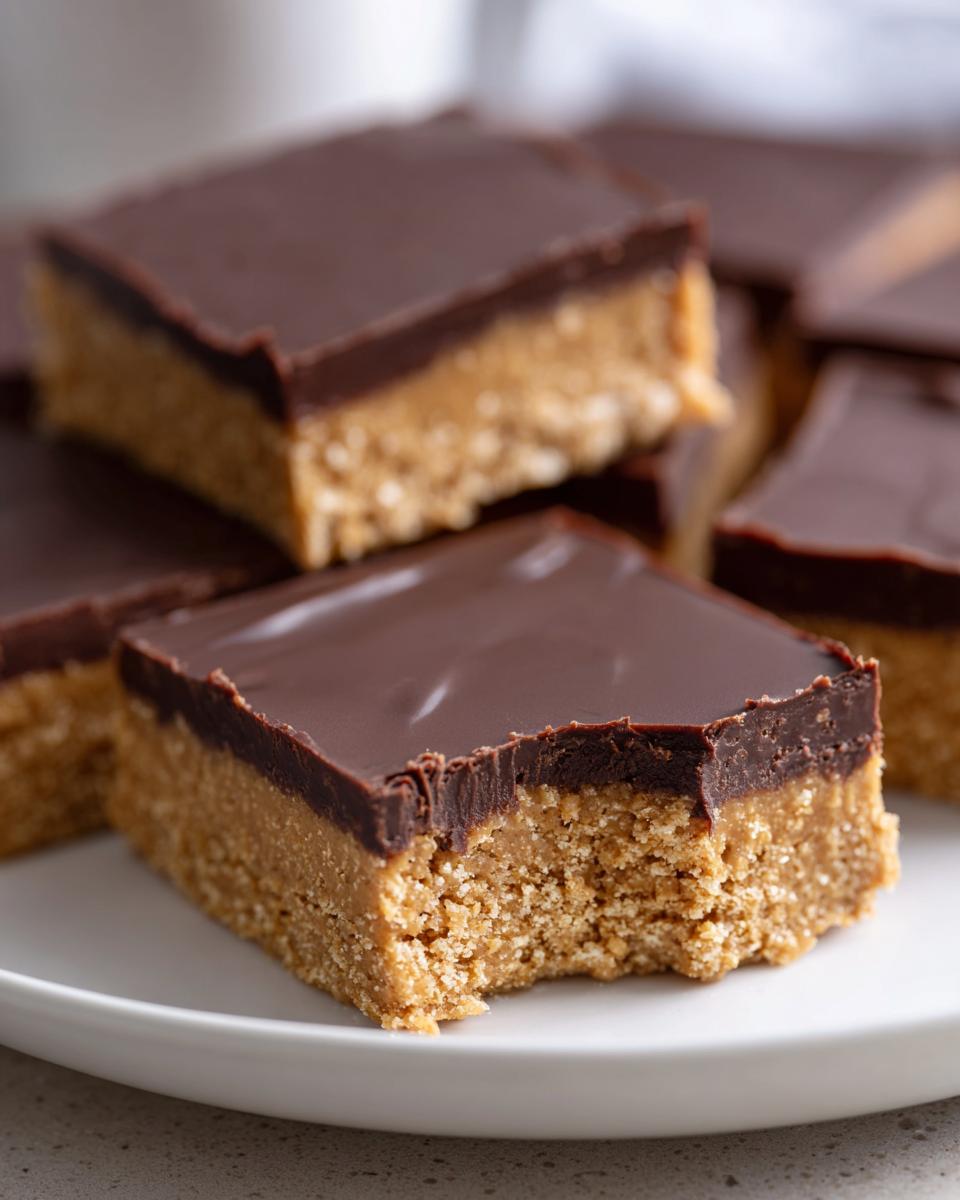
First things first: get your pan ready! Line that 8×8 inch pan with parchment paper, making sure you leave a good overhang on two sides. This overhang is your secret weapon for getting the bars out later without any drama. In your mixing bowl, dump in the melted butter, powdered sugar, 2 cups of peanut butter, graham cracker crumbs, vanilla, and salt. Mix it right up until it looks like thick, homogenous dough. Then, press it firmly into your lined pan. Seriously, take your time here—use the bottom of a heavy glass or measuring cup to pack that base down as tight as you can. A solid base means no crumbling later!
Creating the Silky Chocolate Topping for These Peanut Butter Bars
Now that your base is perfectly snug, we need that gorgeous chocolate layer. Grab a microwave-safe bowl. Combine your chocolate chips, the two tablespoons of reserved butter, and the last bit of peanut butter. Do not try to melt this all at once! Microwave it for 30 seconds, stir really well, and then repeat in smaller 30-second bursts, stirring thoroughly in between. This gentle method prevents scorching, which gives you that beautifully glossy, smooth topping, kind of like the best chocolate frosting you’ve ever seen. Pour that smooth mixture right over the peanut butter base and spread it carefully to the edges.
Chilling and Cutting Your Simple Dessert Bars
These **Simple Dessert Bars** need patience for just a short while. They MUST chill until that chocolate topping is completely firm, which is usually about two hours in the fridge. Don’t rush this, or your pretty layers will smoosh when you try to slice them! Once they are stiff, use those parchment paper handles to lift the entire block out onto a cutting board. Now you can slice them into neat squares. If you want them a little softer, just let them sit on the counter for about 15 minutes before serving. You can see a great example of a similar finished bar over here: chocolate peanut butter bars.
Tips for Success When Making Peanut Butter Bars
I’ve made batches of these **peanut butter bars** more times than I can count, and I’ve learned a few little tricks along the way to make sure they turn out perfect every single time. Because these treats rely on chilling rather than baking, technique matters a lot for texture!
My number one non-negotiable tip is the butter temperature for the base layer. You need it melted, yes, but it should cool down *just slightly* before you mix it with the powdered sugar and peanut butter. If the butter is scorching hot, it can sometimes make the powdered sugar clump or seize up weirdly, leading to a potentially grainy bottom layer instead of that smooth, creamy texture we’re aiming for.
For that amazing chocolate sheen on top, try adding a tiny bit of coconut oil along with the butter and chocolate chips when you melt them for the topping. Seriously, just half a teaspoon works wonders! It helps thin the chocolate just enough so it spreads beautifully and sets with a gorgeous, snappy finish. That’s a trick I picked up when I needed a fudge topping to look extra professional for a birthday party.
If your base feels a little too soft when you start pressing it into the pan—maybe your peanut butter was runnier than mine—don’t panic! Pop it in the freezer for about ten minutes just until it firms up slightly. This gives you something solid to press against so you can pack it down tightly. A firmly packed base prevents those annoying air pockets and keeps your bars solid when slicing. For more inspiration on getting textures just right, check out this post on other great bars: Peanut Butter Bars.
Storage and Reheating Instructions for Leftover Peanut Butter Bars
One of the best things about these **quick peanut butter treats** is that they last! Since they rely on chilling to set everything up, they store beautifully, making them an ideal **potluck dessert bar** to make ahead of time. No need to worry about them going stale quickly because they aren’t baked!
For optimal freshness, you absolutely must store leftovers in an airtight container. I usually layer mine with parchment paper between levels so the chocolate topping doesn’t stick to the layer above it. Keep them tucked away in the refrigerator. As my notes mention, they stay perfect like this for up to a full week! If you’re ever worried about them getting too hard from the cold, try letting them sit on the counter for maybe ten minutes before you serve them. That small bit of warming really softens the peanut butter layer just a touch.
Now, reheating? Honestly, I almost never reheat these because they are designed to be fantastic chilled, and the chocolate topping can get messy if it gets too warm. However, if you’ve left them in the fridge for several days and want that chocolate topping to be super gooey again—maybe you just want that authentic, melted chocolate experience—you can zap a single square in the microwave. Just do it for 10 seconds, max! Seriously, watch it closely, because you only want to soften the top layer slightly, not melt the whole thing into a puddle. For more tips on keeping things fresh and delicious, check out my notes on storing leftovers from my Chicken Chili—surprisingly, storage rules often overlap!
Variations on Classic Peanut Butter Bars
While I think this base recipe for **Peanut Butter Bars** is pretty much perfect—that creamy, chocolate-covered dream—I know us home cooks love to tinker! Sometimes you just need to switch things up based on what you have in the pantry or what flavor mood strikes you. It’s so easy to customize these treats without losing that essential no-bake simplicity.
Here are a few ways I love to remix this recipe when I’m feeling adventurous. These small swaps make a huge difference in the final bite!
- Go Salty-Sweet on Top: Right after you spread that warm chocolate topping, sprinkle a light dusting of flaky sea salt over the top. Trust me on this one! The salt cuts through the intense sweetness of the peanut butter base and chocolate perfectly. It adds a delightful textural crunch, too. It instantly elevates these from a simple treat to something truly special.
- Swap Out the Crunch: If you are out of graham crackers, don’t sweat it! Instead of the graham cracker crumbs, try using crushed pretzels. You get a salty, savory crunch embedded right in the base layer. This switch makes them taste even more like a homemade candy bar!
- Nut Butter Adventures: If someone in your house isn’t huge on regular peanut butter, or if you just want a different depth of flavor, try swapping half of the peanut butter in the base for Biscoff spread or almond butter. Just make sure to use a creamy variety of whatever you choose so the structure stays solid. You can find some other fun nutty ideas over here on my toffee bark post.
No matter how you change it up, these bars are guaranteed to be a hit. If you try one of these variations, definitely check out what others have done with similar recipes, like these fantastic bars from Foodie Harbor: no-bake Reese’s peanut butter bars.
Frequently Asked Questions About No Bake Peanut Butter Bars
It’s so funny how many little questions pop up once you start making these **No Bake Peanut Butter Bars**! Since they are so simple, people usually worry about small details that can change the texture. I’ve collected the most common ones I get asked, especially when people are trying to achieve that perfect **Reeses Peanut Butter Copycat** flavor profile.
Can I use crunchy peanut butter instead of creamy for the base?
You absolutely *can*, but you’ll end up with **Chewy Peanut Butter Bars** rather than the smooth, creamy ones this recipe is designed for. If you use crunchy, just know that the texture of the base layer will be much more textured and slightly less dense. For the topping layer, I really urge you to stick with creamy in that small amount called for, as crunchy bits in the chocolate topping tend to make it stiff rather than silky smooth.
Can these Easy Peanut Butter Dessert squares be frozen?
Yes! These are fantastic for freezing, which makes them one of the best **Quick Dessert Ideas** for making ahead before a big gathering. Because they have a high fat content, the texture holds up really well in the freezer. Wrap them tightly in plastic wrap or place them in an airtight container—again, use parchment between layers—and they last beautifully for about two months. Thaw them overnight in the fridge, or just sit them on the counter for about 30 minutes before cutting.
What is the best type of chocolate to use for the topping?
I call for semi-sweet chips because they provide a great balance against the sweetness of the peanut butter filling. If you want to lean into that **Reeses Peanut Butter Copycat** vibe, definitely use milk chocolate chips instead. If you like a richer, slightly less sweet bar, then dark chocolate chips are your best friend! Just make sure whatever you use is good quality, as that chocolate layer is the star of the show alongside the filling.
How do I prevent my Peanut Butter Bars from getting too soft when serving them at a potluck?
This is a great question for when you are taking these as **Potluck Dessert Bars**! The main thing is ensuring: Step 1) Your base is packed down *super* firmly. Step 2) The chocolate topping is fully set before you cut it. If you are worried about them softening up too much at room temperature during the party, keep them refrigerated until about 20 minutes before you serve them. They hold their shape best when chilled.
For more tips on keeping your sweet treats in top condition, you might want to check out my notes on storing leftovers from my Chicken Chili—surprisingly, storage rules often overlap!
Estimated Nutrition for These Indulgent Peanut Butter Sweets
Look, I’m Sarah, and I run a site dedicated to making food work for real life, not the other way around. When we talk about **Indulgent Peanut Butter Sweets** like these bars, we have to be realistic about what we’re eating. These aren’t diet food, but knowing what’s in them is important for balance. I’ve pulled the standard estimates below based on the ingredients listed for these **Simple Dessert Bars**.
Please remember, these numbers are just a guide—the actual values can shift a bit based on the brand of peanut butter or chocolate chips you choose. If you’re looking for lighter fare, check out my section on healthy desserts, but for pure, delicious indulgence, these numbers are solid!
- Serving Size: 1 bar (This recipe yields 16 servings)
- Calories: 280
- Sugar: 22g
- Fat: 18g
- Saturated Fat: 7g
- Carbohydrates: 28g
- Protein: 6g
- Sodium: 150mg
For a treat this satisfying, I’m perfectly happy with those numbers! The fat content really gives it that rich, satisfying feel that keeps you full.
Share Your Experience Making These Peanut Butter Bars
Well, that’s it! You now have everything you need to whip up the absolute easiest and most indulgent **peanut butter bars** that will disappear almost as soon as they hit the cooling rack. I really hope these **quick peanut butter treats** bring a little bit of joy and simplicity into your busy week!
As someone who lives and breathes practical home cooking, the greatest reward for me isn’t just seeing the photos, it’s hearing how much *you* loved them. Did you dust yours with sea salt like I suggested? Did they taste just like a homemade Reese’s bar? Don’t keep it a secret!
Please take a moment to leave a rating below—tell me how many stars you’re giving these **Simple Dessert Bars**. I truly want to know if they became a new family favorite. And if you tweaked the recipe in a fun way, drop those observations in the comments too! I always love connecting with fellow home cooks. If you need any last-minute help or have a question that popped up while you were mixing, feel free to reach out on my contact page anytime.
Go ahead, grab a square (or two!) and enjoy the best no-bake indulgence around. If you made them and want to see what others are saying, check out Eva’s recipes for inspiration on other simple treats, like this one: No-Bake Peanut Butter Bars. Happy baking—or rather, happy *no-baking*!
PrintEasy No-Bake Chocolate Peanut Butter Bars
Make dessert simple with these easy no-bake peanut butter bars. They are creamy, rich, and quick to prepare, perfect for satisfying sweet cravings without using your oven.
- Prep Time: 15 min
- Cook Time: 0 min
- Total Time: 2 hours 15 min
- Yield: 16 servings 1x
- Category: Dessert
- Method: No Bake
- Cuisine: American
- Diet: Vegetarian
Ingredients
- 1 cup unsalted butter, melted
- 2 cups powdered sugar
- 2 cups creamy peanut butter
- 2 cups graham cracker crumbs
- 1 teaspoon vanilla extract
- 1/2 teaspoon salt
- 1 cup semi-sweet chocolate chips (for topping)
- 2 tablespoons butter (for topping)
- 1/4 cup creamy peanut butter (for topping)
Instructions
- Line an 8×8 inch baking pan with parchment paper, leaving an overhang for easy removal.
- In a medium bowl, combine the melted butter, powdered sugar, 2 cups of peanut butter, graham cracker crumbs, vanilla extract, and salt. Mix until fully combined and the mixture forms a thick dough.
- Press this peanut butter mixture evenly into the bottom of the prepared pan. Use the bottom of a glass or measuring cup to pack it down firmly.
- In a small, microwave-safe bowl, combine the chocolate chips, 2 tablespoons of butter, and 1/4 cup of peanut butter. Microwave in 30-second intervals, stirring well after each, until the mixture is smooth and fully melted.
- Pour the melted chocolate mixture over the peanut butter base. Spread it evenly to cover the entire surface.
- Refrigerate the bars for at least 2 hours, or until the chocolate topping is firm.
- Lift the bars out of the pan using the parchment paper overhang. Cut into squares before serving.
Notes
- For a Reese’s copycat flavor, use a slightly salty peanut butter in the base.
- If you prefer a softer topping, allow the bars to sit at room temperature for 15 minutes before cutting.
- These **quick peanut butter treats** store well in an airtight container in the refrigerator for up to one week.
Nutrition
- Serving Size: 1 bar
- Calories: 280
- Sugar: 22g
- Sodium: 150mg
- Fat: 18g
- Saturated Fat: 7g
- Unsaturated Fat: 11g
- Trans Fat: 0g
- Carbohydrates: 28g
- Fiber: 1g
- Protein: 6g
- Cholesterol: 15mg