
There is just nothing that beats the smell of bread fresh from the oven, especially when you haven’t waited hours for yeast to do its thing! When life gets hectic, I always turn back to the recipes that feel like a hug, and that’s precisely what brought me back to this Traditional Irish Soda Bread. This recipe strips away all the fuss—no kneading marathons, absolutely zero yeast—just incredibly satisfying, crusty-on-the-outside, soft-on-the-inside loaves. It’s the ultimate quick, homemade comfort food bread. For me, this simple soda bread represents everything Pure Plate Path is about: reclaiming moments of peace through remarkably easy, nourishing food, just as I learned from my own busy Midwestern upbringing. If you need fast, honest baking, this is where you start. You can read more about my journey to find these simple staples on our About Page.
- Why This Easy Soda Bread Recipe Is Your New Pantry Staple
- Gathering Ingredients for Your Soda Bread with Buttermilk
- Step-by-Step Instructions for Your Rustic Homemade Loaf
- Baking Your Soda Bread: Achieving the Perfect Crust
- Tips for Success with This Simple Pantry Bread
- Serving Suggestions: Best Soda Bread for Soup
- Savory Bread Variations: Cheddar Herb Bread Recipe Ideas
- Storing and Reheating Your Freshly Baked Bread At Home
- Frequently Asked Questions About Making Soda Bread
Why This Easy Soda Bread Recipe Is Your New Pantry Staple
Why mess around with long proofing times when you can have heavenly homemade bread on the table faster than a delivery driver can navigate traffic? Seriously, this recipe is for those days when you crave that rustic, homemade comfort food bread but only have a small window of time. It’s the kind of baking that feels historic but fits perfectly into our modern, busy lives.
- It needs zero yeast—that means no waiting and no complicated proofing temperatures.
- It uses ingredients I almost always have on hand in my pantry.
- The result is always satisfyingly crusty and tender inside.
When you need something wonderful fast, forget the complicated recipes and head straight here. You can find other fast fixes for busy evenings over on my guide to Quick & Easy Weeknight Dinners.
Quick No Yeast Bread Ready in Under an Hour
This is it—the definition of Quick No Yeast Bread. From the minute you start mixing to the second it comes out golden brown, you’re looking at about 45 minutes total time. Compare that to a standard yeasted loaf that can easily take three or four hours! It’s the chemical reaction between the buttermilk and the baking soda that does all the lifting here. No kneading fuss, just quick organization.
The Tradition of Classic Irish Soda Bread
Even though it’s lightning fast, this isn’t some modern shortcut that lost its soul. This is rooted in Traditional Irish Baking. It’s the staple bread meant to go alongside a hearty stew or soup, warming you from the inside out. It delivers that authentic, rustic homemade feeling without any fuss. That satisfying crust just begs to be slathered with butter while it’s still steaming!
Gathering Ingredients for Your Soda Bread with Buttermilk
The real beauty of this soda bread is that you probably have everything you need right now. We’re sticking to the old-fashioned staples here—stuff that creates that wonderful chemical lift we rely on instead of yeast. Precision matters when you’re dealing with the baking soda and buttermilk, so grab your measuring cups!
Essential Ingredients for Perfect Soda Bread
For the basic loaf, you need the classic quartet, plus a tiny bit of optional sweetness:
- 4 cups all-purpose flour
- 1 teaspoon baking soda (don’t skimp or fudge this one!)
- 1 teaspoon salt
- 1 3/4 cups buttermilk
- 1 tablespoon sugar (if you like a whisper of sweetness)
- 1/4 cup raisins or currants (optional, only if you want that traditional addition)
Buttermilk Bread Tutorial: Substitutions and Notes
If you are staring mournfully at an empty fridge shelf because you’re out of buttermilk, don’t panic! This is where the Buttermilk Bread Tutorial part comes in handy; we have a fix. Just mix 1 3/4 cups of regular milk with 1 tablespoon of white vinegar or fresh lemon juice. Let it sit for five minutes until it looks a little curdled. That’s your magic ingredient, ready to go!
Step-by-Step Instructions for Your Rustic Homemade Loaf
Baking this soda bread is less about complicated steps and more about moving with speed and respect for the ingredients. Trust me, a heavy hand here is the enemy of a tender crumb! We’re aiming for that lovely, Rustic Homemade Loaf quality—crusty, yes, but soft inside. Get your oven preheated to 400°F (200°C) right now and lightly flour your baking sheet so everything is ready to go when the mixing starts.
Mixing the Soda Bread Dough Quickly
First, whisk your dry stuff—flour, baking soda, salt, and any optional sugar or raisins—in a big bowl. This is really important for even distribution! Next, make a well in the middle and pour in all that tangy buttermilk at once. Grab your wooden spoon—or just use your hands—and mix everything together, but only until it *barely* comes together into a shaggy, sticky mass. I mean it: Do not overmix! You are activating the baking soda, and overworking it gets you a tough loaf, not the tender texture we want for this Beginner Friendly Bread Making project.
Shaping and Scoring the Crusty Loaf Recipe
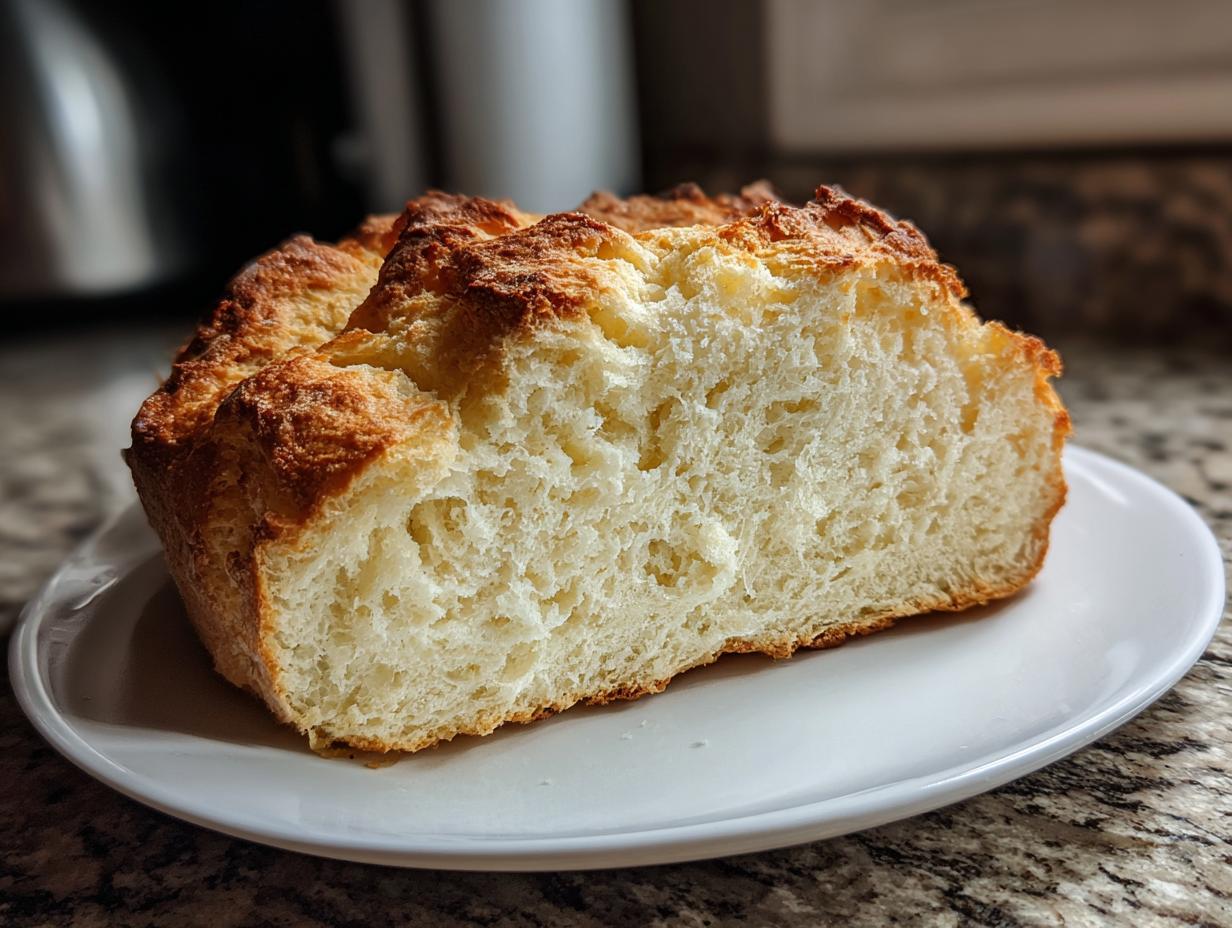
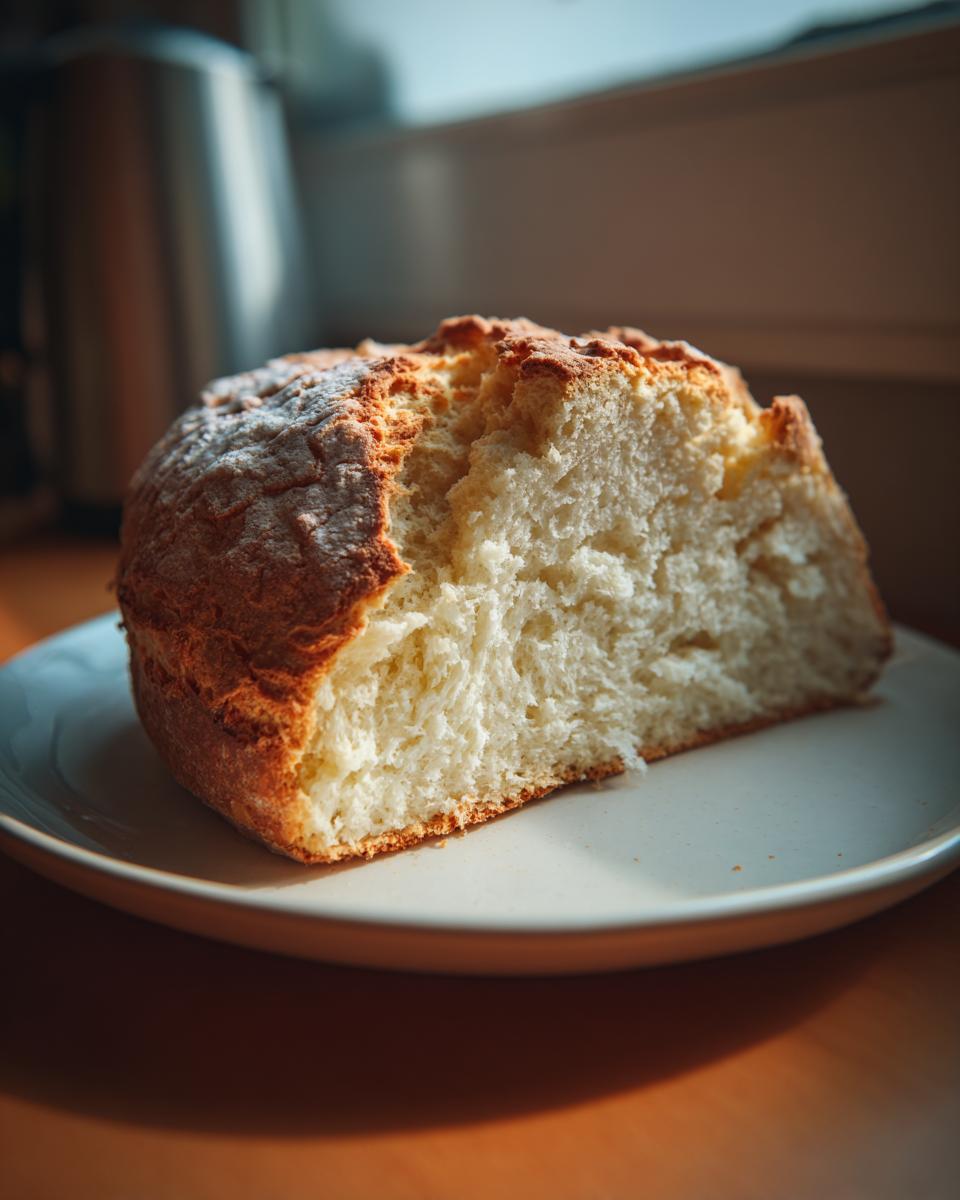
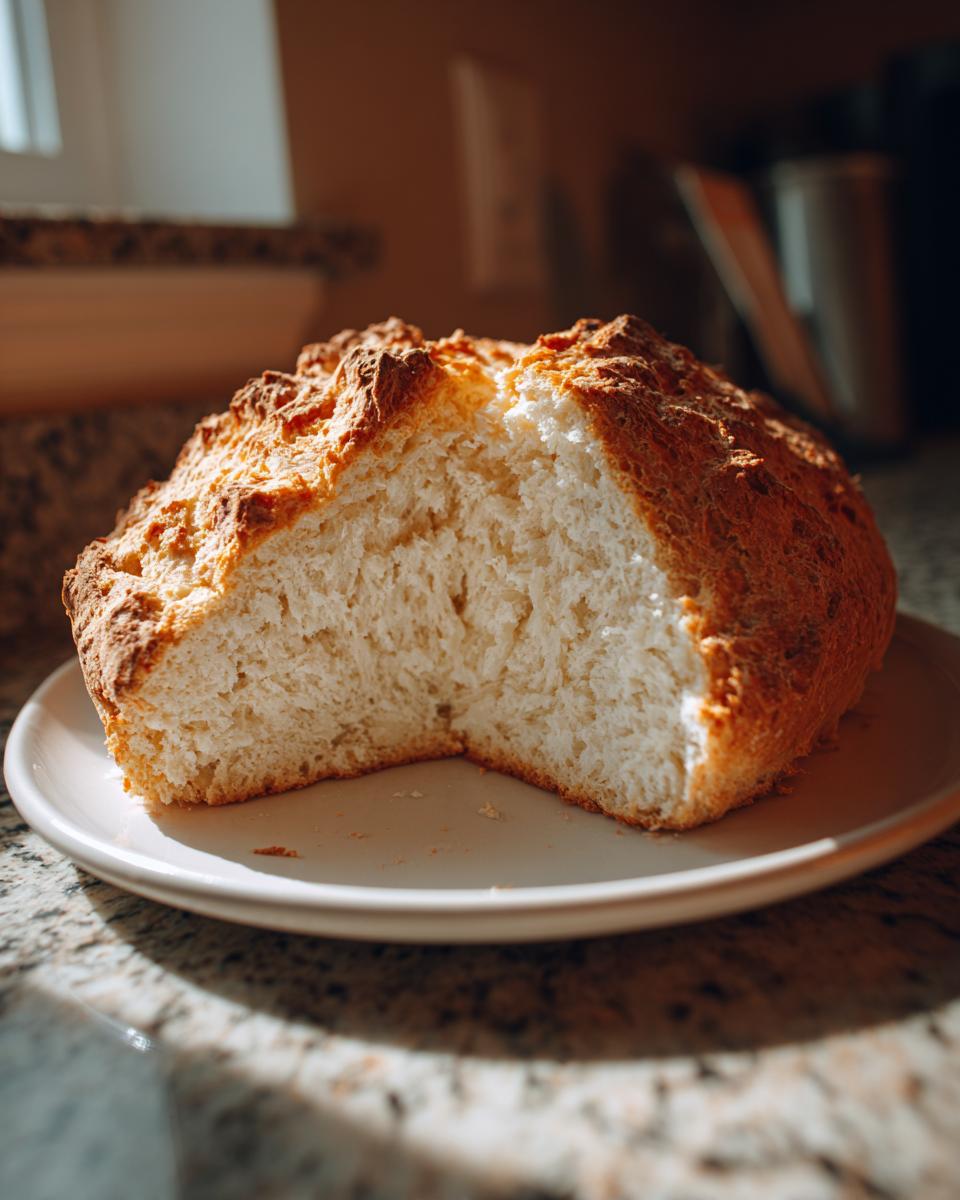
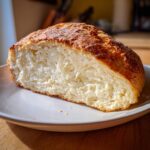
Dust your counter lightly, dump the dough out, and gently guide it into a round shape. This is not a workout! You only want to knead it maybe three or four times, just enough to make it hold its shape. Place your round onto the sheet. Now for the traditional part: take a sharp, floured knife and cut a deep cross right into the top. This scoring isn’t just for looks, which makes for a great Crusty Loaf Recipe; it actually helps the heat penetrate the center so it bakes evenly.
If you want to learn how I manage to slip healthy recipes like baked oatmeal into my routine, check out my post on Easy Moist Oatmeal Muffins for some inspiration!
Baking Your Soda Bread: Achieving the Perfect Crust
Okay, we’ve mixed it fast, we’ve shaped it gently, and we’ve blessed it with that important cross crack. Now it’s time for the magic in the oven! Remember, we preheated to 400°F (200°C), and that heat needs to be steady and hot to activate that baking soda quickly, giving you that beautiful rise. Don’t peek too early—that initial blast of heat is crucial for shaping the structure of your soda bread.
You’re going to let this bake for about 30 to 40 minutes. How do you know when it’s absolutely done? Forget the silly toothpick test for a minute; we’re using our ears! Carefully take the loaf out (use good oven mitts!) and tap the bottom firmly. If it sounds wonderfully hollow, like tapping wood, you’re ready. If it still sounds a bit dull or dense, give it another five minutes and check again.
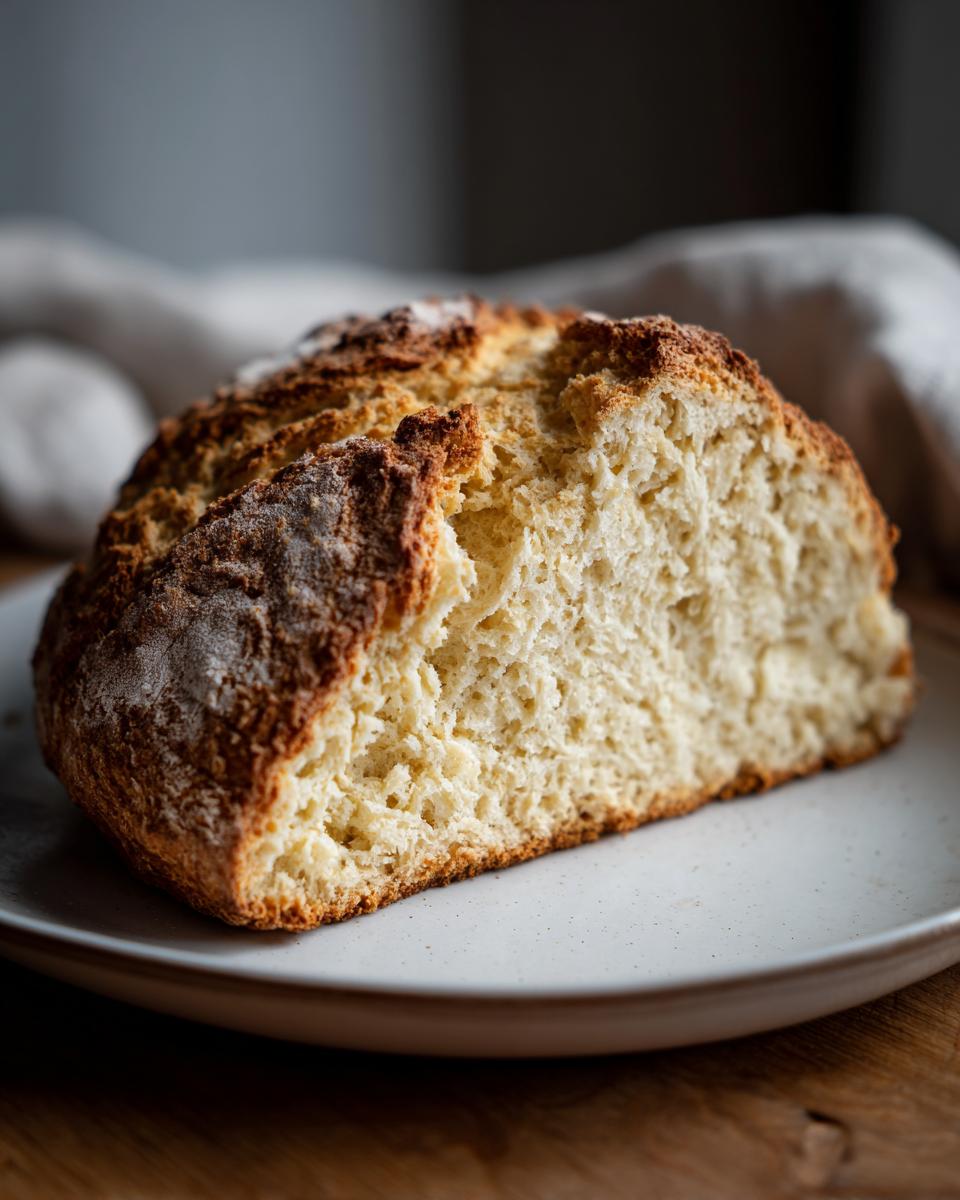
Here’s a little trick I picked up for an extra gorgeous finish: just before it goes into the oven, take a tiny bit of extra buttermilk—just a tablespoon or two—and gently brush it over the top surface of the dough round. This simple step acts like a glaze, ensuring you get that deep golden, glossy color on your crusty loaf recipe. Then, transfer it right onto a wire rack until it cools down just enough to slice. That crust crackling as it cools? Pure music!
Tips for Success with This Simple Pantry Bread
When you’re relying on just a few foundational ingredients for your Simple Pantry Bread, those little details suddenly become huge! I want you to walk away with a triumph, not a brick, so let’s go over the couple of insider secrets I guard closely from my baking days.
First, I have to bring up the overmixing issue again because it’s the number one culprit for tough bread. Remember, we aren’t developing gluten structures like we would in an Italian loaf; we are relying on the chemical reaction! As soon as you see the wet and dry ingredients just clinging together—that shaggy look—stop stirring immediately. Seriously. You are baking at home, not mixing concrete!
Secondly, if you run out of buttermilk, don’t let that stop you. That quick substitution trick—milk plus a teaspoon of acid—works beautifully. It’s just what you need to activate the baking soda. These little hacks are why I love this bread so much. If you’re looking for other ways to make quick, whole-food baking work into your morning routine, you might enjoy my post on Healthy Breakfast Ideas.
Serving Suggestions: Best Soda Bread for Soup
This soda bread isn’t just a side dish; it’s the perfect partner for cozy evenings! Since this is the definition of Homemade Comfort Food Bread, you need something equally hearty to dunk it into. Forget dry sandwiches—this bread shines when it soaks up broth and flavor.
It is absolutely heavenly alongside a thick, savory stew, or even just a simple bowl of tomato soup. If you are looking for a perfect match, my recipe for Roasted Butternut Squash Soup is divine with a thick slab of this warm, crusty loaf. Just tear off a chunk and let it soak up every last drop; that’s how it’s meant to be enjoyed!
Savory Bread Variations: Cheddar Herb Bread Recipe Ideas
While the traditional plain loaf is magnificent, honestly, who can resist throwing in some cheese? This base soda bread recipe is so solid, it’s the perfect canvas for stuffing with savory flavors. If you want to elevate this beyond just a simple accompaniment, turning it into a gorgeous Cheddar Herb Bread Recipe is the easiest switch you can make.
When I make a savory version, I typically swap out those optional raisins. Instead, I focus on sharp, salty additions that complement the natural tang of the buttermilk. This is where you get to show off a little bit of your own flair right in your kitchen!
Here is how I adapt it: Right before that very quick mixing phase—when you are whisking the dry ingredients together—you want to fold in your additions. Don’t add them directly to the wet ingredients; keep everything moving quickly on the dry side first.
For instance, if you want that amazing cheese element: Add about 1 cup, maybe a cup and a half, of sharp, grated cheddar. Cheddar is my go-to because it holds its flavor well against the baking soda tang. Mix that in with the flour, salt, and baking soda.
Then, layer in some green! I love finely chopped fresh herbs. Think about classic pairings: chives and a touch of thyme work beautifully together. If you want something fresher, a little parsley adds color but not too much dominant flavor. Mix those herbs right in with the cheese and flour. Once that’s done, you proceed exactly as normal: add the buttermilk, mix until *just* combined, shape, score, and bake!

It transforms the loaf instantly. That golden melted cheese peaking out from the scoring marks looks incredible. If you love cheesy bread, you absolutely must check out the incredible flavors in my Cheesy Moist Mexican Cornbread recipe sometime too—it scratches a totally different but equally comforting itch!
Storing and Reheating Your Freshly Baked Bread At Home
This soda bread is truly best when eaten the day it’s made, warm from the oven with a thick spread of butter, you know? But if you’re lucky enough to have leftovers, don’t let them go stale!
To keep your Freshly Baked Bread At Home tasting good for three or four days, wrap the cooled loaf tightly in plastic wrap and then tuck it into an airtight container. Keep it on the counter, not in the fridge; the fridge just dries bread out too fast.
When you’re ready for another slice, don’t just microwave it! That makes it chewy. Instead, pop a slice into a 350°F oven for about 5 to 8 minutes. That little blast of dry heat wakes up the crust perfectly and brings back that satisfying crunch we worked so hard for!
Frequently Asked Questions About Making Soda Bread
I know sometimes the simplest recipes can bring up the most questions, especially when chemistry is involved like it is with baking soda! Don’t hesitate to reach out if your loaf didn’t turn out exactly perfect the first time—that’s how we learn! You can always drop me a line via the Contact Page if you’re stuck.
Can I use regular milk instead of buttermilk in this soda bread?
You absolutely can, but you need to give that regular milk a little kick to activate the baking soda! If you don’t have proper buttermilk, just measure out 1 3/4 cups of regular milk and stir in one tablespoon of white vinegar or fresh lemon juice. Let that sit on the counter for about five minutes until it starts to look a little curdled. That’s your homemade buttermilk substitute, and it works just as well for making this soda bread rise beautifully!
Why is my soda bread tough or dense?
Oh, I’ve made this mistake before, especially when I’m rushing! The main reason your soda bread ends up dense and heavy instead of light and tender is overmixing. The baking soda and buttermilk start bubbling the second they meet, and you need to trap those little gas bubbles in the dough. As soon as the flour disappears and it just comes together into a shaggy ball, you stop stirring. Seriously, stop! Too much mixing develops the gluten in the flour, which is what makes chewy bread, not tender, quick bread.
How long does this quick bread stay fresh?
Because we aren’t relying on yeast, this quick bread keeps its freshness pretty well, but it is definitely at its peak on Day One when that crust is still incredibly crisp. If you store it wrapped tightly on the counter at room temperature, it stays wonderfully soft and edible for three to four days. After that, it starts to dry out a bit, but a quick trip in the oven (like I mentioned earlier!) brings it right back to life.
PrintTraditional Irish Soda Bread: Quick, No Yeast Comfort Food
Make this traditional Irish soda bread using simple pantry ingredients. It is crusty outside, soft inside, and requires no yeast, making it a fast and comforting homemade bread perfect alongside soup or stew.
- Prep Time: 10 min
- Cook Time: 35 min
- Total Time: 45 min
- Yield: 1 loaf (about 8 servings) 1x
- Category: Baking
- Method: Baking
- Cuisine: Irish
- Diet: Vegetarian
Ingredients
- 4 cups all-purpose flour
- 1 teaspoon baking soda
- 1 teaspoon salt
- 1 3/4 cups buttermilk
- 1 tablespoon sugar (optional, for slight sweetness)
- 1/4 cup raisins or currants (optional, for traditional touch)
Instructions
- Preheat your oven to 400°F (200°C). Lightly flour a baking sheet.
- In a large bowl, whisk together the flour, baking soda, and salt. If using, mix in the sugar and raisins or currants now.
- Make a well in the center of the dry ingredients and pour in the buttermilk.
- Mix the ingredients quickly with a wooden spoon or your hands until just combined into a soft, slightly sticky dough. Do not overmix.
- Turn the dough out onto a lightly floured surface. Gently knead it 3 or 4 times to bring it together into a round shape.
- Place the dough round on the prepared baking sheet. Cut a deep cross into the top of the loaf, about half an inch deep.
- Bake for 30 to 40 minutes, or until the loaf sounds hollow when tapped on the bottom.
- Transfer the loaf to a wire rack to cool slightly before slicing. Serve warm with butter.
Notes
- If you do not have buttermilk, mix 1 3/4 cups of regular milk with 1 tablespoon of white vinegar or lemon juice and let it sit for 5 minutes before using.
- For a golden crust, brush the top of the loaf lightly with a little extra buttermilk just before baking.
- This is a beginner friendly bread making recipe; avoid kneading the dough too much to keep the bread tender.
Nutrition
- Serving Size: 1 slice
- Calories: 220
- Sugar: 1
- Sodium: 350
- Fat: 1.5
- Saturated Fat: 0.5
- Unsaturated Fat: 1
- Trans Fat: 0
- Carbohydrates: 47
- Fiber: 2
- Protein: 7
- Cholesterol: 5