
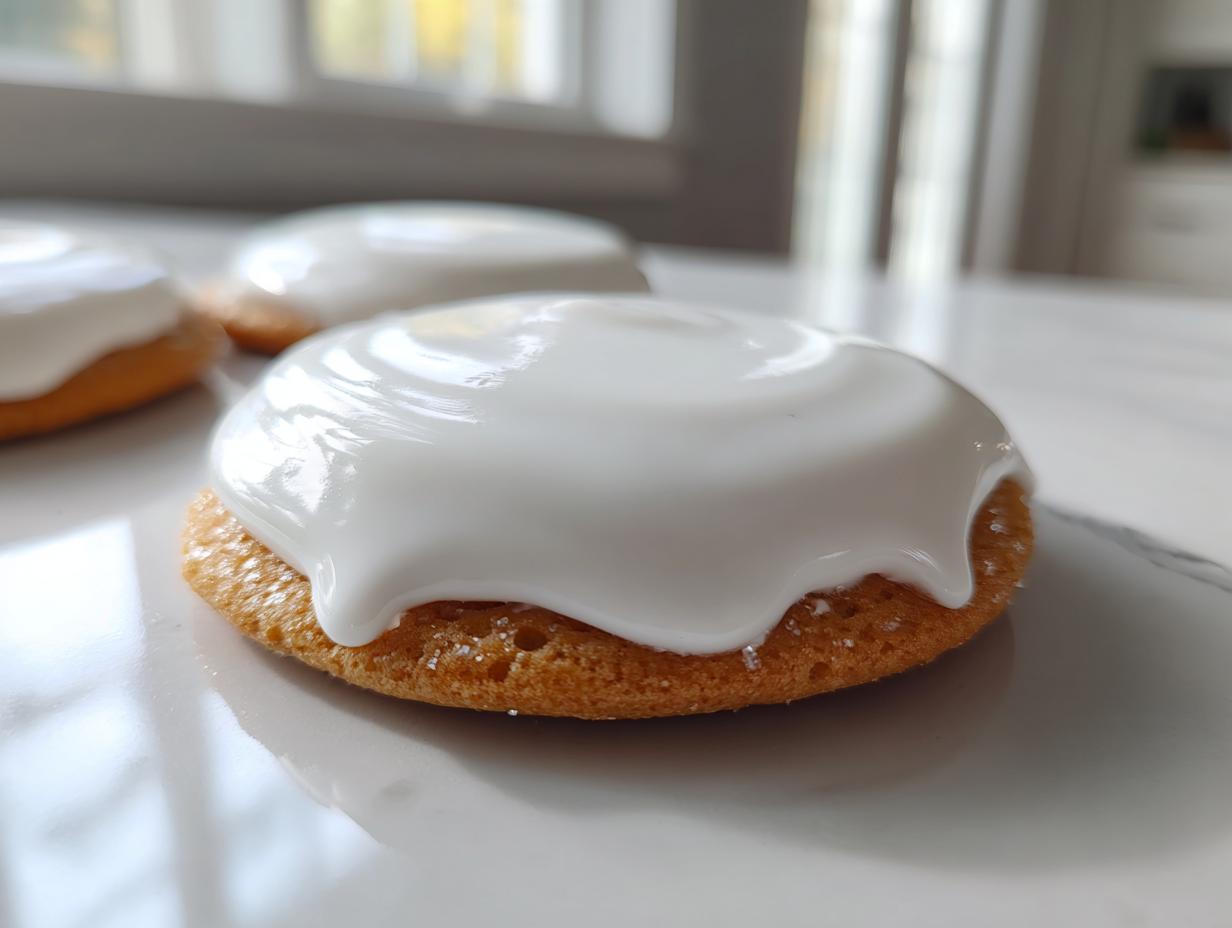
Oh, you know the feeling! You’ve spent hours making perfect sugar cookies for a holiday gathering or a birthday party, only to watch your beautiful frosting melt or stay sticky forever. It’s the absolute worst when you can’t stack them or gift them because the icing won’t set! Well, stop stressing right now, because I finally cracked the code for the absolute best sugar cookie icing that dries firm and glossy every single time. When I started Pure Plate Path, I needed reliable recipes for busy life events, and sticky icing just wasn’t cutting it. This simple royal icing brings that flawless, hardened sugar cookie icing finish that looks totally professional. If you also struggle to keep things neat, you might want to check out my secret for soft, chewy frosted sugar cookie bars too!
This recipe is my go-to foundation for everything from intricate designs to a simple, smooth spread. You don’t need complicated ingredients or advanced techniques to get this perfect texture. Trust me, we’re making decorations that actually last!
- Why This is the Best sugar cookie icing Recipe for Hardening
- Ingredients for Your Simple 4 Ingredient sugar cookie icing
- How to Prepare the Perfect sugar cookie icing
- Tips for Success When Making hardened sugar cookie icing
- How to Decorate Sugar Cookies with This sugar cookie icing
- Storage and Making Ahead with Your sugar cookie icing
- Frequently Asked Questions About sugar cookie icing
- Estimated Nutritional Data for sugar cookie icing
- Share Your Hardened sugar cookie icing Creations
Why This is the Best sugar cookie icing Recipe for Hardening
So, why waste time with simple powdered sugar glazes that stay gooey? That’s what I ask myself every time! This specific approach uses meringue powder, which is the secret weapon that makes this the best cookie frosting recipe for durability. It moves beyond a standard glaze instantly.
- It delivers that icing that dries firm—no more smudges!
- You get a genuinely glossy cookie frosting look that screams bakery quality.
- This royal icing sets up rock solid, making it perfect for stacking.
You can grab the full recipe details right here, but let’s talk about what makes the mixing process so powerful for building that strength, or you can jump straight to my guide on my general cookie icing guide for more ideas.
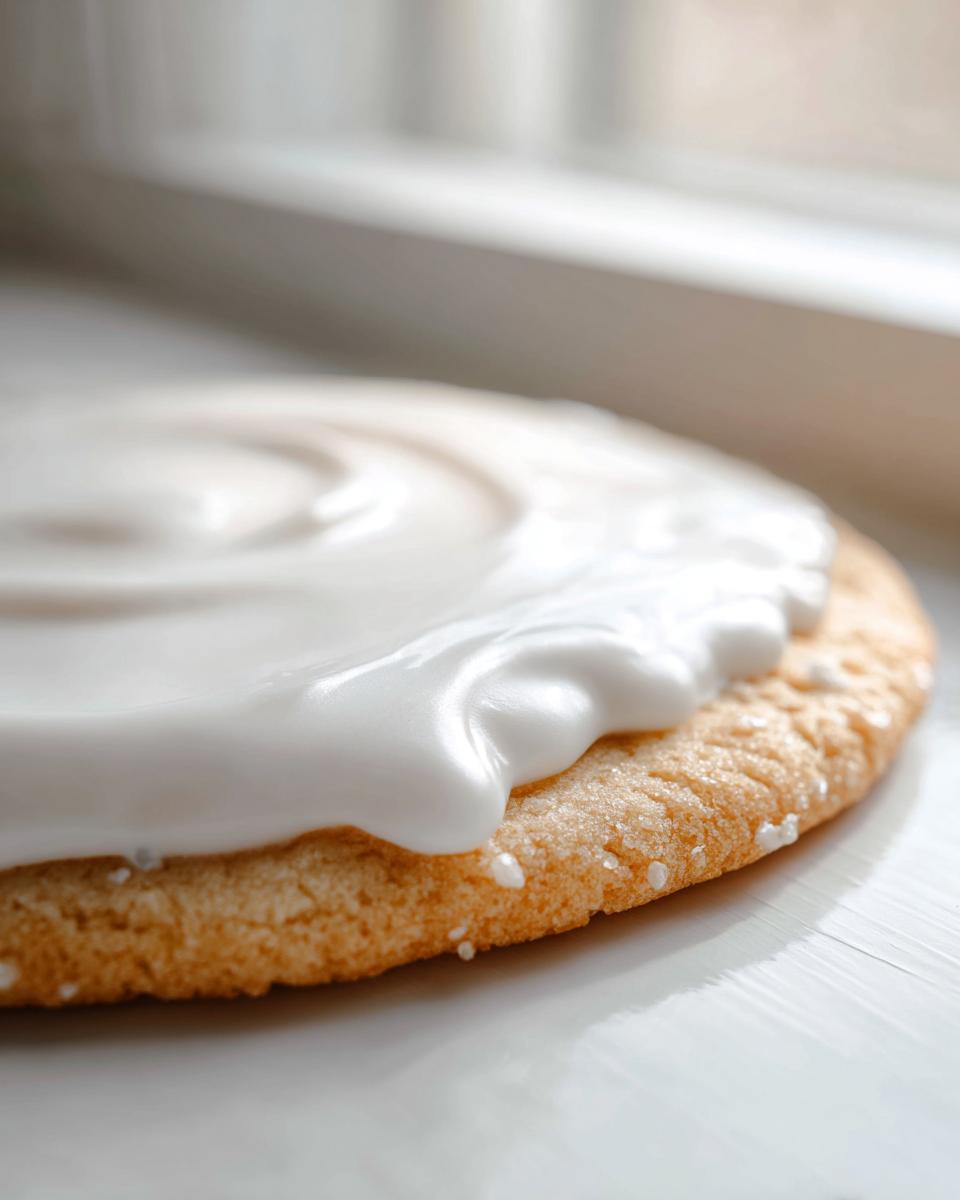
Achieving a Smooth Cookie Icing Finish
When I first started out, I tried using just raw egg whites, and honestly? It was a gamble. Meringue powder is just so much more reliable. It stabilizes the mixture beautifully, giving you that silky texture right out of the mixer. This stability is what prevents cracking and ensures you get that smooth cookie icing finish without all the fiddly work.

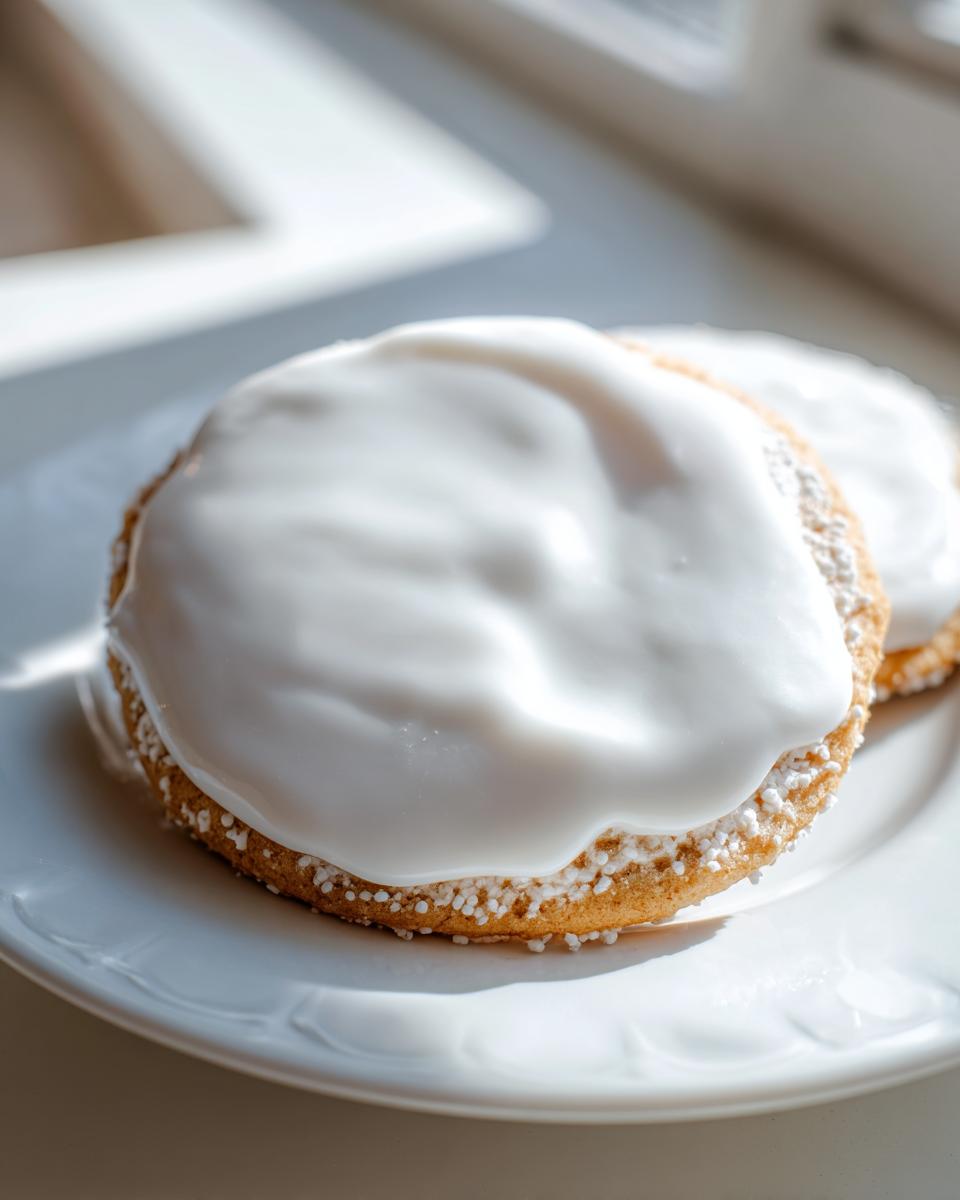
The Secret to Hardened sugar cookie icing
The real magic is knowing how to make icing set hard. Because this recipe uses the meringue powder and the proper beating time, this isn’t just icing; it’s armor for your cookies! It dries completely solid, which means you can create amazing durable cookie decorations, stack them high for display, or confidently put them in gift boxes without fear of a sugary mess later.
Ingredients for Your Simple 4 Ingredient sugar cookie icing
Seriously, I love recipes that respect my time, and this is why I call this the simple 4 ingredient cookie icing! You can whip this up in five minutes flat—no complicated steps, no fancy store-bought goo. The prep time is practically zero, but the payoff for your decorated cookies is huge. We aren’t using corn syrup here, which some people prefer, and the results are just fantastic for a reliable, smooth top.
Here is what you need to grab before you turn on the mixer. Remember, the quality of these four items sets the stage for that perfect, crack-free finish!
- 4 cups powdered sugar, it must be sifted!
- 3 tablespoons meringue powder (this is non-negotiable for the hardening power!)
- 6 tablespoons warm water
- 1 teaspoon vanilla extract
If you are looking for other staple recipes, like my favorite fluffy vanilla buttercream frosting, be sure to check out one too when you want a softer topping!
Ingredient Notes and Substitutions for sugar cookie icing
Even though this recipe is built on simplicity, we have to talk about the meringue powder. It’s what makes this sugar cookie icing set so reliably and hard. If you absolutely cannot find it—and I mean absolutely cannot—you can substitute it with about 2 large, pasteurized egg whites.
But, I must warn you if you make that swap: the icing won’t have the same uniform structure or the super-reliable setting power that the meringue powder guarantees. It might be a bit softer, and you’ll definitely need to adjust the water! This is about getting that icing that dries firm, and the powder gives me the confidence every single time to move onto my next task without worrying about sticky cookies.
How to Prepare the Perfect sugar cookie icing
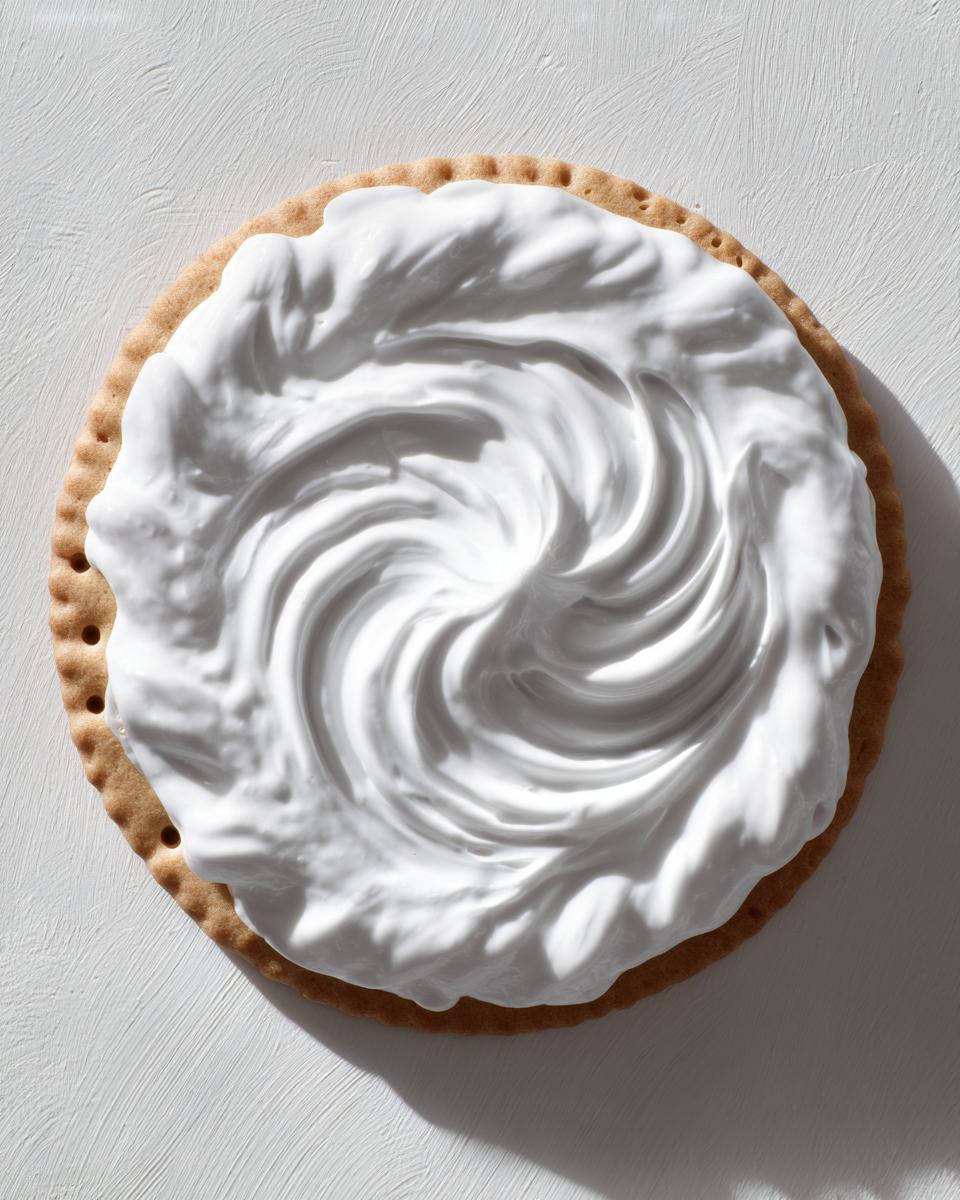
You’ll be shocked how fast this comes together, but don’t rush those mixing times! Getting the consistency right is the key to getting that bakery style cookie icing finish you’re after. We are aiming for something that looks like thick, beautiful whipped cream when we’re done here.
First things first: get your sifted powdered sugar and meringue powder whisked together in your bowl. Think of this as prepping your dry foundation. Then, you toss in your warm water and that little splash of vanilla extract. Now, it’s time to bring out the electric mixer. I know some bakers prefer hand mixing, but for this royal icing, you need the power!
For my full recipe, including my favorite ways to serve these cookies, check out my recipe for sugar cookie cheesecake—it’s almost as popular!
Mixing for the Ideal Consistency for sugar cookie icing
Start low! Always begin mixing on low speed just until everything is incorporated. If you start high, you’ll have a sugar cloud in your kitchen—trust me, I learned that the hard way! Once it’s mostly combined, crank that speed up to medium-high. You need to beat this vigorously for a full 5 to 7 minutes. When it’s done, you want stiff peaks—this means when you lift the beaters, the peaks stand straight up without flopping over at the tip. That’s your outline consistency, perfect for drawing those sharp borders.
Adjusting Your sugar cookie icing for Flooding
Most of the time, that stiff batch is too thick for actually filling in the cookies (that’s called ‘flooding’). If you need that thinner, flowing consistency—the one that gives you that glossy cookie frosting when it dries—you add water, 1 teaspoon at a time, until it flows nicely.
How do you test if it’s right? This is how you find that perfect cookie glaze consistency: dip a spoon in backwards and run your finger across the back of the spoon. If the line you drew stays sharply defined for about 10 seconds before the icing slowly flows back together to cover the line, you’re good to go! If it disappears immediately, you need more sugar.
Tips for Success When Making hardened sugar cookie icing
Now that you’ve mastered the mixing—and I hope you beat it for those full 5 minutes!—let’s talk about the finishing touches. Even the best sugar cookie icing recipe needs a little know-how when it comes to coloring and drying if you want that flawless, shiny surface.
When I’m getting ready for Christmas cookie trades, I can’t afford to have a batch fail, so I stick to a couple of hard rules. First: forget those liquid food colorings! They totally throw off the water-to-sugar balance we worked so hard to achieve. Always opt for high-quality gel food coloring. They give you vibrant, true colors without making your icing runny. Just add a tiny dab with a toothpick once the mixing process is done.
You’ll get that beautiful, glossy cookie frosting finish partly because of the meringue powder, but also because you have to stop mixing when it’s exactly right. If you over-beat after it hits those stiff peaks, you start incorporating too much air, and that usually leads to a duller finish or, worse, cracking as it dries. It’s tempting to keep whipping, but resist!
I learned this the hard way during one incredibly busy season. I glazed a hundred cookies and put them in a slightly warm pantry to “speed up” the drying process. Big mistake! They stayed tacky for days and ended up slightly warped. Lesson learned: patience is key here. You want them to air dry naturally at room temperature. For more cookie inspiration using unique flavors, have you tried my brown butter sugar cookies? They are amazing.
For super durable results that look fantastic, check out the fantastic tips on achieving that hard finish over at this resource—they really nail the technique for setting the icing solid!
How to Decorate Sugar Cookies with This sugar cookie icing
Okay, you’ve got your perfect, stiff sugar cookie icing ready to go! This royal icing setup is designed for the two main decorating techniques you’ll need for professional-looking results without needing a pastry degree. It’s all about application and timing, rather than complicated artistic flair.
The first step, which is essential, is outlining. This is where you use the thickest consistency we mixed—the one that held those stiff peaks. You load up a piping bag fitted with a small round tip (a Wilton #2 or #3 is usually perfect) and carefully trace the edge of your sugar cookie shape. This outline acts like a tiny dam or a little wall that keeps the rest of your icing contained. You need to let this outline dry for about 15 to 20 minutes before moving on. Don’t skip this waiting period, not even for a minute!
Once that border is dry to the touch, you move on to flooding. This is where you use the thinner consistency we adjusted with a bit of water. You gently pour or pipe this thinner sugar cookie topping that sets mixture inside the outlined border. Because the icing is slightly wetter, it spreads out perfectly to fill the space smoothly. If you see any air bubbles rise to the surface, just tap the cookie gently on the counter a few times—they’ll pop right out, leaving you with that beautiful, smooth cookie icing surface.
After flooding, the waiting game begins so that icing that dries firm properly. If you’re curious about other sweet finishes that set well, you might enjoy my recipe for creamy maple fudge while you wait for your cookies to cure!
Storage and Making Ahead with Your sugar cookie icing
One of the best things about making this fantastic sugar cookie icing is knowing you can mix a huge batch and save some for later! Life is busy, right? We don’t always have time to bake and decorate all in one go, and thankfully, this recipe is perfect for planning ahead. It’s fantastic for creating those durable cookie decorations for holiday gifts because it holds up so well.
If you have leftover icing that you’ve already colored—or even the plain white base—always store it in an airtight container. If it’s a thick batch intended for piping details, just pressing plastic wrap directly onto the surface of the icing works wonders to keep the air out. If you think you’ll keep it for longer than a day, pop it in the fridge.
When you pull refrigerated icing out, don’t panic if it looks a little stiff or separated. Just let it come up to room temperature on the counter for an hour or so. Then, you’ll need to remix it—I stir it pretty vigorously by hand first, and if it seems a little too stiff, I add water just a teaspoon at a time until it flows right again. It comes back beautifully!
As for the cookies themselves, you can absolutely bake your sugar cookies ahead of time! This is a lifesaver for busy bakers. I always bake my cutout cookies up to three days in advance. Store the plain, cooled cookies in an airtight container at room temperature. Once they are totally cool—I mean, completely cooled down—they are ready for that smooth, hardened sugar cookie icing treatment whenever you are ready to decorate. This separation of tasks is how I manage big baking projects!
If you’re making other make-ahead desserts, perhaps this easy apple tart recipe is one you could try next time you need something simple for a party!
Frequently Asked Questions About sugar cookie icing
I get so many questions about this recipe, and honestly, that just tells me how much you all want that perfect, snappy finish! Since I rely on this recipe for every single celebration we have—from birthdays to holidays—I’ve worked out all the little kinks. Here are the things folks ask me most often about getting this sugar cookie icing just right.
How long does it take for this sugar cookie icing to set hard?
This is the big one! This royal icing recipe for sugar cookies sets up really well, but the drying time always depends on your kitchen environment. If it’s dry in your house, you might see the cookies get hard enough to handle within 4 to 6 hours. But if you live somewhere humid, or if you’ve used a lot of liquid coloring, you might need to let them sit on the counter overnight—say, 10 to 12 hours—just to be absolutely sure everything is rock solid. Never put them in the fridge to rush the dry time; that actually traps moisture and keeps them soft!
Can I make this a beginner cookie icing without special tools?
Absolutely, yes! This is why I love it so much; it works even if you’re just starting out. You don’t need fancy piping tips right away. Once you have that thick consistency for outlining, you can transfer your sugar cookie icing into a small Ziploc bag. Just snip the very corner off with scissors—a tiny snip first! That creates a makeshift piping tip. You might not get super intricate lines that way, but it’s perfect for scribbling patterns or just getting that base layer down. It’s a truly no fail cookie icing method, even with basic tools.
What makes this the best cookie frosting recipe for holiday cookie icing ideas?
For me, it’s the resilience. When you’re making dozens of cookies for Christmas tins or bake sales, you need icing that won’t smudge when you stack them. This recipe gives you fantastic durable cookie decorations. You can pipe these tiny details, put them on a platter, and they won’t bleed into each other or get ruined if someone bumps the box. It’s the structure that sets it apart; it’s sturdy enough for layered designs, which is just crucial when planning elaborate holiday cookie icing ideas. If you’re also looking for dessert recipes that are easy to transport, check out my recipe for naturally sweetened date brownies!
Estimated Nutritional Data for sugar cookie icing
I always believe in transparency, especially when it comes to what we’re feeding our families! Since this sugar cookie icing is made almost entirely of sugar and a little bit of meringue powder (which is mostly protein), you know it’s a treat, not a health food! I need to be clear that these numbers are just estimates based on the recipe breakdown provided. They are calculated for a standard serving size, which isn’t huge because this stuff is potent!
If you’re counting macros or tracking intake, please remember this is a starting point, and results can vary based on your exact brand measurements. If you are looking for ways to make healthier swaps in other areas of your baking, I have a whole section dedicated to healthier dessert recipes that you might enjoy!
Here is the breakdown for what I estimate this best cookie frosting recipe yields per serving:
- Serving Size: 1/4 cup
- Calories: 190
- Sugar: 45g (Yes, it’s high in sugar, but wow, does it look pretty!)
- Sodium: 5mg
- Fat: 0g
- Protein: 1g
- Carbohydrates: 47g
As you can see, it’s pure energy for decorating and enjoying! The good news is that a little bit goes a long way on a cookie, so you aren’t typically eating a whole serving size at once! This icing sets hard quickly, which means you can decorate your treats and get them out of the kitchen faster than those sticky glazes that seem to never cure.
Share Your Hardened sugar cookie icing Creations
Now comes the best part! You’ve successfully mixed up the best sugar cookie glaze, you’ve piped your outlines, and you’ve flooded those cookies until they shine. Seeing your gorgeous, fully set, professional-looking cookies is incredibly rewarding, and I truly want to see what beautiful things you create!
This icing is designed to be sturdy and beautiful, so once you let them dry thoroughly, snap a picture! I absolutely love getting messages and seeing how you use this recipe for your own celebrations. Whether you went wild with intricate patterns or kept it simple with a single, perfect layer of sugar cookie topping that sets beautifully, share it with me!
Please hop down to the comments section below and tell me how it went. Did you find this to be the no fail cookie icing you were looking for? Was the 5-7 minute beat time aggressive enough for you? Your feedback helps me confirm that this method is truly the best way to achieve that professional, bakery style cookie icing finish for everyone!
If you ever need to reach out directly with a question that didn’t get answered here, please don’t hesitate to use my contact page. Happy decorating, and enjoy those perfectly hard, glossy cookies!
PrintSimple Royal Icing That Hardens Perfectly for Sugar Cookies

Make bakery-style sugar cookie icing that dries firm and smooth. This easy recipe delivers a professional, glossy finish ideal for durable cookie decorating.
- Prep Time: 10 min
- Cook Time: 0 min
- Total Time: 10 min
- Yield: Covers about 2 dozen medium cookies 1x
- Category: Baking
- Method: Mixing
- Cuisine: American
- Diet: Vegetarian
Ingredients
- 4 cups powdered sugar, sifted
- 3 tablespoons meringue powder
- 6 tablespoons warm water
- 1 teaspoon vanilla extract
Instructions
- In a medium bowl, whisk together the sifted powdered sugar and meringue powder.
- Add the warm water and vanilla extract to the dry ingredients.
- Beat with an electric mixer on low speed until combined, then increase speed to medium-high.
- Beat for 5 to 7 minutes until the icing is very thick, smooth, and holds stiff peaks. This is the consistency needed for outlining and flooding cookies.
- If the icing is too thick for flooding, add water one teaspoon at a time until it reaches a smooth, flowing consistency that coats the back of a spoon.
- If the icing is too thin, add more sifted powdered sugar, one tablespoon at a time.
- Use immediately for decorating sugar cookies.
- Allow cookies to dry completely at room temperature until the icing sets hard, which may take several hours depending on humidity.
Notes
- For a glossy cookie frosting finish, avoid over-beating once the desired consistency is reached.
- To thin the icing for flooding, use water. To thicken it, use more powdered sugar.
- This icing sets solid, making your decorated cookies durable for stacking and gifting.
- Color the icing by adding gel food coloring after the mixing process is complete.
Nutrition
- Serving Size: 1/4 cup
- Calories: 190
- Sugar: 45g
- Sodium: 5mg
- Fat: 0g
- Saturated Fat: 0g
- Unsaturated Fat: 0g
- Trans Fat: 0g
- Carbohydrates: 47g
- Fiber: 0g
- Protein: 1g
- Cholesterol: 0mg