
Oh, finding a truly reliable frosting recipe can feel like chasing ghosts, right? You whip it up, it looks amazing, and then five minutes later, it’s sliding right off your perfectly baked cake. Been there, done that, and honestly, I don’t have time for that drama anymore!
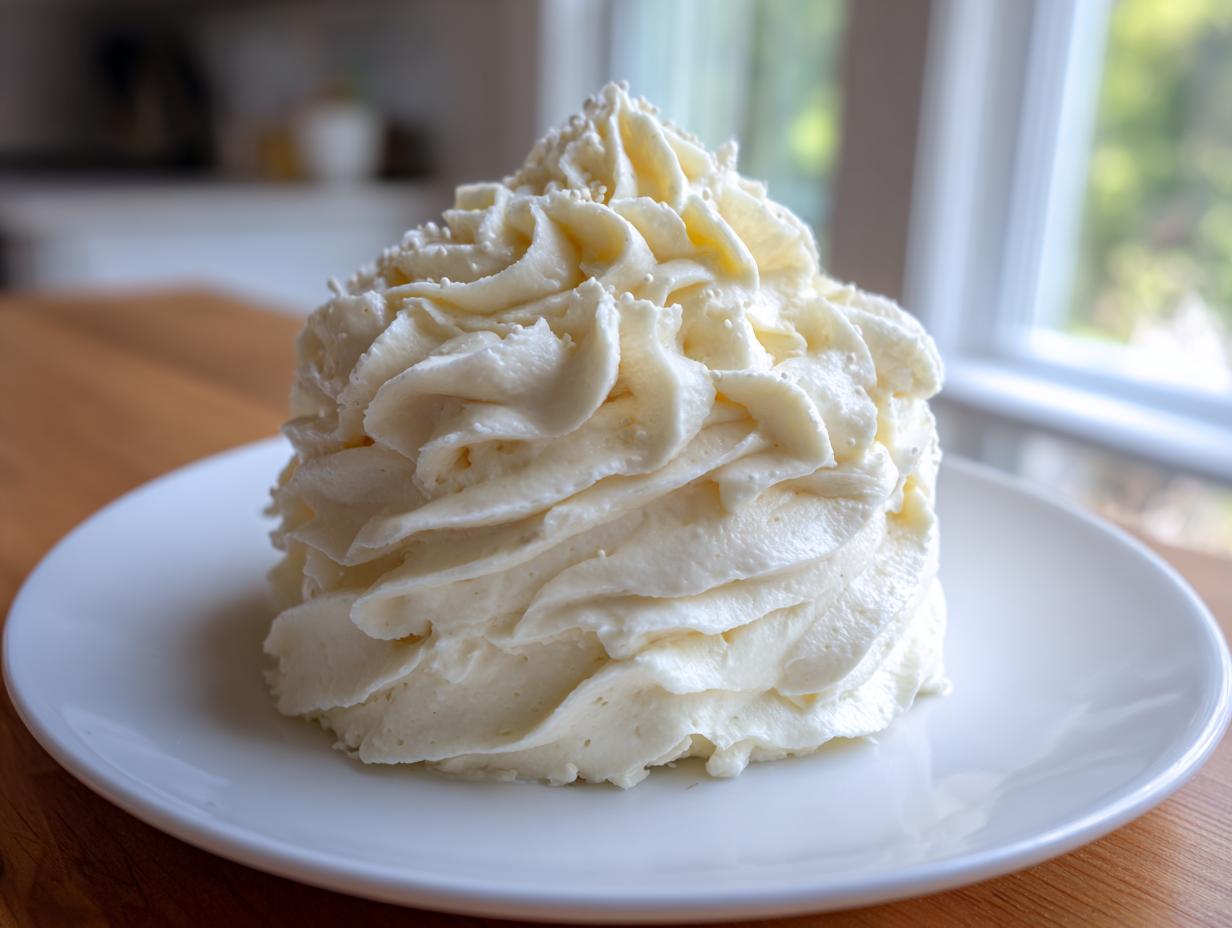
That’s why I’m so thrilled to share what I finally landed on: the Best Fluffy & Stable American Vanilla Buttercream Frosting. This isn’t just any recipe; this is my solution—developed right here in my own kitchen while juggling a demanding schedule—for getting that gorgeous, bakery-style topping without spending half the afternoon at the mixer. We’re talking genuinely smooth, fluffy vanilla buttercream frosting that holds its shape, and it’s ready in about 10 minutes. It’s the foundation for so many great desserts, like those wonderful sugar cookie bars we love so much!
- Why This is the Best Vanilla Buttercream Frosting You Will Ever Make
- Ingredients for Perfect, Stable Vanilla Buttercream Frosting
- How to Make Vanilla Buttercream Frosting: The Quick American Buttercream Tutorial
- Using Your Vanilla Buttercream Frosting for Layer Cake Frosting and Piping
- Storage and Reheating Instructions for Your Creamy Vanilla Frosting
- Troubleshooting Common Vanilla Buttercream Frosting Issues
- Frequently Asked Questions About Classic Vanilla Buttercream
- Nutritional Estimates for Homemade Vanilla Icing
- Share Your Experience Making This Fluffy Buttercream
Why This is the Best Vanilla Buttercream Frosting You Will Ever Make
I need frosting to perform, plain and simple. When I’m busy, I don’t want a grainy mess or something that melts just looking at the oven. This recipe is my peace treaty with dessert decoration. It delivers performance without the fuss.
Here is exactly why I stand by this as the ultimate topping:
- Ready in 10 Minutes Flat: Seriously, it’s next to instant gratification for your dessert needs.
- Fluffy Buttercream Confidence: It incorporates just enough air to be light, not heavy like some old-school buttercream recipes.
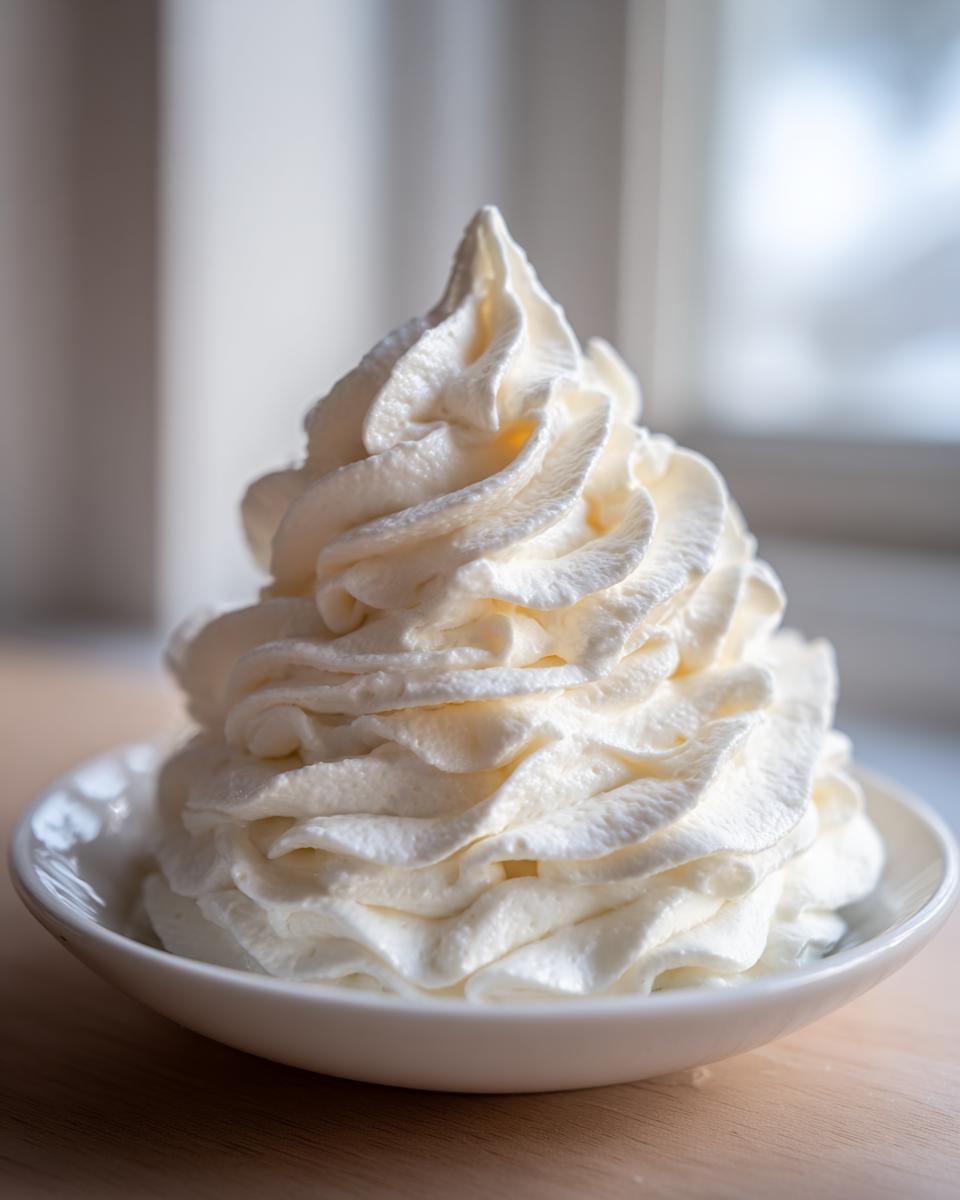
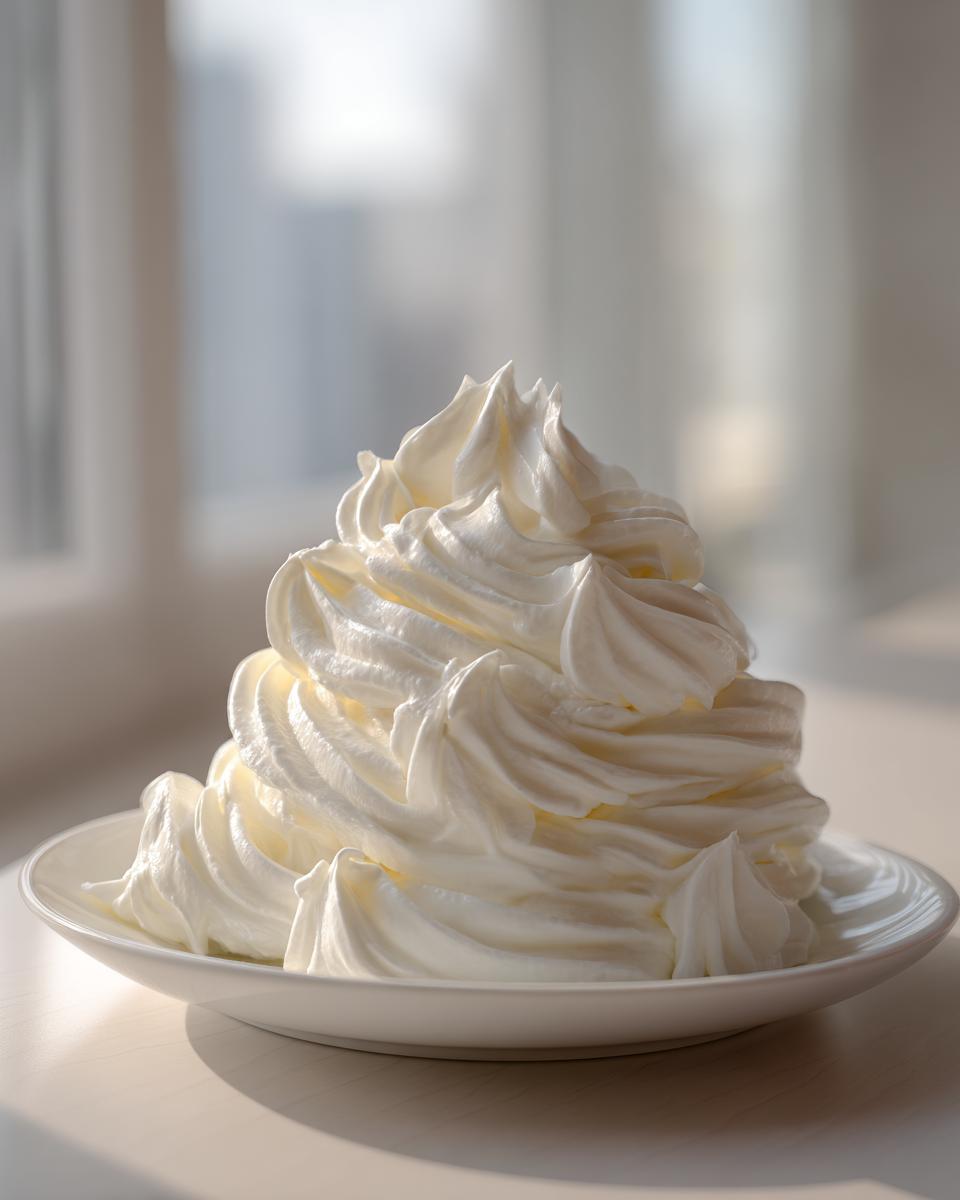
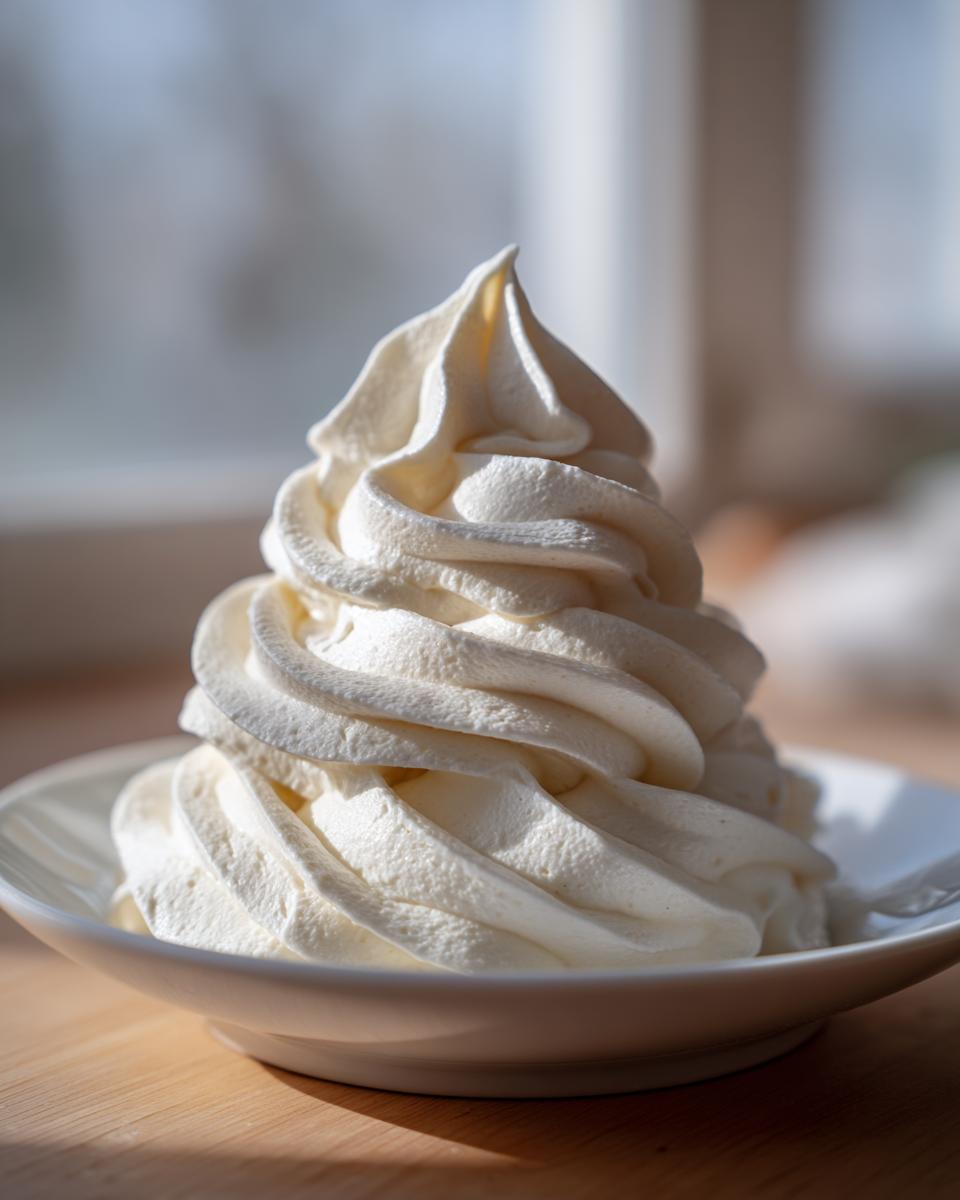
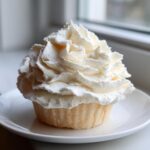
- Piping Power: This texture is stable! It’s the Bakery Style Buttercream you see in shop windows, perfect for those gorgeous swirls on sugar cookies or elaborate cupcake topping ideas.
- No Graininess Guarantee: As long as you sift that sugar, you get that wonderfully smooth cake frosting texture every time. No gritty disappointments here!
Ingredients for Perfect, Stable Vanilla Buttercream Frosting
When you’re making something this simple, the quality of your ingredients really shines through. I stick to this exact list because it promises that creamy, smooth texture every single time, whether I’m frosting a cheesecake cookie or just topping a basic vanilla cupcake. Paying attention to prep makes all the difference!
- 1 cup unsalted butter, softened to room temperature
- 4 cups powdered sugar, sifted
- 1 teaspoon pure vanilla extract
- 1/4 cup whole milk or heavy cream (add more if needed)
- 1/4 teaspoon salt
If you want that extra edge for high-stakes decorating, definitely reach for the heavy cream—it really boosts the Decorating Frosting Stability!
Ingredient Notes and Substitution Guidance
A quick word on what matters most here. First, that butter needs to be at the perfect room temperature. If it’s too warm or melted, your entire smooth cake frosting endeavor will turn into a soupy mess. You want it soft, but holding its shape.
Second, please use pure vanilla extract. It is non-negotiable for that truly Rich Vanilla Flavor Frosting we are aiming for. The difference between pure and imitation is vast in simple recipes like this.
Finally, deciding between milk and cream is about texture preference. Milk gives you a slightly softer topping, which is great for spreading. Heavy cream makes a slightly stiffer, more robust frosting for piping.
How to Make Vanilla Buttercream Frosting: The Quick American Buttercream Tutorial
This American Buttercream Tutorial is so straightforward, you’ll be done before your kettle even boils. We’re keeping it active and moving quickly here, which is what this recipe is all about—no waiting around for complicated steps!
First up, we need to get that butter happy. Put your perfectly softened butter in the bowl and beat it until it’s singing—completely smooth and creamy. Don’t rush this; it takes about two minutes, and stopping to scrape the sides is mandatory. Next, introduce the sifted powdered sugar slowly, one cup at a time, keeping the mixer on low so you don’t create a sugar cloud in your kitchen. Get it all combined before you bump up the speed.
Once it’s mixed, add your salt and that beautiful vanilla extract. Now for the magic that gives us that Fluffy Buttercream! Slowly stream in your milk or cream, one tablespoon at a time. Once you reach the consistency you love, turn that mixer up to medium-high and let it whip for a good three to five minutes. That final beating incorporates tons of air, making it light and ready for piping goodness, just like the icing on those lovely chocolate chip cheesecake cookies.
Tips for Achieving Smooth Cake Frosting Consistency
The final consistency is all about feel, especially depending on the day. If you live in a humid place like I used to, you might find you need to skip that last tablespoon of milk entirely, or your bowl might look a little looser than mine does in the photos. That’s okay!
My biggest tip? If it looks stiff when you start adding the liquid, stop adding milk as soon as you see enough movement. If it’s too thin, don’t panic! Just add another quarter cup of sifted powdered sugar, mix it well, and give it a final whip. The goal is a texture that flows nicely off the spoon but doesn’t drip straight down. That’s how you know you’ve nailed that perfect Smooth Cake Frosting finish!
Using Your Vanilla Buttercream Frosting for Layer Cake Frosting and Piping
Okay, we’ve made the magic happen—now it’s time to use it! Because we took the time to beat that fat and sugar just right, this vanilla buttercream frosting is robust. That means it’s officially the Best Buttercream for Piping you’ve ever used. It won’t collapse under its own weight when you’re creating those tall, beautiful swirls on top of your cupcakes or filling the layers of that gorgeous chocolate chess pie inspired layer cake.

If you’re making a large batch and thinking about colors, remember: this American buttercream accepts gel food coloring like a champ. Just add a tiny drop of color at the very end of the whipping process, mix on low until it’s incorporated, and then give it one final high-speed blast to re-fluff it. The high sugar content keeps it beautifully opaque, giving you that professional, smooth finish for all your layer cake frosting needs!
Storage and Reheating Instructions for Your Creamy Vanilla Frosting
Don’t let leftover frosting go to waste! If you have extra of this wonderful Creamy Vanilla Frosting, storage is super easy since it’s just butter and sugar. For short-term use, up to two days, you can keep it airtight at cool room temperature. But honestly, I usually pop mine in the fridge if I’m not using it the next day.
If it has been refrigerated, you absolutely cannot use it straight from the cold! It will be rock hard. Bring it out on the counter for at least an hour or two. When you’re ready to use it again, give it a quick 30-second whip in the mixer bowl—just enough to fluff it back up and make it perfectly spreadable for those Peanut Butter Blossom cookies!
Troubleshooting Common Vanilla Buttercream Frosting Issues
Even with the best recipe, sometimes things go a little sideways in the kitchen! That’s okay! Part of being a confident home cook, which is what we’re all about here at Pure Plate Path, is knowing how to fix a little oopsie. Don’t throw that bowl out yet! We can usually save that batch of vanilla buttercream frosting.
Let’s talk about the top three troublemakers I always hear about:
Why Is My Frosting Grainy?
This one is my own fault when it happens! Graininess almost always means the powdered sugar wasn’t sifted thoroughly enough. That sugar has little lumps in it, and if you don’t sift, those lumps stay put. They don’t dissolve into the butter, and you end up with a gritty texture. The fix is tough but necessary: cover your mixer, turn it on low, and slowly rain in about a quarter cup of milk. Then, whip it on medium-high for a full five minutes. Sometimes, that extra whipping time and liquid can dissolve those tiny sugar crystals. If it’s still grainy after that, you might need an extra light dusting of sifted confectioners’ sugar to try and smooth it out.
Why Is My Frosting Weeping or Greasy?
Weeping—when watery liquid starts pooling at the bottom of the bowl—is usually a temperature issue, especially if you’re working on a humid day. It means there’s too much liquid in the mixture compared to the fat, or the fat has gotten too warm. If it looks like it’s breaking, stop mixing immediately! Put the whole bowl in the refrigerator for about 15 minutes. You need to chill it down slightly. Once it’s stiffened up again, bring it out and give it a quick beat on medium speed—just 30 seconds—to bring the air back in. Adding just a tiny bit more powdered sugar might also help absorb that extra moisture.
Why Is My Frosting Too Soft to Pipe?
If your frosting looks more like pudding than perfect Layer Cake Frosting, your butter was probably too soft when you started. Remember, we need it slightly cool but yielding? If it’s too warm, it incorporates too much air too fast without getting that sturdy structure.
The solution here is chilling. Cover the bowl and put it in the fridge for 20 to 30 minutes. You want it firm enough that it mounds up nicely when you scrape the side of the bowl. Once it’s chilled, take it out and whip it again for two more minutes on medium speed. It will come back to life, ready to frost those soft and chewy peanut butter blossoms without sliding everywhere!
Frequently Asked Questions About Classic Vanilla Buttercream
I get so many questions about how to best use or tweak this topping, especially since I designed it to be so fast and simple! Here are the things I hear most often from folks trying out this Classic Vanilla Buttercream recipe for the first time.
Is this really an Easy Frosting Recipe for beginners?
Absolutely, yes! This is my go-to recipe for anyone just starting out or for those nights when you need a dessert topping in a hurry. Since it requires no cooking, no tempering of eggs, and no special equipment beyond your electric mixer, it’s truly an Easy Frosting Recipe. The main thing is making sure your butter is the right temperature, but once you get that down, it’s smooth sailing to a beautiful, sweet result.
Can I use this Vanilla Buttercream Frosting for cake pops or cookies?
You certainly can, but you might want to make one small adjustment for maximum stability if you’re dipping or dealing with small surfaces. Since this recipe is already pretty stable, if you are using it for things like cake pops or stiff icing on cookies, I’d suggest swapping the milk for heavy cream, or even reducing the liquid by one tablespoon. That extra fat content makes your Homemade Vanilla Icing even firmer once it sets up, which is perfect for holding shapes!
How do I get this frosting perfectly white for decorating?
Because we use butter (which is naturally yellow) and pure vanilla extract (which is dark brown), this frosting will always be a beautiful off-white or creamy color. If you need a stark white, you have two options, neither of which I use often, but they work! First, use shortening instead of all or part of the butter—that’s how many commercial bakeries get that pure white look for their Simple Dessert Toppings. Second, you can use clear vanilla extract instead of pure vanilla. But honestly, for me, that slight cream color just screams “homemade goodness,” and I love it!
What is the difference between this and Swiss Meringue Buttercream?
That’s a great question! Swiss Meringue Buttercream changes the game completely. This recipe is what we call American Buttercream Tutorial classic—it’s just butter beaten with powdered sugar. It’s fast, it’s super sweet, and it’s ready in minutes. Swiss Meringue, on the other hand, involves cooking egg whites and sugar over heat before whipping them into a meringue and then slowly adding butter. It’s silkier and less sweet, but it takes way longer and requires careful heat management. For quick baking needs where you want excellent flavor and stability fast, you really can’t beat this simple version. If you need more guidance on fast recipes, check out this guide on fluffy vanilla buttercream!
How long does this frosting last if stored properly?
Because this is primarily butter, it holds up really well! Covered tightly, it will be great at room temperature for about two days. If you put it in the fridge, it’s good for up to two weeks. Just remember what I mentioned earlier: it needs time to warm up and then a quick whip to restore that gorgeous, fluffy texture before you use it again as a Cupcake Topping Idea!
Nutritional Estimates for Homemade Vanilla Icing
Now, I won’t lie, this is a treat, not a health food! But if we’re going to indulge, it’s nice to know what we’re looking at, right? Since this Homemade Vanilla Icing is just butter, sugar, and a splash of milk, the numbers are what you’d expect for a classic sweet tooth satisfier. This information is based on the recipe yielding about 3 cups, and the serving size generally being about a quarter cup dollop on a dessert. Keep your apple tart light, or go all in—your call!
Here are the estimates for a 1/4 cup serving:
- Serving Size: 1/4 cup
- Calories: 320
- Sugar: 42g
- Fat: 17g (with 10g Saturated Fat)
- Protein: 1g
- Sodium: 55mg
Please remember that these are just estimated values for your reference. If you use salted butter instead of unsalted, or switch to a different style of sugar, those numbers will shift slightly. This recipe focuses purely on making the most delicious, classic topping possible, and understanding the estimate just helps keep you informed as you plan those perfect celebratory bakes!
Share Your Experience Making This Fluffy Buttercream
Well, that’s it! You now have everything you need to whip up the most perfectly smooth, stable, and classic vanilla buttercream frosting in about ten minutes flat. I genuinely hope this makes your decorating less stressful and more fun. Trust me, once you see how this fluffy buttercream holds up, you’ll never look back.
I’d be absolutely thrilled if you gave this recipe a whirl! If you tried it out, please hop down to the comments and let me know how it went. Did you use it as a layer cake frosting, pipe elaborate stars for pizza pinwheels (okay, maybe not—but you *could*!), or just slather it thick on some everyday cookies? Let me know what you frosted in the comments below!
And if you loved how simple and reliable this topping was, please take a moment to leave a quick 5-star rating for the recipe. It truly helps other busy bakers—just like you and me—find this easy frosting recipe when they need a guaranteed win. Happy baking, and don’t forget to check out that amazing buttercream recipe over at Sweetly Cakes for another great variation!
PrintThe Best Fluffy & Stable American Vanilla Buttercream Frosting
Make the ultimate, classic American vanilla buttercream frosting. This recipe guarantees a creamy, smooth, and stable texture perfect for piping cakes and cupcakes, ready in minutes.
- Prep Time: 10 min
- Cook Time: 0 min
- Total Time: 10 min
- Yield: About 3 cups 1x
- Category: Dessert Topping
- Method: Mixing
- Cuisine: American
- Diet: Vegetarian
Ingredients
- 1 cup unsalted butter, softened to room temperature
- 4 cups powdered sugar, sifted
- 1 teaspoon pure vanilla extract
- 1/4 cup whole milk or heavy cream (add more if needed)
- 1/4 teaspoon salt
Instructions
- Place the softened butter in a large mixing bowl. Beat the butter with an electric mixer on medium speed until it is completely smooth and creamy, about 2 minutes. Scrape down the sides of the bowl.
- Gradually add the sifted powdered sugar, one cup at a time, mixing on low speed until incorporated. Increase the speed to medium and beat until combined.
- Add the vanilla extract and salt. Mix well.
- Slowly add the milk or cream, one tablespoon at a time, beating on medium speed until the frosting reaches your desired fluffy and smooth consistency. Beat on medium-high for 3 to 5 minutes to incorporate air, making it light and ready for piping.
- If the frosting is too thick, add a little more milk. If it is too thin, add a little more powdered sugar.
- Use immediately to frost cakes, cupcakes, or cookies.
Notes
- For the best results when piping, ensure your butter is perfectly softened, not melted.
- Sifting the powdered sugar prevents a grainy texture in your smooth cake frosting.
- This recipe makes enough frosting for one 9-inch layer cake or about 18 standard cupcakes.
- To make this a bakery style buttercream that holds up well, use heavy cream instead of milk.
Nutrition
- Serving Size: 1/4 cup
- Calories: 320
- Sugar: 42g
- Sodium: 55mg
- Fat: 17g
- Saturated Fat: 10g
- Unsaturated Fat: 7g
- Trans Fat: 0.5g
- Carbohydrates: 43g
- Fiber: 0g
- Protein: 1g
- Cholesterol: 45mg