
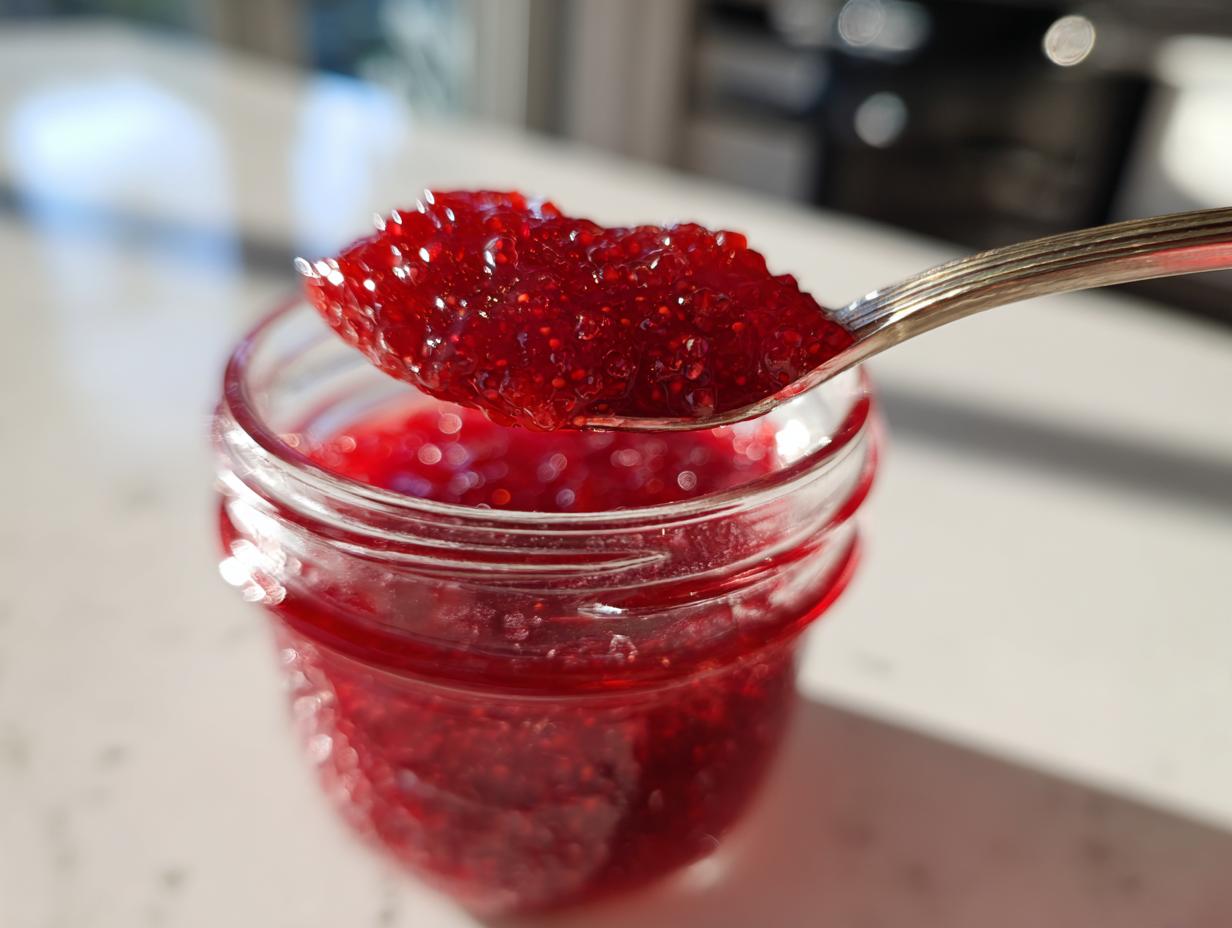
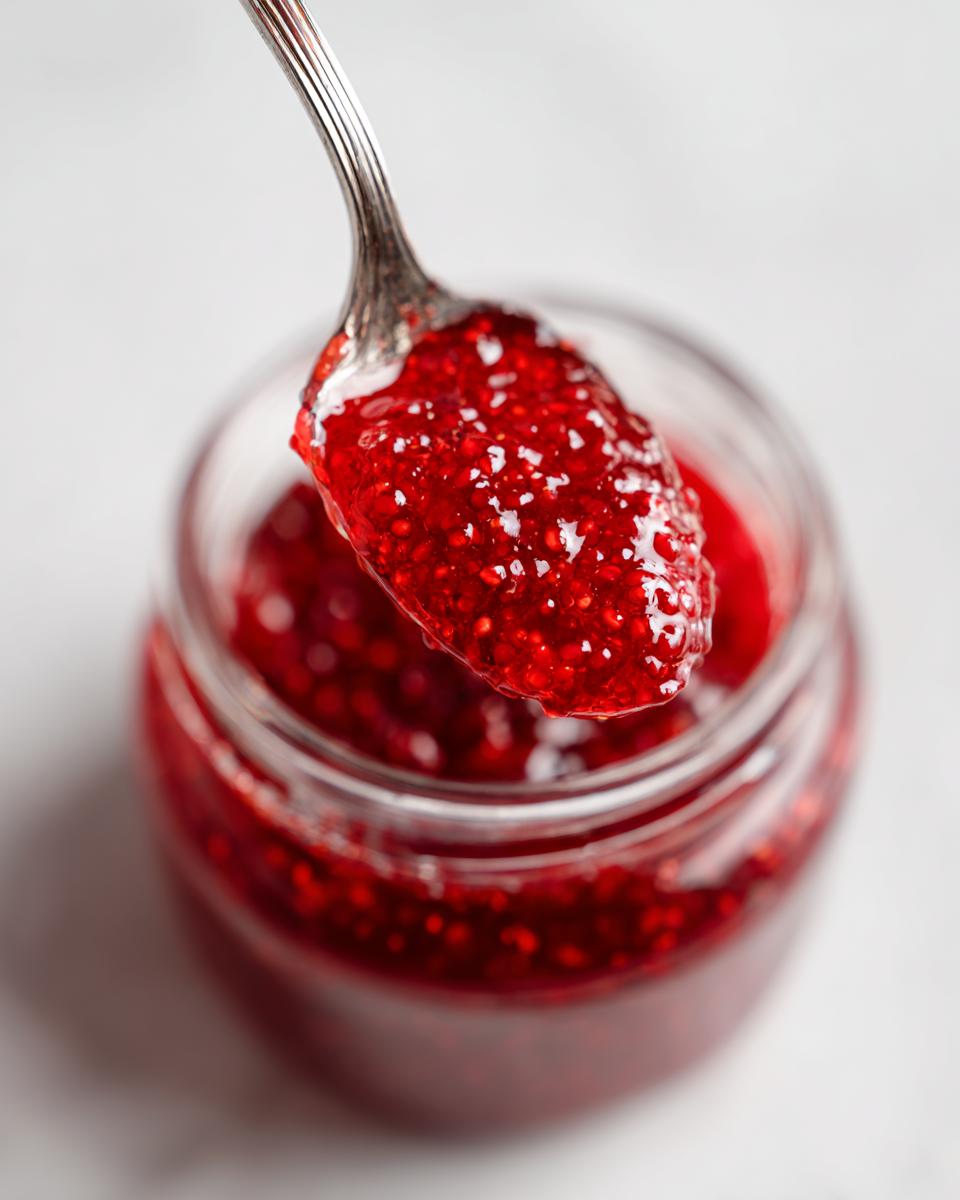
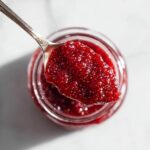
It feels so good to slow down, doesn’t it? In the rush of our busy lives, taking an hour to create something beautiful and delicious feels like the ultimate form of self-care. That’s why I brought back this classic recipe for raspberry jam; it’s pure, vibrant summer goodness right here in a jar. What I love most is that this recipe strips everything back to the essentials: this is an incredibly easy 3-ingredient raspberry jam recipe that totally skips the fussy commercial pectin. Trust me, when you taste the real fruit singing through, you’ll never look back. It’s simple, it’s quick, and it brings a little peace back to my counter.
- Why This Easy 3-Ingredient Raspberry Jam Recipe Works (No Pectin Needed)
- Gathering Kitchen Staples for Your Raspberry Jam
- Step-by-Step Instructions for Perfect Raspberry Jam
- Preserving Your Small Batch Raspberry Jam Recipe
- Tips for Success When Making Homemade Raspberry Jam Recipe
- Serving Suggestions for Your Best Raspberry Jam for Toast
- Storage and Reheating Instructions for Quick Homemade Preserves
- Frequently Asked Questions About Making Raspberry Jam
- Share Your Vibrant Raspberry Flavor Creations
Why This Easy 3-Ingredient Raspberry Jam Recipe Works (No Pectin Needed)
If you’re nervous about canning, this is absolutely the no pectin jam recipe for you. Honestly, store-bought pectin is great when you need massive batches, but for a small, homemade batch, it just dilutes that incredible, vibrant raspberry flavor we are chasing. This method relies on old-fashioned sugar science, which is both reliable and delicious!
We are using just the fruit, sugar, and lemon juice. That’s it! This recipe is perfect for beginners because it keeps the ingredients list short, which is key to building confidence in the kitchen. You can look at my favorite quick dinner posts and see that I believe in keeping things simple, and jam is no exception.
Achieving the Perfect Set in Your Raspberry Jam
So, where does the thickness come from if we skip the pectin? It’s all about concentration and acid! The natural pectin that lives inside the raspberries needs acid to activate properly. That little bit of fresh lemon juice we add is essential—it lowers the pH just enough so that the sugar, reaching a high-boiling point, can grab onto the fruit molecules and lock everything into a beautiful, thick spread. It’s simple chemistry in action!
Gathering Kitchen Staples for Your Raspberry Jam
When I started mastering easy fruit jam making, I realized the best recipes rely on ingredients I almost always have on hand. This is one of those truly wonderful kitchen staples jam recipe formats. We only need three things! I always make sure to use full, ripe raspberries because that’s where the flavor lives. You’ll need 4 cups of raspberries, 3 cups of good, plain granulated sugar, and just 1/4 cup of bright, fresh lemon juice. See? So easy!
Ingredient Notes and Substitutions for Homemade Raspberry Jam
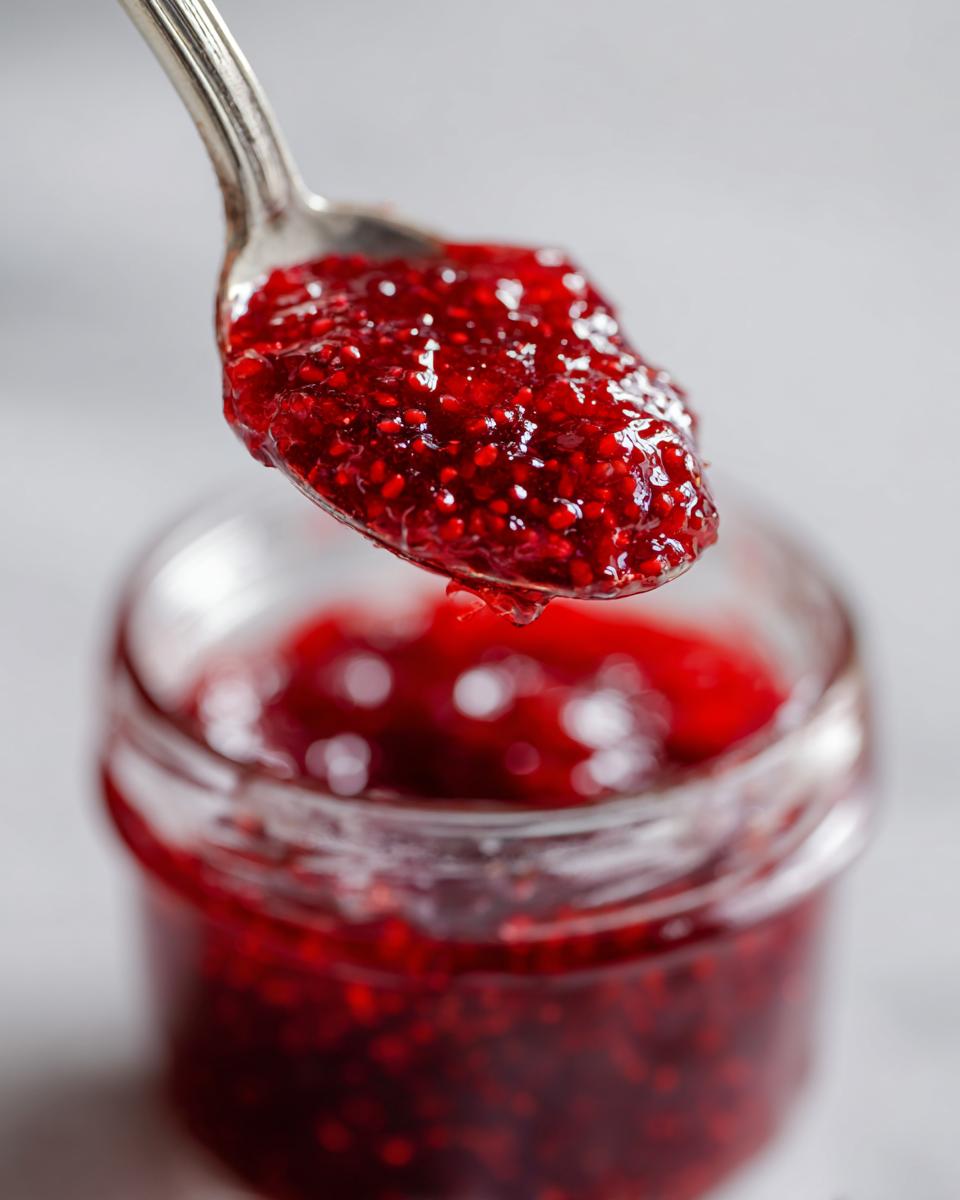
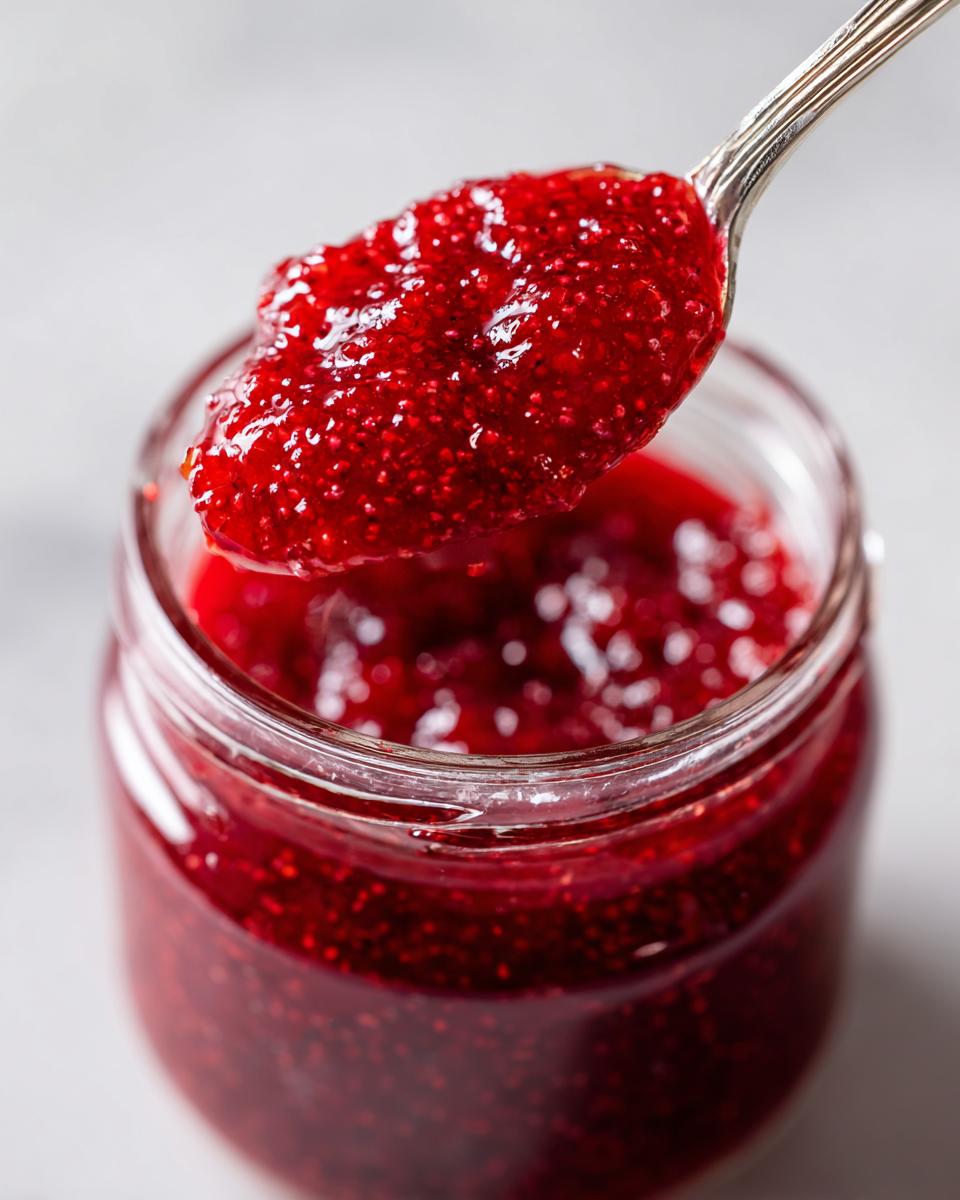
You can absolutely use frozen raspberries for this recipe—just don’t thaw them first! Toss them right into the pot with the sugar. If you are *desperate* for a super smooth jar and hate those tiny seeds (I get it!), here’s a little trick: after the jam boils for about 10 minutes, carefully push that whole mixture through a fine-mesh sieve before you finish cooking it. That gives you a beautiful, classic seedless raspberry jam texture without messing up the setting process.
Step-by-Step Instructions for Perfect Raspberry Jam
Okay, let’s get messy! Making this raspberry jam is incredibly simple, but timing is everything, remember? The whole process, from the moment we start mixing to the point it’s ready for jarring, clocks in right around 45 minutes total, which is fantastic for easy fruit jam making. The magic starts before we even turn on the stove, so pay attention to that sitting time!
Preparing Ingredients and Initial Cooking of Raspberry Jam
First thing: grab your large, heavy-bottomed pot—this prevents scorching, which is a real risk when you’re cooking sugar this fast. Combine those 4 cups of raspberries and 3 cups of sugar right in there. Now, step away for 30 full minutes. This is called maceration, and it’s crucial; the sugar draws all that gorgeous liquid out of the berries! Once that time is up, set the pot over medium-high heat and stir constantly until you can’t feel any sugar granules sticking to the bottom of the pot. Then—bam!—add that lemon juice.
Testing the Set Point for Your Tangy Sweet Jam Recipe
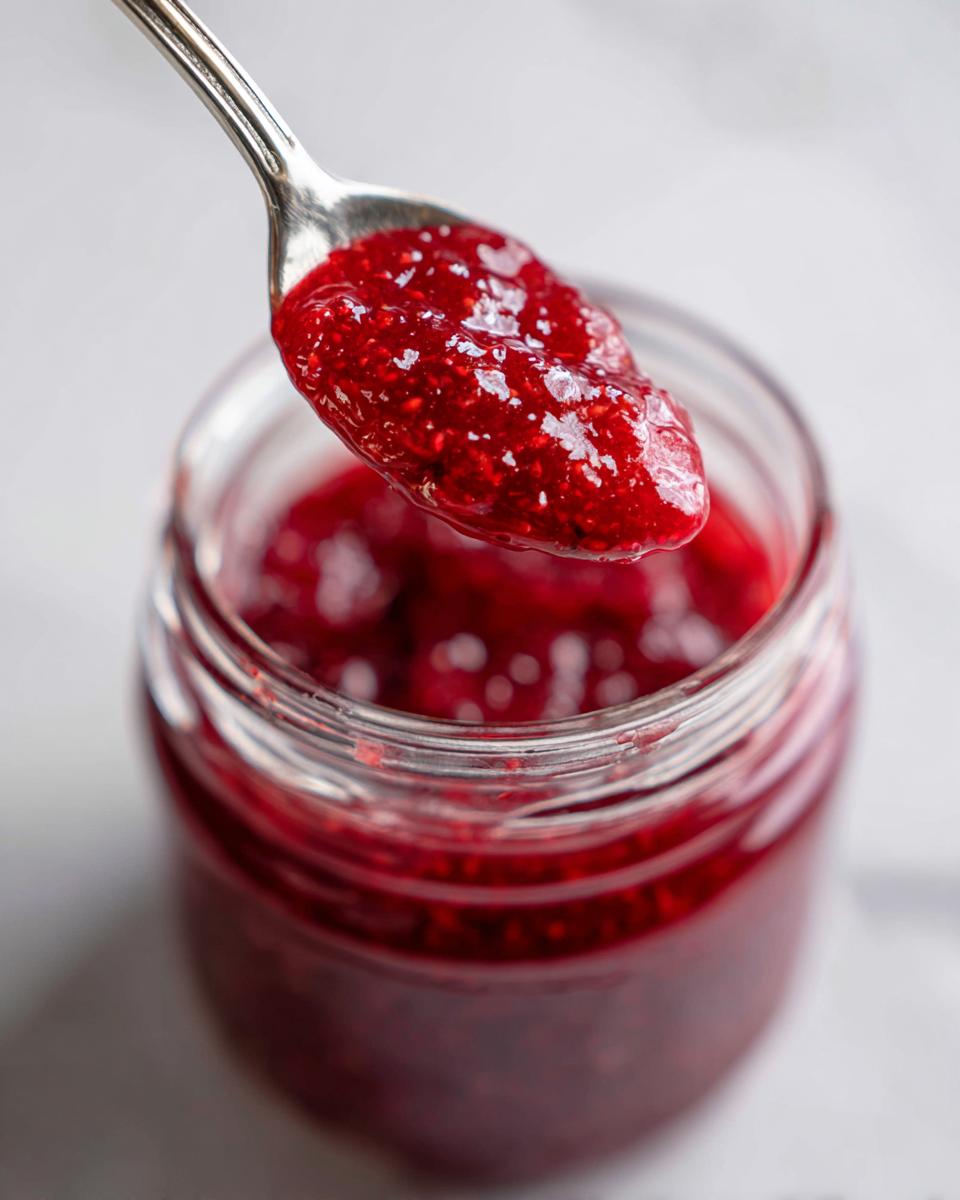
You need to boil this hard now, stirring often so nothing burns. If you have a candy thermometer, keep an eye out for exactly 220 degrees Fahrenheit. That’s the standard setting point! If you don’t have a thermometer, use the cold plate test—I keep a small saucer in the freezer just for this. After boiling for 15 minutes, drop a tiny bit of jam onto that cold plate. If it wrinkles when you push it, you’re golden! Also, while it’s boiling, you’ll see some grey or pinkish foam rising. Just use a spoon to gently skim that off the top; it keeps your final fresh raspberry spread looking vibrant and clear.
Preserving Your Small Batch Raspberry Jam Recipe
Phew! That jam looks incredible bubbling away, doesn’t it? Now for the really important part: getting it safely into jars so you can enjoy this delicious homemade spread all year long. You actually have two easy options here, depending on how fast you plan to eat it!
If you need to store it long-term—say, for gifting or waiting for a colder day—we need to use the water bath canning method. This method is fantastic for water bath canning raspberries and making sure your jam stays safe on the shelf. After ladling the hot jam into your sterilized jars, make sure you leave 1/4 inch of space right at the top—that’s what we call headspace. Wipe the rims super clean and process those jars in a rolling boil for exactly 10 minutes. Remember to check your local altitude adjustments if you live up in the mountains!
If you made this little batch just for immediate gratification (which I totally understand!), just let the jars cool down completely on the counter, seal them up, and pop them straight into the fridge. They’ll keep beautifully for about three weeks. For a guaranteed, long-lasting jar of homemade deliciousness, check out my fudge recipe—it uses similar principles for safety and shelf stability!
Tips for Success When Making Homemade Raspberry Jam Recipe
We’ve gone through the main steps, but I want to share a couple of crucial tips I learned the hard way so you don’t stress about your jam setting up right. Preventing scorching is huge—seriously, invest in a heavy pot or use the widest pan you own. When I first started, I used a small, thin saucepan, and by the time the sugar dissolved, the bottom layer of fruit was basically caramel bricks! That was messy, friends.
Also, if you are working on achieving that perfect, smooth consistency, remember what I mentioned about pushing the jam through a sieve? If you decide to sieve it, do that *before* you return it to the heat to finish boiling to the setting point. Stirring chunks of fruit around while testing the set is just asking for trouble!
And hey, if your jam seems way too firm right out of the fridge later on, don’t panic! It’s usually just because it’s cold. Heat brings that beautiful, thick texture right back into a perfect spreadable consistency. You can warm a small scoop in the microwave for just 10 seconds. Check out my story—it all started because I refused to let a little kitchen mishap stop me from eating well!
Serving Suggestions for Your Best Raspberry Jam for Toast
We’ve made the perfect jam, so now we have to eat it all, right? While this is officially the best raspberry jam for toast that you will ever try—warm, crunchy sourdough dipped into this sweet, tangy spread is heaven—don’t stop there! This fruit preserving is too good to limit to just breakfast. Think about using a spoonful as an easy fruit filling for baking; it’s divine swirled into a muffin batter before it goes into the oven.
I also love drizzling it over plain Greek yogurt with a sprinkle of nuts for a quick, healthy afternoon snack. Or, for something a little fancy, slice up some sharp cheddar or creamy brie and serve it with a dollop of this jam on a cracker. It’s such a wonderful sweet summer treat recipe. Check out some of my favorite ideas for using fruit preserves!
If you want to see a great example of how others use this jam, check out this inspiration over here! It’s amazing how one simple batch can transform so many meals.
Storage and Reheating Instructions for Quick Homemade Preserves
So, you’ve got your jars, or maybe you just filled one cute little jar for the fridge. How long does this amazing raspberry jam last? If you processed those jars correctly using the water bath method, they are shelf-stable, meaning they’re good for up to a year stored in a cool, dark place! No need to rush this one.
For the jars that just went straight into the fridge—my usual method since I eat jam daily—you should enjoy them within about three weeks. They stay fresher that way, which keeps that vibrant flavor popping! If you pull a refrigerated jar out next week and it seems super thick, don’t worry at all. Just microwave a small spoonful for about 10 seconds. It will soften right up to that perfect, dippable consistency ready for your next snack.
Frequently Asked Questions About Making Raspberry Jam
I know when you look at a recipe like this, your mind starts racing with all the ‘what ifs.’ That’s totally normal when you step into fruit preserving guide territory! Don’t worry, I’ve gathered the most common questions I always got from friends when they tried this for the first time. We want this to be the easiest way to get that delicious homemade spread onto your table!
Do I really need lemon juice in this raspberry jam?
Yes, absolutely! If you want an authentic how to make jam without pectin version, the lemon juice is non-negotiable. When we skip commercial pectin, we rely on the fruit’s acid and the sugar concentration to do all the thickening work. That acidity kick from the juice helps the fruit’s natural pectin grab onto the sugar faster. Without it, you risk having a lovely, bright-tasting raspberry syrup instead of a proper jam!
Can I double this small batch jam recipe?
You certainly can try, but I always recommend making a small batch raspberry jam recipe the first time. When you double jam recipes, you dramatically increase the mass you are trying to heat, which means the boiling time gets much longer and less predictable. If you do double it, make sure you use a very large pot—we don’t want that sugary berry explosion all over the stovetop! Trust me, it’s easier to make two small batches than one giant, scorched one.
Can I use frozen raspberries for homemade raspberry jam recipe?
You bet you can! That’s one of the major perks of this recipe, especially if you are preserving those summer berry preservation hauls when they are at their peak. Just toss the frozen berries right into the pot along with the sugar and let them sit for that 30-minute maceration time—it just might take them a little longer to release all their juices, so be patient! It stays a perfect beginner canning recipe either way.
Share Your Vibrant Raspberry Flavor Creations
Now that you have your beautiful jars filled with that vibrant raspberry flavor, I can’t wait to see what you do with it! Did you try the blanching trick to get that perfectly seedless raspberry jam? Are you spreading it thick on toast right now, or are you brave enough to save it for a holiday baking project in December?
I truly hope this simple, no-fuss approach to making homemade raspberry jam feels like a win in your kitchen. That’s what Pure Plate Path is all about—making wholesome food achievable! If you made a batch, please come back and drop a rating below so other readers can see how fantastic this recipe is. And if you get a great shot of your finished preserves, tag me on social media!
I always love seeing your creations, and sharing your successes helps build our community here. We are all learning together on this food journey. If you have any final questions that weren’t covered, feel free to drop them in the contact section, and I’ll make sure we tackle them!
PrintEasy 3-Ingredient Raspberry Jam (No Pectin Needed)
Make this simple, homemade raspberry jam using only three ingredients. This recipe thickens naturally without added pectin, providing a vibrant, fresh berry spread perfect for toast or baking.
- Prep Time: 15 min
- Cook Time: 30 min
- Total Time: 45 min
- Yield: About 4 half-pint jars 1x
- Category: Preserves
- Method: Stovetop Cooking
- Cuisine: American
- Diet: Vegetarian
Ingredients
- 4 cups fresh or frozen raspberries
- 3 cups granulated sugar
- 1/4 cup fresh lemon juice
Instructions
- Combine the raspberries and sugar in a large, heavy-bottomed pot. Let the mixture sit for 30 minutes to allow the sugar to draw out the fruit juices.
- Place the pot over medium-high heat. Stir constantly until the sugar dissolves completely and the mixture begins to boil.
- Add the lemon juice. Continue to boil, stirring frequently to prevent scorching, until the jam reaches 220 degrees Fahrenheit on a candy thermometer, or until it passes the cold plate test (a small dollop placed on a chilled plate wrinkles when pushed). This usually takes 15 to 25 minutes.
- Remove the pot from the heat. Skim off any foam that forms on the surface using a spoon.
- Ladle the hot jam into sterilized jars, leaving 1/4 inch headspace. Wipe the rims clean.
- Process the jars in a boiling water bath canner for 10 minutes, adjusting for altitude if necessary, for shelf-stable storage. Alternatively, let the jars cool on the counter for refrigerator storage.
Notes
- For a seedless raspberry jam, press the cooked mixture through a fine-mesh sieve before adding the lemon juice and returning it to the heat.
- To test for the set without a thermometer, place a small plate in your freezer before starting. After boiling for 15 minutes, place a teaspoon of jam onto the cold plate. Return it to the freezer for one minute. If the jam wrinkles when you push it with your finger, it is ready.
- This recipe makes a small batch, perfect for beginners or for immediate fresh use in the refrigerator for up to three weeks.
Nutrition
- Serving Size: 2 tablespoons
- Calories: 100
- Sugar: 25g
- Sodium: 1mg
- Fat: 0g
- Saturated Fat: 0g
- Unsaturated Fat: 0g
- Trans Fat: 0g
- Carbohydrates: 26g
- Fiber: 1g
- Protein: 0g
- Cholesterol: 0mg