
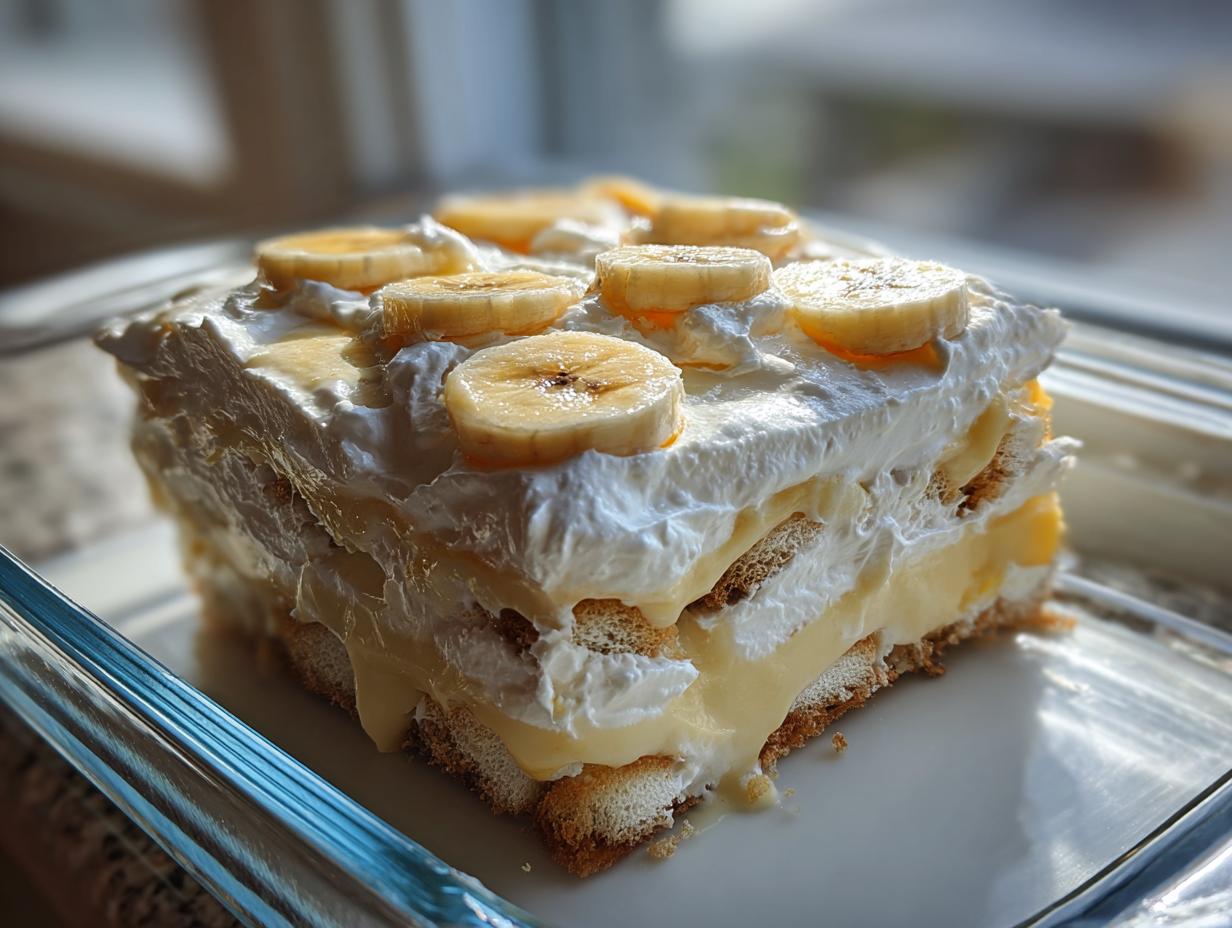
There is just something about a true comfort food dessert that stops the clock, isn’t there? When life gets hectic, which, let’s be real, it always is—I remember the simplicity I craved when I first started Pure Plate Path. I needed food that delivered maximum flavor with minimal fuss. That’s exactly what this recipe is! We are diving headfirst into making what I genuinely believe is the Best Banana Pudding Recipe you will ever try. Forget the baked custards and the fuss; this is that famously rich and unbelievably creamy, no-bake, Magnolia Style copycat. It’s my answer for every busy person out there who wants that classic, soul-satisfying dessert without spending hours fussing over the stove. Trust me, this pudding is pure joy in a dish.
- Why This Creamy Layered Dessert is Your New Favorite Banana Pudding
- Essential Ingredients for Classic Southern Banana Pudding
- Step-by-Step Guide to Making Perfect Magnolia Style Pudding Copycat
- Tips for Success: Achieving the Best Banana Pudding Recipe Texture
- Serving Suggestions for Your Comfort Food Dessert Ideas
- Storage and Make Ahead Dessert Ideas for Banana Pudding
- Frequently Asked Questions About Old Fashioned Banana Dessert
- Nutritional Estimates for This Simple Creamy Pudding
- Share Your Best Banana Pudding Experience
Why This Creamy Layered Dessert is Your New Favorite Banana Pudding
Why toss out all those other recipes? Because this one is basically foolproof and tastes like you slaved over a double boiler for hours! When I needed make ahead dessert ideas that wouldn’t deflate my evening, this became my go-to. It’s the ultimate potluck dessert because it only gets better as it sits.
- It delivers that nostalgic, soft texture everyone craves in a great banana pudding.
- It requires zero cooking! That’s right, no stirring heavy cream or yolks!
- It layers beautifully, making it the star of any family gathering desserts spread.
The Secret to Rich and Creamy Pudding Texture
We ditch the complicated cooked custard here, which is great for busy weeknights. The richness comes from using two different sizes of instant vanilla pudding mix combined with that super sweet, thick sweetened condensed milk. When you combine those elements, you get a pudding that sets up thicker and tastes deeper than your standard homemade banana pudding. It’s pure silkiness!
Perfect for Family Gathering Desserts: Make Ahead Banana Pudding
This is truly the champion of make ahead dessert ideas. You *have* to chill this banana pudding for at least four hours. Honestly, overnight is even better. This crucial step isn’t just for setting; it’s when the magic happens! The vanilla wafers soften up just enough to become cake-like, melding everything together into one perfect bite of banana pudding.
Essential Ingredients for Classic Southern Banana Pudding
Okay, gather ‘round, because this is where we put our trust in simple, quality building blocks. I always say that with a no-bake dessert, the ingredients have to be perfect since there’s no oven to hide anything! This list is short, sweet, and focused on creating that rich, comforting flavor everyone expects from a true Southern classic. Don’t substitute the condensed milk; that’s the backbone of the creaminess!
- 1 (14 ounce) can sweetened condensed milk
- 1 (5 ounce) box instant vanilla pudding mix
- 1 (3.4 ounce) box instant vanilla pudding mix (the smaller box)
- 4 cups cold water
- 1 (8 ounce) container frozen whipped topping, thawed completely
- 4 large bananas, sliced (make sure they aren’t mushy!)
- 1 (11 ounce) box vanilla wafers
Ingredient Notes and Substitutions for Your Vanilla Wafer Dessert
Selecting your components carefully makes all the difference in this Vanilla Wafer Dessert. A lot of people ask me about the bananas, and this is my absolute firm rule: they need to be ripe enough to be sweet, but still firm enough to hold their shape when sliced. If they are too soft, they turn to mush when they sit in the pudding overnight—and we want distinct layers of banana, not banana sludge!
When it comes to the wafers, you are going to need the whole box, maybe a little extra just in case you sneak a few while layering. Once the dish chills, those wafers absorb the moisture from the pudding and become soft and cake-like. That absorption is key to the texture! If you buy the wrong kind of wafer, or use something too thick, they won’t soften up correctly, and you’ll end up with a crunchy layer in your creamy dessert. Stick to the classic brands—they work best for this recipe.
Step-by-Step Guide to Making Perfect Magnolia Style Pudding Copycat
When you see how simple this is, you’ll wonder why you ever bought this banana pudding premade! We aren’t going to bake anything, so this is all assembly, which means we can focus on technique rather than temperature control. Remember, the goal is that dreamy texture—the kind that makes everyone ask for your recipe for this easy no bake pudding.
Mixing the Creamy Base for Your Banana Pudding
Start with your largest bowl! You need to get that pudding thick right away. Whisk together the entire can of sweetened condensed milk, both boxes of instant vanilla pudding mix, and all four cups of very cold water. Whisk hard for about two full minutes. Seriously, keep going until it starts to feel heavy and really thickens up. If you leave any dry spots of pudding mix, you’ll end up with little grainy pockets later, and that ruins the silky texture we are aiming for.
Once it’s thick, gently fold in about half of your thawed whipped topping. Be careful here; we don’t want to deflate all those lovely air bubbles we just created! Just fold until you see light streaks disappear, then set it aside.
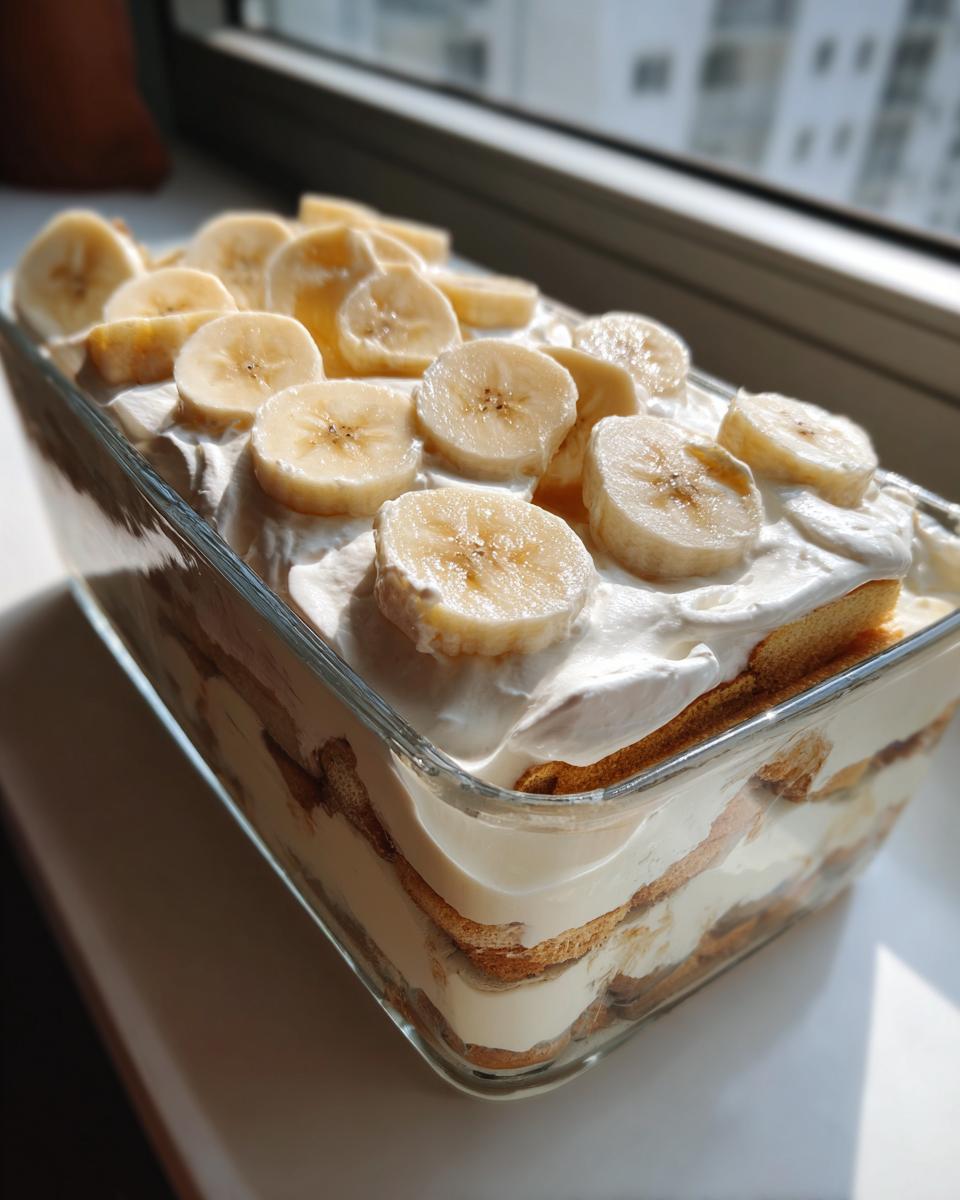
Layering for the Ultimate Banana Cream Dessert
Now for the fun part where we build that iconic tower in your 9×13 dish! Start by scattering one-third of your vanilla wafers across the bottom. Seriously, press them down just a little bit so they are snug. Next, lay down half of your sliced bananas evenly over those wafers. Now, pour half of your creamy pudding mixture right on top of that layer.
Repeat the layers exactly: another third of the wafers, the rest of the bananas, and finally, the rest of the pudding. You should have a gorgeous striped effect! Smooth out the top layer. This is where we finish building the perfect banana pudding.
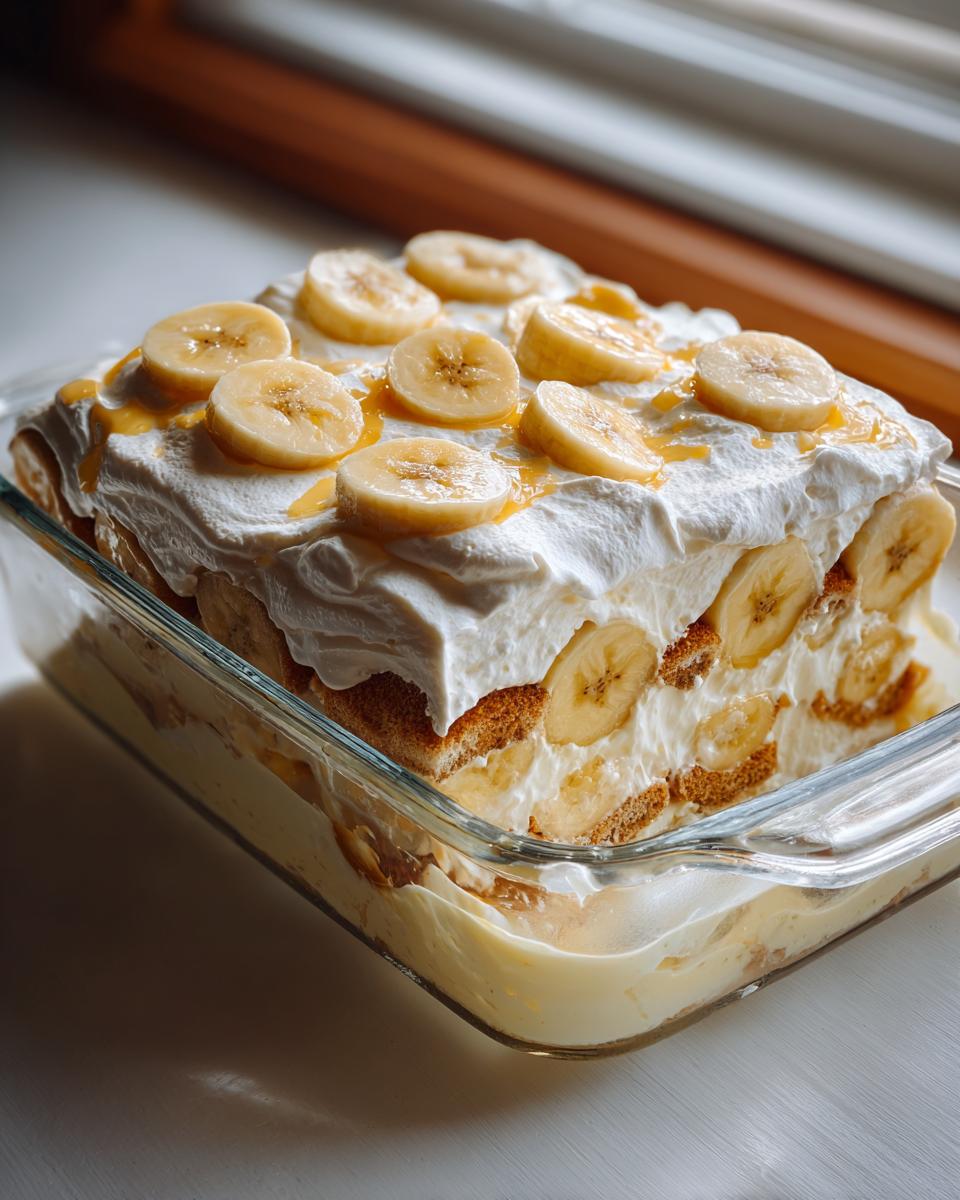
Spread the remaining whipped topping over the top layer. Then, cover it tightly—and I mean TIGHTLY—with plastic wrap. Step 8 is the most important one for getting the best texture of this *Magnolia Style Pudding Copycat*!
Tips for Success: Achieving the Best Banana Pudding Recipe Texture
Even though this is a no-bake recipe, there are a few little secrets I picked up over the years that elevate this from good to absolutely unforgettable comfort food dessert. It all comes down to patience, even when you’re rushing!
The single most important thing you can do for your banana pudding is to let it chill. I know, I know, it’s tempting to dig in after the minimum four hours, especially if you are bringing this to an event, but you really need to let the flavors marry. The vanilla wafers need that time to soak up the moisture and transform. If you want the absolute best banana pudding recipe experience, cover that dish tightly and park it in the fridge overnight. Seriously, the texture is transformative; the wafers become custardy soft, and the banana flavor deepens.
Also, when you’re layering the bananas (we talked about this briefly before, but it bears repeating!), try to distribute them evenly in the layers so you get a nice pocket of banana flavor in every single scoop. Don’t just dump them all in the middle layer!
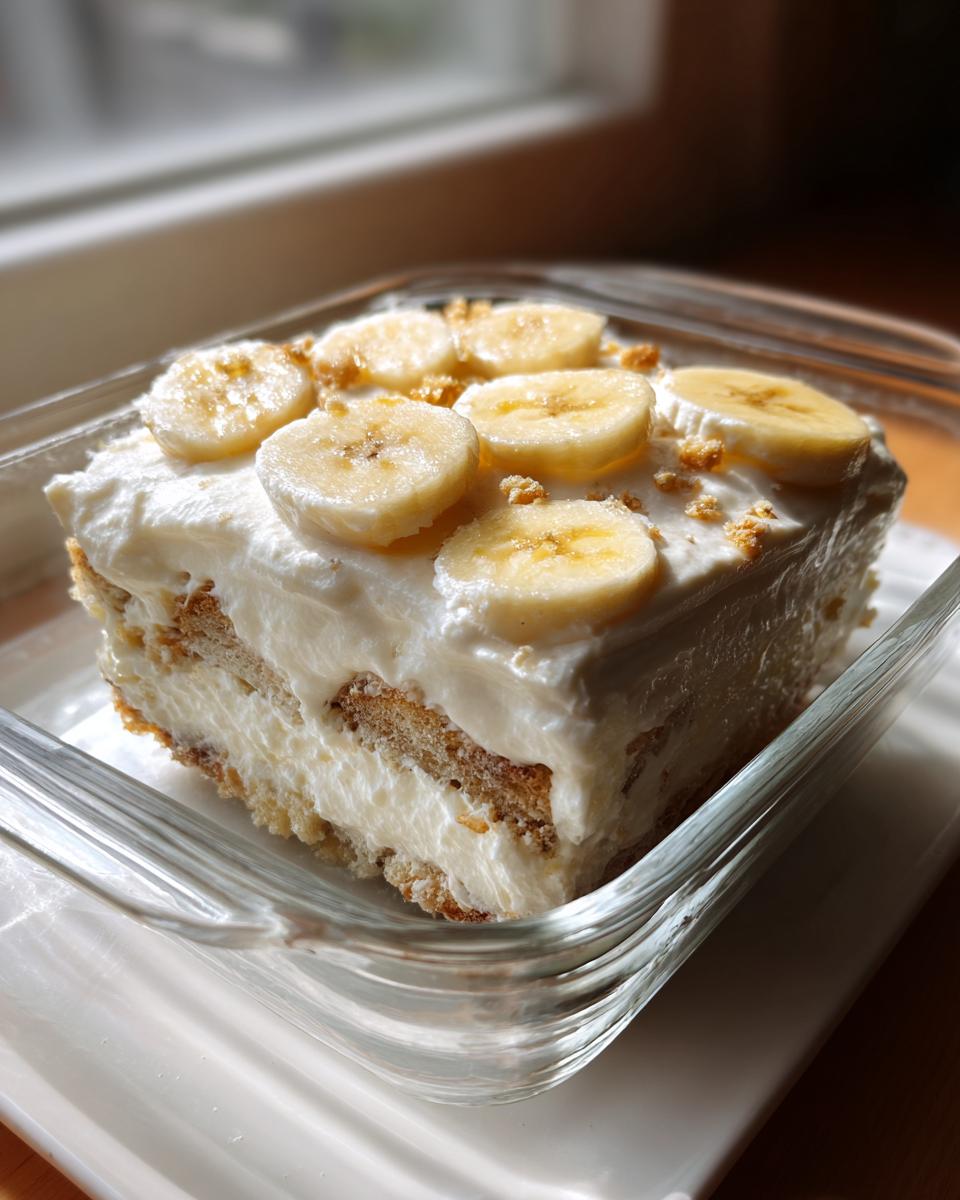
Finally, when you take it out to serve, don’t skip pressing those reserved wafers right onto the top layer. It gives you a little bit of that original crunch right before you hit that soft, cool interior. It’s a tiny textural contrast that makes this banana pudding truly perfect.
Serving Suggestions for Your Comfort Food Dessert Ideas
This banana pudding is decadent, right? It’s so rich, creamy, and hits all those nostalgia notes that scream comfort food. Because it’s such a luscious treat on its own, I usually suggest pairing it with something light and bright on the side. You don’t want to weigh everyone down too much after a big meal!
If you’re serving this as part of a big buffet spread, keep the side dishes simple. A little bowl of fresh, tart berries—like raspberries or blackberries—cuts through the sweetness beautifully. They offer a nice little palate cleanser between those creamy layers of pudding and softened wafers.
For beverages, ditch the heavy hot chocolate that you might serve with a cake. Since this is a chilled dessert, a nice light beverage works best. I love serving it with ice-cold sweet tea—the kind that is brewed strong and has that slight tannic bite. If you’re looking for something warmer, a simple, freshly brewed black coffee or an herbal tea without added sugar is perfect. It lets the flavor of the banana and vanilla truly shine through. We want this to be the star, after all!
If you are looking for other comforting favorites to serve alongside, check out my recipe for brown sugar glazed roasted sweet potatoes. They offer that perfect warm, earthy contrast to our cool, creamy dessert!
Storage and Make Ahead Dessert Ideas for Banana Pudding
One of the absolute best things about this no-bake banana pudding is that it’s practically designed for making ahead of time! I always treat this like a little rule: the longer it chills, the better it gets. If you’re planning a big family gathering or a potluck dinner, you can—and probably should—make this the day before you serve it.
When setting it up for storage, make sure you cover that dish really, really well with plastic wrap. I sometimes even put a layer of aluminum foil over the plastic wrap just to ensure maximum airtight seal. This keeps any lingering fridge smells out and, crucially, stops the top from getting that weird, crusty film that sometimes forms on whipped topping.
For serving on Day Two, take it out of the fridge about 20 minutes before you plan to cut into it. This lets the pudding itself soften up just a tiny bit from its super firm overnight chill, making it easier to scoop, but it stays perfectly cool and set. Because we used instant pudding, your banana pudding will hold up beautifully for 2 to 3 days in the refrigerator. That’s why this is my go-to for leftovers!
Now, about freezing this glorious banana pudding – don’t do it! I tried once, thinking I’d save it for the following week after a big holiday. The whipped topping gets watery and separates horribly when it thaws, and the bananas end up black and mushy. Stick to the fridge for this type of layered dessert. It just tastes freshest and has the best texture when kept cool, not frozen solid!
Frequently Asked Questions About Old Fashioned Banana Dessert
I totally get it; when you are making a classic like this, you probably have questions. If you’re trying to bake something for the first time, or maybe you’re trying to adapt it to fit your schedule, clarifying things upfront saves you from a dessert disaster later! We want your efforts to result in that perfect, **creamy layered dessert** every time.
If you are looking for more inspiration on classic Southern sweets, check out this great recipe for an Old-Fashioned Banana Pudding From Scratch. But for now, let’s talk through the main things people ask me about this easy no bake pudding setup.
Can I substitute the instant pudding mix in this banana pudding recipe?
This is a big one! For this particular **Magnolia Style Pudding Copycat**, you really need to stick to the instant pudding mix. Here’s why: this recipe is designed to set up perfectly using the starches and stabilizers already in those little boxes, combined with the thick sweetened condensed milk. If you try to make a traditional cooked custard from scratch, the ratio of liquid to thickener changes completely.
A cooked custard is lovely, but it’s richer and heavier, and it thickens on the stove, not in the fridge. Using a cooked custard here would throw off the delicate balance that allows those vanilla wafers to soften beautifully without dissolving into soup. Stick to the instant mixes for that light, airy, **Simple Creamy Pudding** mouthfeel that everyone loves!
What is the best way to layer this banana pudding for potlucks?
If you are transporting this masterpiece to a potluck, layering counts! You want those wafers and bananas nestled securely in the middle, which acts like a delicious bumper for the whole dish. Remember the three layers we built: Wafers/Bananas/Pudding, then repeat. Make sure that final top layer of pudding is spread all the way to the edges of your dish.
Once that final layer of whipped topping goes on top, this is critical for travel: cover the dish tightly! I mean tight! Use plastic wrap right against the surface of the topping, and then maybe tape the plastic wrap securely around the rim of the dish or cover it with foil. This keeps everything stable while you drive, and it traps the moisture in. When you get to the party, you can add any extra crushed wafers on top for crunch just before serving. Keep it chilled until the very last moment!
If you need more ideas for transportable snacks, check out my simple recipe for easy pizza pinwheels!
Nutritional Estimates for This Simple Creamy Pudding
Now, look, I’m going to be totally honest here—this banana pudding is pure comfort food, and comfort food isn’t typically where we go when we’re counting macros! This is absolutely a treat, not an everyday snack. Because we’re using sweetened condensed milk and those delicious vanilla wafers, the sugar content is definitely there. But hey, we deserve treats, right?
The numbers I’ve put below are straight estimates based on the ingredients provided. Since we rely on packaged items and variations in banana size, these should only be used as a guide. Think of this information as a nice bonus, not a strict breakdown! You’re making this for happiness, not necessarily for tracking every single gram.
Remember, if you are serving this **Simple Creamy Pudding** after a big meal, people are usually having smaller portions anyway. Enjoy it without guilt!
- Serving Size: 1 serving
- Calories: Approximately 350
- Total Fat: Around 15g
- Saturated Fat: About 7g
- Carbohydrates: Roughly 55g
- Sugar: Approximately 45g (that’s where the joy lives!)
- Protein: About 4g
We’re way low on fiber and protein here, which really solidifies this as a dedicated dessert rather than a balanced meal replacement, which is totally fine! This is what we reach for when we need that sweet hug in the middle of the week.
Share Your Best Banana Pudding Experience
Now that you have all the secrets to creating this unbelievably creamy, no-bake banana pudding, I desperately want to hear about it! Honestly, seeing your creations is the best part of sharing these recipes. I know you’re going to nail that perfect chilling time to get those wafers perfectly soft.
Did you manage to resist temptation and wait the full 24 hours before digging in? Did you stick to the simple powdered sugar topping, or did you drizzle it with caramel? Tell me everything!
Head down to the comments section below and let me know how this recipe worked out for your family gathering or Sunday dinner. Leave a star rating based on how creamy and delicious your final banana pudding turned out. And if you snapped a picture of your layered masterpiece, please share it with me! You can always reach out directly through my contact page if you have questions or want to rave about how easy this was.
Happy scooping, friends! I can’t wait to see what you created!
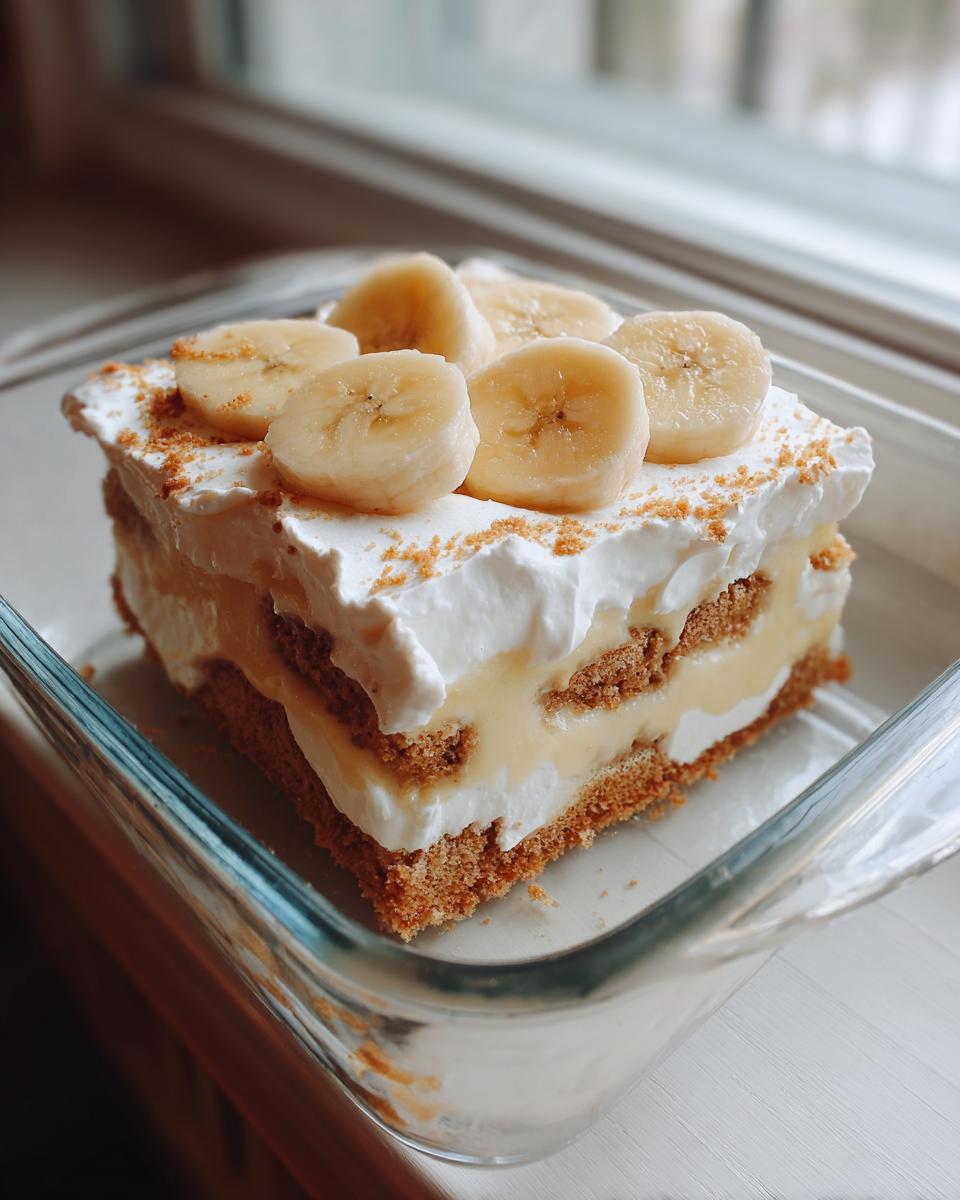
PrintThe Best Creamy No Bake Banana Pudding (Magnolia Style Copycat)
Make this rich and creamy layered banana pudding that tastes like the famous Magnolia Bakery version. This easy, no-bake dessert uses simple ingredients to create a comforting classic perfect for any gathering.
- Prep Time: 20 min
- Cook Time: 0 min
- Total Time: 4 hr 20 min
- Yield: 10 servings 1x
- Category: Dessert
- Method: No Bake
- Cuisine: American
- Diet: Vegetarian
Ingredients
- 1 (14 ounce) can sweetened condensed milk
- 1 (5 ounce) box instant vanilla pudding mix
- 1 (3.4 ounce) box instant vanilla pudding mix (small box)
- 4 cups cold water
- 1 (8 ounce) container frozen whipped topping, thawed
- 4 large ripe bananas, sliced
- 1 (11 ounce) box vanilla wafers
Instructions
- In a large bowl, whisk together the sweetened condensed milk, both boxes of instant vanilla pudding mix, and the cold water for about two minutes until the mixture thickens slightly.
- Gently fold in half of the thawed whipped topping until just combined. Do not overmix.
- In a large serving dish (9×13 inch works well), create the first layer by arranging one-third of the vanilla wafers on the bottom.
- Arrange half of the sliced bananas over the wafer layer.
- Spoon half of the pudding mixture evenly over the bananas and wafers.
- Repeat the layers: one-third of the remaining vanilla wafers, the rest of the sliced bananas, and the remaining pudding mixture.
- Spread the remaining whipped topping evenly over the top layer of pudding.
- Cover the dish tightly with plastic wrap. Chill the banana pudding in the refrigerator for at least 4 hours, or preferably overnight, to allow the wafers to soften and the flavors to meld.
- Before serving, press the remaining vanilla wafers lightly onto the top layer for garnish.
Notes
- For the best texture, chill the pudding for a minimum of 6 hours. This allows the vanilla wafers to absorb moisture and become cake-like.
- Select bananas that are ripe but still firm to prevent them from becoming mushy during chilling.
- This recipe is excellent for potlucks because it must be made ahead of time.
Nutrition
- Serving Size: 1 serving
- Calories: 350
- Sugar: 45
- Sodium: 250
- Fat: 15
- Saturated Fat: 7
- Unsaturated Fat: 8
- Trans Fat: 0
- Carbohydrates: 55
- Fiber: 2
- Protein: 4
- Cholesterol: 25