
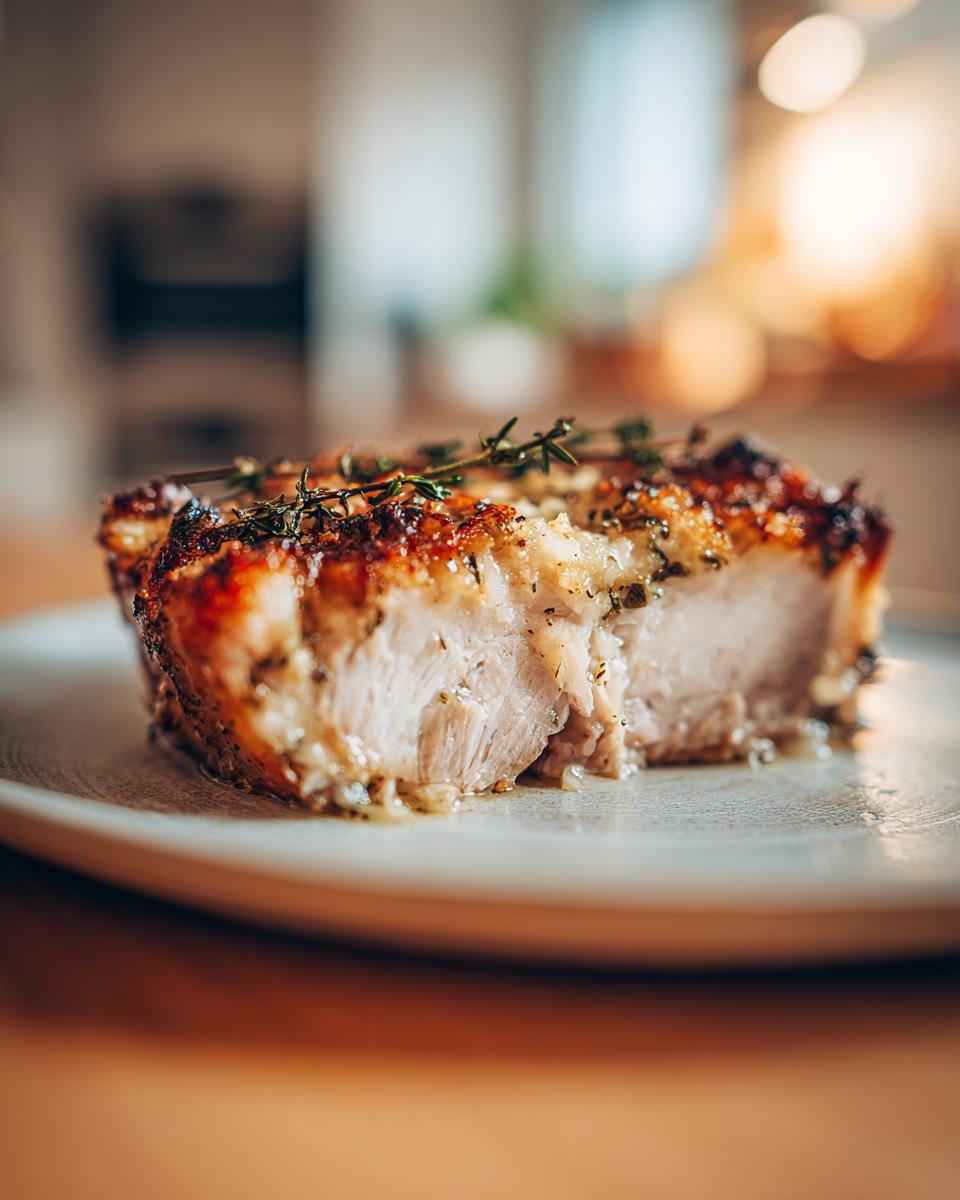
If you’re like me, the phrase “baked chicken breast” used to send a tiny shiver of dread down your spine. We all know that fear—the dry, chalky texture that mocks your weeknight dinner plans! When I was navigating my intense marketing career, I wasted so many meals trying to force chicken to stay juicy. I just wanted something simple! Well, that struggle led me straight to this breakthrough. This Foolproof Garlic Butter baked chicken breast recipe is the answer. It’s designed with simple, real ingredients to guarantee maximum juiciness every single time you pull it from the oven. This is the tender chicken recipe you’ve been needing for your busy life, and it’s perfectly aligned with our mission for quick, easy weeknight dinners. Trust me, this is the best way to reclaim your dinner table!
- Why This Foolproof Garlic Butter Baked Chicken Breast is Your New Weeknight Chicken Meal
- Ingredients for Your Tender Chicken Breast Recipe
- How to Prepare Juicy Baked Chicken Using Garlic Butter
- Tips for Success When Making Baked Chicken Breast
- Making Baked Chicken Breast for Meal Prep and Storage
- Serving Suggestions for Your Simple Oven Chicken
- Variations on the Garlic Butter Chicken Breast Flavor
- Frequently Asked Questions About Baked Chicken Breast
- Share Your Best Baked Chicken Results
Why This Foolproof Garlic Butter Baked Chicken Breast is Your New Weeknight Chicken Meal
The reason this recipe keeps coming back to my table, week after week, is because it tackles the main problems head-on. I stopped aiming for ‘good enough’ chicken and started aiming for absolute perfection! This isn’t just another recipe; it’s a guaranteed win for any busy evening. If you’re seeking a true Juicy Baked Chicken solution, you’ve found it here, perfectly suited for your quick, easy weeknight dinners.
- Minimal cleanup thanks to the one-pan method.
- Flavor that tastes like you slaved over it, but takes almost no time.
- It yields fantastic leftovers for your next Easy Chicken Dinner!
Achieving Truly Moist Chicken Breast Every Time
It all comes down to preparation, friend! We pound the chicken gently so every piece cooks at the exact same rate—no sad, overdone edges while the center is still raw. Then, we lock everything in with that glorious garlic butter layer. Finally, and this is non-negotiable, we let it rest. That resting time is crucial for texture; it lets the juices redistribute instead of running all over your cutting board!
Simple Flavor Profile for Baked Chicken Breast
I love complex dishes, but sometimes you just need pure, straightforward deliciousness. This recipe strips away the fuss. Garlic, salt, pepper, a touch of paprika for color—that’s it! The butter melts right into the meat, keeping it savory and rich. It truly elevates the most Simple Oven Chicken you can make, proving that a fantastic baked chicken breast doesn’t require a dozen exotic spices.
Ingredients for Your Tender Chicken Breast Recipe
When we’re aiming for that perfect, tender chicken breast recipe, the quality and preparation of the ingredients really matter. Don’t just eyeball this stuff; precision right here means juicy chicken later! We keep the ingredient list nice and tight so you can get this in the oven fast.
- 4 boneless, skinless chicken breasts (about 6-8 oz each)
- 1 tablespoon olive oil
- 4 tablespoons unsalted butter, softened
- 4 cloves garlic, minced
- 1 teaspoon salt
- 1/2 teaspoon black pepper
- 1/2 teaspoon paprika
- 1/4 teaspoon dried oregano
- 1 tablespoon fresh parsley, chopped (for garnish)
Ingredient Notes and Substitutions for Baked Chicken Breast
I always urge people to splurge a little on the butter here—it’s what helps create that amazing, savory crust on your baked chicken breast. Because we’re using it as a fat barrier, the richer the butter, the better the flavor is going to be! If you find your chicken breasts are looking a little lonely in the pan when they go in, don’t worry. Add about 1/4 cup of your favorite chicken broth to the bottom of the dish. It creates a little steam bath that helps guarantee that moist chicken breast you’re dreaming of. Seriously, every little bit helps!
How to Prepare Juicy Baked Chicken Using Garlic Butter
Okay, this is where the magic happens! Remember how I said this recipe is foolproof? It’s because we don’t just throw things in a pan. We respect the process! If you follow these steps carefully, you guarantee yourself the most amazing baked chicken breast that will make you look like a cooking superstar, even if you’re just starting out. Stick with me, and we’ll have that juicy baked chicken ready in no time! If you ever want to try this flavor profile in a different appliance, check out our guide on air fryer chicken.
Prep Work: Uniformity is Key for Oven Baked Chicken Breast
First things first, you gotta preheat that oven to 400°F. Hot ovens are your friend for sealing in the juices! Next, take a look at your chicken. They are almost always thicker on one end, right? That’s why you need to gently pound the thicker part until everything is roughly the same thickness. If you skip this, I promise, the thin side will turn into shoe leather while the thick side is finally done. We want evenness!
Flavor Infusion: Creating the Garlic Butter for Baked Chicken Breast
While the oven warms up, make that incredible garlic butter. Just smoosh the softened butter together with the minced garlic and all those gorgeous spices—salt, pepper, paprika, oregano. Once it’s mixed up, give each piece of chicken a quick swipe of olive oil. This little coat of oil helps the buttery goodness stick right where we want it. Then, slather that fragrant butter mixture generously over the top of every piece of your baked chicken breast. You can smell how good this is going to be already!
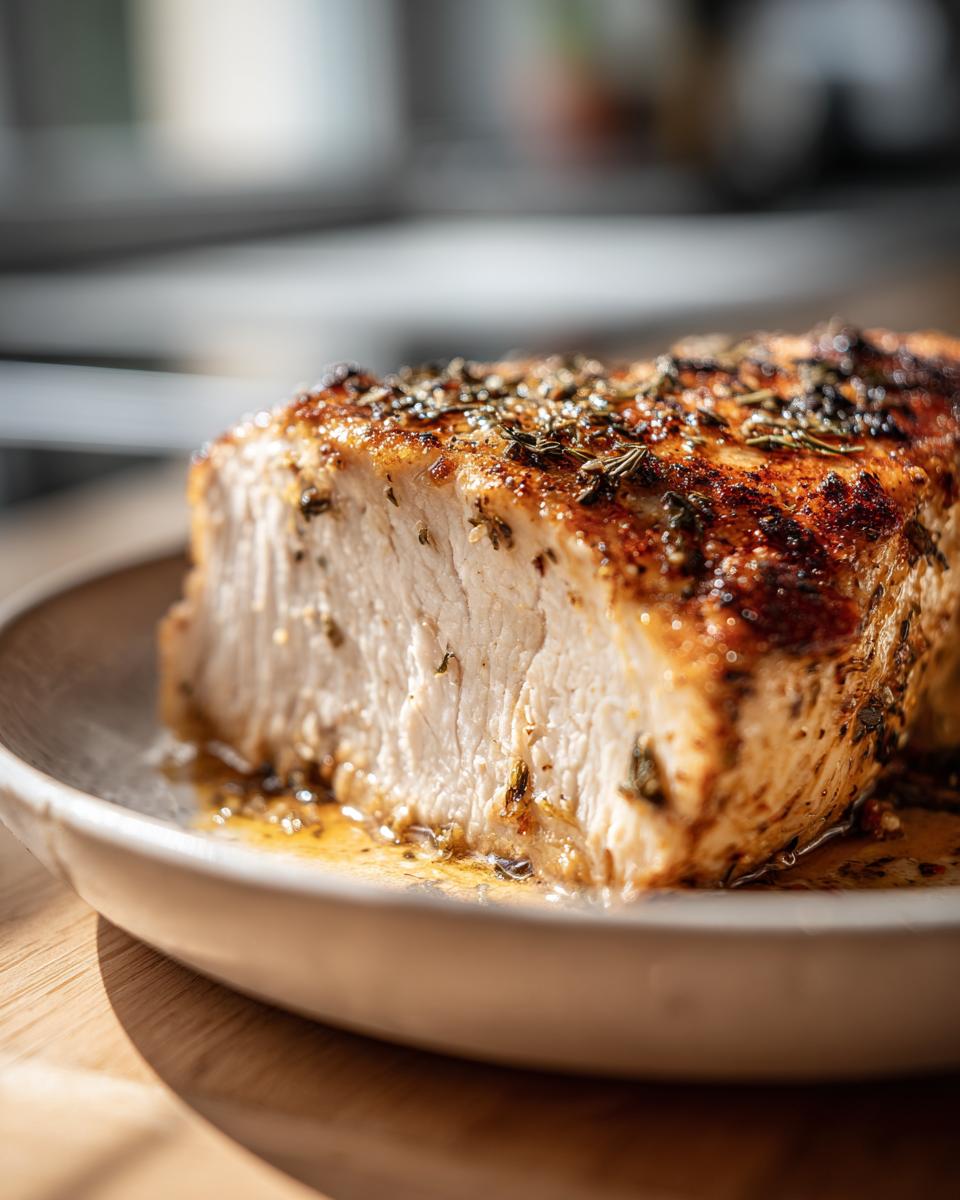
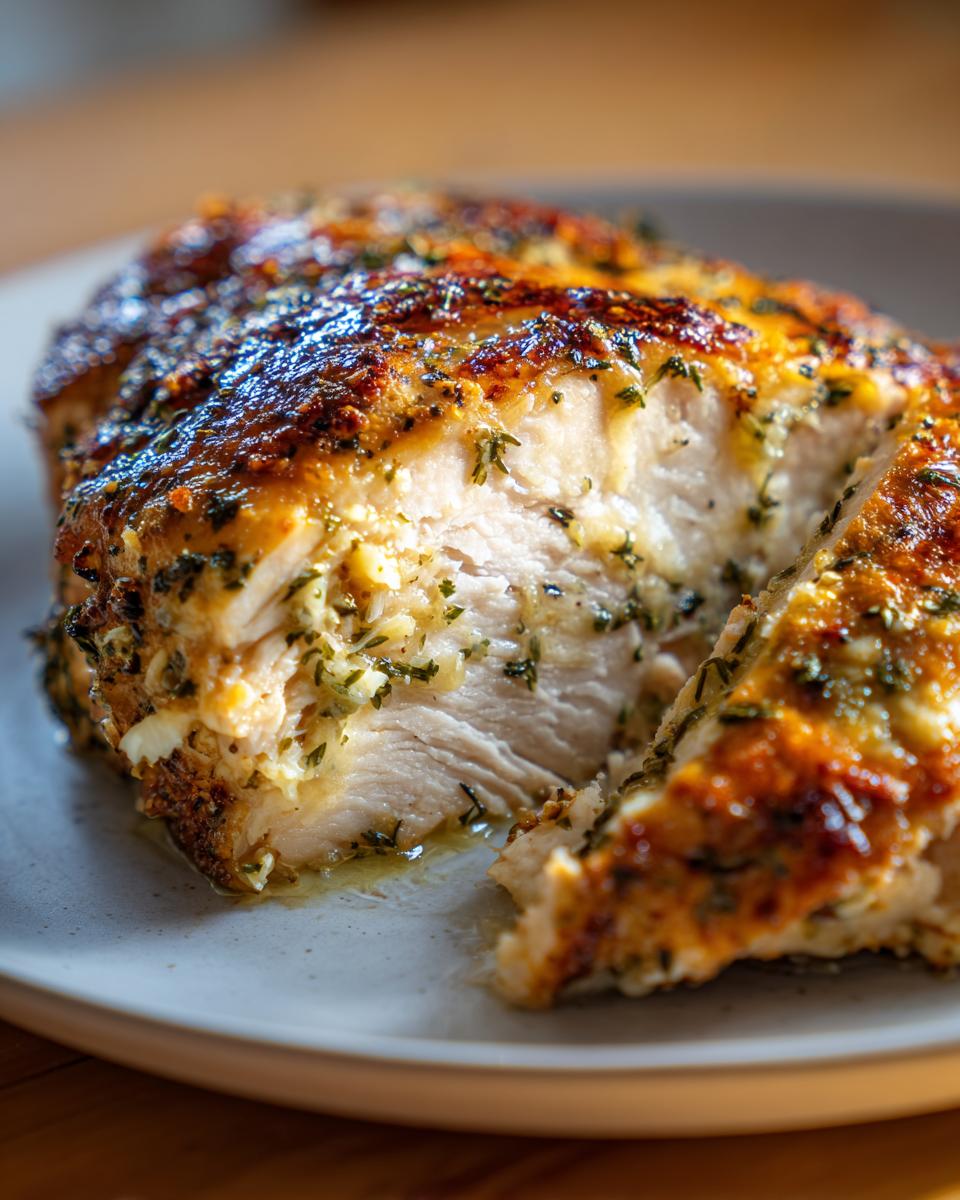
Baking and the Crucial Resting Period for Tender Chicken Breast Recipe
Pop them in the oven! Now, don’t just trust the clock. Time is an estimate. You absolutely need a meat thermometer. We’re looking for exactly 165 degrees Fahrenheit (that’s 74 Celsius) in the absolute thickest spot. Once they hit that magic number, pull them out immediately. Then comes the most important part for a tender chicken breast recipe: the rest. Move the chicken to a clean cutting board or plate and just leave it alone for 5 to 10 minutes. Seriously, don’t touch it! This lets all those beautiful juices settle back into the meat fibers. If you slice it right away, you’re just pouring flavor down the drain!
Tips for Success When Making Baked Chicken Breast
I’ve ruined more chicken breasts than I care to admit before I learned to trust my tools and stop guessing! If you want to master the baked chicken breast game and ensure that delicious, tender texture every time, you have to listen to your thermometer. It’s the single best thing you can buy for stress-free cooking. I often recommend this approach when people are struggling with dry meals, even if they’re planning something totally different, like my healthy breakfast ideas, because testing temperature is universal!
Temperature Check: The Secret to Moist Chicken Breast
It bears repeating: the thermometer is your best friend for achieving great moist chicken breast. When you check, make sure the tip of the probe goes right into the thickest part of the breast—that’s where the heat takes the longest to penetrate. Forget peeking in from the side! For this recipe, hit that 165°F mark exactly. If you pull it out five degrees early and then let it rest for ten minutes, the carry-over cooking will bring it right up to perfection. If you wait until it hits 165°F *in the oven*, you’ve already overshot the mark for tenderness by the time you cut into it!
Making Baked Chicken Breast for Meal Prep and Storage
This is honestly one of my favorite things about this recipe—it makes the absolute best leftovers! If you’re trying to eat well during the week, this baked chicken breast is a dream for meal prep. Once it’s cooked and rested, you need to let it cool down completely on the counter before you even think about putting it in the fridge. Putting hot chicken into a sealed container is asking for condensation, and condensation means mushy texture!
When storing, place the cooled chicken in an airtight container and it should be good for about three to four days in the refrigerator. When you’re ready to eat it later as part of your easy lunch recipes, skip the microwave if you can. Microwaves are the enemy of moist chicken breast! If you must use one, slice the leftover chicken thinly first, then heat those slices for just 30 seconds at a time. Better yet? Dice it cold and toss it over a big salad or throw it into a quick pan with a splash of broth to reheat gently. That little bit of extra moisture makes all the difference!
Serving Suggestions for Your Simple Oven Chicken
Now that you have this incredibly flavorful and perfectly cooked protein, what are you going to put next to it? We’re sticking to the theme here: simple, whole, and easy enough for a Tuesday night when you’re already tired! The rich garlic butter just begs for something green or something starchy to soak up those wonderful little pan drippings.
For vegetables, you can’t go wrong with something roasted. I often toss a big sheet pan of broccoli or green beans with just a drizzle of olive oil and salt, and they roast right alongside the chicken (just keep an eye on their cook time!). Or, if you want to take the veggie effort up one notch, try making my easy roasted carrots with honey and garlic—the residual warmth from the chicken makes everything taste cohesive.
When it comes to grains, keep it light! Brown rice or quinoa works beautifully as a neutral base. If you’re feeling a little more decadent but still need speed, a quick batch of creamy polenta is divine because it captures all that melted garlic butter in every spoonful. It turns this basic chicken into something that honestly feels restaurant-quality without any extra work on your part!
Variations on the Garlic Butter Chicken Breast Flavor
I know some of you are thinking, “Sarah, this garlic butter is amazing, but I can’t make the exact same thing every week!” I totally get it. Flavor fatigue is real, even when the base recipe is this good. But the great news about this foundation is how easily it adapts. The structure of the recipe—the even thickness and the resting—is so solid that you can swap out the topping and it still comes out perfectly moist!
If you want to try something totally different from the creamy, savory profile of our standard Garlic Butter Chicken Breast, here are a few simple switches you can make right before it goes into the oven. These swaps keep the cook time the same, too!
- The Dry Rub Swap: If you’re looking for something savory and maybe a little smoky, just skip the butter entirely and use the dry rub suggestion I put in the notes! Mix 1 tablespoon of brown sugar (for caramelization!), 1 teaspoon smoked paprika, 1/2 teaspoon onion powder, and the salt and pepper. Rub that directly onto the oiled chicken. It gives you that slightly sweet-and-savory crust that’s fantastic for slicing over salads. Sometimes I even double the paprika when I do this one!
- Lemon Herb Zing: For a brighter, cleaner taste—perfect for spring or summer meals—cut the softened butter in half. Instead of the dried oregano, use 1 teaspoon of dried thyme and the zest from one whole lemon right into the butter mix. A squeeze of fresh lemon juice right over the top before resting takes it to another level. This variation goes wonderfully with roasted asparagus.
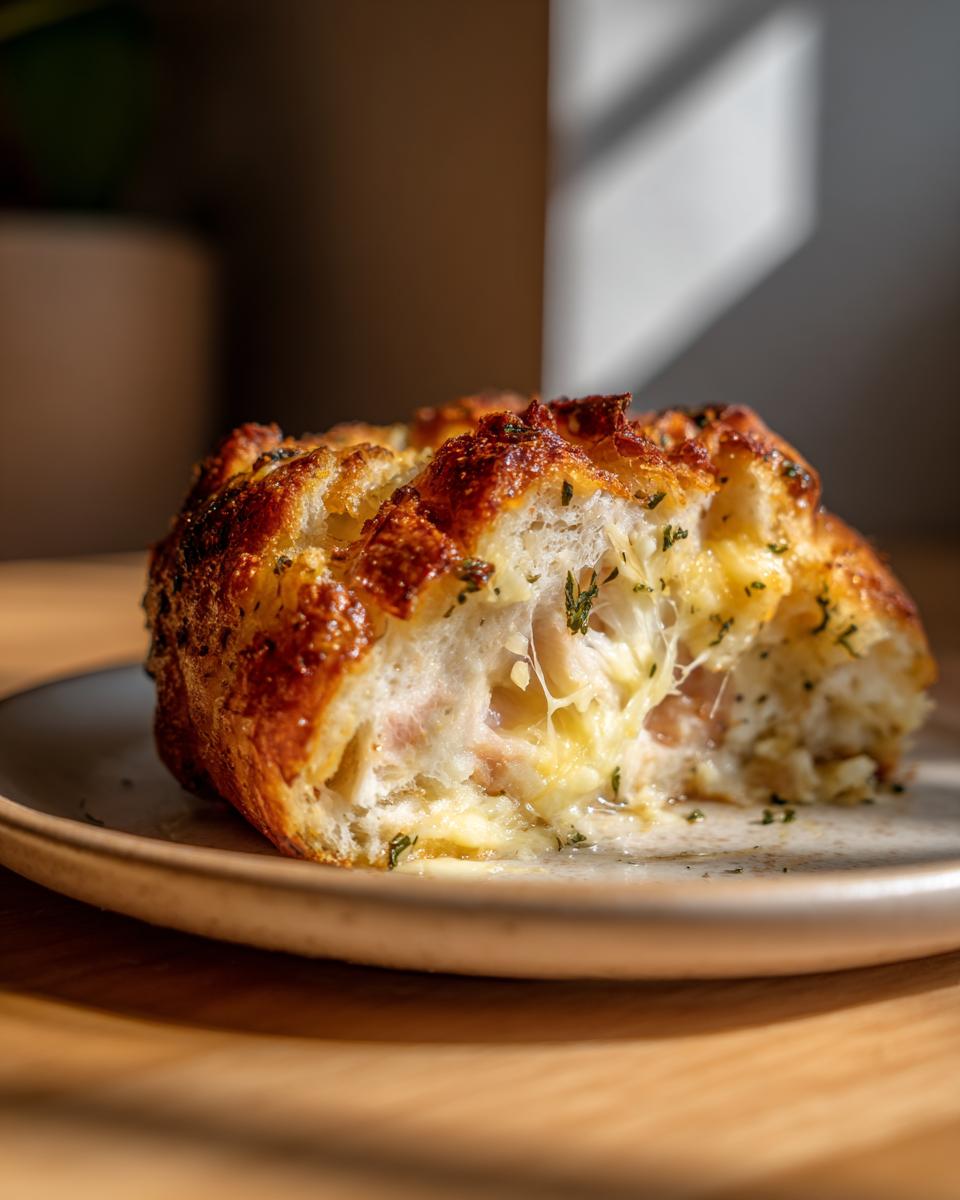
- Parmesan Crust Booster: If you love that salty, slightly nutty flavor, you can add 1/4 cup of grated Parmesan cheese directly into the butter mixture before spreading it on. Just be careful with the salt measurement, as Parmesan is naturally salty! This one browns up beautifully, giving you almost a restaurant-style crust. For a whole casserole idea using a similar profile, you might love checking out my garlic parmesan chicken bake for inspiration!
See? All these different flavor profiles still rely on that main technique we perfected—even thickness and the crucial rest—to deliver that melt-in-your-mouth sensation. Happy experimenting!
Frequently Asked Questions About Baked Chicken Breast
I know that even with the best foolproof recipe, lingering questions always pop up! Cooking chicken breast can feel intimidating because, let’s be honest, we’ve all ended up with chewy discs of disappointment. I gathered some of the most frequent things I hear about achieving that perfect baked chicken breast so you can bake with total confidence.
Can I make this Foolproof Chicken Recipe without the butter?
You certainly can, but you’ll be sacrificing a little bit of that true melt-in-your-mouth magic! The softened butter isn’t just for flavor; it acts like a protective coating that slows moisture loss while baking. If you skip it, I highly recommend coating your oiled chicken with just a splash of broth (maybe 2 tablespoons) in the bottom of the pan to create steam. This helps, but the richness won’t be quite the same. The butter is definitely one of the key components that makes this such a wonderfully tender chicken breast recipe.
What is the best internal temperature for Juicy Baked Chicken?
For safety and texture combined, the FDA recommends 165°F (74°C), and that’s what we aim for! However, remember the resting tip we discussed? If you pull your juicy baked chicken out of the oven around 160°F or 162°F, the residual heat while it rests for those crucial 10 minutes will carry it right up to the perfect safe temperature without overcooking it. That small timing difference is what separates a good chicken breast from a phenomenal one.
Is this recipe okay for Chicken Breast Meal Prep?
Absolutely! This is my go-to method for making ahead. Since the garlic butter infusion keeps the meat very tender and flavorful, it reheats much better than plain poultry. Just make sure you let the chicken cool fully before sealing it in your containers for storage. When reheating later for your easy lunch recipes, slice it first, then warm quickly on the stovetop with a tiny bit of water or broth to reintroduce moisture.
Can I use frozen chicken breast in this recipe?
Oh gosh, if you can avoid it, please do! Starting with frozen chicken means the outside parts (which thaw first) will overcook badly while the center is still thawing and cooking. If you are truly in a bind, you need to thaw it completely overnight in the fridge first. If you must try to cook it from semi-frozen, increase your total cooking time by about 50% and you absolutely must check the temperature frequently. For the best baked chicken results, always use fresh or fully thawed meat!
If you gave this recipe a try and finally achieved that beautiful, tender, and flavorful baked chicken breast you were looking for, I’d be so happy! Let me know in the comments below how it turned out and if you successfully avoided the dry zone. If you have more questions, feel free to reach out via my contact page! I’m always researching better ways to make dinner easy. For more amazing chicken techniques, check out this guide on oven-baked chicken breast for more inspiration!
Share Your Best Baked Chicken Results
I really, truly hope this stops the cycle of sad, dry chicken in your house! If this recipe delivered the unbelievably moist chicken breast surprise you were looking for, please leave a star rating right here on the page. I’d love to hear about it in the comments—especially if this became your new go-to for a weeknight chicken meal. And hey, if you snap a picture, tag us! Seeing your kitchens succeeding is the best part of Pure Plate Path. Don’t forget to check out our privacy policy!
PrintFoolproof Garlic Butter Baked Chicken Breast for Maximum Juiciness
This recipe shows you how to bake chicken breast in the oven to achieve a tender, juicy result every time using a simple garlic butter infusion. It is quick enough for a weeknight dinner and perfect for meal prepping.
- Prep Time: 10 min
- Cook Time: 25 min
- Total Time: 35 min
- Yield: 4 servings 1x
- Category: Dinner
- Method: Baking
- Cuisine: American
- Diet: Low Fat
Ingredients
- 4 boneless, skinless chicken breasts (about 6–8 oz each)
- 1 tablespoon olive oil
- 4 tablespoons unsalted butter, softened
- 4 cloves garlic, minced
- 1 teaspoon salt
- 1/2 teaspoon black pepper
- 1/2 teaspoon paprika
- 1/4 teaspoon dried oregano
- 1 tablespoon fresh parsley, chopped (for garnish)
Instructions
- Preheat your oven to 400 degrees Fahrenheit (200 degrees Celsius). Lightly grease a baking dish or line it with parchment paper.
- Prepare the chicken: If your chicken breasts are uneven, pound the thicker end slightly so they are uniform in thickness. This helps them cook evenly.
- Make the garlic butter rub: In a small bowl, combine the softened butter, minced garlic, salt, pepper, paprika, and dried oregano. Mix until fully incorporated.
- Season the chicken: Rub the olive oil over all sides of the chicken breasts. Then, evenly spread the garlic butter mixture over the top of each chicken breast.
- Bake: Place the seasoned chicken breasts in the prepared baking dish. Bake for 20 to 25 minutes, or until the internal temperature reaches 165 degrees Fahrenheit (74 degrees Celsius) when checked with a meat thermometer in the thickest part.
- Rest: Remove the chicken from the oven and let it rest on a cutting board for 5 to 10 minutes before slicing. This step is crucial for keeping the chicken moist.
- Serve: Garnish with fresh parsley before serving.
Notes
- For extra juicy baked chicken, consider placing the chicken breasts in a shallow dish with 1/4 cup of chicken broth during baking.
- If you prefer a dry rub, skip the butter and use 1 tablespoon of brown sugar mixed with the spices for a savory-sweet flavor profile.
- To ensure even cooking, use a meat thermometer; do not rely only on the time listed.
Nutrition
- Serving Size: 1 breast
- Calories: 310
- Sugar: 1
- Sodium: 450
- Fat: 14
- Saturated Fat: 7
- Unsaturated Fat: 7
- Trans Fat: 0
- Carbohydrates: 2
- Fiber: 0
- Protein: 43
- Cholesterol: 135