
Let’s be honest, those plastic-wrapped rounds you grab at the store just don’t cut it. They’re flat, they taste vaguely… cardboard-y, and they certainly don’t deliver on the promise of texture. That’s why, when I started Pure Plate Path, bringing the joy back to the breakfast table was a huge focus for me. After long days in my old marketing job, the only thing that truly grounded me was getting back to simple, good food. Trust me, making your own homemade English muffins—soft, fluffy, and cooked right on the stovetop—is a complete game-changer. We’re talking about achieving those gorgeous, butter-catching ‘nooks and crannies’ every single time! If you’re looking for other simple meals to bring comfort back to your kitchen, you might love my recipe for easy creamy one-pot tuna pasta skillet.
- Why This Is The Best English Muffin Recipe You Will Ever Make
- Gathering Ingredients for Homemade English Muffins
- How to Make English Muffins at Home: Step-by-Step
- Tips for Perfect English Muffin Nooks and Crannies
- Transforming Your English Muffin Into Cozy Morning Breakfast Ideas
- Storage and Freezer Friendly Breakfast Options for Your english muffin
- Ingredient Notes and Buttermilk English Muffins Substitutions
- Frequently Asked Questions About Making English Muffins
- Share Your Homemade English Muffins Experience
Why This Is The Best English Muffin Recipe You Will Ever Make
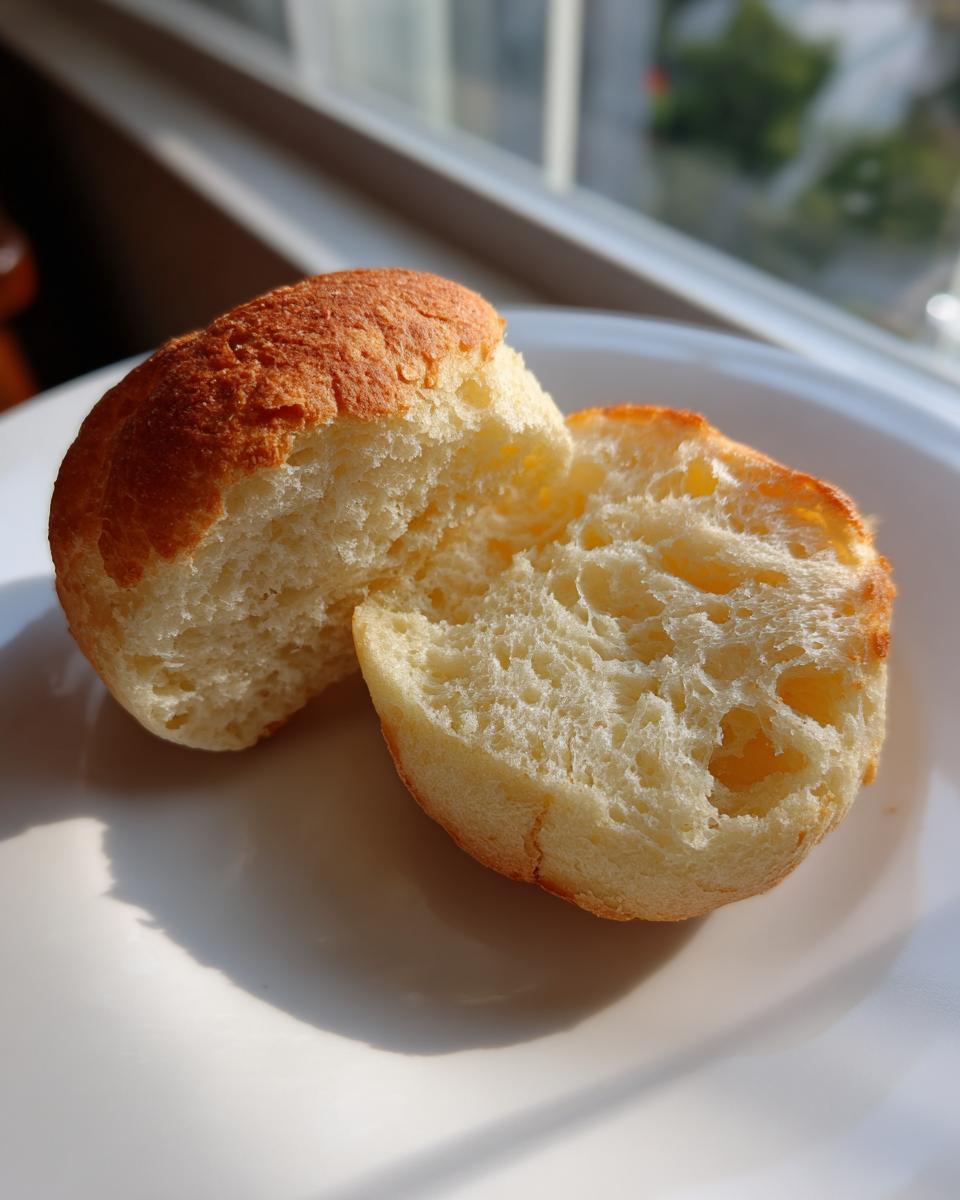
If you’ve ever settled for those pre-packaged rounds, get ready to toss out that assumption forever. This recipe for homemade English muffins is the ultimate superior store bought alternative. Seriously, the texture here is just unmatched. We aren’t just aiming for bread; we are aiming for true joy in your toaster.
We get that real, fluffy texture—the kind that defines excellent fluffy homemade bread—without the fuss of turning on the oven. This recipe proves that the best breakfast bread recipes can be surprisingly straightforward when you have the right technique.
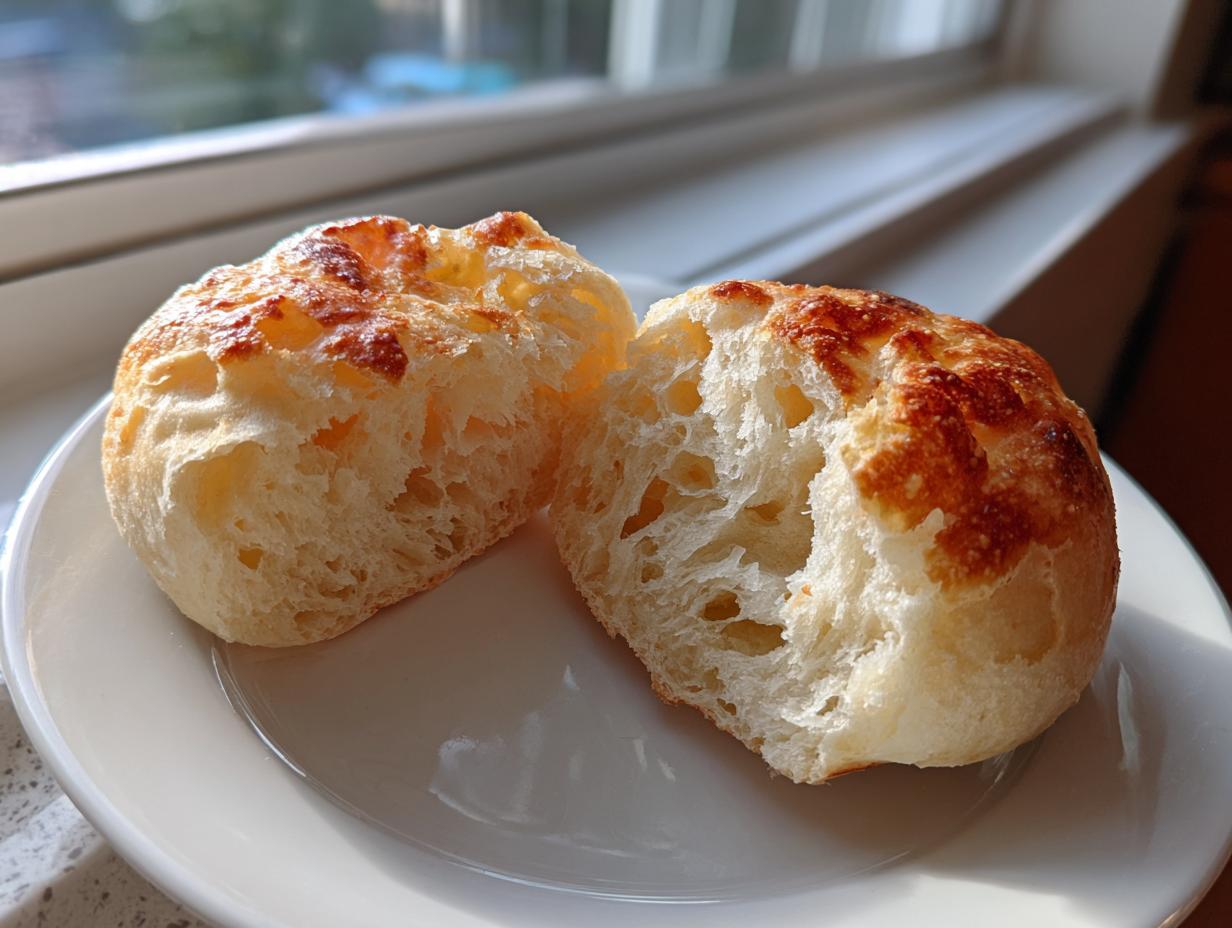
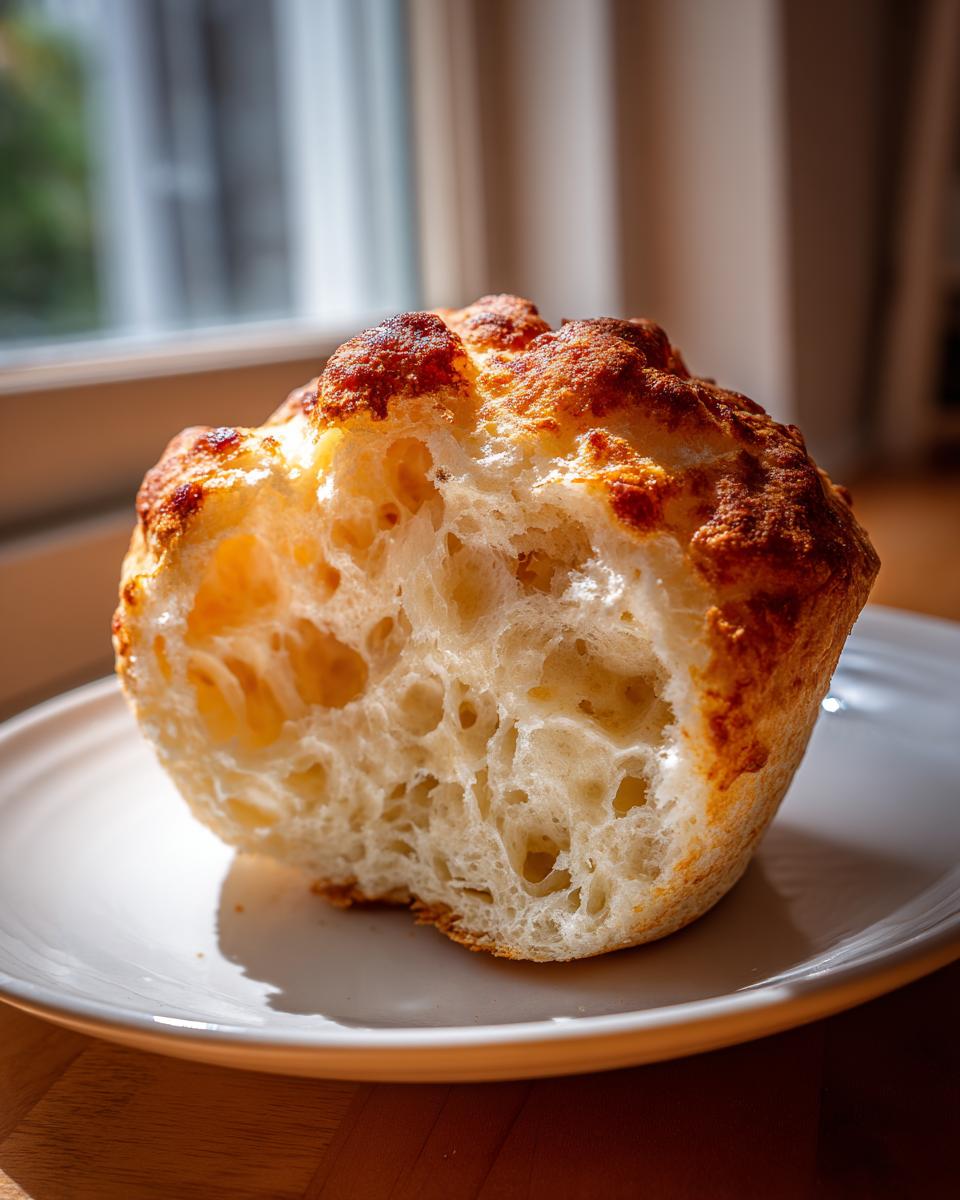
Achieving Perfect English Muffin Nooks and Crannies
This is the million-dollar question, right? Getting those pockets is easier than you think! It comes down to two things: cooking them gently on the griddle (we cover that low heat rule later!) and, most importantly, splitting them with a fork instead of a knife later on. That fork trick opens up all those beautiful internal air tunnels.
Simple Stovetop Cooking: The No Oven English Muffin
I love making these because they fit perfectly into a busy morning schedule. We are talking about easy stovetop muffins here. No need to preheat your oven, no dealing with hot racks, just a simple skillet or griddle is all you need to create the best English muffin recipe imaginable. It’s honestly one of my favorite aspects of this whole process!
If you’re looking for another meal where simplicity wins, check out my recipe for easy Zuppa Toscana soup—it’s pure comfort without the fuss.
Gathering Ingredients for Homemade English Muffins
Okay, these homemade English muffins are made from scratch, but don’t let that scare you! We are using totally standard pantry items. Because we are relying on yeast for lift, the water temperature is key—it needs to be warm, about 105 to 115°F, to wake up that yeast. Make sure your buttermilk is room temperature; it blends so much smoother that way! If you’re interested in another fantastic from-scratch recipe perfect for breakfast, check out my soft sourdough sandwich bread recipe; it makes lovely loaves!
- 1 1/2 cups warm water (keep that thermometer handy, 105-115°F!)
- 2 1/4 teaspoons active dry yeast (you want that foam later!)
- 1 tablespoon granulated sugar
- 3 3/4 cups all-purpose flour (plus extra for dusting)
- 1 1/2 teaspoons salt
- 1/2 cup buttermilk, room temperature is a must for the best texture
- 2 tablespoons unsalted butter, melted
- Cooking oil or butter (for greasing the griddle)
How to Make English Muffins at Home: Step-by-Step
Okay, take a deep breath. Making homemade English muffins from scratch really isn’t scary, I promise! It’s just a few steps where time does most of the work for you. The key here is being gentle—we aren’t making bagels; we want that light, airy structure to happen naturally. This whole process is what separates our superior baked goods from the store shelves.
Activating the Yeast and Mixing the English Muffin Dough
First things first, wake up that yeast! In your big bowl, mix the warm water, sugar, and yeast. When it gets nice and foamy after about ten minutes, you know you’re good to go. Next, stir in the buttermilk, melted butter, and salt. Now comes the flour incorporation. Add it gradually while mixing until you get a dough that looks a bit shaggy—that’s okay! When I first started, I panicked that the dough was too sticky, but that stickiness is *exactly* what gives us that soft and chewy muffin interior. Don’t be tempted to dump in all the extra flour; we need that slight tackiness for our fluffy homemade bread.
Proofing and Shaping Your Fluffy Homemade Bread
Pop that sticky dough into a lightly oiled bowl, cover it up snuggly, and let it happily sit somewhere warm until it doubles in size—usually 60 to 90 minutes. When it’s puffy, gently punch it down—no aggressive kneading here! Turn it out onto a surface dusted well with flour and pat or very lightly roll it until it’s about half an inch to three-quarters of an inch thick. Then, grab your 3-inch cutter and start stamping out those rounds. Crucially, lay these raw English muffin shapes onto a baking sheet you’ve heavily dusted with cornmeal or semolina. This dusting is what keeps them from sticking and adds that lovely, traditional texture.
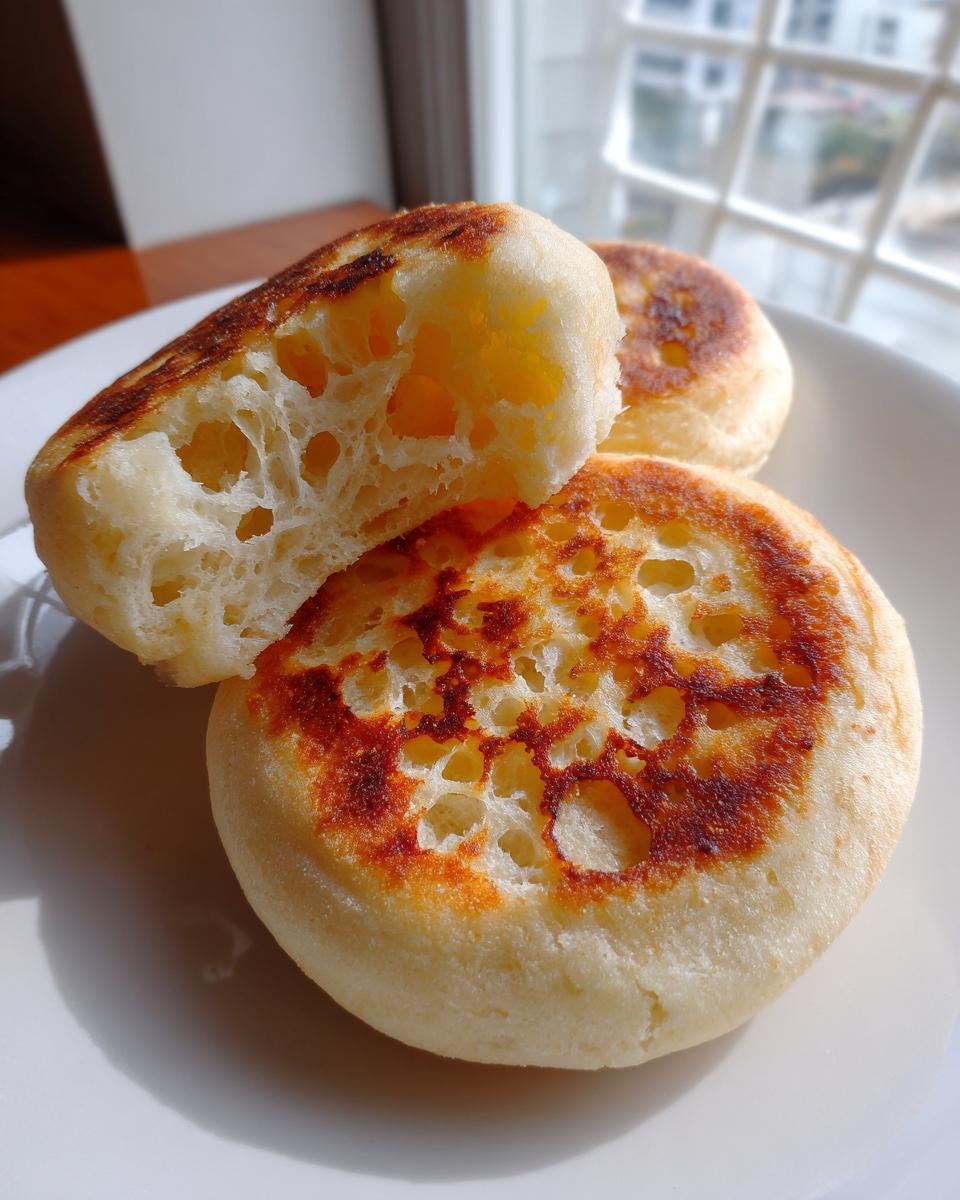
The Crucial Stovetop Cooking Method for English Muffins
This is where the magic really happens for those amazing English muffin nooks and crannies! You need a heavy skillet or griddle heated to medium-low—I mean it, medium-low! If the heat is too high, you get burned outside and raw insides, which is the quickest way to fail at how to make English muffins at home successfully. Lightly grease your pan. Cook these beauties for about 8 to 12 minutes per side. They should look golden brown when you flip them. Patience is everything here; they need that slow cook time to rise up and cook all the way through properly. Because we skipped the oven, this slow dance on the stovetop is non-negotiable!
If you want some help making easy toppings for these treats after they’re done, you should look at my recipe for easy biscuit dough pizza bites—they are surprisingly good when you swap the biscuit dough for a toasted muffin base!
Tips for Perfect English Muffin Nooks and Crannies
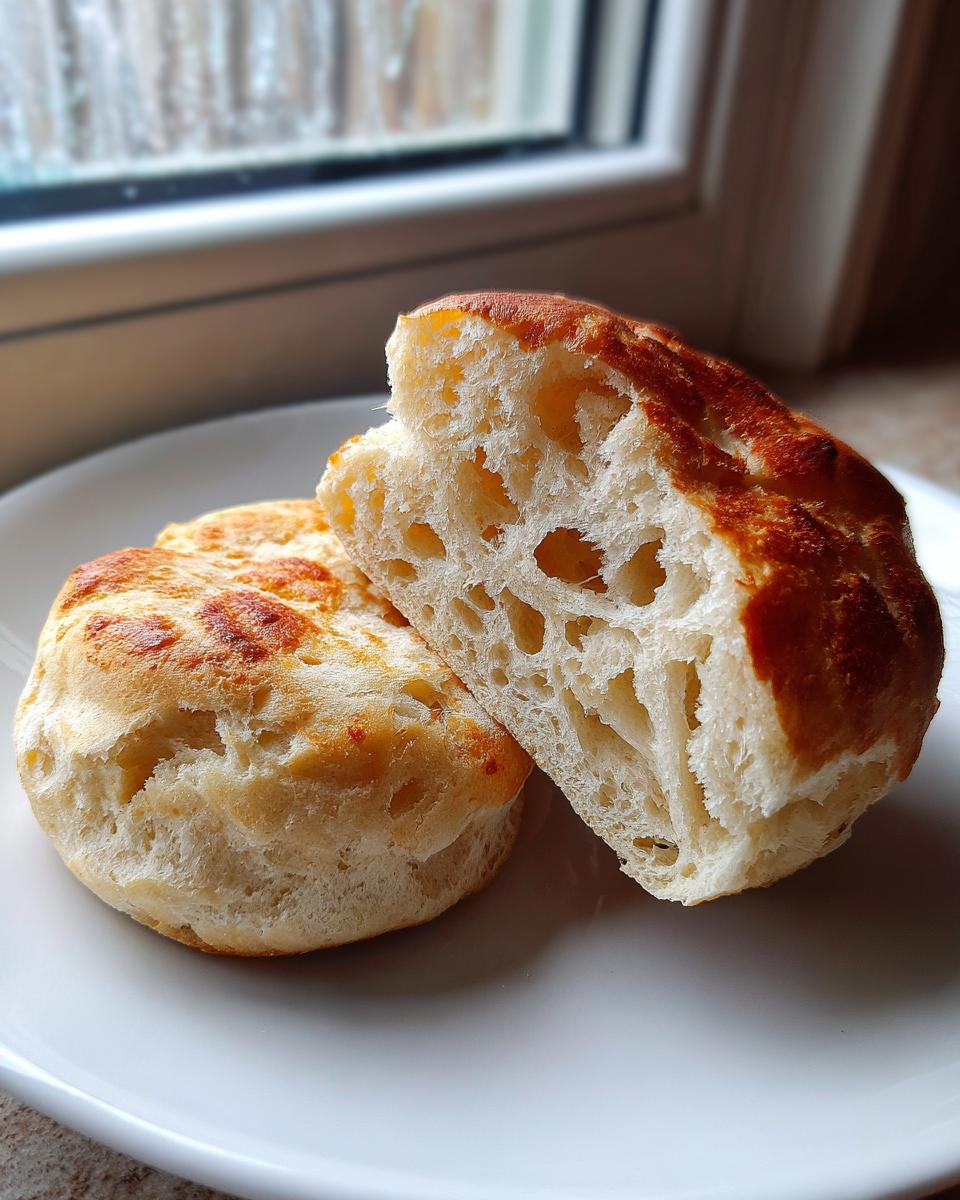
You’ve worked hard to get that beautiful, fluffy structure, and now we need to respect it! The number one tip for getting those glorious English muffin nooks and crannies to truly expose themselves is simple: absolutely do not use a sharp knife to cut them open after cooking. A knife pushes the crumb together, sealing those little air pockets shut.
Instead, you need to gently use a two-pronged fork to pierce the edge all the way around the circumference of the cooled muffin. Twist slightly as you go. This method naturally pries the two halves apart, revealing the beautiful, porous interior just waiting to soak up butter. This trick is non-negotiable if you want that bakery-quality experience!
Also, remember that low, slow cook time we talked about? That keeps the steam trapped inside while the exterior sets, building the internal structure. For more fantastic tips on perfecting your bake, check out this external resource on easy homemade English muffins. If you loved this tip, you might also enjoy my foolproof guide to a cookie cake recipe for a different kind of satisfying texture!
Transforming Your English Muffin Into Cozy Morning Breakfast Ideas
Now that you have these perfect, fluffy homemade English muffins, the fun part starts: eating them! We made them to be better than store-bought, so don’t just let them sit there plain. The absolute classic move—and why I love having these on hand for busy weekday mornings—is to split them, toast them until they are crispy on the edges, and slather them with butter so it melts into every single cranny.
They make the most incredible base for quick breakfast sandwich buns, too. Think of a classic Eggs Benedict—ours holds up beautifully under the Hollandaise sauce! And don’t stop at breakfast! If you have leftovers later in the week, they make a fantastic base for mini pizzas. Just a quick spread of sauce and cheese under the broiler, and bam! Dinner solved. For more easy meals you can rely on, check out my favorite sheet pan eggs for meal prep.
If you’re looking for savory comfort, these muffins pair wonderfully with a hearty sausage gravy. I love seeing a comforting English Muffins and Gravy dish on the table for brunch!
When you need something faster, these work great for my easy shredded chicken taco night when I turn them into little taco boats—so silly, yet so satisfying!
Storage and Freezer Friendly Breakfast Options for Your english muffin
We made a big batch because, honestly, once you start making homemade English muffins, the first batch disappears instantly! The great news is that these are the definition of a freezer friendly breakfast. Once they are totally cooled down—and I mean completely cool—toss them into a heavy-duty freezer bag. They hold up beautifully for up to three months!
When you need one, skip the fridge and go straight for the toaster. Just pop them in frozen, and they toast up perfectly, retaining that soft texture inside. If they’re just going into the fridge for a few days, wrap them tightly in plastic wrap. For more simple ways to keep your fresh bakes lasting longer, you can see my tips on easy roasted honey-glazed carrots—the storage principles are similar!
If you’re curious about keeping other baked goods fresh, this article on freezing English muffins has some great supplementary advice too!
Ingredient Notes and Buttermilk English Muffins Substitutions
When you’re aiming for the best English muffin recipe, sometimes you just don’t have every specialty item on hand, and that’s okay! My kitchen is all about making things work, not stressing over one missing ingredient. Buttermilk is what gives these homemade English muffins their wonderful, tender crumb and that slight, welcome tang—it reacts beautifully with the baking soda that sometimes sneaks into these recipes, even though we are using yeast!
If you run out of buttermilk for your fluffy homemade bread, don’t panic! You can whip up a fantastic substitute right now. Just measure out 1/2 cup of regular milk—any kind works—and stir in one teaspoon of white vinegar or fresh lemon juice. Let that sit on the counter for about 5 minutes. It will curdle slightly, and that acidity is exactly what mimics buttermilk, keeping your English muffin soft and chewy.
Now, about the flour: this recipe calls for all-purpose, and I really stick to it because balancing the gluten structure is important when you cook on the stovetop! Wheat flour with higher protein can make your muffins tough if you aren’t careful. Stick with standard AP flour, and use the light kneading technique we talked about. For more simple kitchen tricks that make life easier, you can check out how I make an easy, rich homemade hot cocoa mix!
Frequently Asked Questions About Making English Muffins
When you’re diving into from scratch baking, questions always pop up! I get so many emails asking what to do when things don’t look quite right, so I wanted to put a few of the most common troubleshooting items right here. Remember, every baker—even me, Sarah Miller—has had flat, pale, or burnt English muffin attempts. Don’t sweat it; part of finding the best homemade English muffin recipe is learning from those small hiccups!
What temperature should the griddle be for english muffins?
This is probably the most important mechanical question for getting those beautiful golden sides and perfect lift! You absolutely must use medium-low heat. I cannot stress this enough. If you crank it up to medium or medium-high, the exterior of your English muffin will burn and turn dark brown way too fast, leaving the center doughy and flat. We need that slow, gentle heat—think slow and steady wins the race for that fully cooked, airy interior.
Can I use regular milk instead of buttermilk in this english muffin recipe?
Yes, you totally can! I prefer buttermilk because that slight acidity helps tenderize the crumb, making them incredibly soft and chewy, which is why I call them fluffy homemade bread, but milk works in a pinch. If you only have regular milk, just take your half-cup measurement of milk, stir in one teaspoon of white vinegar or fresh lemon juice, and let it sit on the counter for about five minutes until it looks a little curdled. That’s your instant buttermilk substitute! It won’t have quite the same depth of tanginess, but it will keep your homemade English muffins wonderfully soft.
If you want to know more about my philosophy on simple, approachable cooking, you can always check out my About Page!
Share Your Homemade English Muffins Experience
Wow, we did it! You’ve mastered the art of making authentic, soft, and fluffy homemade English muffins right on your stovetop. Doesn’t that smell incredible? I really hope this recipe helps you reclaim some simple joy in your busy mornings!
Now, I absolutely love hearing about your triumphs in the kitchen. Did you nail the low-and-slow cooking time? More importantly: were you able to achieve those glorious English muffin nooks and crannies when you split them with a fork? Please, please let me know how they turned out for you and your family!
If you had a great experience with this recipe, please take a second to give it a rating below. And if you snapped a picture of your perfectly golden, split muffins ready for butter, I would be thrilled to see them! Tag me or send a note through my contact page. Happy baking, and enjoy every single soft, chewy bite of that superior breakfast bread!
PrintFluffy Homemade English Muffins with Signature Nooks and Crannies

Make superior homemade English muffins on the stovetop. This easy recipe yields soft, fluffy breakfast bread with the classic nooks and crannies that hold melted butter perfectly, proving that from-scratch baking is better than store-bought.
- Prep Time: 30 min
- Cook Time: 25 min
- Total Time: 2 hours 25 min
- Yield: 10-12 muffins 1x
- Category: Breakfast
- Method: Stovetop Cooking
- Cuisine: American
- Diet: Vegetarian
Ingredients
- 1 1/2 cups warm water (105-115°F)
- 2 1/4 teaspoons active dry yeast
- 1 tablespoon granulated sugar
- 3 3/4 cups all-purpose flour
- 1 1/2 teaspoons salt
- 1/2 cup buttermilk, room temperature
- 2 tablespoons unsalted butter, melted
- Extra flour for dusting
- Cooking oil or butter for the griddle
Instructions
- In a large bowl, combine the warm water, yeast, and sugar. Let this mixture sit for 5 to 10 minutes until it becomes foamy. This shows the yeast is active.
- Add the buttermilk, melted butter, and salt to the yeast mixture. Stir to combine.
- Gradually add the flour, mixing until a shaggy, soft dough forms. You may not need all the flour. The dough will be sticky.
- Turn the dough out onto a lightly floured surface. Knead the dough gently for about 5 minutes until it becomes smooth but still soft. Avoid over-kneading; you want a tender crumb.
- Place the dough in a lightly oiled bowl, turning to coat. Cover the bowl with plastic wrap or a clean towel and let it rise in a warm place for 1 to 1.5 hours, or until doubled in size.
- Gently punch down the risen dough. Turn it out onto a lightly floured surface. Pat or lightly roll the dough to about 1/2 to 3/4 inch thickness.
- Use a 3-inch round biscuit or English muffin cutter to cut out the rounds. Gather the scraps, gently re-knead them, and cut out more rounds.
- Place the cut rounds on a baking sheet heavily dusted with cornmeal or semolina (this prevents sticking and adds texture). Let them rest for 30 minutes.
- Heat a large, heavy-bottomed skillet or griddle over medium-low heat. Lightly grease the surface with oil or butter.
- Cook the English muffins in batches for about 8 to 12 minutes per side, turning only once. The heat must remain low enough so the muffins cook through without burning the exterior. They should be golden brown.
- Remove the cooked muffins and let them cool completely on a wire rack.
- To achieve the signature nooks and crannies, split the cooled muffins using a fork around the edges, rather than slicing with a knife. Toast before serving.
Notes
- For the best texture, split the cooked English muffins with a fork instead of slicing them with a knife. This opens up the internal air pockets, creating the classic nooks and crannies.
- These homemade English muffins freeze well. Cool them completely, place them in a freezer-safe bag, and freeze for up to three months. Toast directly from frozen.
- If you want to use these for breakfast sandwiches or Eggs Benedict, toast them well after splitting.
Nutrition
- Serving Size: 1 muffin
- Calories: 180
- Sugar: 2
- Sodium: 300
- Fat: 3
- Saturated Fat: 1.5
- Unsaturated Fat: 1.5
- Trans Fat: 0
- Carbohydrates: 34
- Fiber: 1
- Protein: 5
- Cholesterol: 5