
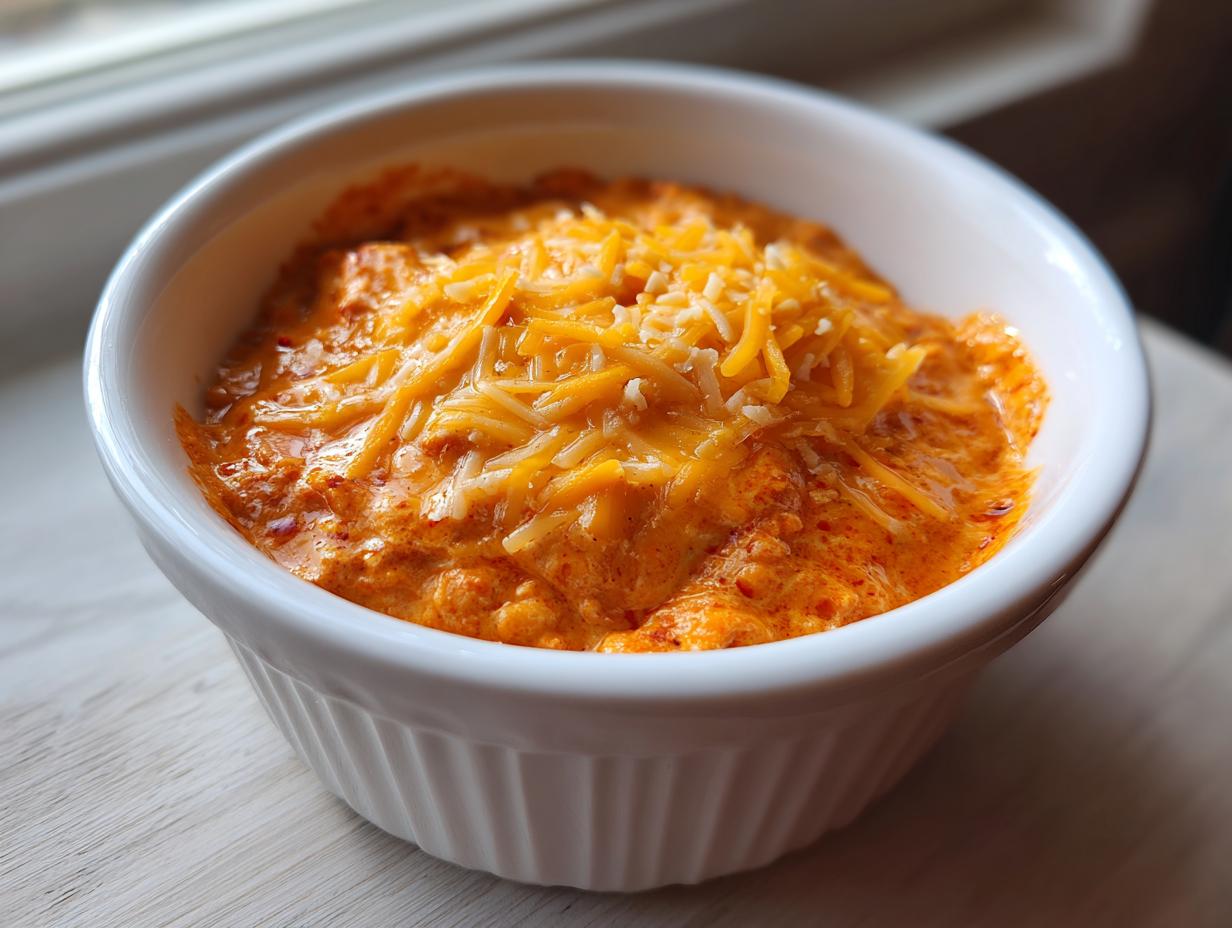
When the game starts in thirty minutes and people are already walking in the door, you don’t need fancy. You need something warm, cheesy, and so easy you don’t even need to look at the instructions twice. That’s exactly what led me to perfect this Ultimate Quick & Easy 3-Ingredient chili cheese dip. Honestly, when I was juggling my marketing career and trying to be present for my family, quick appetizers were my lifeline. This dip delivers maximum comfort food flavor with virtually no effort, and trust me, it disappears faster than the kickoff!
We aren’t messing around with ten different spices or hours of simmering. We’re using just three simple ingredients to create a creamy, melty masterpiece that satisfies every single time. If you need more practical, fast recipes for your busy life, you can check out my ideas for quick easy weeknight dinners.
- Why This 3 Ingredient Chili Cheese Dip is Your New Party Staple
- Gathering Ingredients for Your Chili Cheese Dip
- How to Make This Easy Chili Cheese Dip Step-by-Step
- Tips for the Best Creamy Dip Success
- Variations for Your Chili Cheese Dip
- Serving Suggestions for Your Game Day Dip Recipes
- Storage and Reheating Instructions for Chili Cheese Dip
- Frequently Asked Questions About This Hot Cheese Dip
- Nutritional Snapshot of This Budget Friendly Dips Recipe
Why This 3 Ingredient Chili Cheese Dip is Your New Party Staple
When you need a showstopper but only have minutes to pull it together, this recipe saves the day. I’ve hosted countless gatherings, and this snack always comes off the table empty. It’s proof that less is absolutely more when it comes to delicious appetizers. It checks every box a busy host needs!
- It’s the definition of a Simple Appetizer Idea—just three things in the bowl!
- It functions perfectly as a Quick Party Dip for last-minute surprises.
- It requires zero complex chopping or long simmering times.
If you enjoyed this concept, you should check out my recipe for easy buffalo chicken dip too; it’s another winner for big crowds.
Speed and Simplicity: The Ultimate Quick & Easy 3-Ingredient Chili Cheese Dip
Seriously, you can’t beat 15 minutes. We’re prepping for under five minutes and heating for about ten. That’s it! Because it’s a 3 Ingredient Dip, there’s almost no chance of error. The magic here is that the combination of cream cheese, chili, and cheddar is naturally foolproof. It melts beautifully together, creating that dense, scoopable texture we all crave.
Crowd Pleaser Appetizers: Achieving That Best Creamy Dip Texture
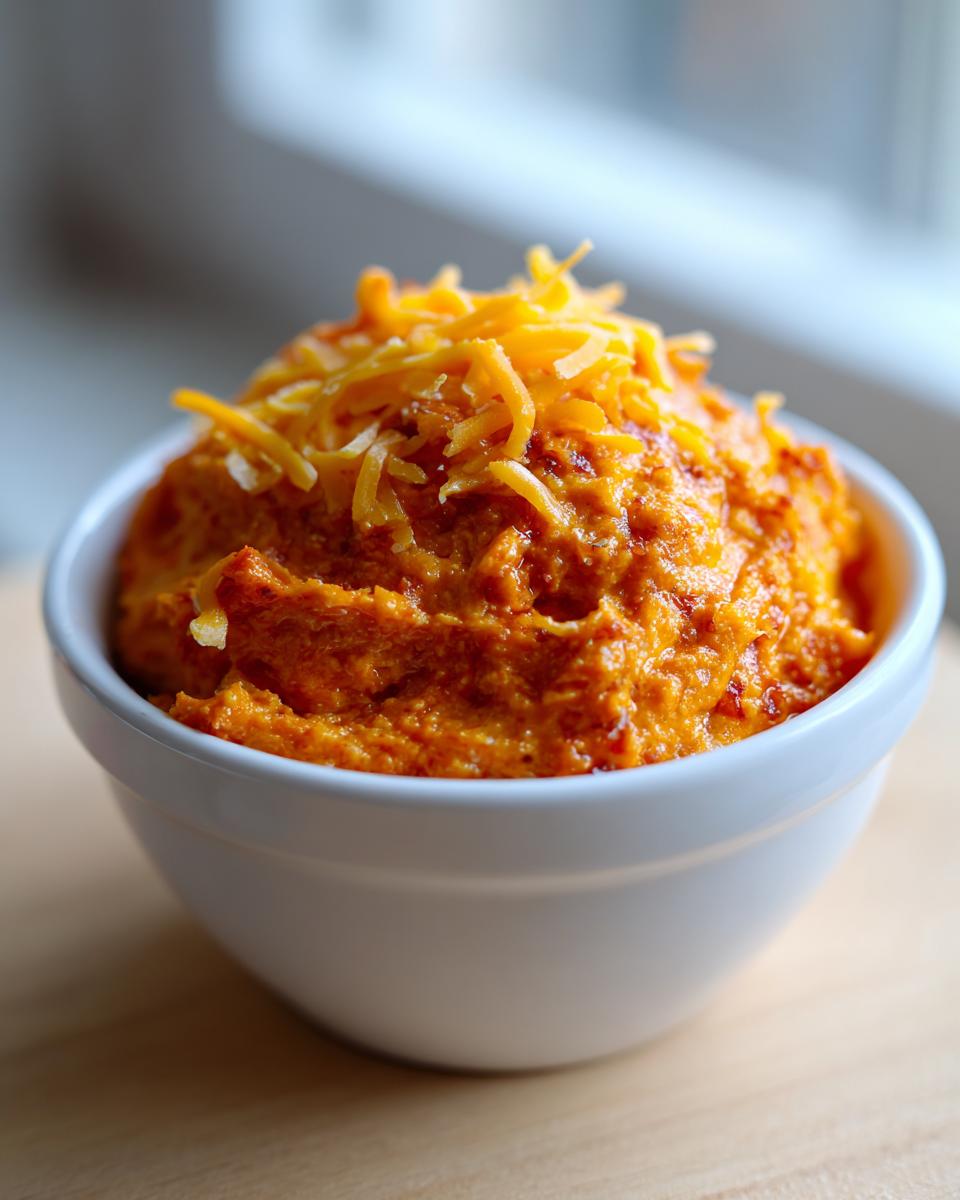
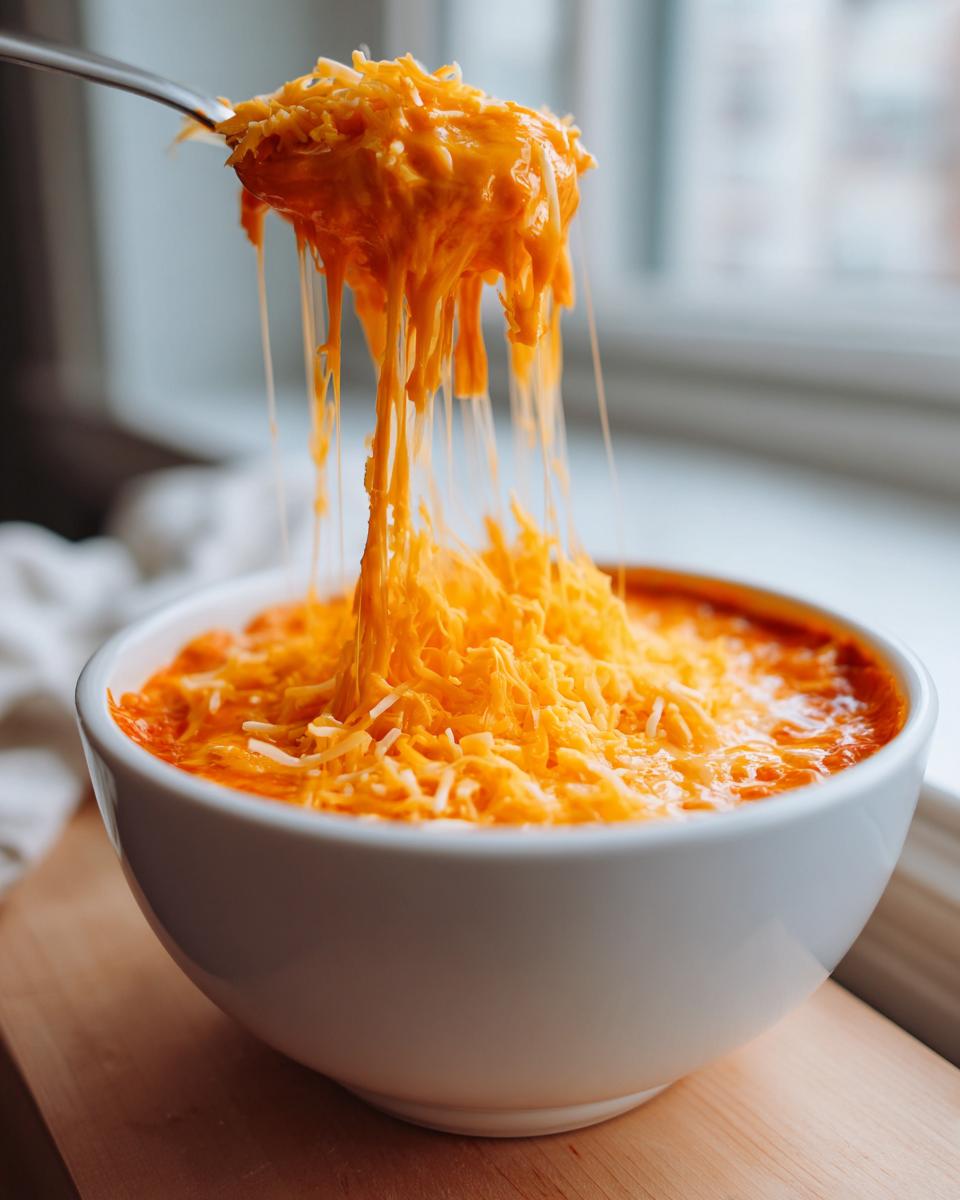
The goal is always that luscious, Best Creamy Dip texture, right? That smooth melt comes entirely from using room-temperature cream cheese combined with the heat. When you stir in the main chili, it incorporates evenly, and that final sprinkle of cheddar on top gets gloriously melty under the heat lamp or while staying warm. It’s why this makes the best Game Day Dip Recipes list—it holds its heat and texture perfectly hot or warm.
Gathering Ingredients for Your Chili Cheese Dip
Okay, this is where the miracle happens. Since this is my famous three-ingredient formula, we don’t need a huge grocery list! When I developed this out of sheer necessity on a Friday night before a big football watch party, I focused on using things I always had on hand. Having these three things ready is the key to getting this chili cheese dip on the table in under 15 minutes total. It’s pantry magic, I promise!
Essential Components for the Perfect Chili Cheese Dip
You only need three things, so make sure they are ready to go. First, grab one full 8-ounce package of cream cheese, and listen closely—it absolutely must be softened. You can’t rush that part! Next, you need one 15-ounce can of plain chili; I always suggest one without beans so you get that ultra-smooth texture we’re aiming for. Finally, measure out one full cup of shredded cheddar cheese, but save about half of that for topping later!
How to Make This Easy Chili Cheese Dip Step-by-Step
This is the part that makes us look like culinary geniuses, but takes maybe 15 minutes total—only five of those minutes are actual prep time! We aren’t waiting around; this Easy Chili Cheese Dip moves fast from the counter to the serving dish. I’ve found that keeping the pan warm but not roaring hot is the key to a perfect velvet finish. My secret, forged in the fire of late-game buzzer beaters, is simple: patience during the stir.
Melting and Blending the Base of Your Chili Cheese Dip
First, get that softened cream cheese and your can of chili into a small saucepan over medium-low heat. If you’re microwaving, remember to work in 30-second bursts. The stovetop is hands-down my preference for this part. You have to stir constantly! Seriously, don’t walk away to grab something else. If you don’t stir frequently, that cream cheese sticks right to the bottom and scorches. I stir in smooth, figure-eight motions until the mixture completely marries together and looks uniformly smooth. That’s the foundation of a great Hot Cheese Dip!
Finishing Touches for a Melty Cheese Appetizer
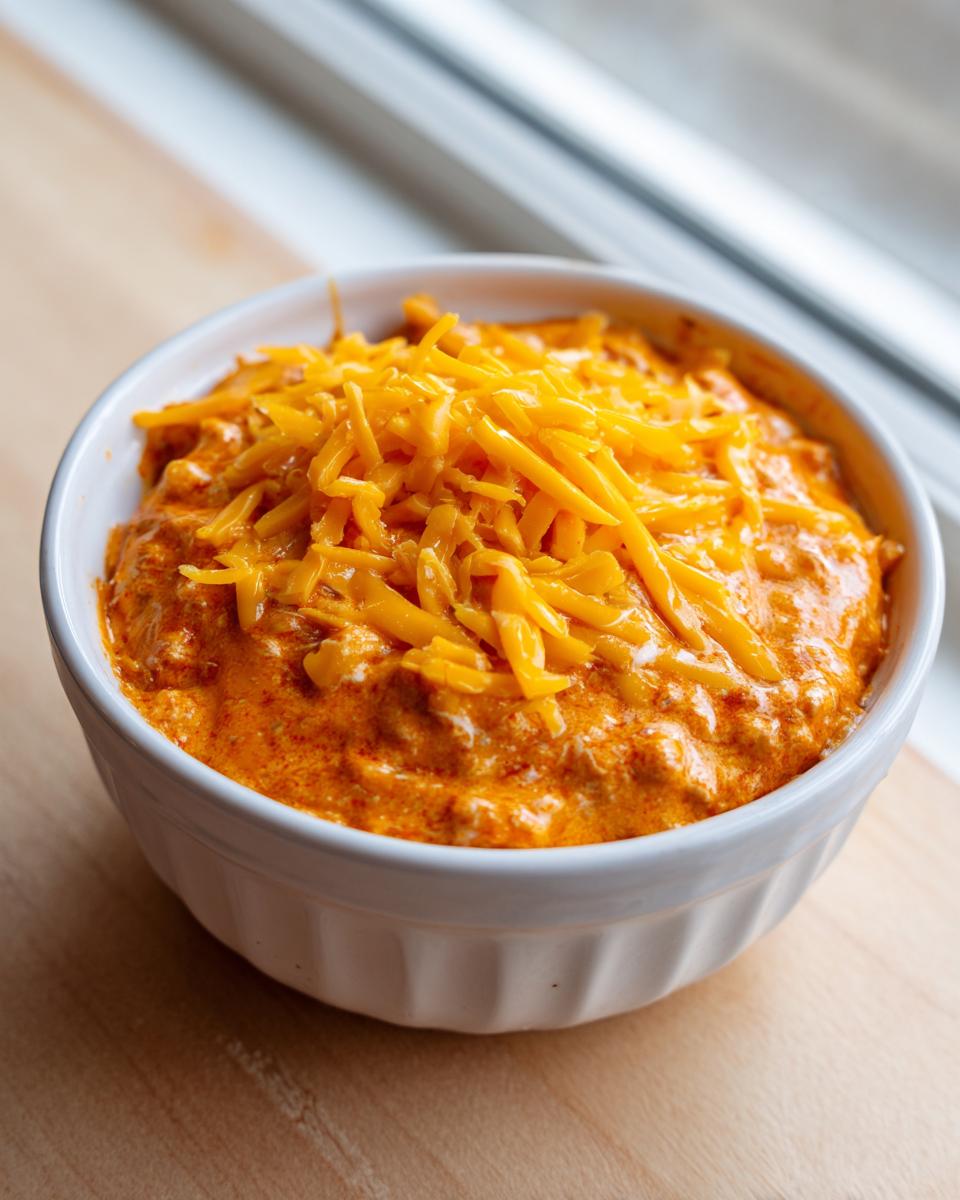
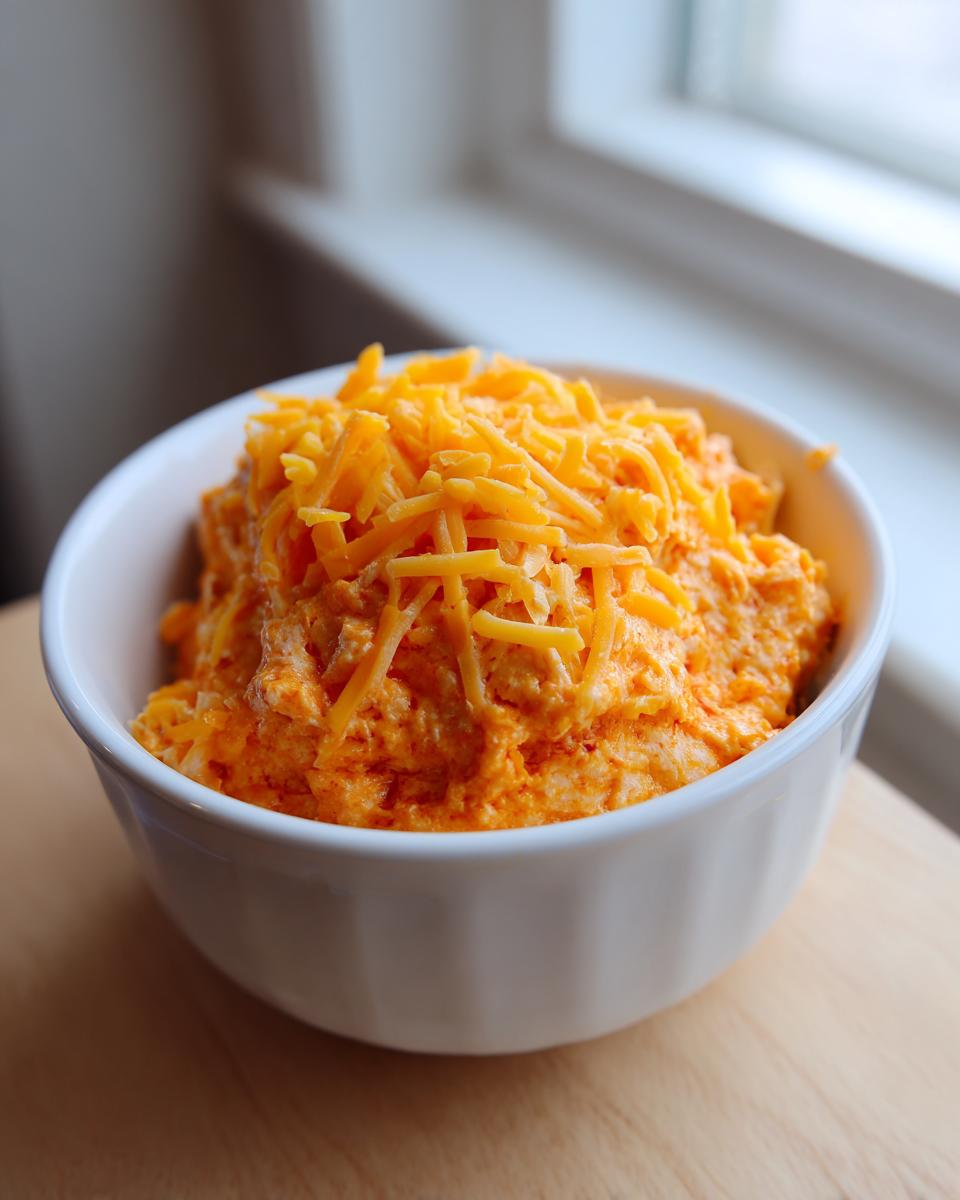
Once the base is silky smooth, take it off the direct heat—this is important! Then, swiftly stir in half of your reserved shredded cheddar cheese. You want that cheese to melt right into the hot base but not be subjected to any more cooking time, which can make it tough. Once that’s incorporated, transfer the whole dreamy mixture into your serving dish. Sprinkle that final half cup of cheddar right over the top. Serve this glorious Melty Cheese Appetizer immediately while it’s bubbling. If you’re looking for other simple one-pot wonders, take a peek at my creamy tuna skillet; it follows a similar simple satisfaction principle!
Tips for the Best Creamy Dip Success
Even though this recipe is incredibly simple, a couple of tiny tweaks can take your chili cheese dip from good to absolutely addictive. This is where I pull from my years of last-minute cooking—you need reliability! Because this dip hits peak comfort food status, we want that texture to be perfect, whether you’re eating it immediately or keeping it warm for the whole game.
- If the dip seems too thick right away, don’t panic! Just stir in one or two tablespoons of milk while it’s warming up. It loosens everything right up without watering down the flavor.
- When it comes to the chili, remember my rule: I strongly prefer bean-less chili for this. The absence of beans ensures the smoothest, most satisfyingly rich mouthfeel possible, which is a major component of any great Comfort Food Dips recipe.
- For richer flavor, don’t just grab any canned chili. Find one that’s a little more hearty or labeled “premium.” The small flavor boost really pays off since we’re only using three main players here.
- When using a slow cooker (which I mention below!), make sure you set it to the ‘Keep Warm’ setting, not ‘Low’ or ‘High.’ It just gently maintains that melty perfection without cooking it further.
If you’ve mastered savory dips, you might want to try something sweet next! Check out my recipe for the best thick, creamy hot chocolate for a sweet ending!
Variations for Your Chili Cheese Dip
Okay, I know I sold you on the magic of three basic items, but listen, sometimes you want to jazz things up just a tiny bit without turning this into an all-day cooking project. Sometimes my pantry has a couple of extra stray items, and I just can’t help myself! Since this chili cheese dip is such a stellar base, you can absolutely add a couple of things here and there if you have them. It’s still going to be faster than ordering takeout, I promise.
The key to keeping it simple is to add things right at the beginning when you mix the chili and cream cheese, or right at the end with the final cheese sprinkle. Don’t feel like you have to go crazy! If you’re feeling frisky and want to try something new after mastering the basic version, I have some great easy biscuit dough appetizers that are customizable too.
Here are a couple of my favorite quick additions that take this dip up one notch:
- Spice It Up: If you like heat, toss in about half a teaspoon of cayenne pepper or a dash of smoked paprika right when you add the chili. It deepens the flavor profile without adding bulk.
- Onion/Garlic Boost: If you have onion or garlic powder, a quarter teaspoon of each stirred into the base will give it that slow-cooked flavor instantly.
- Get Green! Stir in a tablespoon or two of diced pickled jalapeños—the kind you keep in a jar for nachos—right before the final cheese addition. It gives a little vinegary zip that cuts through the richness.
- Switch the Cheese: While cheddar is classic, try swapping half the cheddar for Monterey Jack or Pepper Jack if you want extra pull and a little spice swirl in your chili cheese dip. It melts just as beautifully!
Serving Suggestions for Your Game Day Dip Recipes
Okay, you’ve got this glorious, hot, melty chili cheese dip sitting in the bowl. Now we need vehicles! A great dip deserves great carriers. Since this is a hearty snack, you need things that can really stand up to the weight of that cheesy goodness. I always make sure I have a few options out when I put this out for my friends, especially because it’s one of my favorite ways to handle last-minute party food.
When I’m hosting a big crowd—say, for the Super Bowl—I try to balance the indulgence. You definitely need the classics, but a quick veggie option is never a bad idea when you’re preparing Game Day Dip Recipes like this one. Plus, dipping into this rich food always reminds me of my favorite sturdy recipes, like these crispy loaded potato skins; those are built for holding toppings!
Here are the absolute must-haves for serving your fresh chili cheese dip:
- Tortilla Chips: This is non-negotiable! You need sturdy tortilla chips, preferably the restaurant-style kind. The thin, flimsy ones will snap off every single time under the weight of this dip.
- Corn Chips (Fritos Style): If you really want to lean into that classic comfort food flavor, Fritos or any salty, crinkle-cut corn chip are amazing scoops.
- Soft Pretzels or Pretzel Bites: If you’re going for a heartier snack setup, warm pretzel bites dipped into this cheesy goodness are seriously decadent.
- Fresh Veggies: For a little reprieve, serve celery sticks or carrot sticks. My personal favorites are sturdy bell pepper strips cut into dipping spears.
- Crackers: Sturdy crackers, like Triscuits or rye crisps, hold up really well and offer a nice salty counterpoint to the tangy chili.
Whatever you choose, make sure you refresh the dippers often so people don’t try to use soggy chips that have been sitting too long!
Storage and Reheating Instructions for Chili Cheese Dip
I know what you’re thinking: Will there be leftovers? Because this chili cheese dip is so incredibly good, you might actually have some! Storing leftovers properly is key because nobody wants a grainy, separated cheese dip situation later. Since we used cream cheese as our base, it handles refrigeration pretty well, but we need to treat it gently when bringing it back to life.
The best method is definitely air-tight storage right away. I’m talking about getting that lid on tight as soon as the party ends. If you’re planning on making a batch ahead of time, that’s also fine, but give it a day or two max for the best quality. For leftovers, remember this is pure comfort food, so we want to warm it slowly, just like we cooked it!
If you’re storing up a batch of my creamy maple fudge for dessert later, you handle that one differently, but for this dip, patience during reheating is vital for texture!
How to Store Leftover Chili Cheese Dip
Pop any remaining dip into an airtight container. You can usually keep it in the fridge for about three days. I find that if it sits longer than that, the oils start to separate a bit more from the cheese solids, and it just doesn’t taste as fresh. Make sure you are covering it! I’ve forgotten to seal a container once, and yes, it developed a weird, dry crust on top.
Reheating Your Hot Cheese Dip for Seconds
The stovetop is always my top recommendation, even if it feels like more effort than the microwave. When reheating on the stove, use low heat—and I mean *low* heat. You need to stir it constantly. If you see it starting to get too stiff, splash in just a tiny bit of milk or even a teaspoon of water. That little bit of added liquid helps bring the fats and moisture back together. It takes about five to eight minutes on low heat to get it perfectly smooth and bubbly again. Avoid high heat at all costs!
The microwave works in a pinch, but you must use short bursts—maybe 20 to 30 seconds at a time—and stir vigorously between each blast. The microwave heats unevenly, and you risk making the cheese rubbery if you let it run too long without stirring. We want that wonderful, creamy texture, not hot spots!
Frequently Asked Questions About This Hot Cheese Dip
I know when you’re looking for a Quick Party Dip, you usually have a few nagging questions about ingredients or timing. Don’t worry, I get it! When I first started relying on super-simple recipes like this one, I needed absolute reassurance that skipping steps wouldn’t ruin the final result. Here are the things folks ask me most often about making this classic chili cheese dip.
If you’re heading down the comfort food path, you might also want to check out my tips for amazing slow cooker chili secrets—sometimes a slow cooker is perfect for an event!
Can I make this chili cheese dip in a slow cooker?
Oh, absolutely! This is a fantastic strategy, especially if you’re hosting a larger gathering and need to keep the dip hot for hours. After you’ve blended the cream cheese and chili until smooth on the stovetop, you transfer it to your slow cooker. The absolute most important thing to remember is to set it to the ‘Keep Warm’ setting. Seriously, don’t set it to Low or High, because that will just keep cooking it aggressively, which can dry out or separate the cheese. ‘Keep Warm’ keeps it perfectly melty and ready for dipping!
What kind of chili is best for this 3 Ingredient Dip?
This is where that smooth, gorgeous texture comes from! For a perfect, luxurious, Best Creamy Dip result, I always recommend using chili that is formulated without beans. If you look at the recipe card, you’ll see I suggest it, and it’s for a good reason: beans break up the creamy uniformity. Without them, the chili blends seamlessly with the cream cheese, giving you that pure, satisfying spoonful of cheesy goodness every time. If all you have is chili with beans, you can definitely use it, but it won’t be quite as smooth! For more fantastic, simple ideas, you can also peek at the 3 ingredient chili cheese dip inspiration over at that site.
Is this recipe considered one of the best Budget Friendly Dips?
Yes, it truly is! Because it relies on standard canned chili, cream cheese, and cheddar, this chili cheese dip is incredibly cost-effective, especially when you’re feeding a large group of people. It’s much cheaper than making a slow-cooked homemade chili base just for a dip. It’s totally a winner for keeping your party snack budget low!
How much prep time is involved for this Easy Chili Cheese Dip?
This is the best part for any stressed host! The actual hands-on prep time is truly less than five minutes. You just need to open the can, get your cream cheese out (make sure it’s soft!), and roughly measure out your shredded cheese. You can have this dip heating up and ready to go in under 15 minutes total cook time. Super fast!
Nutritional Snapshot of This Budget Friendly Dips Recipe
I always want you to feel good about what you’re serving, even when it’s pure comfort food perfection like this chili cheese dip. Here’s a quick look at the numbers based on a 1/4 cup serving size. Just remember, since chili brands vary widely, these figures are estimates based on standard ingredients for this budget friendly dip. It’s rich, so enjoy it responsibly!
- Calories: Approximately 280
- Fat: About 22g (with 13g Saturated Fat)
- Protein: A solid 14g per serving!
- Carbohydrates: Around 8g
This dip packs a satisfying punch, which is why a little goes a long way when you’re scooping it up with your chips!
PrintUltimate Quick & Easy 3-Ingredient Chili Cheese Dip for Game Day

Make this simple, creamy chili cheese dip using only three ingredients. It is fast to prepare and perfect for parties, game day snacks, or any gathering when you need a crowd-pleasing appetizer.
- Prep Time: 5 min
- Cook Time: 10 min
- Total Time: 15 min
- Yield: 4 servings 1x
- Category: Appetizer
- Method: Stovetop
- Cuisine: American
- Diet: Vegetarian
Ingredients
- 1 (8 ounce) package cream cheese, softened
- 1 (15 ounce) can chili (no beans recommended)
- 1 cup shredded cheddar cheese
Instructions
- Combine the softened cream cheese and chili in a small saucepan or microwave-safe bowl.
- Heat over medium-low heat on the stove, stirring frequently until the cream cheese is fully melted and the mixture is smooth. Alternatively, microwave in 30-second intervals, stirring between each, until smooth.
- Stir in half of the shredded cheddar cheese until it is fully incorporated and melted into the dip.
- Transfer the dip to a serving bowl. Top with the remaining shredded cheddar cheese.
- Serve immediately with tortilla chips, crackers, or vegetable sticks.
Notes
- For a richer flavor, use a hearty chili variety.
- If you prefer a thinner dip, add one or two tablespoons of milk while heating.
- Keep this dip warm in a small slow cooker on the ‘Keep Warm’ setting for parties.
Nutrition
- Serving Size: 1/4 cup
- Calories: 280
- Sugar: 4
- Sodium: 650
- Fat: 22
- Saturated Fat: 13
- Unsaturated Fat: 9
- Trans Fat: 0.5
- Carbohydrates: 8
- Fiber: 1
- Protein: 14
- Cholesterol: 55