
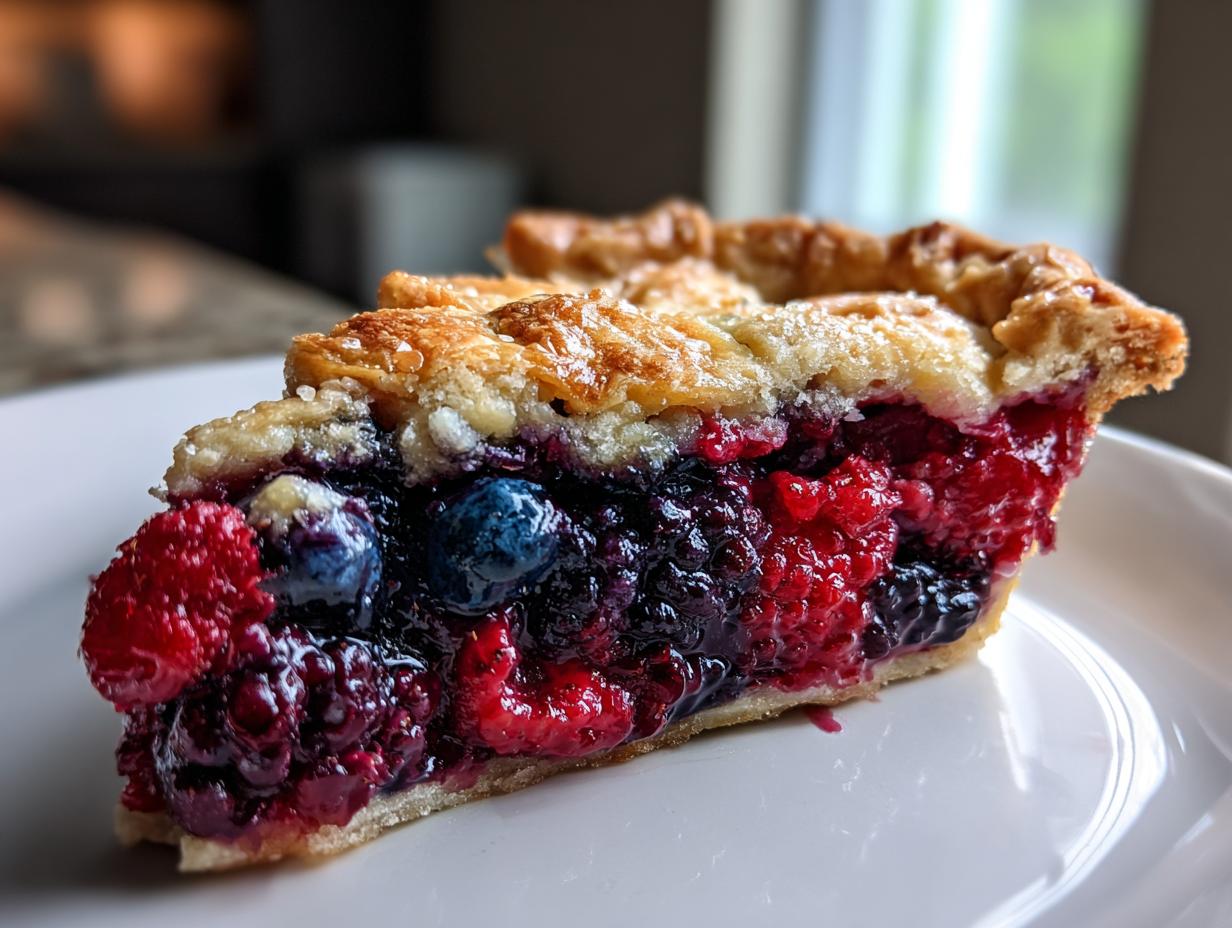
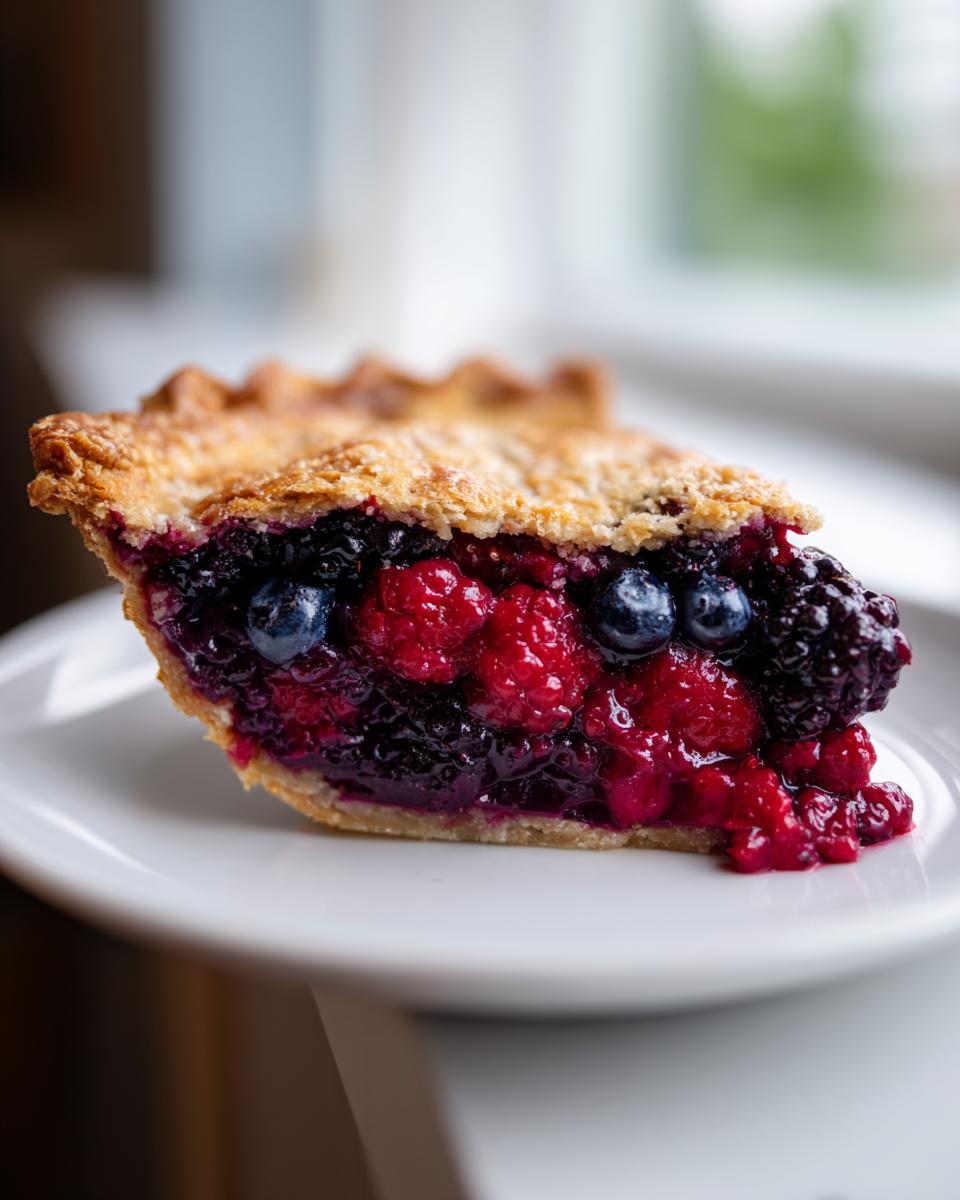
When the calendar flips to summer, something deep inside me just screams for a perfect slice of berry pie. Forget the stress of complicated baking; we’re reclaiming the kitchen here at Pure Plate Path! That’s why I spent what felt like ages in my own kitchen, testing batch after batch, to perfect this triple berry pie. I’m thrilled to share my Flaky Triple Berry Pie with Foolproof Set Filling. Seriously, this recipe is my answer to everyone who’s ever worried about cutting into a soupy mess. If you want that gorgeous, neat slice that looks just like it came from a bakery, trust me, this tested and true technique is what you need. It’s simplicity meeting pure, vibrant flavor!
- Why This Triple Berry Pie Recipe Is Your New Family Favorite Pie
- Ingredients for Your Flaky Triple Berry Pie
- How to Prepare the Best Berry Pie Filling
- Assembling Your Triple Berry Pie with Lattice Top
- Baking Instructions for a Perfect Triple Berry Pie
- Tips for Success: Achieving a No Runny Pie Filling in Your Triple Berry Pie
- Serving Suggestions for This Summer Berry Dessert
- Storage and Reheating Instructions for Your Homemade Berry Pie
- Frequently Asked Questions About Making a Triple Berry Pie
Why This Triple Berry Pie Recipe Is Your New Family Favorite Pie
I promise you, this isn’t just another fruit pie; this triple berry pie is destined to become an American Classic Dessert for your family. I designed this recipe so you get maximum payoff with minimal stress. It’s truly my go-to Family Favorite Pie for everything from summer cookouts to quiet weeknight treats.
- You get those gorgeous, clean slices every single time—no more sad, runny plates!
- It handles both fresh and frozen berries like a dream, so you can bake it year-round.
- The crust is buttery and flaky, giving you that artisan bakery texture right at home.
- It perfectly balances sweet flavor with just enough tartness for that wonderful bright berry punch.
If you tried my hot fudge pie, you know I love a rich dessert, but sometimes you just need that pure, fresh fruit satisfaction!
Ingredients for Your Flaky Triple Berry Pie
Gathering your supplies is the first step toward baking success! My philosophy is rooted in simple, real ingredients, and that holds true for this glorious Strawberry Blueberry Raspberry Pie filling. We’re keeping things straightforward for that perfect result. If you’ve mastered my homemade apple pie crust, fantastic! Otherwise, store-bought works just fine here.
For the Triple Berry Filling
- 2 cups fresh or frozen blueberries
- 2 cups fresh or raspberry blackberries
- 2 cups fresh or frozen raspberries
- 1 cup granulated sugar
- 1/4 cup cornstarch (This is our secret weapon for that no runny pie filling!)
- 1 tablespoon lemon juice
- 1 teaspoon vanilla extract
For the Flaky Pie Crust Recipe
To get that beautiful golden top, you just need a few extras:
- 2 refrigerated pie crusts (or your favorite homemade dough)
- 1 egg (whisked for the egg wash)
- 2 tablespoons coarse sugar (for sprinkling on top)
How to Prepare the Best Berry Pie Filling
Okay, let’s tackle the number one fear about any fruit pie: the dreaded runny filling! If you want clean slices of your triple berry pie, you absolutely cannot skip mixing the dry ingredients first. Seriously, ditch the impulse to just dump everything together. I learned this the hard way—it leads to clumps that don’t thicken properly later!
In a separate small bowl, whisk that granulated sugar and the cornstarch together until they are totally unified. No lumps allowed! This ensures the starch disperses evenly into the juices later, which is what creates that perfect, thick gel we are after. If you’re using frozen berries, which I often do, make sure you throw them straight into the bowl without thawing them; the cornstarch ratio here is measured to handle that extra chill and moisture.
Mixing the Sweet and Tart Pie Components
Once your sugar-starch blend is ready, pour it over your mixed batch of berries—blueberries, raspberries, and blackberries, all mingling together! Now, toss this really gently. We want everything coated, but we don’t want to smash those delicate berries.
Next, add the lemon juice and the vanilla. That splash of lemon is my little trick; it sharpens up the sweetness and enhances the natural tartness of the berries, making for a truly sweet and tart pie experience. Give it one final, tender fold, and look at that gorgeous berry pile! Head over to Tastes Better From Scratch if you’re looking for more berry inspiration!
Assembling Your Triple Berry Pie with Lattice Top
Now for the fun part where your triple berry pie starts looking like a showstopper! Roll out that bottom crust and gently ease it into your 9-inch pie plate. Don’t stretch it; you want it to sit nicely so it doesn’t shrink on you later. Then, spoon that beautifully coated berry mixture right into the shell. Remember all that work we did to keep it from getting soupy? This is where we protect that!
Next, it’s time for the top crust. You have options here, right? You can cut a few simple steam vents, which is fast and effective. But if you want that true bakery style pie at home look, you have to try the lattice. It just takes a little patience weaving those strips together, but wow, does it look incredible! If you need visual help with weaving, sometimes looking up a good technique video helps way more than words—I almost always check a quick guide before I start my royal icing recipe, so I get it!
No matter which top you choose, make sure you crimp those edges tight to seal in all those lovely juices. You can even brush on that little egg wash and sprinkle on the coarse sugar for crunch—it’s totally worth the extra thirty seconds. Find some great lattice tips over at Made to Be a Momma if you’re trying that for the first time!
Baking Instructions for a Perfect Triple Berry Pie
Alright, the pie is assembled, it looks beautiful with that golden sugar dusting, and now we move to the heat! Getting the temperature right is a huge part of our secret to a perfect triple berry pie. Pop that pie onto a baking sheet—trust me on this, even if you think you sealed everything perfectly, pans will leak, and this saves your oven!
We start hot: Preheat your oven to 375°F (190°C). Bake it at this higher temperature for the first 20 minutes. That initial blast of heat helps set the bottom crust quickly so it doesn’t get soggy. Then, we drop it down. Reduce that heat to 350°F (175°C) and keep baking for another 35 to 45 minutes. Keep checking it!
Here’s the make-or-break moment for that crust color: If the edges start turning a really deep brown before the filling is bubbling thick, grab a thin strip of aluminum foil and gently cover just the crust edges. This lets the inside keep cooking without burning the outside. Always bake until you see the filling bubbling thickly through those vent holes. You can check out some other great baked goods inspiration over at my favorite pizza casserole if you need a savory break!
Tips for Success: Achieving a No Runny Pie Filling in Your Triple Berry Pie
We’ve managed the crust, we’ve balanced the flavor, but if you want that beautiful, clean wedge when you serve your triple berry pie, you have to respect the cooling process. This is Sarah speaking here—I once rushed cutting into a pie because company was coming early, and let me tell you, it was a delightful mess on the plate! I learned my lesson the hard way that patience pays off immensely here.
You absolutely must let this pie cool completely, ideally for four to six hours on a wire rack. When the filling is hot, it’s still actively thickening. If you cut it early, all that beautiful cornstarch mixture runs right out. If you’re using frozen berries, this cooling time is even more crucial because the frozen fruit releases more liquid as it finally comes to temperature.
Think of the cooling time as the final, silent cooking stage. It sets the structure so you get those perfect, sliceable wedges every time. For a little extra something special once it’s cooled, you can drizzle some of my homemade caramel sauce over the top before serving!
Serving Suggestions for This Summer Berry Dessert
Okay, your gorgeous, perfectly set triple berry pie is finally cool enough to slice—what comes next? Making it look as good as it tastes! This Summer Berry Dessert truly shines on its own, but I always believe a little accompaniment makes any occasion feel extra special.
My absolute favorite way to serve this is slightly warm, not hot, with a generous scoop of high-quality vanilla bean ice cream melting slowly over the top. The contrast between the rich, cold cream and the sweet, slightly tart warmth of the berries is just heaven. If you happen to have any homemade whipped cream lying around (or even if you use the stuff from the can, who’s judging?), a dollop of that adds such a lovely lightness.
If you’re serving a big crowd, maybe for an outdoor party, serving it at room temperature is easier and still delicious. If you want another fruity flavor combination to try next time, check out my recipe for the best blueberry muffins; they pair really nicely with strong coffee after pie!
Storage and Reheating Instructions for Your Homemade Berry Pie
We hate to think about leftovers since this homemade berry pie disappears so fast, but life happens! If you have any beautiful slices left, covering the pie loosely with plastic wrap or foil works best. You can keep it on the counter for up to two days—the sugar content really helps preserve it—but if your kitchen is warm, the fridge is safer.
If you do refrigerate it, I really suggest letting a slice sit out for about an hour before eating, just to take the chill off so you can appreciate the filling texture more. For reheating a single slice, pop it in a toaster oven for just a few minutes. Don’t microwave it, unless you enjoy a soggy crust! I keep my recipe for easy dirt cake handy for when we want a no-bake treat instead!
Frequently Asked Questions About Making a Triple Berry Pie
I get so many questions whenever I post pictures of this beautiful pie on social media! It’s totally normal to wonder about substitutions or techniques when you’re tackling a classic homemade berry pie. Don’t worry, I’ve gathered the most common things people ask about making the best berry pie filling so you can bake with total confidence. I still rely on my notes from the kitchen trials to get these things right!
Can I substitute strawberries for blackberries in this triple berry pie recipe?
Oh yes, you absolutely can! That’s the beauty of a mixed berry recipe. You can certainly make a direct swap for strawberries, turning it into a classic Strawberry Blueberry Raspberry Pie variation. Strawberries tend to release a little more liquid than blackberries, so if you end up using a lot of softer berries, you *might* need to bump that cornstarch up by just a teaspoon or two. But honestly, this recipe is pretty robust, so try it once exactly as written, and see how it does!
What is the best way to make a lattice top for this fruit pie?
A pie with lattice top is just so gorgeous when it comes out of the oven! The basic idea is weaving. You cut even strips (about half an inch wide) for the top crust. Lay half your strips vertically, over the filling, spaced evenly apart. Then, you fold back every other strip, lay one horizontal piece across, and unfold the vertical strips back over it. You repeat this alternating fold-and-lay process. It sounds tricky in print, I know! Honestly, if it’s your first time, save yourself the stress and look up a quick video—it clicks instantly when you see the weaving motion!
My filling is always too juicy. How does this recipe guarantee a No Runny Pie Filling?
This is the most important question, and this is where we guarantee success! We tackle the juiciness in two major ways. First, we rely on that cornstarch-to-sugar ratio we mixed so carefully in the beginning. Make sure you’re measuring that cornstarch accurately! Second, and this is non-negotiable for a clean slice of triple berry pie, you *must* let the pie cool for at least four hours after it comes out of the oven. That time allows the starch to fully activate and set up the juices. Patience, my friends, equals perfect slices!
If you’re grabbing your measuring cups now, make sure you check out my notes on making the perfect lemon pound cake—it’s another simple bake that yields incredible results!
PrintFlaky Triple Berry Pie with Foolproof Set Filling

Make this American classic dessert featuring strawberries, blueberries, and raspberries in a buttery, flaky crust. This recipe provides steps for a perfectly set fruit filling that slices cleanly every time, ideal for summer gatherings or holidays.
- Prep Time: 25 min
- Cook Time: 60 min
- Total Time: 145 min
- Yield: 8 servings 1x
- Category: Dessert
- Method: Baking
- Cuisine: American
- Diet: Vegetarian
Ingredients
- 2 refrigerated pie crusts (or homemade dough)
- 2 cups fresh or frozen blueberries
- 2 cups fresh or frozen raspberries
- 2 cups fresh or frozen blackberries
- 1 cup granulated sugar
- 1/4 cup cornstarch
- 1 tablespoon lemon juice
- 1 teaspoon vanilla extract
- 1 egg (for egg wash)
- 2 tablespoons coarse sugar (for sprinkling)
Instructions
- Preheat your oven to 375 degrees Fahrenheit (190 degrees Celsius). Place one pie crust in the bottom of a 9-inch pie plate.
- In a large bowl, gently combine the blueberries, raspberries, and blackberries. If using frozen berries, do not thaw them first.
- In a separate small bowl, whisk together the granulated sugar and cornstarch until no lumps remain. This step is key for a no runny pie filling.
- Pour the sugar and cornstarch mixture over the berries. Add the lemon juice and vanilla extract. Toss gently until all the berries are coated.
- Pour the berry mixture into the bottom pie crust.
- Place the second pie crust over the filling. Crimp the edges to seal the top and bottom crusts together. Cut several slits in the top crust to allow steam to escape. For a bakery style pie at home, create a lattice top using strips of dough.
- In a small bowl, whisk the egg with 1 teaspoon of water to create an egg wash. Brush the top crust lightly with the egg wash. Sprinkle the coarse sugar evenly over the top.
- Bake for 20 minutes at 375°F. Then, reduce the oven temperature to 350°F (175°C) and continue baking for another 35 to 45 minutes, or until the crust is golden brown and the filling is bubbling thickly through the vents. If the edges brown too quickly, cover them with foil strips.
- Remove the pie from the oven and place it on a wire rack. You must let the pie cool completely, ideally for 4 to 6 hours, before slicing. This allows the filling to set properly.
Notes
- If you use all frozen berries, you may need to add 5 to 10 minutes to the total baking time.
- For the flakiest pie crust recipe, keep all ingredients very cold during preparation.
- Serve this sweet and tart pie slightly warm or at room temperature with vanilla ice cream.
Nutrition
- Serving Size: 1 slice
- Calories: 380
- Sugar: 35g
- Sodium: 250mg
- Fat: 20g
- Saturated Fat: 10g
- Unsaturated Fat: 10g
- Trans Fat: 0g
- Carbohydrates: 50g
- Fiber: 3g
- Protein: 4g
- Cholesterol: 30mg