
Oh, those beautiful sugar cookies! They look so perfect in magazines, but then you try to pipe those clean edges and fill (flood) them, and suddenly your icing is either running off the edge like a sugary flood or it’s hardening too fast into cracks. I’ve been there more times than I can count while trying to fit decorating into a packed schedule. That’s why I poured all my energy into perfecting this royal icing recipe. This isn’t some finicky version; it uses meringue powder—which is my secret weapon—to guarantee a stable, glossy finish every single time. Trust me, this is the reliable *royal icing recipe* I use now. It gives me that professional look for holiday cookies without taking over my entire weekend.
- Why This Is the Best Royal Icing Recipe for Cookie Decorating
- Gathering Ingredients for Your Royal Icing Recipe
- How to Make Royal Icing with Meringue Powder: Step-by-Step
- Tips for Success with this Easy Royal Icing Recipe
- Variations for Your Piping Icing Recipe
- Storage and Reheating Instructions for Homemade Royal Icing
- Frequently Asked Questions About Royal Icing Recipe
- Estimated Nutritional Data for This Royal Icing Recipe
- Share Your Experience with This Beginner Royal Icing
- Estimated Nutritional Data for This Royal Icing Recipe
- Share Your Experience with This Beginner Royal Icing
Why This Is the Best Royal Icing Recipe for Cookie Decorating
When you’re juggling work and life, you don’t have time for icing drama! This specific royal icing recipe is the one I come back to again and again because it just *works*. It delivers that beautiful contrast between the sharp outlines and the perfectly smooth interior filling. We are talking about icing that dries hard so you can stack those cookies for gifting without a single smear. It’s simply the best cookie icing out there when you need reliability.
Benefits of Our Stable Icing Recipe
- It dries firm and gorgeously glossy—no more dull tops!
- Using meringue powder gives us incredible stability and prevents cracking down the road.
- It’s truly perfect for beginner royal icing decorators who need consistency right away.
- We achieve that coveted bakery style cookie icing finish, making your sugar cookies look professional.
If you want cookies that keep their sharp look even after a few days, you absolutely have to try this method. It’s a lifesaver, especially when I share my tips on getting icing that hardens fast!
Gathering Ingredients for Your Royal Icing Recipe
Okay, let’s talk ingredients. You can’t get that flawless finish without starting with good stuff! For this batch, we need four cups of powdered sugar, but listen close: you must, *must* sift it first. Trust me, sifting is your friend here to avoid those tiny, frustrating lumps later on.
We use meringue powder—it’s so much easier than dealing with raw egg whites, and it keeps everything incredibly stable. We mix in just a half teaspoon of vanilla. If you want that pure, crisp white, use clear vanilla extract. It makes a huge difference in the final look!
- 4 cups powdered sugar, sifted
- 2 tablespoons meringue powder
- 1/2 teaspoon vanilla extract or clear vanilla extract
- 6 to 8 teaspoons warm water
How to Make Royal Icing with Meringue Powder: Step-by-Step
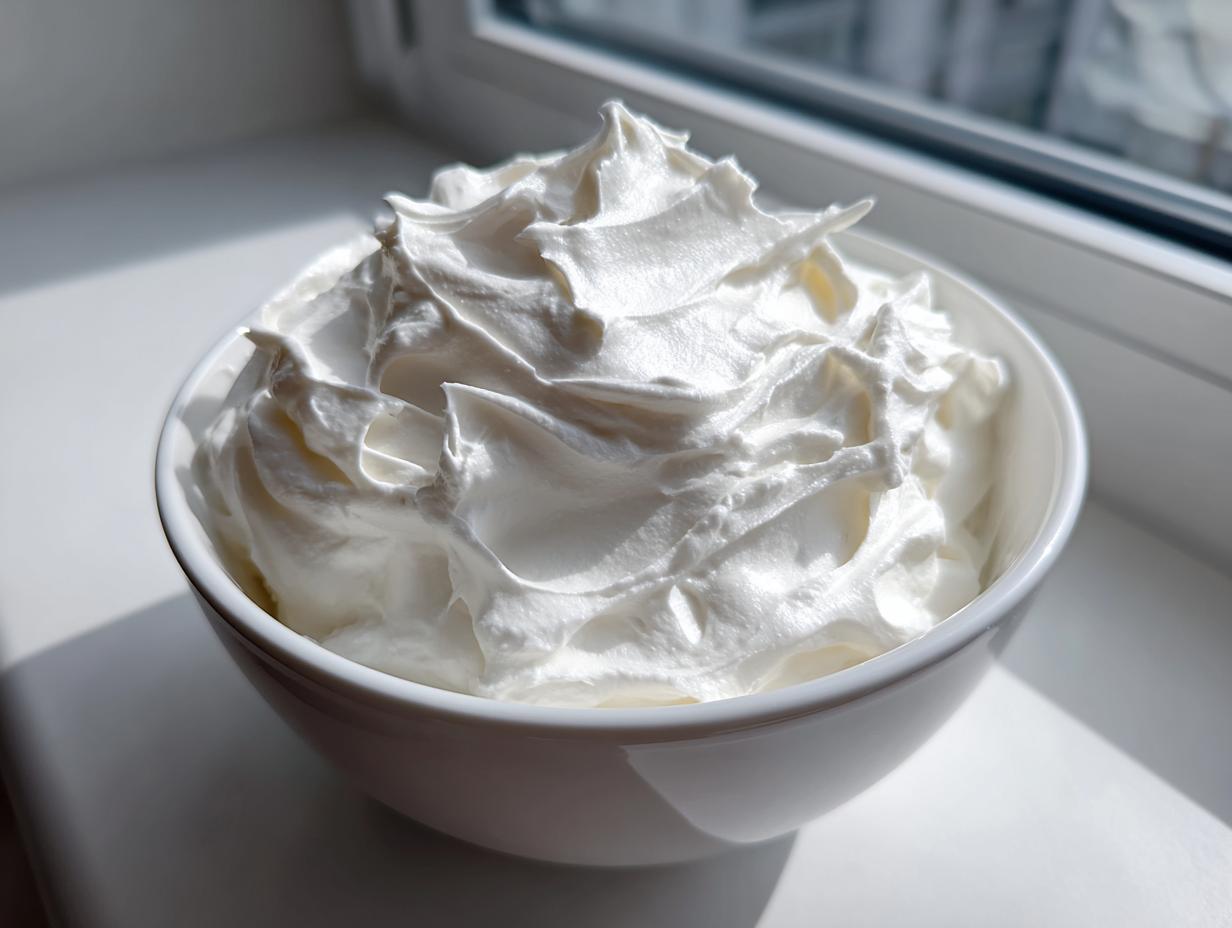
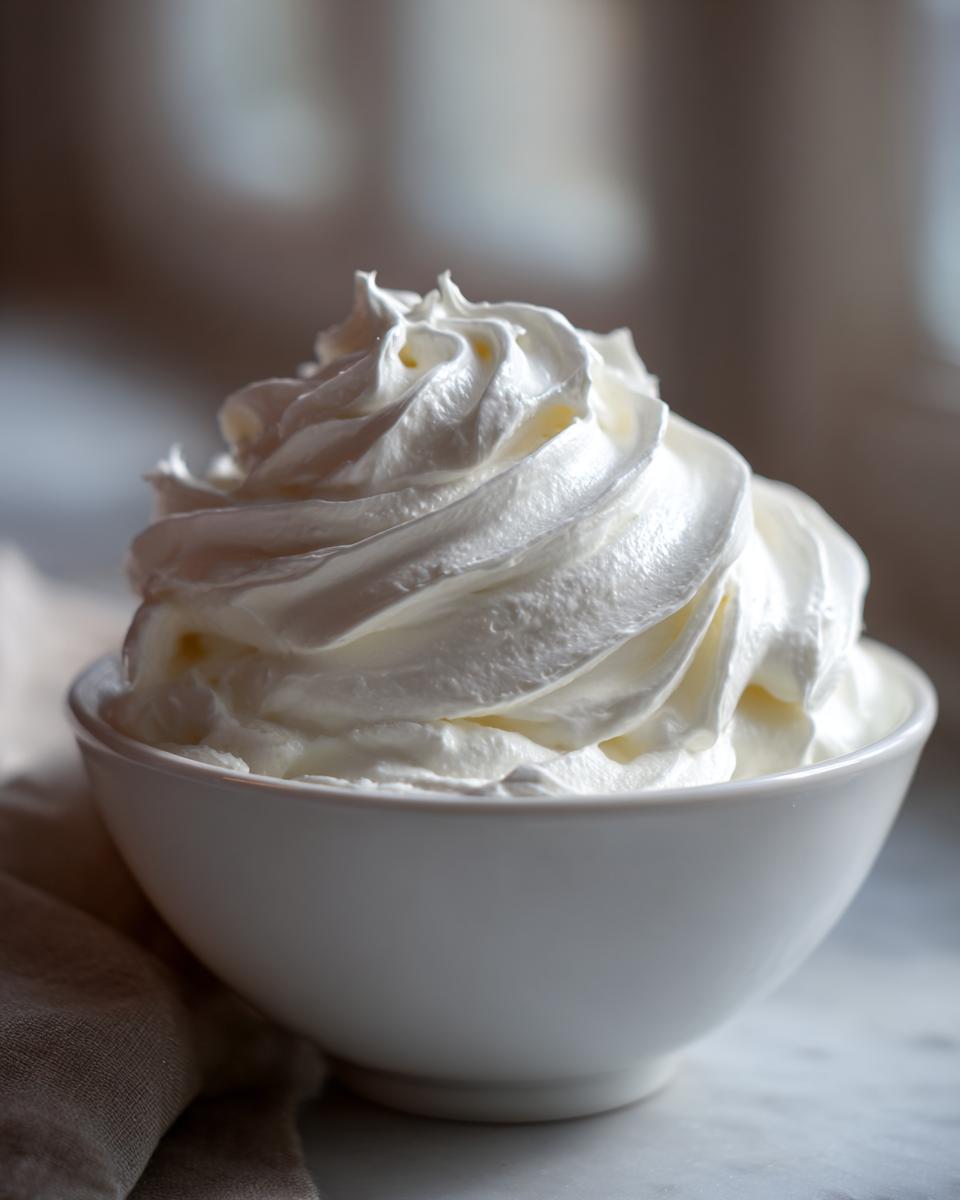
This is where the real magic happens, and honestly, it’s surprisingly fast! Once your dry ingredients are in the bowl, we start slow. Add the vanilla and only 6 teaspoons of warm water to begin. We want to keep it thick at first! Then, get your electric mixer going on low speed just until everything comes together—scrape down those sides! Next, crank that mixer up to medium-high and let it work for a full 5 to 7 minutes. Don’t rush this part! That whipping time is what incorporates the air, turning our dusty mix into that gorgeous, stiff, glossy icing you see in professional bakeries. If it looks stiff like mashed potatoes, good! If it’s rock hard, add water slowly, a teaspoon at a time until it loosens up for use.
This recipe is so easy! I love that I can mix a big batch and move right into experimenting with colors. Just remember to cover any icing you aren’t using right away with plastic wrap pressed right against the surface. That little step saves you from having to break up hard shells later. For a deeper dive into meringue, you can check out my meringue cookies guide, but for icing, keep it covered!
Achieving Perfect Royal Icing Consistency Guide
Consistency is everything when you are finishing sugar cookies. You really need two main textures for most decorating projects. First, you need your piping icing—this is thicker, what you use to create those clean, solid outlines around the edge of your cookie. You use this straight from the mixer, maybe thinned with just a few drops of water if needed.
Then comes the fun part: the flood! This is where you fill in the outlined area. For the flood icing technique, you need to add water, drop by drop, until it flows smoothly. How do you test it? You lift your spoon out of the bowl, let the icing drip back in, and count. If it takes about 10 to 12 seconds for that trail to slowly disappear back into the bowl, you’ve nailed the perfect flood consistency. It should look like smooth glass when it lands!
Tips for Success with this Easy Royal Icing Recipe
I’ve made enough batches of this royal icing for sugar cookies to know exactly where things can go sideways! My biggest piece of advice is about moisture. As soon as you finish mixing, even if you aren’t coloring it yet, cover every bowl with plastic wrap pressed *directly* onto the surface of the icing. Seriously, don’t skip that step, or you will tackle a rock-hard crust later. Also, remember that using gel food coloring is way better than the liquid kind we use for pancakes; liquid colors throw off your entire consistency balance!
If you’re looking for even more ways to make sure your hard work pays off and stays perfect on the counter, check out my guide on how to make cookie icing harden smoothly.
Troubleshooting Common Issues
Almost every baker who tries royal icing for the first time runs into a snag. Don’t panic! If your icing seems way too thin after mixing, just whisk in a tablespoon of sifted powdered sugar at a time until it thickens back up. If you see too many air bubbles from mixing, just let the bowl sit on the counter for about 10 minutes undisturbed, and most of them will pop naturally.
Cracking happens when the icing dries inconsistently, usually because you added too much liquid during the flood stage. If that happens, sometimes giving it a tiny mist of water can help it settle, or you can try adding 1/4 teaspoon of cream of tartar to the next batch for extra insurance against cracking. It’s all about small adjustments!
Variations for Your Piping Icing Recipe
Once you have this base down—this wonderfully stable piping icing recipe—you can start having fun! It’s really a blank canvas. If you’re decorating something that isn’t a classic sugar cookie, maybe you want a hint of almond or perhaps some bright lemon flavor. Feel free to swap out the vanilla for a teaspoon of almond extract or a tiny bit of lemon zest in your batch.
Now, let’s talk color! I always push gel food coloring over the liquid drops you might have in the pantry. Liquid colors are mostly water, and adding too much throws off the perfect texture we fought so hard to achieve. Gel pastes mix in beautifully, give you vibrant color, and keep your consistency exactly where it needs to be. It’s such an easy switch that makes a huge difference!
Storage and Reheating Instructions for Homemade Royal Icing
This is so important because you can’t waste a perfectly mixed batch! The good news about this homemade royal icing is that it doesn’t need the fridge. Keep it tightly covered—and I mean *really* sealed up—at room temperature. It should easily last up to two weeks like this. If you come back later and find it’s gotten a little stiff, don’t throw it out! That’s normal.
Just take a tiny spoon, add a drop or two of clean water right onto the stiff surface, and let it sit for 10 minutes. Then gently stir it until you’re back to that smooth, glossy texture we love. It revives beautifully, meaning less waste every time you bake!
Frequently Asked Questions About Royal Icing Recipe
I know when you’re new to cookie decorating, the questions just pile up! It felt that way for me too until I stopped worrying about measuring things exactly right and started focusing on *feel*. Here are some of the things I get asked most often about this fantastic easy royal icing recipe.
Can I use real egg whites instead of meringue powder in this recipe?
You absolutely can! That’s how my mom used to make it back in the day. If you skip the meringue powder, you need the equivalent of one large egg white. Just grab one fresh egg white, whip it until it’s foamy, and then slowly introduce the powdered sugar. It works great, but honestly, I prefer the meringue powder because it’s shelf-stable and doesn’t introduce the food safety variable that raw egg whites sometimes carry. Plus, the meringue powder helps ensure that you get that wonderfully stable icing recipe every single time.
How long does this icing take to dry hard?
That depends on how thick your layers are, but generally, if you’ve mastered the consistency for flooding, you should expect it to feel firm to the touch after about 4 to 6 hours at room temperature. If it’s a really humid day, you might need 8 hours or more. For the best results and truly solid cookies that you can stack or package, I always tell people to let them set overnight. That ensures you have that beautiful, icing that dries hard all the way through!
Can I color the icing ahead of time?
Yes, you can totally color your icing batches ahead of time, which I often do when I’m planning for holiday cookies! Just make sure you color the portions you need, and then seal each colored bowl, plastic wrap touching the surface. You can keep colored icing in the fridge for maybe 3 days if necessary, but room temperature is fine for a week, provided it’s sealed airtight. If it gets crusty when you take it out, just add a couple of drops of water and stir gently. If you want to see some of my favorite ways to make other easy toppings, check out my post on easy chocolate frosting!
Why is my icing sometimes cracking when it dries?
Cracking is usually a sign that the icing was too thin when you flooded it, or you applied a thick layer over a thin layer, and the drying process pulled the top layer apart. It’s often related to too much liquid! If you find you’re constantly adding too much water to reach the flood icing technique consistency, consider adding about 1/4 teaspoon of cream of tartar to your dry ingredient mix next time. It builds in extra structural integrity. For more troubleshooting tips on dependable recipes, you can always look back at other great bakers like Martha’s tips!
Estimated Nutritional Data for This Royal Icing Recipe
It’s important to remember that this nutritional breakdown is just an estimate, calculated based on the total yield of this specific royal icing recipe. Since this is mostly sugar, these numbers are high in carbs, but you use surprisingly little for decorating one cookie! We are estimating based on a yield covering about two dozen average-sized decorated cookies.
- Serving Size: 1/4 cup
- Calories: 180
- Sugar: 45g
- Sodium: 5mg
- Fat: 0g
- Protein: 1g
Share Your Experience with This Beginner Royal Icing
I truly hope this recipe takes the stress out of your next cookie decorating session! When you tackle this classic beginner royal icing and see how smooth and shiny your cookies turn out, I want to see it! Please feel free to leave a review here on the recipe section below, or if you share your beautiful creations on social media, tag me! Using my method for that perfect smooth cookie icing should make your holiday decorating projects much easier. I’m always here cheering you on to find joy in your kitchen. Happy decorating, and check out my About page to learn more about my home cooking journey!
Estimated Nutritional Data for This Royal Icing Recipe
It’s important to remember that this nutritional breakdown is just an estimate, calculated based on the total yield of this specific royal icing recipe. Since this is mostly sugar, these numbers are high in carbs, but you use surprisingly little for decorating one cookie! We are estimating based on a yield covering about two dozen average-sized decorated cookies.
- Serving Size: 1/4 cup
- Calories: 180
- Sugar: 45g
- Sodium: 5mg
- Fat: 0g
- Protein: 1g
Share Your Experience with This Beginner Royal Icing
I truly hope this recipe takes the stress out of your next cookie decorating session! When you tackle this classic beginner royal icing and see how smooth and shiny your cookies turn out, I want to see it! It makes my whole week when I hear someone tried my foolproof method and finally felt confident piping those fine details.
Please feel free to leave a rating right here on the recipe section below—it helps other bakers know this is the real deal. And if you share your beautiful creations on social media, be sure to tag me or use our specific hashtag so I can check out your amazing work! Using my method for that perfect smooth cookie icing should make your holiday decorating projects much easier. I’m always here cheering you on to find joy in your kitchen. Happy decorating, and check out my About page to learn more about my home cooking journey!
PrintFoolproof Royal Icing Recipe with Meringue Powder for Perfect Cookies
Follow this easy recipe to make stable, glossy royal icing using meringue powder. This guide shows you how to achieve the correct consistency for outlining and flooding sugar cookies, ensuring a professional, hard finish.
- Prep Time: 10 min
- Cook Time: 0 min
- Total Time: 10 min
- Yield: Covers approximately 2 dozen medium cookies 1x
- Category: Baking
- Method: Mixing
- Cuisine: American
- Diet: Vegetarian
Ingredients
- 4 cups powdered sugar, sifted
- 2 tablespoons meringue powder
- 1/2 teaspoon vanilla extract or clear vanilla extract
- 6 to 8 teaspoons warm water
Instructions
- Sift the powdered sugar into a large bowl. Sifting prevents lumps and helps achieve a smooth icing.
- Add the meringue powder to the sifted sugar and whisk together briefly.
- Add the vanilla extract and 6 teaspoons of warm water to the dry ingredients.
- Mix on low speed with an electric mixer until the ingredients are just combined. Scrape down the sides of the bowl.
- Increase the mixer speed to medium-high and beat for 5 to 7 minutes until the icing is very stiff, white, and glossy.
- Check the consistency. If the icing is too thick for piping or flooding, add the remaining water, one teaspoon at a time, mixing well after each addition until you reach the desired texture.
- Separate the icing into bowls for coloring, if desired. Cover all unused icing with a damp cloth or plastic wrap touching the surface to prevent drying.
- To achieve piping consistency (for outlines), use the icing as is or thin slightly with a few drops of water.
- To achieve flood consistency (for filling in areas), thin the icing further by adding water, one drop at a time, until it flows smoothly off the spoon and disappears back into the bowl within 10 to 12 seconds.
- Use the icing immediately for decorating cookies. Allow decorated cookies to dry completely at room temperature for several hours until the icing is hard to the touch.
Notes
- For the best results when decorating sugar cookies, always use clear vanilla extract to keep the icing pure white.
- If you need the icing to dry faster or harder, add 1/4 teaspoon of cream of tartar to the dry ingredients.
- Store unused, tightly covered icing at room temperature for up to two weeks; do not refrigerate.
Nutrition
- Serving Size: 1/4 cup
- Calories: 180
- Sugar: 45
- Sodium: 5
- Fat: 0
- Saturated Fat: 0
- Unsaturated Fat: 0
- Trans Fat: 0
- Carbohydrates: 45
- Fiber: 0
- Protein: 1
- Cholesterol: 0