
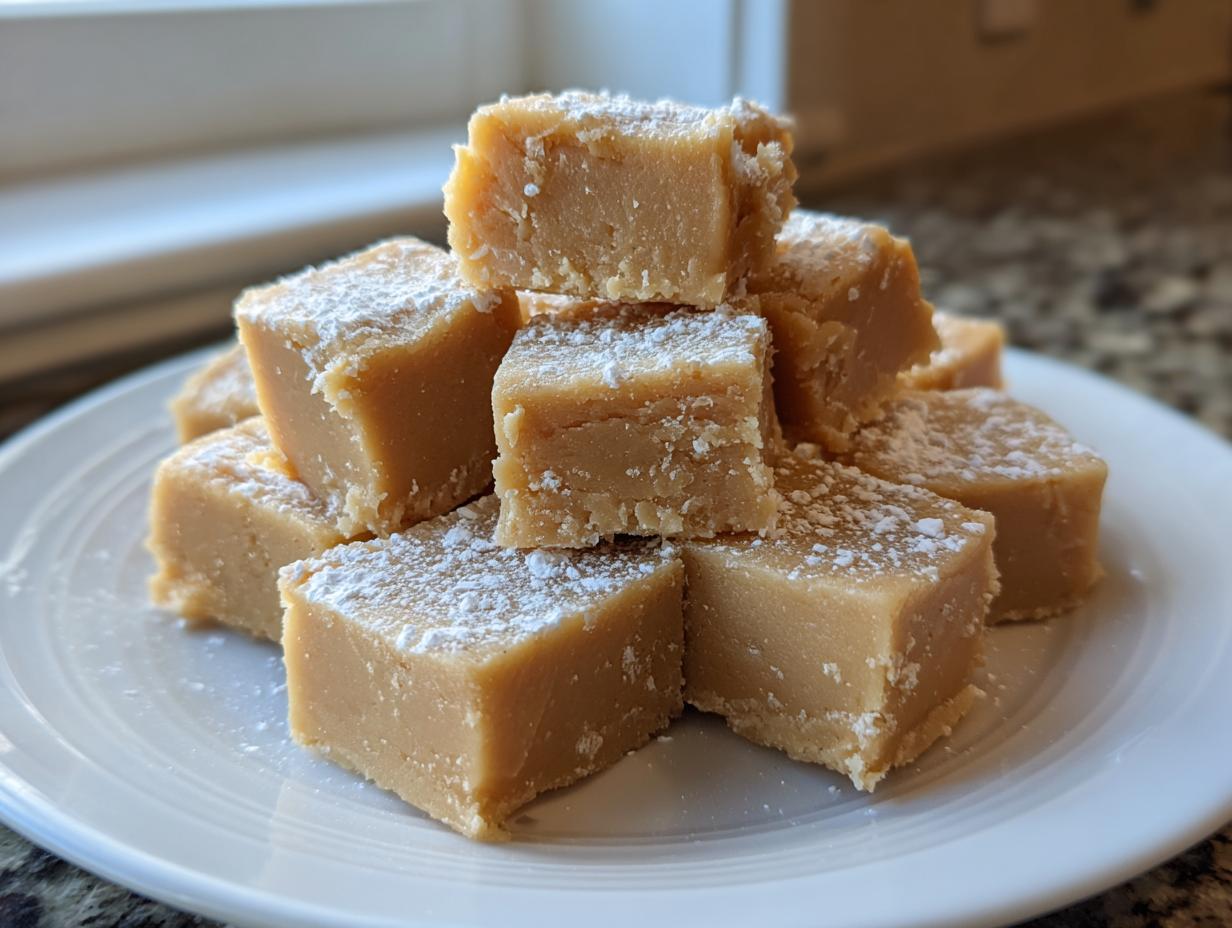
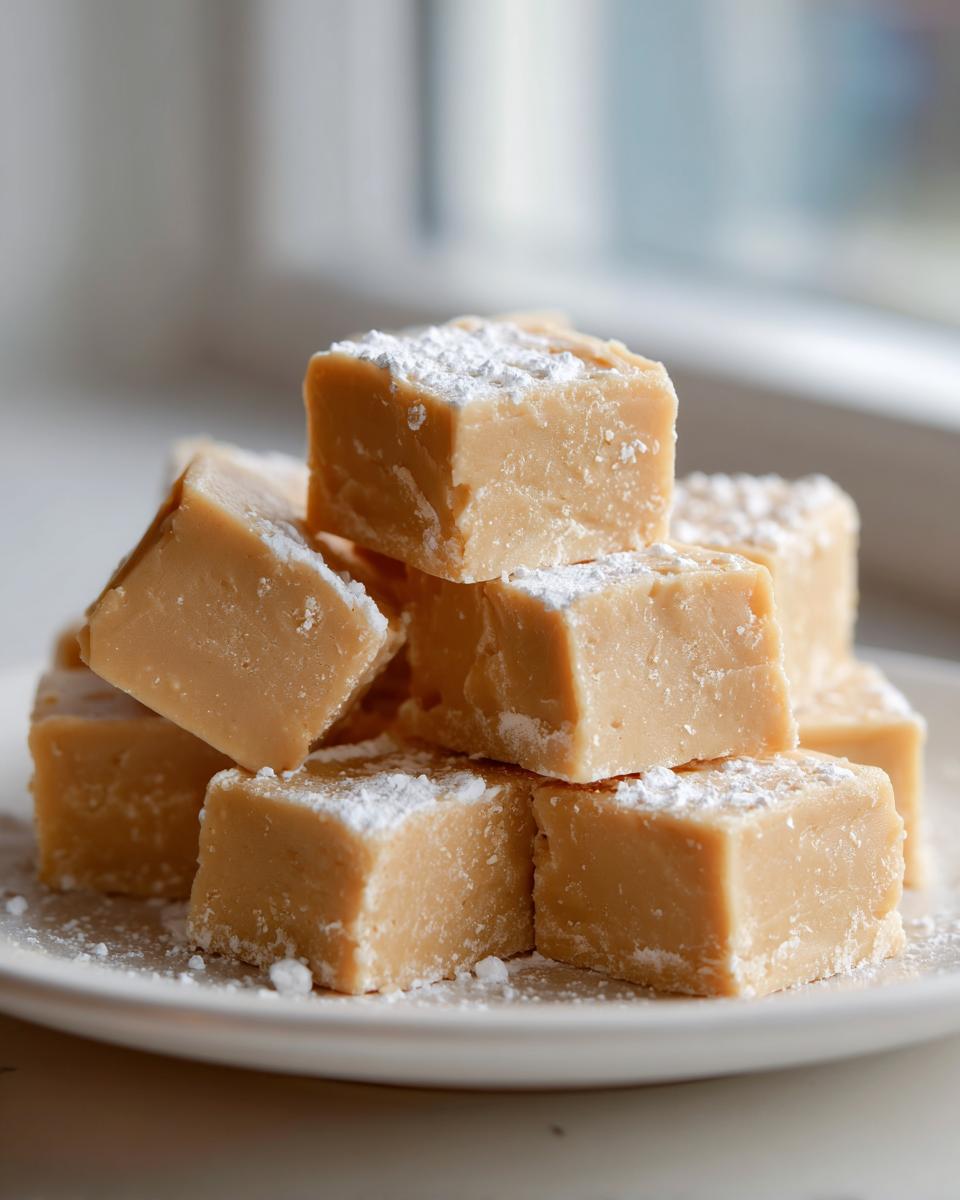
When life gets hectic, and you still crave that perfect little something sweet, you don’t need complicated instructions or fussy techniques. That’s exactly why I’m sharing what I consider to be the Best No-Bake Creamy Peanut Butter Fudge recipe that exists. Seriously, I guard this one close! Forget everything you think you know about homemade fudge being dicey or grainy. This recipe is my reliable shortcut for when I need a comforting, rich, and genuinely smooth treat that comes together in minutes. It’s pure, simple indulgence, exactly what we need on a busy weeknight. For another no-bake favorite, check out my recipe for easy no-bake buckeye fudge recipe!
- Why This Creamy Peanut Butter Fudge Recipe Works (The Pure Plate Path Promise)
- Gathering Ingredients for Perfect Peanut Butter Fudge
- How to Prepare Your Easy Homemade Fudge
- Setting and Cutting Your Rich Dessert Squares
- Tips for Success with this No Bake Fudge Recipe
- Storage and Making Ahead with Your Peanut Butter Fudge
- Serving Suggestions for Your Simple Peanut Butter Dessert
- Frequently Asked Questions About Classic American Fudge
- Sharing Your Homemade Candy Making Success
Why This Creamy Peanut Butter Fudge Recipe Works (The Pure Plate Path Promise)
I promised you the best, and that means ditching the stress around homemade candy making. This isn’t just another recipe; it’s a guarantee of smooth satisfaction. Life is too short to worry about texture when you’re looking for a quick sweet fix!
- It’s completely no-bake. Mix it, press it, chill it—that’s it!
- The texture remains incredibly rich and creamy, never drying out.
- This Peanut Butter Fudge relies on simple, high-impact ingredients we all usually have on hand.
You can make a double batch for holidays or just keep a small pan hidden in the fridge for yourself. We’ve perfected the method so you don’t have to babysit a candy thermometer. For a pairing idea, try keeping some easy rich homemade hot cocoa mix nearby!
Achieving Smooth Texture Secrets in Your Peanut Butter Fudge
The biggest headache with homemade fudge? That dreaded grit! We avoid it completely here. The secret to the best Smooth Fudge Texture Secrets is twofold: first, you absolutely must sift your powdered sugar. It breaks up tiny clumps before they get into the mix. Second, once that sugar is in, stop mixing the moment it disappears. Over-beating after the sugar is incorporated is what introduces air and causes that grainy texture later on. Trust me on this; patience during mixing is key!
Quick 4 Ingredient Fudge Simplicity
If you’re looking for speed, this delivers! This is what I call Quick 4 Ingredient Fudge simplicity—we use four core ingredients (plus optional salt) to create something luxurious. Because it’s no-bake, your hands-on time is under ten minutes. That’s faster than waiting for the oven to preheat! This Peanut Butter Fudge proves you don’t need complicated steps for a delicious result.
Gathering Ingredients for Perfect Peanut Butter Fudge
Okay, let’s talk about what you need to bring together for this delightful batch of Peanut Butter Fudge. Since this is a super simple, no-bake recipe, every single ingredient needs to be just right. We aren’t using baking soda or flour here, so the quality of what we *do* use really shines through in the final product. I’ve listed the exact amounts needed for our 8×8 pan yielding about 36 squares, which is a nice manageable size for quick setting.
Ingredient Notes and Substitutions for Your Peanut Butter Fudge
Listen carefully, because this is where people mess up their Peanut Butter Fudge! You simply have to use creamy peanut butter here—none of that natural stuff that separates and gets oily. That oil messes up the texture we worked so hard to perfect. Also, I really need you to sift that powdered sugar. It keeps things incredibly smooth, which is my top priority. If you skip the sifting, you risk clumps and a slightly gritty bite later on. If you want to try my fluffy frosting sometime, I have a great recipe for vanilla buttercream frosting recipe fluffy!
How to Prepare Your Easy Homemade Fudge
The best part of this Peanut Butter Fudge is that it skips all the messy stovetop work. You’re using an electric mixer, which makes achieving that creamy texture simple. It moves fast, so make sure you have your 8×8 pan ready before you even turn the mixer on. Seriously, we are racing time once that sugar hits the bowl!
Preparing the Pan and Mixing the Creamy Peanut Butter Fudge Base
First things first: line that 8×8 pan properly with parchment paper, making sure you leave plenty hanging over the sides—that’s your handle later! Give the paper a tiny spritz of grease too. Now, grab your softened butter and beat it until it’s light and fluffy. Next, you beat in that creamy peanut butter and the vanilla extract until everything looks perfectly combined. It’s already looking rich and beautiful, and we haven’t even gotten to the sugar yet!
Incorporating Sugar for a Melt In Your Mouth Fudge Texture
This is where we lock in that fantastic texture. You add the sifted powdered sugar slowly, just one cup at a time. Keep the mixer speed low so you don’t wear yourself out or blast sugar everywhere! The absolute rule here is to stop mixing the second you can no longer see any white streaks of sugar. If you keep mixing, you start incorporating too much air, and that’s how you lose that dreamy Melt In Your Mouth Fudge consistency. Once it’s just combined, don’t stir another second! For a different festive treat, I have a great recipe for easy peppermint fudge recipe, too.
Setting and Cutting Your Rich Dessert Squares
Now that your batter is mixed—and I hope you didn’t overbeat it!—it’s time to turn this creamy mixture into perfect Rich Dessert Squares. Work quickly here because the mixture firms up fast once it hits the pan. Use a spatula or the back of a spoon to press the Peanut Butter Fudge evenly into the lined 8×8 dish. After smoothing the top, it needs patience! You must chill it for a minimum of two hours. This chilling time is non-negotiable if you want those clean, beautiful cuts. If you try scooping it out early, you’ll have a gooey mess, not perfect squares!
Once super firm, use those parchment paper handles to lift the entire block out onto a cutting board. Slice it into small pieces—this stuff is rich, so smaller is better! If you love maple with your peanut butter, you have to try my version of easy creamy maple fudge recipe next time.
Tips for Success with this No Bake Fudge Recipe
Even though this is an unbelievably easy No Bake Fudge Recipe, sometimes things don’t go exactly to plan. Don’t panic if your fudge comes out a tiny bit soft! That usually means you either need an extra 30 minutes in the fridge, or perhaps your peanut butter was a little runnier than mine was when I tested it. If you’re having trouble getting it out of the pan, gently warm the bottom of the pan on a warm oven rack for just 30 seconds—not long enough to melt it, just enough to release the edges.
For that picture-perfect look, especially if you’re making this for our holiday fudge recipes platter, consider swirling a spoonful of melted dark chocolate on top right before chilling. I actually love making this one ahead of time; it tastes even better the next day when everything has completely settled into that perfect, rich texture. For a totally different but equally satisfying treat, you have to see my recipe for the best fudgy flourless chocolate cake recipe!
Storage and Making Ahead with Your Peanut Butter Fudge
One of the joys of making this Peanut Butter Fudge is how perfectly it stores! Since it’s a no-bake confection, we don’t have to worry about complex preservation methods. You want to keep these lovely squares inside an airtight container, and definitely keep them in the refrigerator. They stay fresh and delicious for a full week this way. This is fantastic news for us busy people, right? You can totally make a batch ahead of time for your holiday fudge recipes collection weeks before the rush, and they’ll be just as creamy when you finally serve them!
Serving Suggestions for Your Simple Peanut Butter Dessert
Now that you have this foolproof Peanut Butter Fudge, how should you serve it? Because this is such a rich Simple Peanut Butter Dessert, a little goes a long way. I love topping a small square with a drizzle of melted dark chocolate before it sets—it adds a wonderful visual appeal for gifting. Otherwise, these squares are perfect alongside a strong cup of coffee or served as a miniature finish to a big meal. They travel so well, making them perfect party fudge ideas!
If you need a warm dessert for a chilly evening, try making my apple crumble recipe easy classic comfort to balance out the richness of the fudge!
Frequently Asked Questions About Classic American Fudge
I know you might have a few lingering thoughts once you’ve made your first batch of this incredible Peanut Butter Fudge. It happens to me every time! Since this is such a foolproof recipe, most questions are usually about simple ingredient swaps or adapting the method slightly. Don’t hesitate to try things out, but definitely start with the core recipe I gave you first. For more quick treats, check out my easy biscuit dough pizza bites—they are fun for parties!
Can I use sweetened condensed milk in this peanut butter fudge recipe?
That’s a great question! A lot of recipes out there use condensed milk, but that creates a different, often softer, fudge structure. I avoid it here because we are aiming for that traditional, slightly firmer, but still smooth texture. Sticking to butter and powdered sugar helps us lock in that perfect consistency without becoming too gluey.
Is this a microwave fudge recipe?
Technically, this specific instruction set uses an electric mixer for incorporating the ingredients, which is my preferred way to ensure you get that ultimate creamy texture without overheating things. However, since it’s no-bake, you absolutely can melt the butter and peanut butter mixture in the microwave first! Just melt in 30-second intervals until smooth before beating in the sugar.
Sharing Your Homemade Candy Making Success
Now that you have this dreamy Peanut Butter Fudge set firm, I really want to hear about it! Did it come out perfectly smooth for you? Drop a comment below and tell me how you plan to use these incredible squares—are they for a quick snack, or are they going into your gift rotation for our next batch of cookie cake recipe ultimate chewy chocolate chip goodies? Happy baking, friends, or should I say, happy *not* baking!
PrintBest No-Bake Creamy Peanut Butter Fudge
Make this rich, creamy peanut butter fudge that sets into perfect squares. This no-bake recipe is simple, requires few ingredients, and avoids the grainy texture common in homemade fudge.
- Prep Time: 10 min
- Cook Time: 0 min
- Total Time: 2 hours 10 min
- Yield: 36 small squares 1x
- Category: Dessert
- Method: No Bake
- Cuisine: American
- Diet: Vegetarian
Ingredients
- 1 cup (2 sticks) unsalted butter, softened
- 1 teaspoon vanilla extract
- 1 cup creamy peanut butter
- 4 cups powdered sugar, sifted
- 1/2 teaspoon salt (optional, for balance)
Instructions
- Line an 8×8 inch baking pan with parchment paper, leaving an overhang on the sides for easy removal. Lightly grease the paper.
- In a large bowl, use an electric mixer to beat the softened butter until smooth.
- Add the peanut butter and vanilla extract to the butter. Beat until the mixture is fully combined and creamy.
- Gradually add the sifted powdered sugar, one cup at a time, mixing on low speed until just incorporated. Stop mixing as soon as the sugar disappears to prevent the fudge from becoming dry or grainy.
- If using salt, mix it in now.
- Press the fudge mixture evenly into the prepared pan using a spatula or the back of a spoon. Work quickly, as the mixture will firm up fast.
- Refrigerate the fudge for at least 2 hours, or until completely firm.
- Use the parchment paper overhang to lift the fudge from the pan. Cut into small squares before serving.
Notes
- Sifting the powdered sugar is key to achieving a smooth texture. Do not skip this step.
- Use creamy peanut butter for the best melt-in-your-mouth consistency. Avoid natural style peanut butter that separates.
- For a richer flavor, you can use half creamy and half crunchy peanut butter.
- Store the finished fudge in an airtight container in the refrigerator for up to one week.
Nutrition
- Serving Size: 1 square
- Calories: 150
- Sugar: 18g
- Sodium: 65mg
- Fat: 8g
- Saturated Fat: 4g
- Unsaturated Fat: 4g
- Trans Fat: 0g
- Carbohydrates: 19g
- Fiber: 0g
- Protein: 3g
- Cholesterol: 15mg