
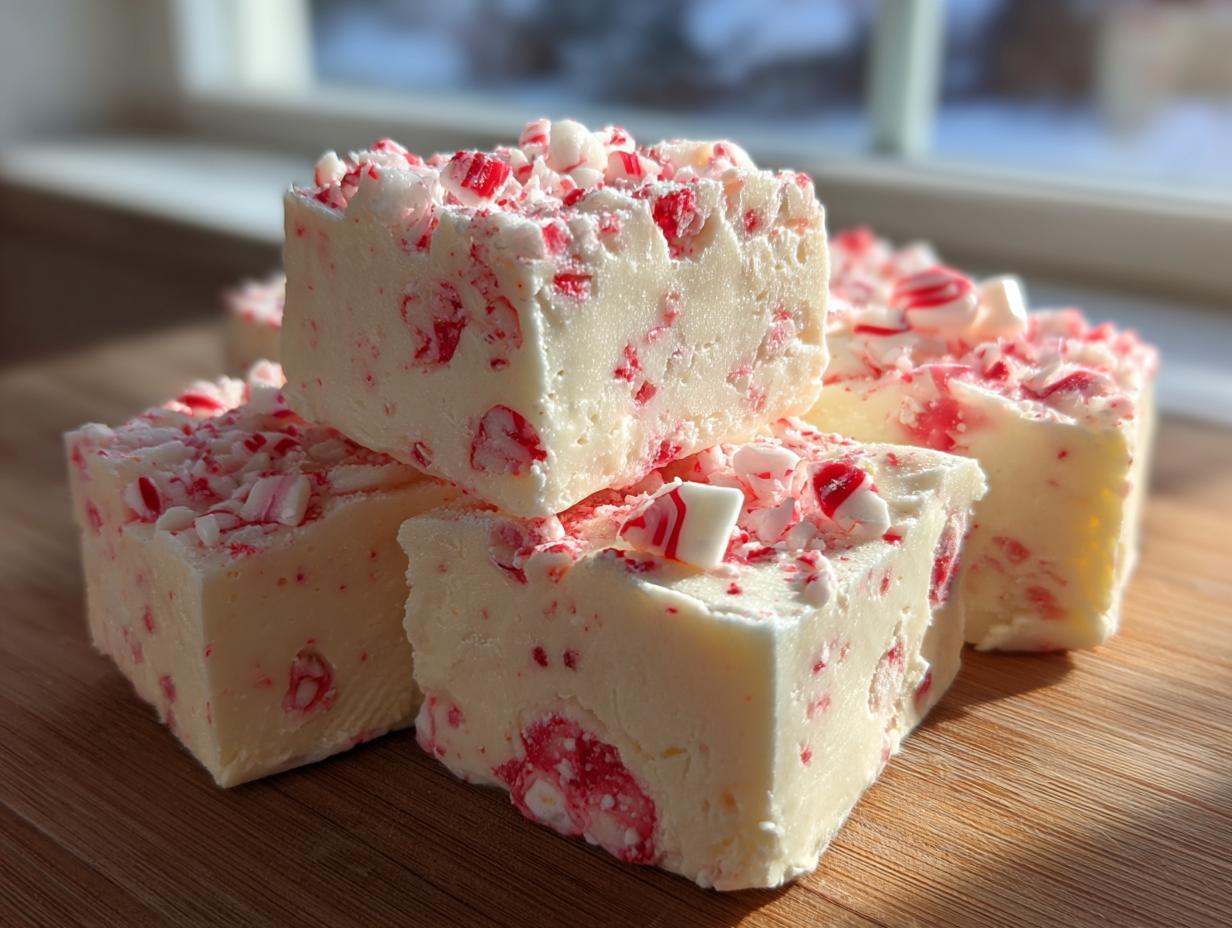
When the holidays roll around, I know you’re busy, just like I was when I started Pure Plate Path! We want those festive flavors, those beautiful little treats for our dessert tables, but we absolutely do not have time for fussy steps or standing over a boiling pot waiting for temperatures to hit just right. Trust me, those demanding work weeks meant I needed something amazing that cut straight to the joy. That’s why this incredibly easy, no-bake peppermint fudge recipe, built around creamy sweetened condensed milk, is my absolute go-to every single December. It brings that cool mint and chocolate punch your holiday table deserves without stealing your whole afternoon. It’s the kind of simple kitchen magic that lets you get back to enjoying the season. For more on how we find these quick solutions, check out our story here!
- Why This Easy White Chocolate Peppermint Fudge is Your New Holiday Favorite
- Gathering Ingredients for Your Peppermint Fudge
- Step-by-Step Instructions for Perfect Peppermint Fudge
- Variations: Creating Layered Chocolate Peppermint Fudge
- Tips for Success with Homemade Peppermint Treats
- Storing and Gifting Your Peppermint Fudge
- Frequently Asked Questions About Peppermint Fudge
- Estimated Nutritional Profile for Creamy Peppermint Dessert
- Share Your Festive Holiday Candy Creations
Why This Easy White Chocolate Peppermint Fudge is Your New Holiday Favorite
When I look for Christmas fudge recipes, I need speed, especially when things get hectic. This fudge cuts right to the chase, giving you maximum festive flavor with minimum fuss. It’s definitely one of my favorite Quick Winter Desserts!
- It’s perfect as a last-minute addition to your cookie exchange platter.
- Wrapped up neatly, this makes wonderful Holiday Gift Fudge for neighbors and teachers.
- You barely have to lift a finger—truly, it’s a dump-and-stir situation!
The Quickest No Bake Peppermint Fudge
Seriously, the active time here is shockingly low. With only 5 minutes of cook time, we skip all the anxiety that comes with candy thermometers. This is the definition of No Bake Peppermint Fudge, meaning you can chill out and enjoy the season while this sets up perfectly in the fridge!
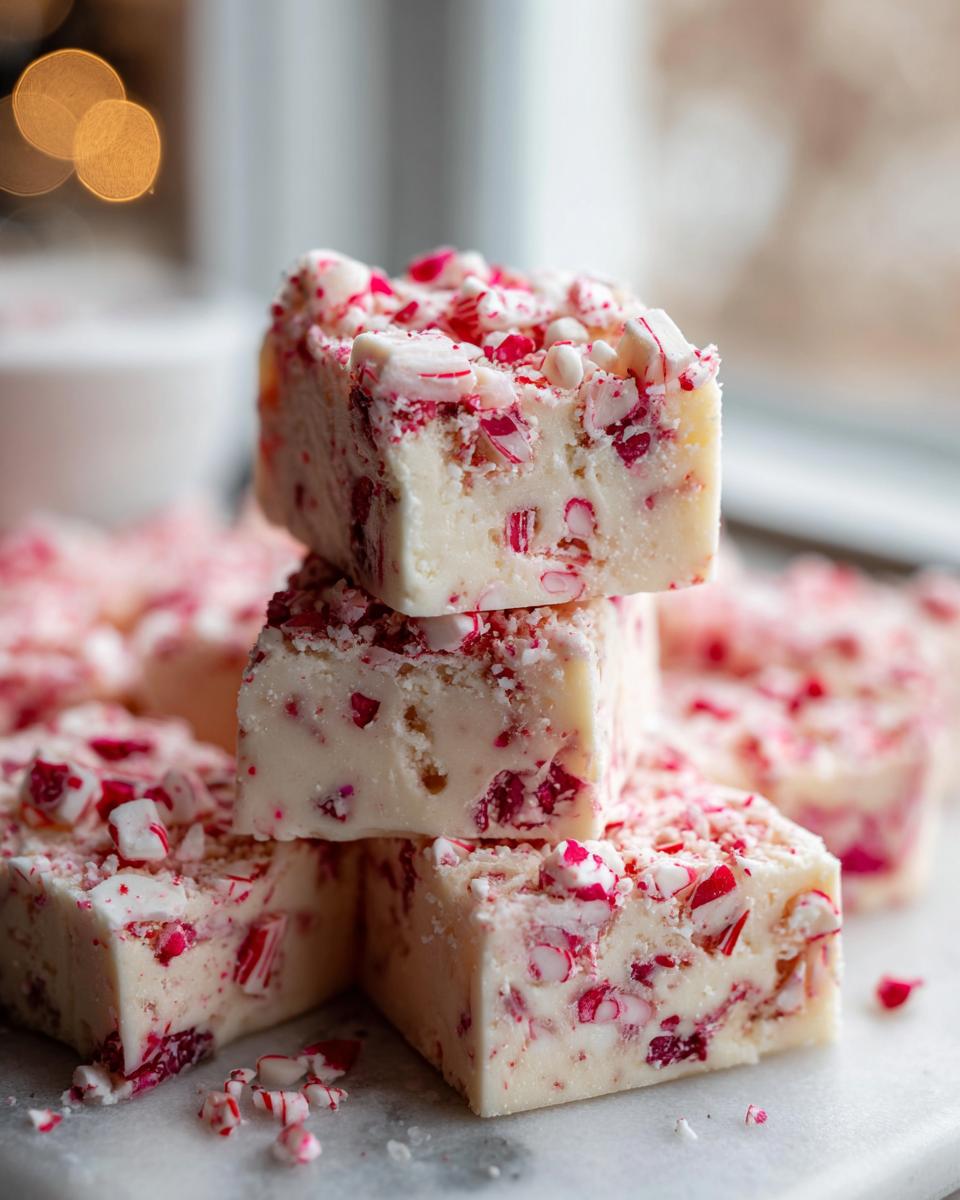
Creamy Peppermint Dessert Texture
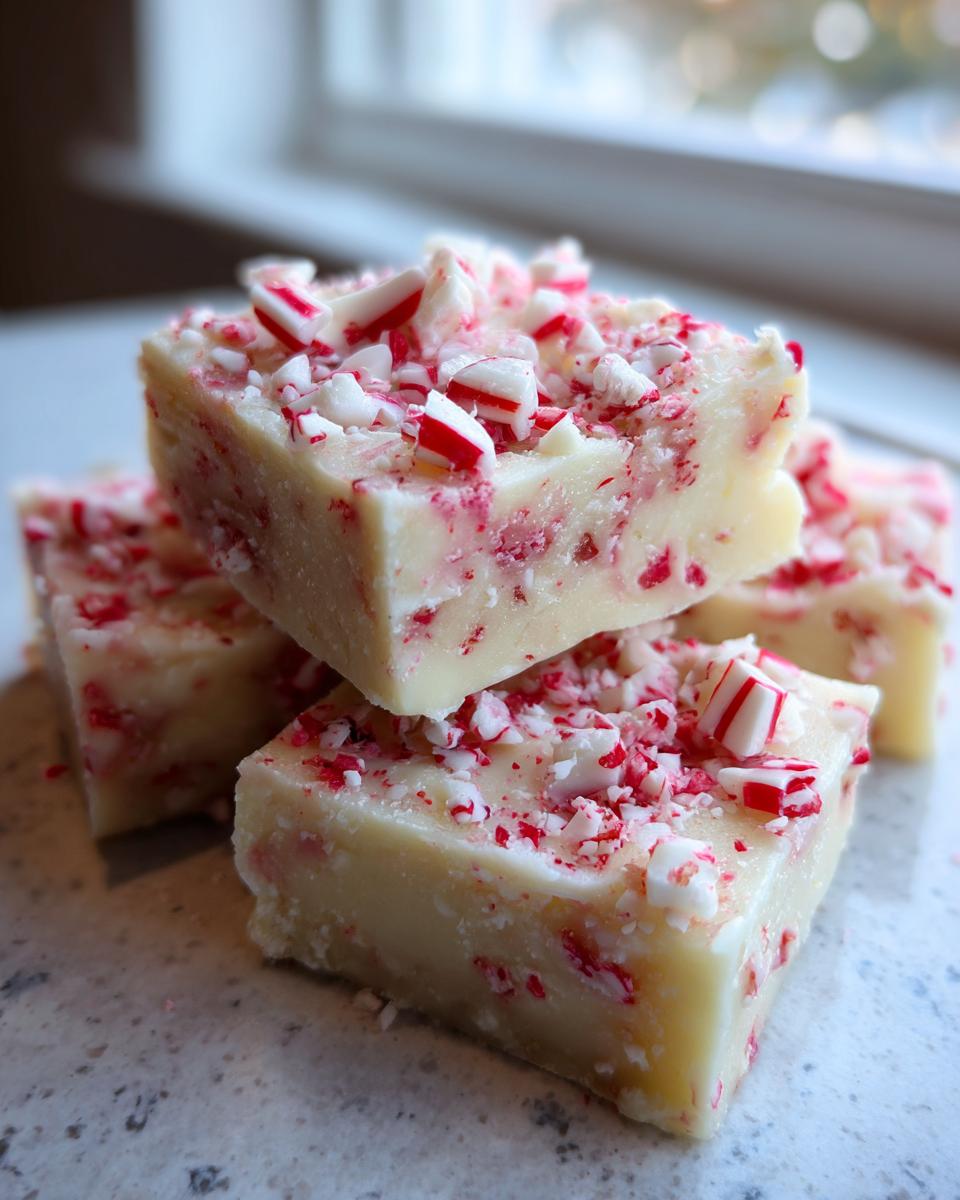
This is where the magic happens. Because we use sweetened condensed milk as the backbone, you get that guaranteed, ultra-smooth, Melt in Your Mouth Fudge consistency every single time. It’s impossibly rich and completely dreamy!
Gathering Ingredients for Your Peppermint Fudge
Alright, let’s talk shopping! The beauty of this peppermint fudge is that you probably have half of this list sitting in your pantry right now. We are keeping this short and sweet, focusing on just five core items to make this the best batch of Festive Holiday Candy you’ve ever whipped up. Remember, quality matters here, even for a simple recipe!
Here is what you need:
- 1 (14 ounce) can sweetened condensed milk
- 2 cups white chocolate chips
- 1 teaspoon peppermint extract
- 1/2 teaspoon vanilla extract
- 1/2 cup crushed candy canes, plus extra for topping
Ingredient Notes and Substitutions for Peppermint Fudge
When you are melting chocolate for fudge, please, please use good quality white chocolate chips if you can. Cheap stuff sometimes doesn’t melt quite as smoothly, and we want that perfect texture! If you happen to have peppermint flavoring *oil* instead of extract, you can often use a little less—maybe 1/2 teaspoon to start—because oil is much more concentrated. As for the candy canes, I put them in a heavy-duty zip-top bag, seal it up tight, and give them a good whack with a rolling pin. It’s actually quite therapeutic on a stressful day!
Step-by-Step Instructions for Perfect Peppermint Fudge
This is the fun part where everything comes together! Honestly, this peppermint fudge is so straightforward, but paying attention to a couple of details right here guarantees you get that beautiful, creamy slab we’re aiming for. Don’t rush the melting, and don’t forget the parchment paper! We want easy removal later, trust me on that one.
Preparing the Pan and Melting the Base
First things first, grab that 8×8 inch baking pan and line it completely with parchment paper. Make sure you leave an overhang—those flaps are your handles for lifting the finished fudge out later without breaking a piece! Lightly grease that paper, too, just in case. Now, over low heat in a saucepan, combine your can of sweetened condensed milk and those white chocolate chips. You have to stir this constantly! Keep stirring gently until everything is totally melted and smooth. Never, ever let this mixture boil; that’s how condensed milk gets weird and grainy. We want smooth, luscious liquid gold!
Flavoring and Setting Your Peppermint Fudge
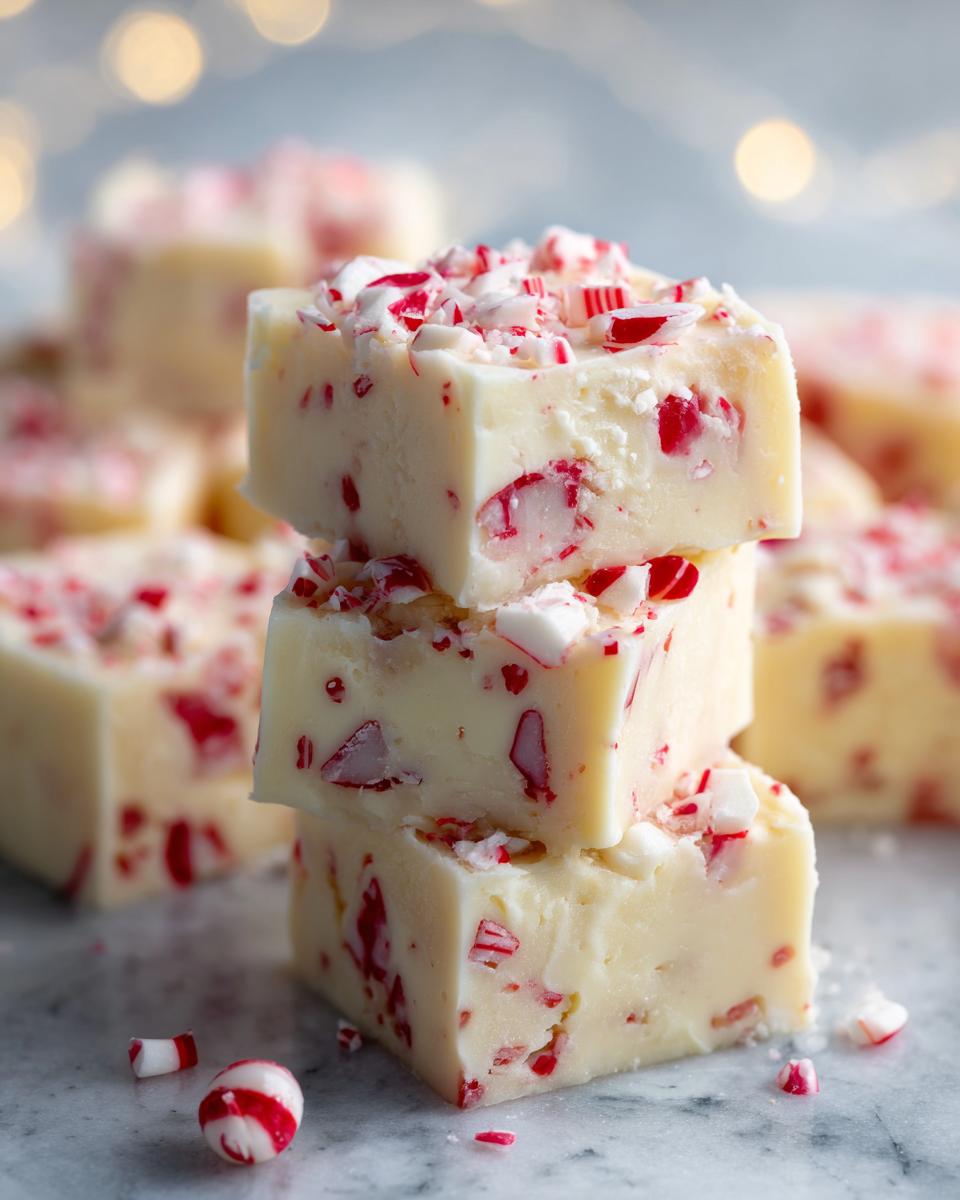
Once that chocolate base is silky, take the saucepan right off the burner before you stir in your peppermint and vanilla extracts. If you try to add them while the pan is searing hot, the extract can sometimes cook off its scent, which is a total waste! Gently fold in half a cup of those crushed candy canes. Pour that glorious mixture into your prepared 8×8 pan and spread it out evenly. Now, take the rest of those shards and sprinkle them right over the top. Lightly press them down so they stick! The final (and hardest) step is patience: stick the whole thing in the fridge for at least three hours until it’s totally firm and ready to slice cleanly.
Variations: Creating Layered Chocolate Peppermint Fudge
While the basic white chocolate version of this peppermint fudge is killer on its own, you know I can never resist experimenting! If you’re looking for something that truly wows on a dessert tray, learning how to make a Layered Chocolate Peppermint Fudge is the way to go. It looks so professional, but I promise you, it is still incredibly simple because we aren’t baking anything. We’re just making two small batches of the base mixture and marbling them together.
The trick here is doing exactly what the experts suggest—melting your chocolate components separately. You’ll need to melt one portion of your white chocolate base as directed, and then, in a separate little pot, melt up some semi-sweet or dark chocolate chips. You can even melt a little extra white chocolate to use as a layer stabilizer if you want super crisp lines.
Techniques for the Perfect Swirl Fudge Recipe
Once you have your two colors ready, pour about half of your white fudge mixture into your prepared 8×8 pan first. Then, drizzle half of that melted dark chocolate right over the top of it. The key to a great Swirl Fudge Recipe is restraint! Grab a knife—a butter knife works perfectly—and gently run it through the two layers just once or twice. You want ribbons, not mixing! If you over-swirl, everything turns into a murky brown mess, and we don’t want that.
Then, repeat the process: pour the rest of your white mixture, drizzle the remaining dark chocolate, and give it one final, gentle swirl for good measure. I love looking at photos of these beautiful marbled treats; you can see gorgeous designs on sites like this one I saw!
Top it with your candy canes immediately, and let it set up. It’s a showstopper!
Tips for Success with Homemade Peppermint Treats
Even though this is a simple, no bake peppermint fudge, humidity can still be its arch-nemesis, especially in older homes like mine! If you live somewhere really damp, you might find your fudge doesn’t set up quite right. My trick? Make sure you stick to the chilling time—don’t rush it—and if it’s still soft after three hours, pop it in the deep freeze for thirty minutes. Believe me, taking the time for proper chilling prevents sad, melted squares later.
Another huge thing with all Homemade Peppermint Treats is slicing. You absolutely cannot cut this when it’s fridge-cold and rock-hard, or the candy cane topping will just shatter everywhere! Let the fudge sit out on the counter for about ten minutes before you try slicing it. Use a long, sharp knife, wiping the blade clean between each cut. That technique guarantees you get that perfect, clean square for gifting or your dessert tray!
And if you have leftovers (which is rare in my house!), remember that these do best stored airtight in the refrigerator. They keep wonderfully for about a week that way.
Storing and Gifting Your Peppermint Fudge
So you’ve perfected your creamy peppermint fudge and now you have this gorgeous slab! The hard part is over, but we still need to make sure it looks perfect when it gets to its final destination, whether that’s your own party platter or someone else’s mailbox. Since this is a no-bake delight, storage is super important to keep that texture just right.
The best rule of thumb for these Homemade Peppermint Treats is refrigeration. You want to keep your fudge in an airtight container, and yeah, it needs to stay chilled. In the fridge, I find it lasts beautifully for a full week. If you try to leave it out on the counter too long, especially if your kitchen tends to be warm, you risk it getting a little too soft and sticky, and nobody wants sticky fudge!
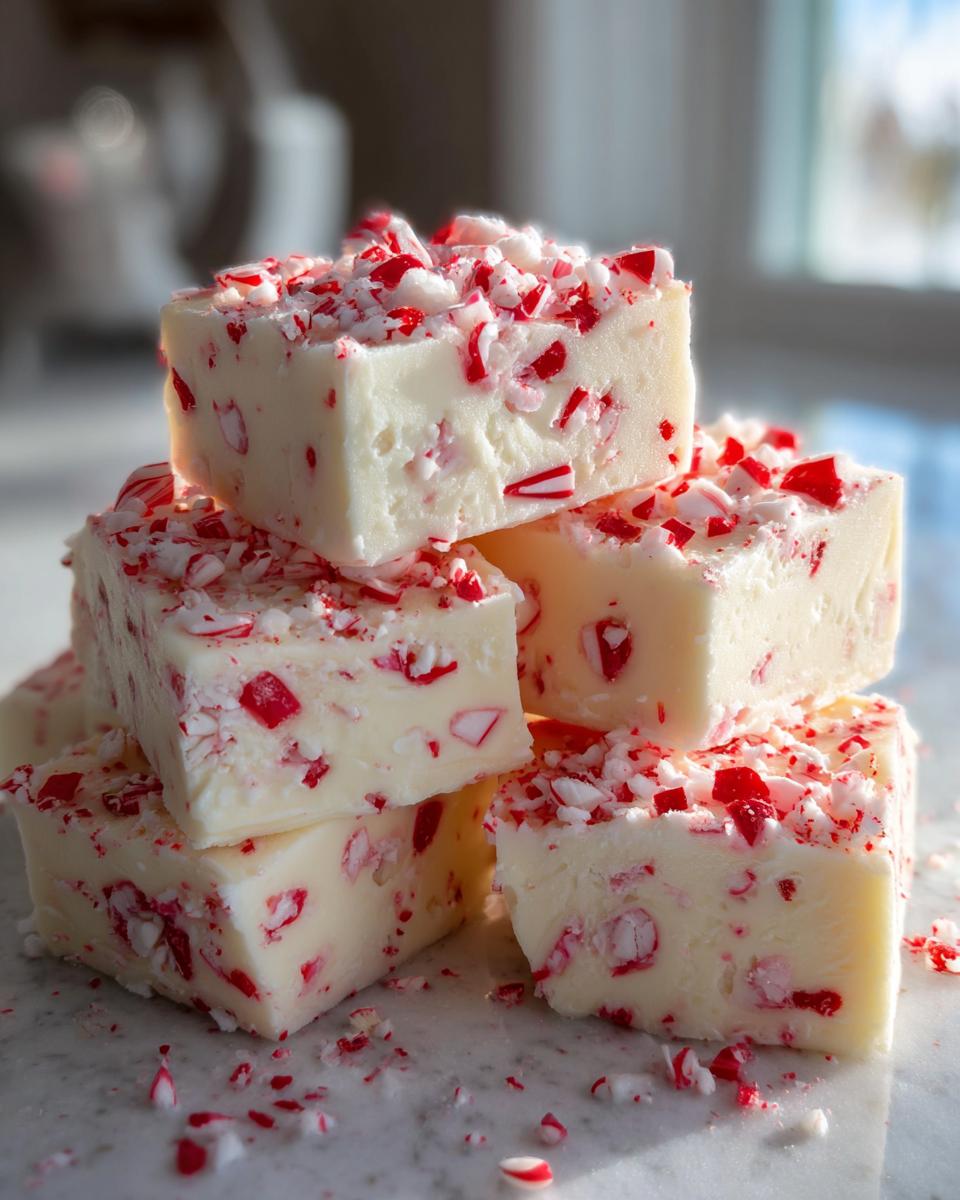
If you’re making big batches for Holiday Gift Fudge—because trust me, you will—you need to think about how you package it. Don’t just toss squares into a plastic bag! Cut them into neat squares first, making sure they are nice and firm from chilling. Then, I line little paper candy cups with parchment squares before setting the fudge down inside. This prevents them from sticking together.
For transport, arrange the individual cups tightly in a sturdy tin or box. You can even add a little bit of wax paper between layers if you stack them. Look how nicely people package up their candy canes after making treats similar to ours over at this blog! A pretty bow on the tin, and you have a truly thoughtful, simple, and delicious edible gift that screams Christmas spirit.
Frequently Asked Questions About Peppermint Fudge
I know when you’re making a new Christmas fudge recipe, tons of little questions pop up! It’s normal! You want that perfect, reliable result for your holiday table. We get asked all the time about substitutions and making sure the texture holds up. Here are a few of the common ones that pop into my DMs during the busy season, usually regarding how to tweak this Easy White Chocolate Fudge!
Can I substitute the white chocolate in this peppermint fudge recipe?
You absolutely *can* substitute the white chocolate chips, but you need to know what you’re signing up for! If you swap them for milk or semi-sweet chocolate chips, you will lose that bright, almost bark-like flavor that pairs so well with the mint. The texture might also shift slightly as different chocolates melt differently with condensed milk. If you want to make a Layered Chocolate Peppermint Fudge, that’s when you bring in the dark chocolate—you don’t replace the white base entirely, you swirl it in!
What is the best way to crush candy canes?
This is simpler than you think, and honestly, it’s a great stress reliever! Don’t bother with a food processor because you’ll end up with powder way too fast. Take your candy canes—still in their wrappers, or toss them into a big, heavy-duty zip-top freezer bag. Seal it super tight! Then, just grab a rolling pin, or even the bottom of a sturdy skillet, and give those peppermint sticks a few good, firm whacks right in the center. You get a nice variety of chunks and fine pieces, which is perfect for sprinkling on top of your Homemade Peppermint Treats!
How much peppermint extract should I use for a stronger flavor?
If you really love that sharp mint bite, you can definitely bump it up! We called for 1 teaspoon, but going to 1 1/2 teaspoons is usually safe and gives you a much bolder flavor without making the fudge runny. Just remember, peppermint extract is strong, so start slow and taste the base mixture before you pour it into the pan!
Can I freeze this creamy peppermint dessert?
Yes, you can freeze it! Because this Easy White Chocolate Fudge is so dense, it actually handles freezing pretty well. Make sure you wrap the cut squares tightly in plastic wrap first, and then put them into a freezer-safe bag or container. They should be good for up to 2 months. Let them thaw overnight in the fridge before serving!
Estimated Nutritional Profile for Creamy Peppermint Dessert
We all want our Creamy Peppermint Dessert to be delicious, but it’s helpful to know what you’re working with! Since this peppermint fudge is made with condensed milk and white chocolate, the sugar content is naturally higher, but you get a nice little protein boost from the dairy.
Keep in mind these numbers are just an estimate based on the recipe proportions we used. Different brands of chocolate chips can change things slightly, but this gives you a good ballpark idea:
- Serving Size: 1 square
- Calories: 145
- Sugar: 18g
- Fat: 7g
- Protein: 2g
It’s a holiday treat, so we enjoy it in moderation—those small squares go a long way!
Share Your Festive Holiday Candy Creations
Now it’s your turn! I really hope you loved making this easy peppermint fudge as much as I love sharing it. Did it set up perfectly for you? Let me know in the comments below, and don’t forget to snap a picture of your gorgeous squares! If you share them online, please tag us so we can see your beautiful Festive Holiday Candy! Head over to the contact page if you have any burning questions!
PrintEasy White Chocolate Peppermint Fudge (No Bake)
Make creamy, festive peppermint fudge using white chocolate and condensed milk. This no-bake recipe is simple, requires few ingredients, and is perfect for holiday gifting or dessert trays.
- Prep Time: 15 min
- Cook Time: 5 min
- Total Time: 3 hours 20 min
- Yield: 36 small squares 1x
- Category: Dessert
- Method: No Bake
- Cuisine: American
- Diet: Vegetarian
Ingredients
- 1 (14 ounce) can sweetened condensed milk
- 2 cups white chocolate chips
- 1 teaspoon peppermint extract
- 1/2 teaspoon vanilla extract
- 1/2 cup crushed candy canes, plus extra for topping
Instructions
- Line an 8×8 inch baking pan with parchment paper, leaving an overhang on two sides for easy removal. Lightly grease the paper.
- In a medium saucepan over low heat, combine the sweetened condensed milk and white chocolate chips. Stir constantly until the chocolate is completely melted and the mixture is smooth. Do not let it boil.
- Remove the pan from the heat. Stir in the peppermint extract and vanilla extract until fully combined.
- Gently fold in 1/2 cup of the crushed candy canes.
- Pour the fudge mixture into the prepared pan and spread it evenly.
- Sprinkle the remaining crushed candy canes over the top of the fudge. Gently press them into the surface.
- Refrigerate the fudge for at least 3 hours, or until firm enough to slice cleanly.
- Use the parchment paper overhang to lift the fudge from the pan. Cut into small squares before serving.
Notes
- For a swirl effect, melt white chocolate and semi-sweet chocolate separately. Pour half the white mixture into the pan, drizzle with half the dark chocolate, swirl gently with a knife, then repeat with the remaining chocolate layers before topping with candy canes.
- If you prefer a stronger mint flavor, increase the peppermint extract to 1 1/2 teaspoons.
- Store this homemade peppermint treats in an airtight container in the refrigerator for up to one week.
Nutrition
- Serving Size: 1 square
- Calories: 145
- Sugar: 18g
- Sodium: 35mg
- Fat: 7g
- Saturated Fat: 4g
- Unsaturated Fat: 3g
- Trans Fat: 0g
- Carbohydrates: 20g
- Fiber: 0g
- Protein: 2g
- Cholesterol: 10mg