
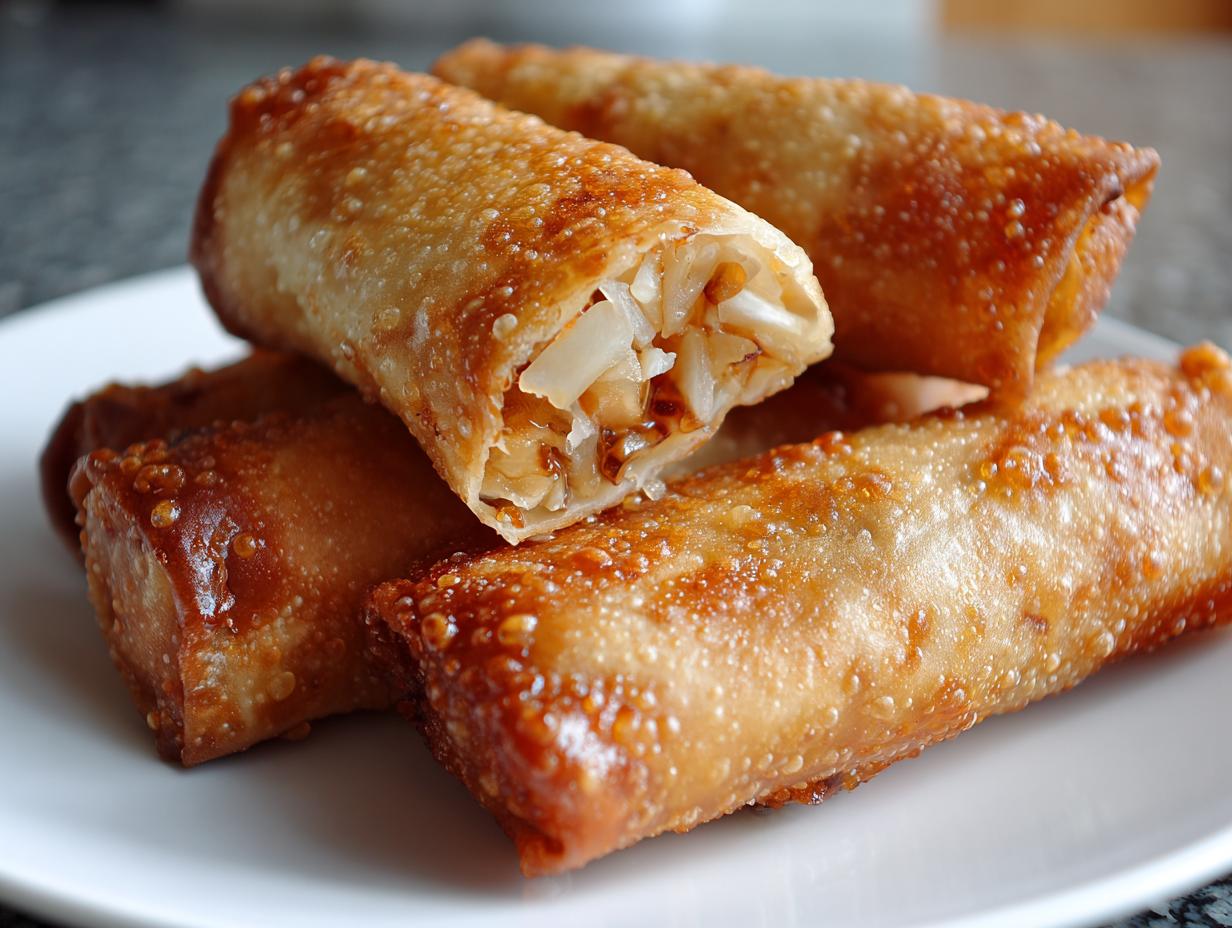
You know that feeling, right? It’s Friday evening, you’re tired, and that craving for crispy, savory Chinese takeout hits you hard. You know exactly what you want: that perfect, golden-brown, crunchy egg roll holding a heap of juicy filling. Ordering delivery is easy, but honestly, it never quite hits the mark. I’m Sarah Miller, and I spent years relying on delivery because I thought making restaurant-style quality at home was just too much effort for my busy marketing schedule.
But I figured out the secret—and trust me, it’s not complicated. This recipe is the one that finally brought takeout quality into my home kitchen. We’re talking about achieving unbelievable crispiness, whether you’re deep frying them the classic way or going for my favorite healthier alternative, the oven-baked version. Making these homemade egg rolls from scratch proves that nourishing, delicious food doesn’t need to take all weekend. It just needs the right, simple technique.
- Why This Easy Egg Roll Recipe is a Takeout Favorite at Home
- Gathering Ingredients for Your Homemade Egg Rolls
- Step-by-Step Instructions for the Best Egg Roll Filling
- Mastering the Art of Rolling Your Egg Roll Wrappers
- Achieving Crispy Chinese Egg Rolls: Frying vs. Baking Options
- Essential Egg Roll Dipping Sauce Suggestions
- Tips for Success with Your Egg Roll Recipe
- Storing and Reheating Your Egg Rolls
- FAQ About Making a Great Egg Roll
Why This Easy Egg Roll Recipe is a Takeout Favorite at Home
I truly believe this is the recipe that finally lets you ditch the phone and forget about calling for delivery. When I developed this, my main goal was to clone that perfect experience you get from the best local spot. It’s all about balance, and this Easy Egg Roll Recipe delivers on every front. You get the satisfaction of making incredible Restaurant Style Egg Rolls right on your own counter!
Here’s why this one always wins at my table:
- You get that unbelievably satisfying shatteringly crispy texture, no matter how you cook them.
- The savory filling is packed with juicy flavor, thanks to a few secret spices that really make a difference.
- It’s flexible! Whether you have time to fry or need a quick oven baked egg rolls trick, this recipe handles it beautifully.
If you’re looking to streamline your weeknights, mastering a great appetizer like this is key. Check out my tips for making quick dinners when the week gets hectic on my quick and easy weeknight dinners page!
Gathering Ingredients for Your Homemade Egg Rolls
Okay, listen up, because getting the ingredients right is half the battle for the Best Egg Roll Filling. I keep this part super simple because I know you’re busy. When I’m rushing, I always grab a pre-shredded chicken, which saves me a solid 15 minutes right off the bat—we all need those shortcuts to make home cooking happen!
The quality of the veggies makes a huge difference in texture, so while I’m not microwaving anything, I swear by using fresh ingredients only for the aromatics. And just remember, the wrappers are the absolute star of the show here. Don’t try to substitute them; you need actual egg roll wrappers if you want that classic crunch!
For the Savory Egg Roll Filling
- 3 tablespoons olive oil (for sautéing, not frying!)
- 1 small onion, finely minced (I mean, really small!)
- 2 cloves garlic, minced
- 1 teaspoon ground ginger
- 1 (16 ounce) package tri-color coleslaw mix (this is my time-saver!)
- 2 cups cooked chicken, finely chopped or shredded (use rotisserie if you can!)
- 2 tablespoons soy sauce
- 1 teaspoon rice vinegar
- 1/2 teaspoon sesame oil
- Salt and black pepper, to taste
For Assembly and Cooking
- 12–15 egg roll wrappers (make sure they are fresh and flexible)
- Vegetable oil, for frying (if going that route)
- Water, for sealing those edges tight
Step-by-Step Instructions for the Best Egg Roll Filling
Now that we have our cast of characters (the ingredients!), it’s time for the magic to happen. This section is all about coaxing out the flavor from those simple vegetables to build the Best Egg Roll Filling. Don’t rush the sautéing steps; that’s where the deep, savory taste comes from. We’re building layers here, friend!
First things first, get a wide skillet hot over medium heat and add your olive oil. We want a nice, gentle sauté to start. Toss in your finely minced onion and let it cook down until it’s soft—about three minutes should do it. Watch it go from sharp to sweet; it’s a small but crucial transformation.
Next up, the aromatics! Throw in that minced garlic and ground ginger. Be careful here, because garlic burns fast! We just want it to get fragrant, maybe 30 seconds max, letting that amazing smell fill your kitchen. That smell alone is better than any takeout special!
Now bring in the bulk: the coleslaw mix. This wilts down fast, so cook it just until it starts to soften but still has some real bite left. We definitely don’t want mushy filling! Once that’s done, add your cooked chicken and all the liquids and seasonings—soy sauce, rice vinegar, and sesame oil. Give it a good stir, cook it for about two more minutes so everything melds together, and then you MUST take it off the heat.
Here is my biggest tip for avoiding the dreaded soggy bottom on your beautiful wrappers: The filling has to cool down! Seriously, if you try to roll hot filling into those delicate wrappers, the steam will cook the wrapper from the inside out, and you’ll end up with a limp mess instead of our gorgeous, crispy roll. Spread that filling out onto a plate right away so it can cool off quickly before we move on to the assembly stage.
If you love using simple, hearty ingredients in your cooking, you should check out my easy creamy chicken chili recipe; it uses similar techniques to build foolproof flavor bases!
Mastering the Art of Rolling Your Egg Roll Wrappers
This is where a lot of people get nervous, but honestly, once you get the hang of the folding, it’s just like wrapping a tiny present! Remember, we need that tight, secure seal to keep all that delicious filling locked inside when it hits the heat. Lay out your surface—a cutting board or large plate works great—and make sure your slightly cooled filling is right there next to your bowl of water. A damp pastry brush or just your finger works perfectly for sealing.
Take one wrapper and lay it down so it looks like a diamond, with one point facing directly toward you. This orientation is key, trust me! If you start with the square edge toward you, you end up with weird flaps that don’t seal right. We want that neat, tapered look that screams traditional takeout. It’s all about that diamond start!
Next, scoop about two tablespoons of that savory filling mixture right into the center of the wrapper. Don’t get greedy here! Too much filling, and the wrapper will tear when you try to fold it tight. Think of it as filling the bottom third.
Now for the folding sequence. This is critical for a sturdy, perfect egg roll. First, take that bottom corner pointing at you (the lower point of the diamond) and fold it right up over the filling. You want it snug against the filling mass.
Take a quick peek at the sides. You’re going to gently fold those left and right corners in toward the center, just like you’d fold up the sides of an envelope. This cinches everything up and prevents the filling from spilling out the sides.
Finally, roll the whole thing upward—tightly! Keep rolling upwards toward that top, final corner. When you get to the edge, dip your finger in the water and moisten that last exposed edge of the wrapper thoroughly. Press down firmly for a few seconds. Voila! You’ve got a perfectly sealed egg roll!
Repeat this whole process until you run out of filling or wrappers. I find having a little system for assembly makes things fly by, kind of like how I organize my ingredients when making my homemade English muffin nooks and crannies—once you have a rhythm, it’s so easy!
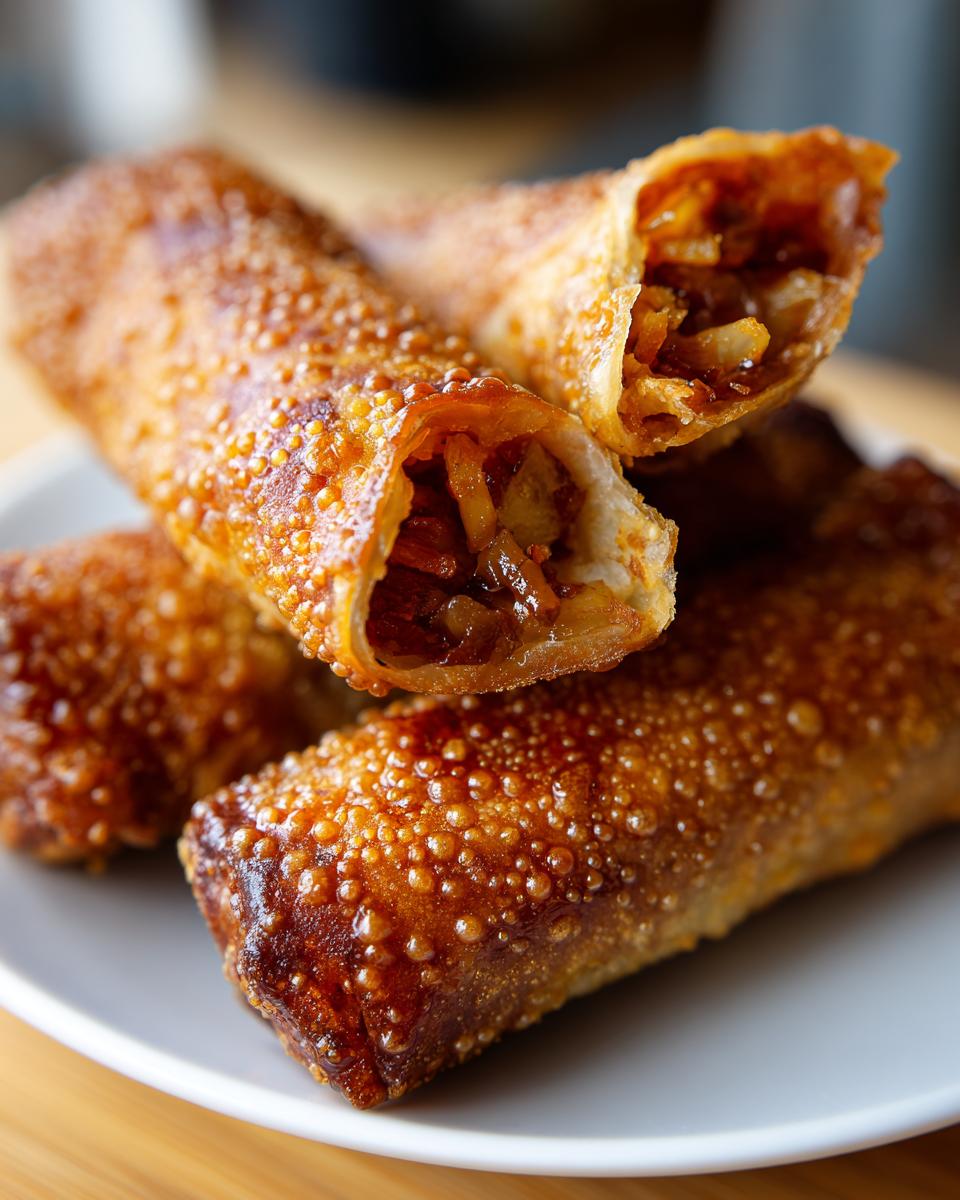
Achieving Crispy Chinese Egg Rolls: Frying vs. Baking Options
This is where we turn our carefully rolled beauties into that amazing, crunchy takeout treat. Look, my husband loves the real deal, so I’ve perfected the Deep Fried Egg Rolls method. It gives you that unbeatable, uneven crispiness that only hot oil can achieve. But, I’m not always up for dealing with a big pot of oil, especially on a Tuesday night. Honestly, I’ve found that the baked versions—especially in the air fryer—are shockingly close to the original!
You have options here, and the best choice depends on your mood and what you’re serving these with. Either way, make sure your filling is completely cool before you start cooking; that’s the golden rule for keeping the outside crispy and the inside hot.
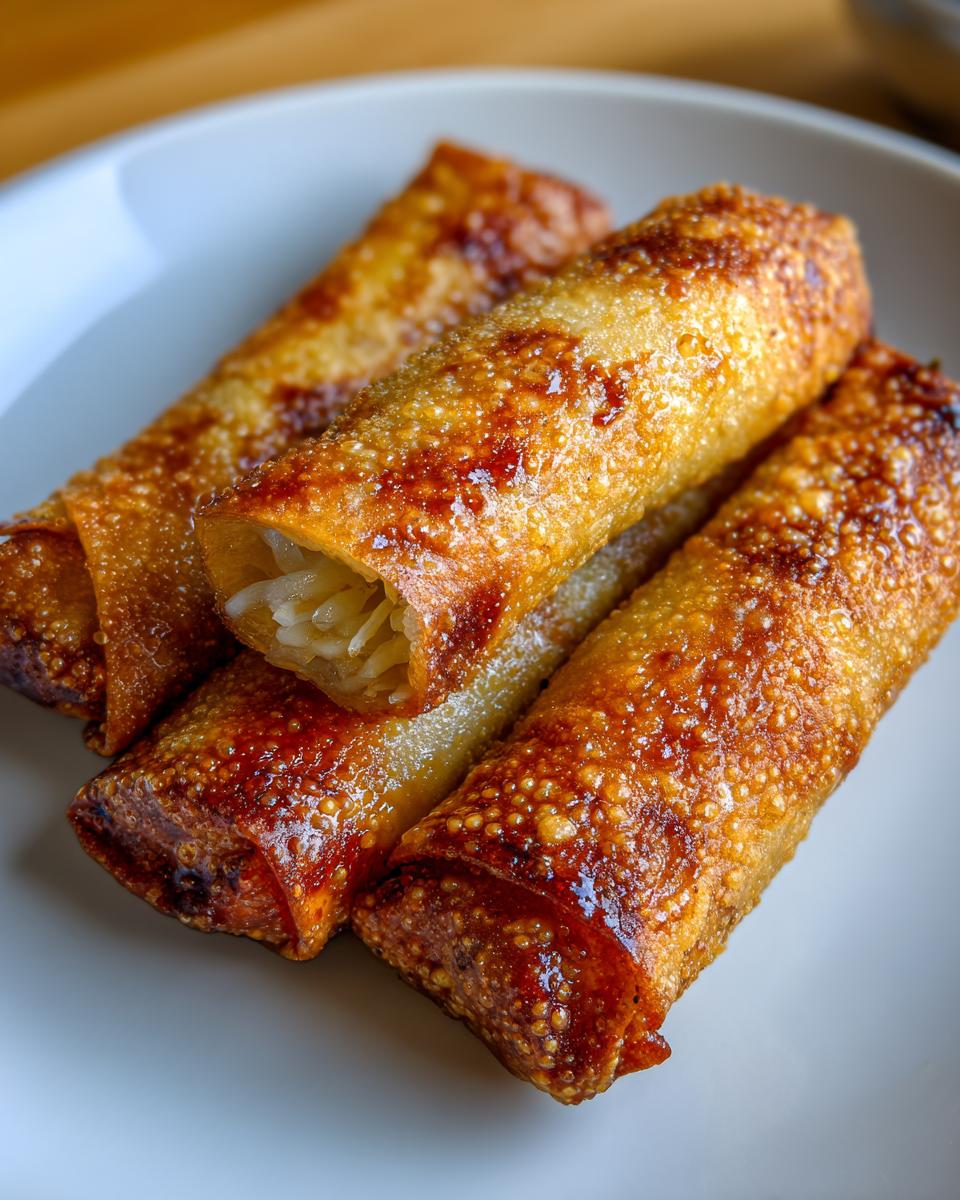
Traditional Deep Fried Egg Rolls Method
If you want that authentic, golden, bubbly texture, this is the way to go. Get your vegetable oil into a deep, heavy-bottomed pot or a deep fryer. You absolutely need a thermometer for this because temperature control is everything. Heat that oil up until it hits exactly 350 degrees Fahrenheit (or 175 Celsius). If it’s too cool, the wrapper soaks up oil and gets greasy; too hot, and it burns before the inside warms up.
Carefully lower your sealed egg roll packages into the hot oil in small batches. We can’t overcrowd the pot, or the oil temperature drops instantly, leading to sogginess! Fry them for about 3 to 4 minutes, turning them every minute or so to make sure all sides get that beautiful, even golden color. Once they look perfectly crunchy, whisk them out with a spider strainer and immediately place them on a wire rack or paper towel-lined plate to drain. Don’t skip the drain step!
Healthier Air Fryer Egg Rolls Cooking
For those nights when I’m trying to save a few calories or just don’t want the cleanup mess, the air fryer is my hero. This method gives you fantastic results, and I find they crisp up nicely without the heavy oil. We’re prepping these slightly differently since they need direct contact with heat to brown right.
First, preheat your air fryer to 375°F (190°C). If you’re using the oven, set it to 400°F (200°C). This is important: you must lightly brush or spray every single surface of your assembled egg roll with oil—be generous but mindful. You can even use cooking spray if you have one of those handy oil sprayers, which you can read more about in my guide to using the air fryer for chicken tenders.
Place the rolls in a single layer in your air fryer basket. If you’re using the oven, place them on a rack set over a baking sheet so air can circulate underneath. Cook for about 10 to 12 minutes in the air fryer, flipping halfway through. If you’re baking, they might take closer to 15 to 20 minutes. You are looking for that deep golden brown and a firm, crunchy shell. Voila! Crispy satisfaction, less fuss!
Essential Egg Roll Dipping Sauce Suggestions
Okay, we’ve done the hard work, and now we need the perfect partner for those crispy rolls! A fantastic egg roll deserves an amazing dipping sauce, and it doesn’t have to be complicated. I always keep a super simple sweet and sour sauce element on hand. You can make a quick version just by whisking together half a cup of soy sauce with two tablespoons of rice vinegar, a teaspoon of brown sugar, and a generous drizzle of chili oil if you like a little heat.
If you need something even easier, you can’t go wrong with duck sauce or just a dash of plain sweet chili sauce. For something totally different, try my super easy easy 3-ingredient chili cheese dip—it’s wild, but it works for a Game Day snack twist!
Tips for Success with Your Egg Roll Recipe
I’ve made enough batches of these homemade egg rolls now that I know exactly where things can go sideways, so I want to share a few final thoughts to ensure you get perfection every single time. Even though this is an easy egg roll recipe, those little details really elevate it from good to takeout-worthy!
First, let’s talk about that filling again. I mentioned it before, but I can’t stress this enough: make sure that filling is totally cool before you start wrapping. If you skip cooling it, the steam ruins the wrapper’s texture, and you’re absolutely going to end up with a soggy mess at the bottom. It’s the fastest way to sabotage your crispy efforts!
Second, be mindful of how much filling you use. I always aim for about two tablespoons per wrapper. If you overfill, you’re either going to have filling shoot out the sides while frying, or you’ll struggle to seal the wrapper properly, which means oil gets inside and makes things heavy instead of light and crisp. It’s a delicate balance!
Third, if you are baking or air frying, don’t skimp on the oil brush! The oil is what creates the fried texture in the oven. Make sure you are really brushing every square inch with oil, or even consider using an air fryer where the powerful convection forces that crispness quickly. If you want the best baked results, check out these tips on baking egg rolls for maximum crisp without the deep fryer!
Finally, don’t leave unused wrappers out too long! They dry out incredibly fast on the counter, and dried-out wrappers tear while you roll, or they won’t seal correctly when moisten them with water. Keep the ones you aren’t actively using covered with a slightly damp kitchen towel while you tackle the rolling process. A little care with the wrapper handling goes a long way!
Storing and Reheating Your Egg Rolls
So, what happens if you, like me sometimes, accidentally make way too many? Or maybe you want to prep a huge batch ahead of time for a party next weekend? Good news! These egg rolls are fantastic leftovers, and they freeze like a dream. We definitely want to make sure we’re not sacrificing that crunch when reheating, though. That’s the main challenge with leftovers!
For immediate storage, just pop any leftovers into an airtight container once they’ve cooled down completely. They’ll keep nicely in the fridge for about three to four days. The filling itself is great, but that wrapper texture is going to soften up a bit in the cold. Don’t worry, we have a rescue plan!
When it comes to reheating, the microwave is honestly your enemy here. It just steams the wrapper and makes it completely limp. If you fried them, the best way to bring back that incredible crispiness is a quick trip to the air fryer. Seriously, it’s magic! Pop those rolls in the air fryer at about 375°F (190°C) for just 4 to 5 minutes. It heats everything through while gently re-crisping the exterior.
If you need to make a massive batch for later, this recipe is super Freezer Friendly Egg Rolls material. Assemble the rolls completely as directed, but skip the cooking. Lay them out on a baking sheet lined with parchment paper so they aren’t touching. Freeze them solid—this usually takes an hour or two. Once they’re individual frozen units, transfer them into a heavy-duty freezer bag. When you’re ready to cook them, just pull them straight from the freezer and add about 5 minutes to the air fryer or oven cook time. Quick, easy, and zero waste!
FAQ About Making a Great Egg Roll
Can I use ground pork or shrimp instead of chicken?
Absolutely! I love that this recipe lets you customize based on what you have or what you feel like eating that day. For pork egg rolls, just brown the ground pork first in Step 1 until no pink remains, drain off any excess grease, and then proceed with adding the onions and garlic. Same goes for shrimp—just finely chop it first! If you use shrimp, remember it cooks even faster, so keep an eye on it so it doesn’t get rubbery.
How can I make this into an Egg Roll in a Bowl Recipe?
Oh, this is my favorite healthy hack! If you’re skipping the wrappers entirely, you just skip Steps 7 through 12. Once your filling is cooked and cooled slightly (Step 6), you can serve it right over brown rice or cauliflower rice. It tastes exactly like the inside of an amazing egg roll but without the shell. I even have a whole recipe dedicated to making a great low-carb version; you can find the details for my Egg Roll in a Bowl Recipe if you want that full skillet experience!
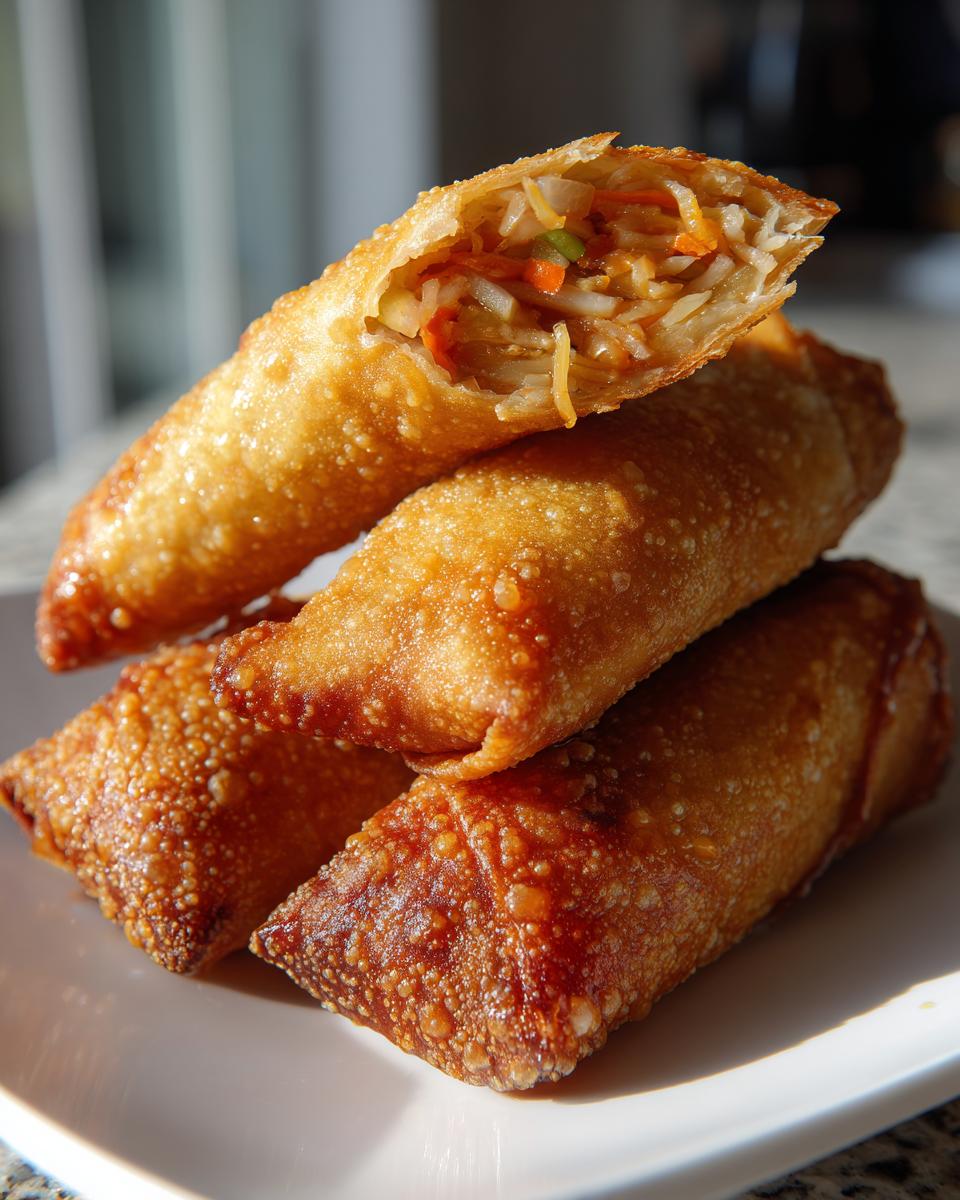
What is the difference between an egg roll and a spring roll?
That’s a common question! Generally, the biggest difference is the wrapper. The egg roll wrapper is thicker, usually contains egg (hence the name!), and gets those big, chewy, bubbly blisters when fried, resulting in a heavier crunch. Spring roll wrappers are paper-thin, often made from rice flour or wheat flour without egg, and they cook up lighter, more delicate, and shatteringly crisp—often translucent. If you want that thick, heavy crunch that stands up to dipping sauce, stick with the classic roll wrapper we used here!
I want to bake them, but they look pale. What went wrong?
Don’t stress! If your Oven Baked Egg Rolls aren’t quite golden, it’s almost always because they didn’t have enough oil contact before going into the oven. Remember, in the oven, the oil is what browns the wrapper, not the heat alone like in frying. Next time, make sure you are really brushing every square inch with oil, or even consider using an air fryer where the powerful convection forces that crispness quickly. If you want the best baked results, check out these tips on baking egg rolls for maximum crisp without the deep fryer!
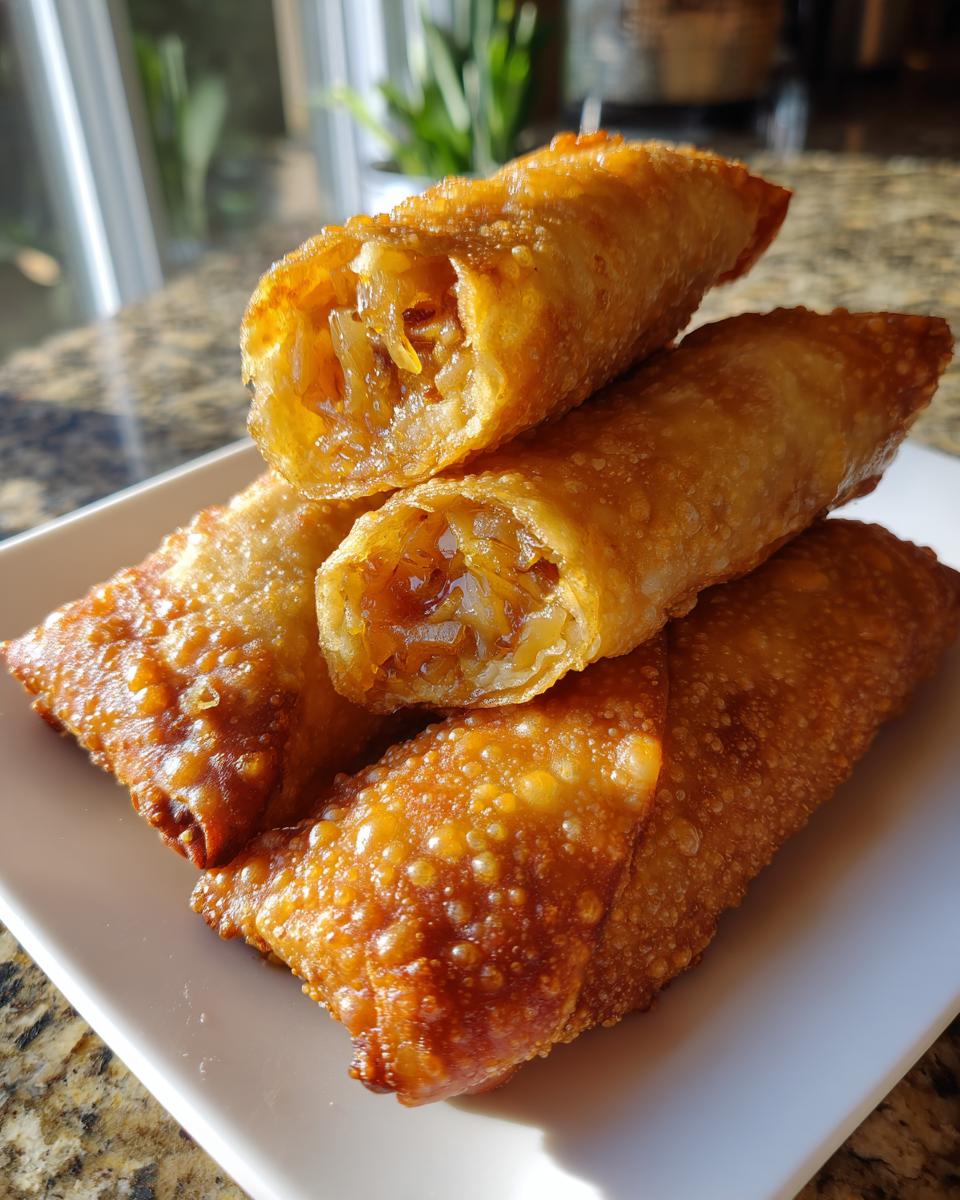
PrintCrispy Homemade Chinese Egg Rolls (Fried or Baked Option)

Make restaurant-style Chinese egg rolls at home. This recipe provides a savory, juicy filling and clear steps for achieving maximum crispiness, whether you choose to deep fry or bake them.
- Prep Time: 25 min
- Cook Time: 15 min
- Total Time: 40 min
- Yield: 12 to 15 rolls 1x
- Category: Appetizer
- Method: Frying or Baking
- Cuisine: Chinese-American
- Diet: Low Fat
Ingredients
- 3 tablespoons olive oil
- 1 small onion, finely minced
- 2 cloves garlic, minced
- 1 teaspoon ground ginger
- 1 (16 ounce) package tri-color coleslaw mix
- 2 cups cooked chicken, finely chopped or shredded
- 2 tablespoons soy sauce
- 1 teaspoon rice vinegar
- 1/2 teaspoon sesame oil
- Salt and black pepper, to taste
- 12–15 egg roll wrappers
- Vegetable oil, for frying (if frying)
- Water, for sealing
Instructions
- Heat the olive oil in a wide skillet over medium heat.
- Add the minced onion and cook until soft, about 3 minutes.
- Stir in the garlic and ground ginger. Cook briefly until fragrant, about 30 seconds.
- Add the coleslaw mix. Cook for 3–4 minutes, stirring often, until slightly wilted but still crisp.
- Add the cooked chicken, soy sauce, rice vinegar, sesame oil, salt, and black pepper. Stir well and cook for 2 more minutes.
- Remove the filling mixture from the heat and let it cool slightly before rolling.
- Place one egg roll wrapper on a flat surface with one corner pointing toward you (diamond orientation).
- Spoon about 2 tablespoons of filling into the center of the wrapper.
- Fold the bottom corner up over the filling. Fold in the left and right sides toward the center.
- Roll the wrapper tightly toward the top corner. Moisten the top edge with a little water to seal the roll completely. Repeat with remaining filling and wrappers.
- For Frying: Heat vegetable oil in a deep pan to 350°F (175°C). Fry egg rolls in batches for 3–4 minutes, turning as needed, until deeply golden and crisp.
- For Baking/Air Frying: Preheat your oven to 400°F (200°C) or air fryer to 375°F (190°C). Lightly brush or spray the assembled egg rolls with oil. Bake for 15–20 minutes or air fry for 10–12 minutes, flipping halfway, until golden brown and crisp.
- Transfer fried egg rolls to paper towels to drain excess oil before serving.
Notes
- For a healthier alternative, try making an Egg Roll in a Bowl by skipping the wrappers and serving the filling mixture over rice or cauliflower rice.
- You can use ground pork or shrimp instead of chicken for the filling.
- These egg rolls freeze well. Assemble them completely, place them on a baking sheet lined with parchment paper, and freeze until solid. Transfer frozen rolls to a freezer bag. Cook from frozen, adding a few extra minutes to the cooking time.
Nutrition
- Serving Size: 1 roll (fried)
- Calories: 180
- Sugar: 1
- Sodium: 350
- Fat: 10
- Saturated Fat: 2
- Unsaturated Fat: 8
- Trans Fat: 0
- Carbohydrates: 15
- Fiber: 1
- Protein: 8
- Cholesterol: 25