
There’s just something magical about walking into your own kitchen and smelling something that rivals the best European bakery. I know that feeling well, especially when life gets busy and homemade treats seem impossible. But trust me when I say that baking the chocolate babka recipe I’m sharing today is the perfect way to hit the pause button and reconnect with the joy of creating something truly spectacular. This isn’t just bread; it’s that tender, richly swirled pastry you dream about. For me, mastering this recipe felt like unlocking a door to satisfying weekend baking again, proving that the most rewarding things often take a little patience. We’re going for softness, an incredible swirl, and a flavor that shouts ‘gourmet’!
- Why This Homemade Chocolate Babka Recipe Works (E-E-A-T Focus)
- Gathering Ingredients for Your Chocolate Babka
- Step-by-Step Instructions for the Best Chocolate Babka Recipe
- Tips for Success with Your Chocolate Babka Making Guide
- Make-Ahead and Storage Instructions for Your Sweet Breakfast Loaf
- Serving Suggestions for this Decadent Chocolate Pastry
- Frequently Asked Questions About Chocolate Babka
- Estimated Nutritional Data for Chocolate Babka
- Share Your Homemade Chocolate Babka Creations
Why This Homemade Chocolate Babka Recipe Works (E-E-A-T Focus)
I’ve tried my fair share of recipes that promise bakery results but deliver dry disappointment. What sets this homemade chocolate babka recipe apart is the meticulous attention paid to the two main components: the dough structure and the filling consistency. These aren’t shortcuts; they are the foundational secrets to that unforgettable texture.
- The dough is enriched properly—think classic brioche richness, but slightly sturdy enough for rolling.
- The filling binds perfectly to the dough layers, ensuring you get that distinct swirl instead of a messy puddle.
- We use a simple syrup glaze that locks in moisture like nothing else!
Achieving the Soft Brioche Babka Dough
For that incredible, melt-in-your-mouth texture, temperature control is everything when we’re aiming for a soft brioche babka dough. Make sure your milk is just warm—not hot! If it’s too hot, you’ll kill your yeast right away. Also, room-temperature eggs blend so much better.
The real game-changer here is slowly working the softened butter into the dough after the initial mix. It takes time, sometimes longer than you’d think, but incorporating that fat slowly builds the necessary strength and tenderness for a truly tender crumb chocolate bread.
Creating the Rich Chocolate Swirl Bread Filling
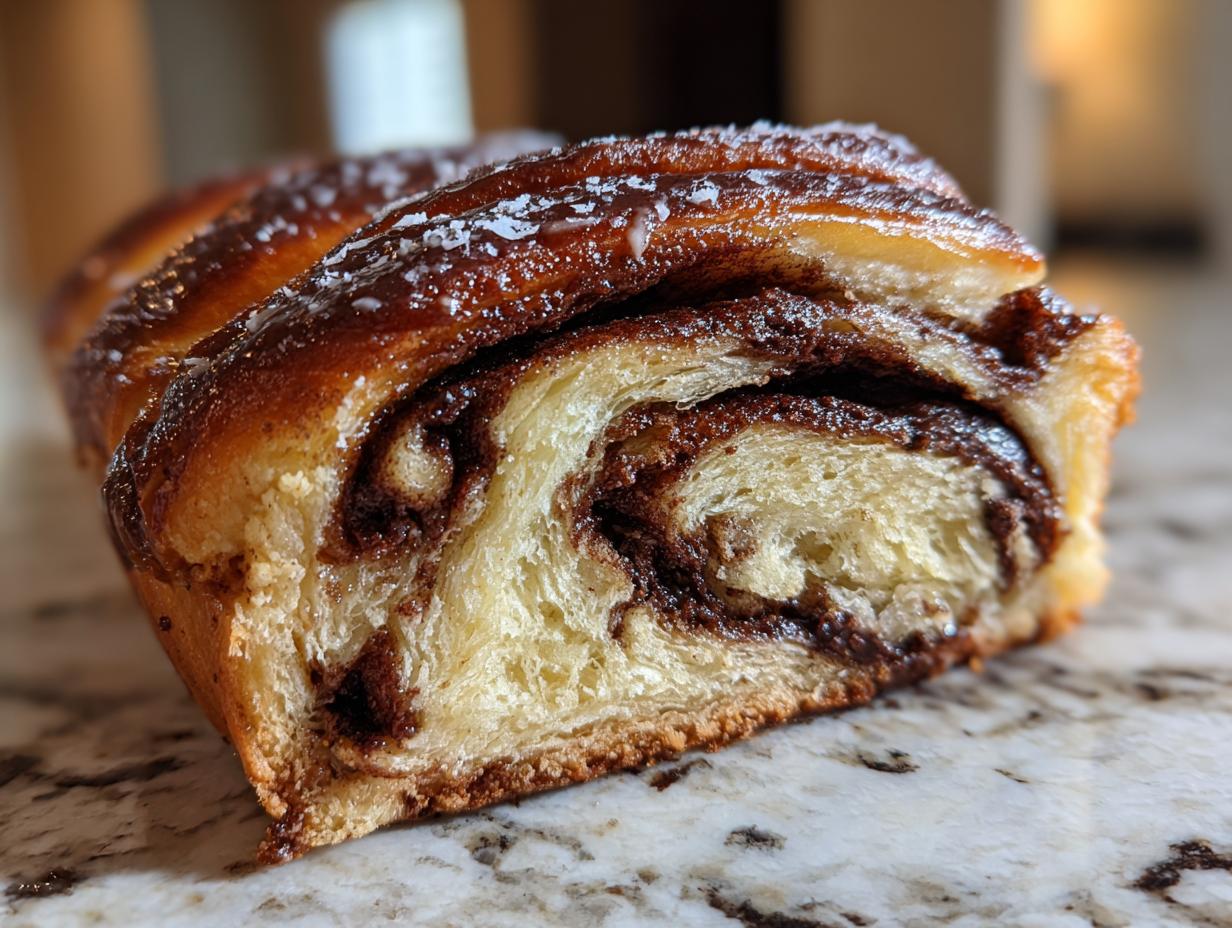
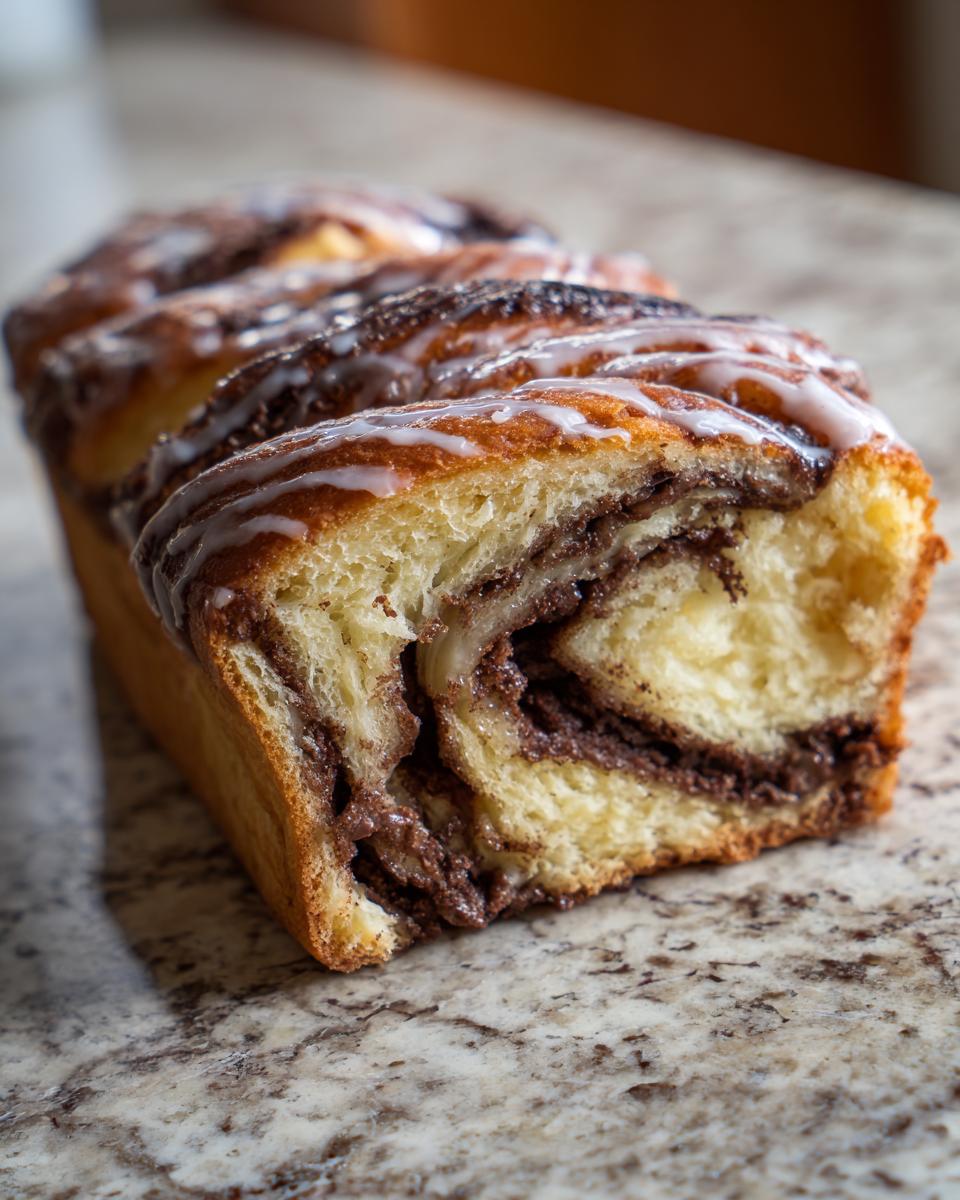
This filling is what makes people ask where you bought your loaf! We’re using bittersweet chocolate, which I think is crucial. It tempers the sweetness of the sugar and cocoa powder so you get this deep, almost intense chocolate flavor layering throughout the bread.
I use a higher ratio of butter and chocolate here compared to some thinner recipes. That extra fat helps the filling stay fudgy when baked, guaranteeing that gorgeous, dense swirl in your rich chocolate swirl bread. It truly is heaven for chocolate lovers sweet bread enthusiasts!
Gathering Ingredients for Your Chocolate Babka
Alright, let’s get our mise en place set up. Making a showstopper like this chocolate babka is always easier when everything is ready before we even turn the mixer on. When I started baking more often, I learned that having all my ingredients measured out was the difference between a relaxing bake and a panicked scramble!
We’ll break this list down into the dough needs and the decadent extras. If you’re looking for a great topping recipe inspired by this rich flavor profile, you might want to check out this easy gooey hot fudge pie recipe while you’re here!
Ingredients for the Tender Crumb Chocolate Bread Dough
For the dough, remember the temperature rules: warm milk, room temp eggs! This is the key to that amazing rise in your tender crumb chocolate bread.
- 1 cup whole milk, warm (about 110°F)
- 2 1/4 teaspoons active dry yeast
- 1/2 cup granulated sugar, divided
- 3 large eggs, room temperature
- 1 teaspoon vanilla extract
- 1 teaspoon salt
- 4 1/2 cups all-purpose flour, plus more for dusting
- 1 cup (2 sticks) unsalted butter, softened and cut into pieces
Ingredients for the Decadent Chocolate Filling and Syrup
This is where that incredible chocolate depth comes from. Make sure your filling butter is soft enough to easily combine with the cocoa and chocolate.
- 1 cup powdered sugar (for filling)
- 1/2 cup unsweetened cocoa powder (for filling)
- 1/2 cup (1 stick) unsalted butter, softened (for filling)
- 4 ounces bittersweet chocolate, chopped (for filling)
- 1/4 cup water (for syrup)
- 1/4 cup granulated sugar (for syrup)
Step-by-Step Instructions for the Best Chocolate Babka Recipe
Okay, here’s the main event! This is where the magic happens. Don’t let the steps scare you; we’re going slow and steady to earn that incredible bakery-style result. If you’re ever curious about whipping up a really decadent smooth topping, I have a wonderful easy chocolate frosting recipe you might enjoy later, but for now, focus those efforts right here!
Making and Rising the Soft Brioche Babka Dough
First things first, we have to wake up that yeast! Mix the warm milk, yeast, and a spoonful of sugar and just let it hang out until it’s frothy. That foam means happy yeast! After that, mix in your remaining sugar, the eggs, vanilla, and salt. Then we start adding the flour, gradually. The real work starts when we add the butter pieces, one by one. You need to knead this for a good 10 to 15 minutes to develop that gluten structure we need for our soft brioche babka dough. It takes elbow grease, but trust me, it’s worth it! Once it’s smooth and elastic, tuck it into an oiled bowl and let it rise until it’s doubled—usually about 2 hours. Don’t rush this first rise; it’s critical for that wonderful texture.
Preparing the Rich Chocolate Filling and Shaping the Dough
While your dough is happily puffing up, get that filling ready. It’s just melting chocolate, cocoa, powdered sugar, and soft butter all beaten together until it’s smooth and spreadable. When the dough is ready, punch it down gently. Roll it out into that big 12×18 inch rectangle on a lightly floured surface. You want to spread that rich, fudgy filling right over the dough, but leave about an inch bare on one long side. That border acts like glue when we roll it up!
Once spread, roll that dough up as tightly as you can, starting from the long side opposite that 1-inch border. Pinch that seam closed so the filling doesn’t escape!
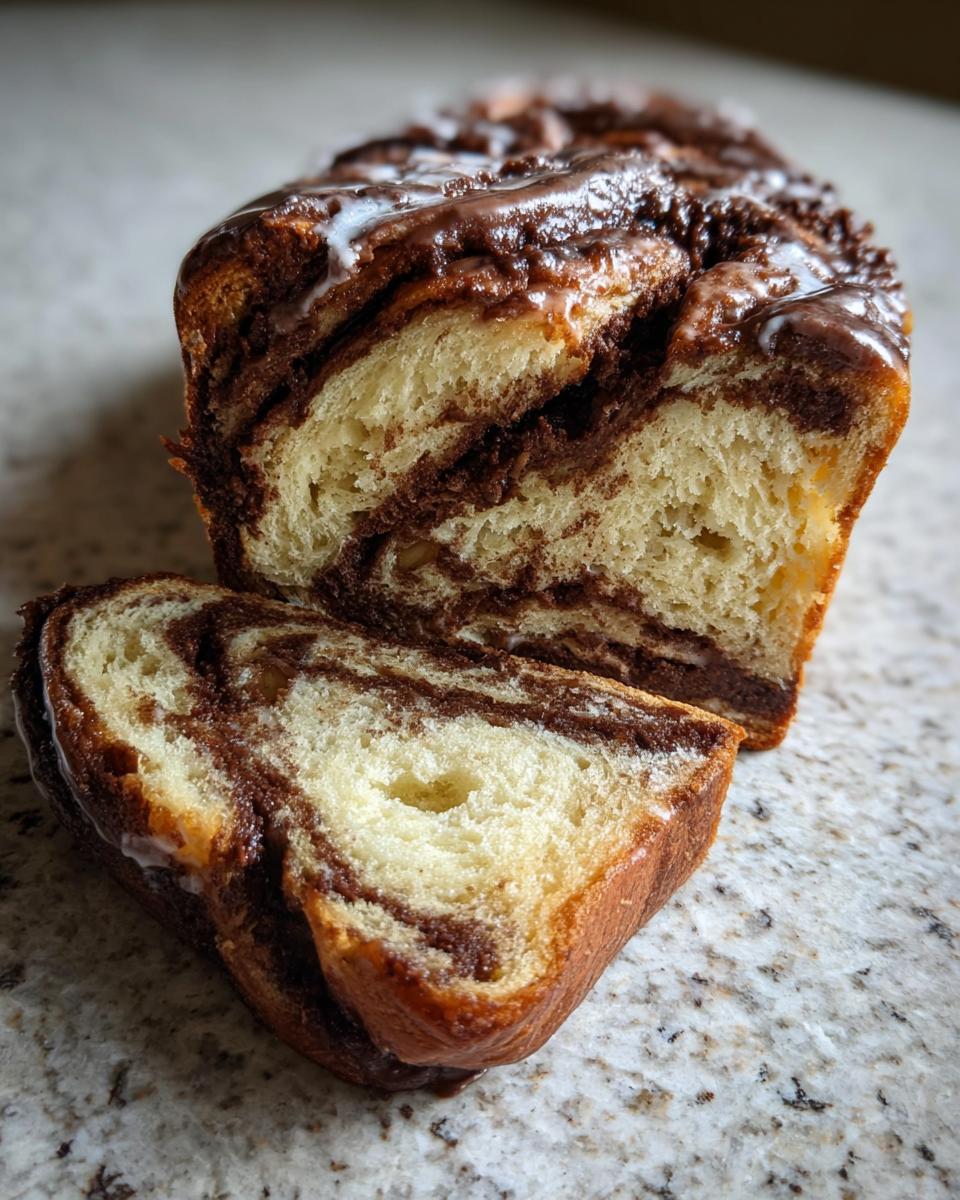
How to Braid Chocolate Babka: The Twisting Technique
This is the fun part where we turn a log into a masterpiece! Take your log and, using a sharp knife, slice it right down the middle lengthwise. You should see all those gorgeous layers of dough and chocolate peeking out! Turn the cut sides up so they face the ceiling. Now, you cross the two halves over each other, making sure those chocolate insides stay facing up—this is key for the easy chocolate babka tutorial aspect. Gently twist them together like a rope, tuck the ends under, and carefully move it into your greased loaf pan. Cover it loosely and let it proof again for about 45 minutes while you preheat your oven to 350°F (175°C). You can get the full tutorial inspiration over at Topp Kitchen!
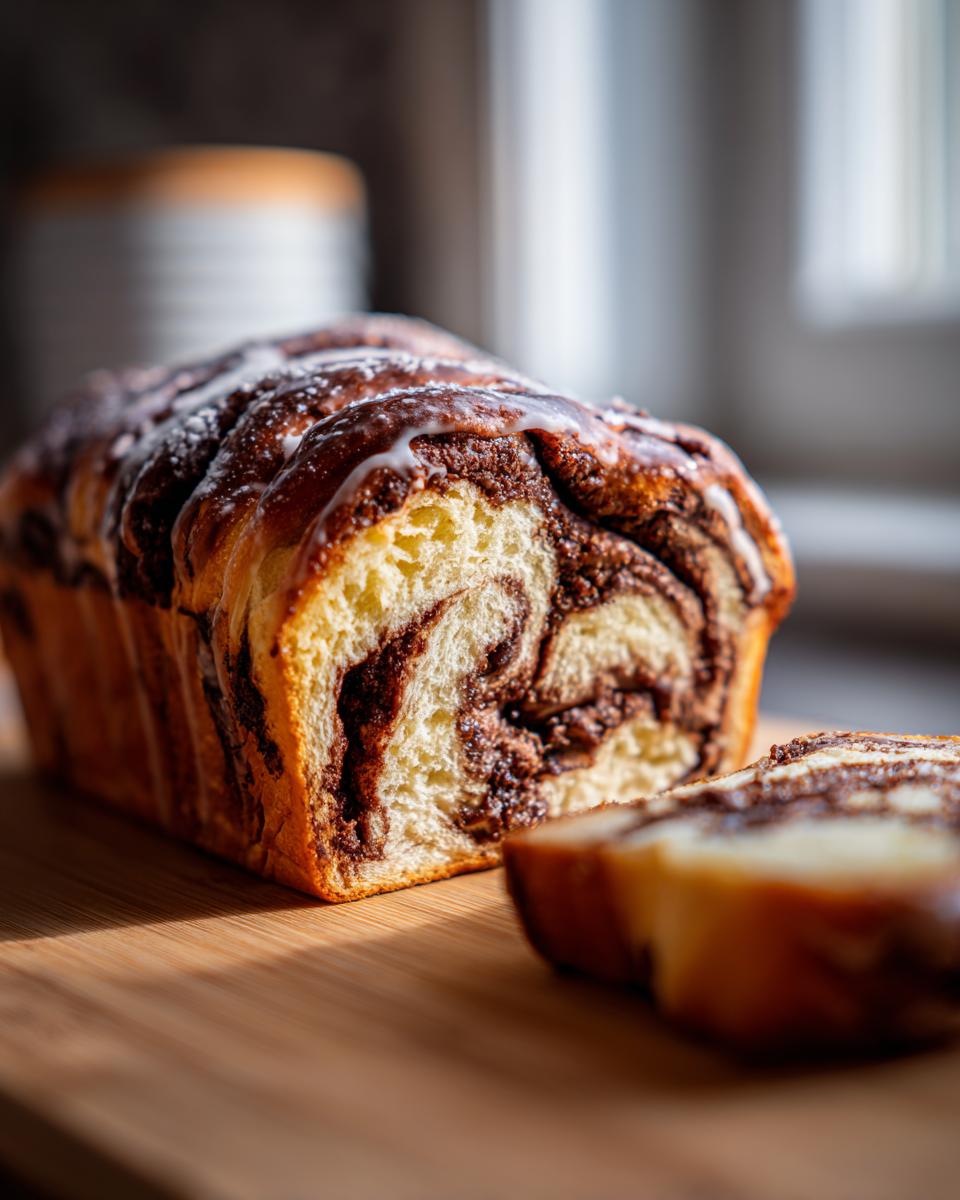
Baking and Glazing Your Chocolate Babka
Bake time is usually 35 to 45 minutes. Keep an eye on it, though; if the top starts getting too dark before the center is done, go ahead and loosely tent it with foil. Remember that beautiful rich chocolate swirl bread needs moisture! While it’s in the oven, quickly simmer water and sugar together to make a simple syrup. As soon as that babka comes out—and I mean *immediately*—brush that hot syrup all over the sticky top and sides. That syrup is what keeps this a truly moist babka recipe!
Tips for Success with Your Chocolate Babka Making Guide
Everyone runs into a snag when tackling a yeast bread dessert, especially one as fancy as this! I remember one time I totally rushed the first rise, and when I went to roll it out, the dough wouldn’t stretch; it just kept snapping back at me like a rubber band. Oops! I had to let it rest under a warm cloth for another 30 minutes, and magically, it relaxed enough to roll out beautifully. That taught me to respect the yeast’s timeline if I want a gorgeous bakery style babka at home.
I also love drizzling a little simple caramel sauce over the top if I’m feeling extra decadent—you can find my go-to easy homemade caramel sauce recipe if you want to take it even further! But honesty, taking advice from bakers who have aced this, like the folks at Tastes Better From Scratch, confirms that patience really is the main ingredient here.
Temperature Control for Perfect Chocolate Babka
This isn’t a quick bread; it’s a yeast bread dessert, so temperature matters! Seriously, before you even think about mixing, check your milk. It needs to be warm enough to wake up the yeast—think cozy, not scalding hot. If your ingredients are cold, your dough will be sluggish and slow-rising, which ruins the whole point of getting that light texture.
Using room-temperature eggs and letting your butter soften correctly makes the final kneading process so much easier. When everything is at the right temp, you get that perfect elasticity required for beautiful layers in your chocolate babka.
Make-Ahead and Storage Instructions for Your Sweet Breakfast Loaf
Who wants to spend hours on a Sunday morning prepping dough when they could be enjoying coffee? Me neither! The beauty of this sweet breakfast loaf is that you can totally break up the work over two days. If you finish kneading the dough (Step 4) and it’s looking great, just cover it tightly and pop it into the fridge. Letting the dough cold-ferment overnight gives the flavor such a deep, lovely complexity—it’s truly a pro move!
When you’re ready to bake the next day, just let the dough warm up on the counter for about an hour before rolling it out, and then proceed with filling and shaping. If you ever have leftovers, they freeze beautifully! Once the chocolate babka is completely cooled, wrap that loaf tightly in plastic wrap and then foil. It stays perfect for weeks! If you’re looking for a quicker bread option when you don’t have time for yeast, you have to see my easy soda bread recipe.
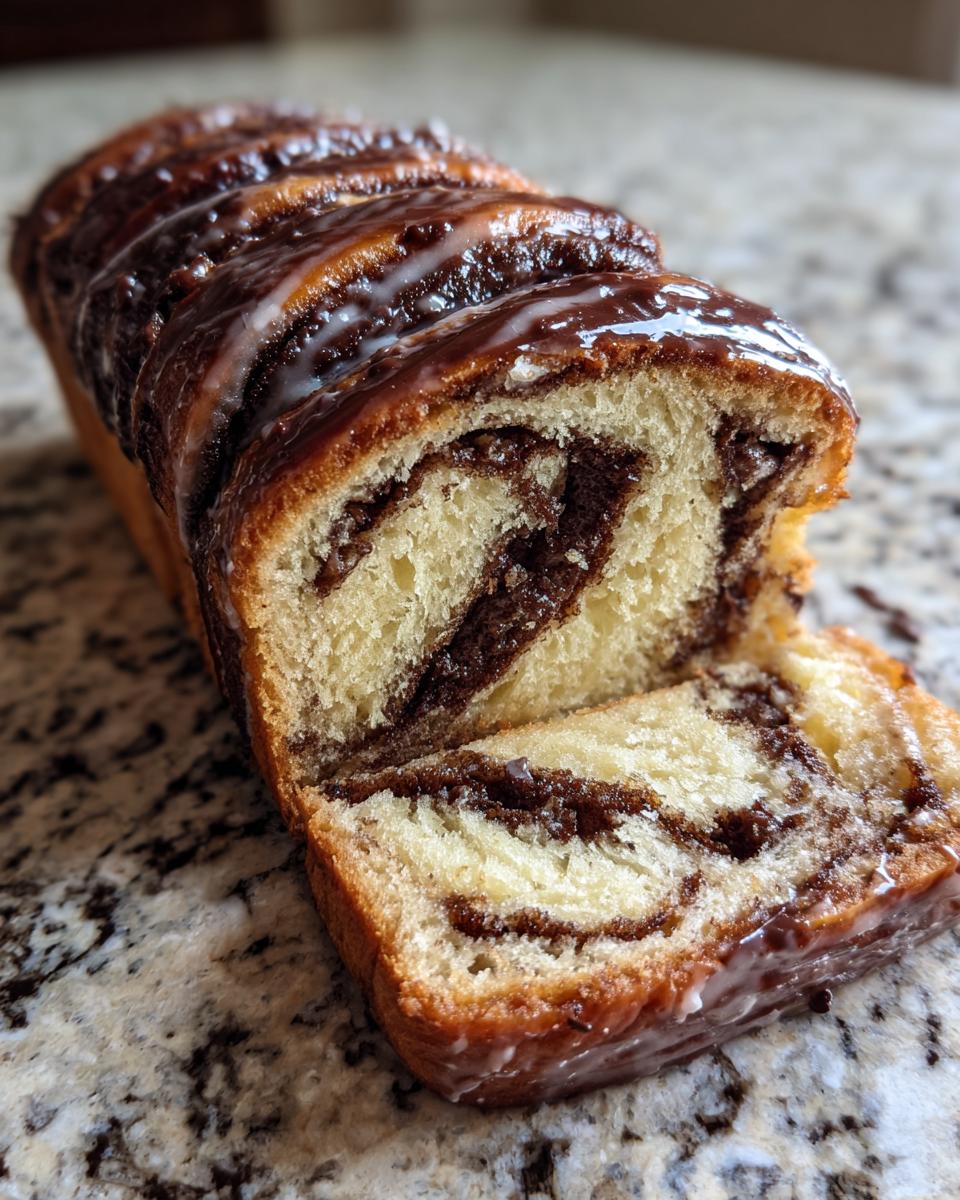
Serving Suggestions for this Decadent Chocolate Pastry
Honestly, once you pull this decadent chocolate pastry out of the oven, you’ll want to tear into it immediately, and I wholeheartedly support that impulse! But if you can manage to let it cool down somewhat—or even wait until the next morning—pairing it right elevates the entire experience.
This babka is so rich and buttery on its own, it really doesn’t need much help, but a good beverage makes the chocolate sing. If it’s breakfast time, you can’t beat a warm cup of coffee. If you’re feeling a little festive, try making my pumpkin spice latte homemade recipe; the hint of spice is wonderful against the dark chocolate.
For an afternoon treat, a strong black tea cuts through the richness perfectly. Sometimes, when I feel like going full gourmet, I’ll just serve a thin slice alongside a dollop of unsweetened whipped cream or, if I’m feeling very indulgent, a scoop of vanilla bean ice cream. That contrast of warm chocolate and cold cream? Perfection. For more ideas on pairing sweet breads, you can check out some inspiration over at Cook Tune!
Frequently Asked Questions About Chocolate Babka
I always get the best questions after people try this recipe for the first time! It seems that once you master the basics of this incredible yeast bread dessert recipe, you start thinking about variations and troubleshooting your first attempts. Don’t worry if your first braid wasn’t perfect; that’s normal for any easy chocolate babka tutorial! If you’re looking for a simpler sweet treat that skips the yeast altogether, I’ve got a great easy no-bake peanut butter bars recipe you might love too.
Can I use instant yeast instead of active dry yeast in this chocolate babka recipe?
Yes, you absolutely can! Instant yeast is super convenient. Since active dry yeast needs a little warm milk bath to ‘proof’ and show you it’s alive, instant yeast doesn’t need that step. If you’re using instant, just mix it right in with your dry ingredients—the flour, salt, and the rest of the sugar—before you add the liquid. You can skip that initial 5 to 10 minute waiting period, which saves you a little time!
What is the secret to preventing the chocolate babka from drying out?
The single most important thing you can do to prevent a dry chocolate babka is NOT to skip the syrup glaze! That sugar syrup we brush on while the loaf is still piping hot works like a moisture sealant. It soaks right into the top layer, keeping it tender and shiny, even on day two. It’s honestly the game-changer that takes this from good to truly outstanding.
How long do I need to knead the soft brioche babka dough?
This is where we build that glorious structure! Because we are adding so much butter to create that soft brioche babka dough, the kneading takes longer than a standard loaf of bread. The instructions say 10 to 15 minutes, and you really need to stick with that time allotment. You are looking for the dough to go from sticky and messy to smooth, elastic, and able to pass the windowpane test. That elasticity is what holds those chocolate layers in place during the long rise and the final bake!
Estimated Nutritional Data for Chocolate Babka
I always include this because I know so many of you are tracking your intake, even when indulging in a delicious weekend baking project like this chocolate babka!
Please remember that these numbers are just an estimate based on the exact recipe measurements provided. Because we use real butter and bittersweet chocolate, it’s definitely on the richer side, but it’s worth every single bite, I promise you! If your portion sizes vary, or if you use a different brand of cocoa powder, the final count will shift a little.
- Serving Size: 1 slice
- Calories: 450
- Sugar: 35g
- Sodium: 250mg
- Fat: 24g
- Saturated Fat: 15g
- Unsaturated Fat: 9g
- Trans Fat: 0.5g
- Carbohydrates: 55g
- Fiber: 3g
- Protein: 8g
- Cholesterol: 80mg
This is classic comfort food, and while it’s a treat, knowing what’s in your amazing homemade loaf is part of taking good care of yourself!
Share Your Homemade Chocolate Babka Creations
Whew! You did it! You took a beautiful, rich yeast dough and turned it into a stunning, swirled masterpiece. Now that you’ve mastered the process of making this incredible chocolate babka, I really want to hear about it!
Did your braids come out looking like a bakery professional did them? Did the syrup glaze give you that perfect sheen? Don’t keep that joy to yourself! Drop a comment below and give this recipe a rating—it helps other home cooks feel confident trying this rewarding project.
If you snapped a picture of your loaf right out of the pan, I would absolutely love to see it! Tag me on social media so I can double-tap your beautiful work. Seriously, seeing your swirling success stories is the absolute highlight of my week. If you ever have any last-minute questions after the bake is done, feel free to reach out through my contact page. Happy baking, everyone!
PrintThe Best Homemade Chocolate Babka: Rich Swirls, Soft Brioche Dough, and Easy Braiding Tutorial
Bake a bakery-style chocolate babka at home that is softer and richer than store-bought versions. This recipe guides you through making a tender brioche dough and achieving perfect, decadent chocolate swirls using simple, step-by-step instructions for braiding.
- Prep Time: 45 min
- Cook Time: 45 min
- Total Time: 3 hr 30 min
- Yield: 1 loaf (10 servings) 1x
- Category: Dessert
- Method: Baking
- Cuisine: Jewish/Eastern European
- Diet: Vegetarian
Ingredients
- 1 cup whole milk, warm (about 110°F)
- 2 1/4 teaspoons active dry yeast
- 1/2 cup granulated sugar, divided
- 3 large eggs, room temperature
- 1 teaspoon vanilla extract
- 1 teaspoon salt
- 4 1/2 cups all-purpose flour, plus more for dusting
- 1 cup (2 sticks) unsalted butter, softened and cut into pieces
- 1 cup powdered sugar (for filling)
- 1/2 cup unsweetened cocoa powder (for filling)
- 1/2 cup (1 stick) unsalted butter, softened (for filling)
- 4 ounces bittersweet chocolate, chopped (for filling)
- 1/4 cup water (for syrup)
- 1/4 cup granulated sugar (for syrup)
Instructions
- Activate the yeast: In a large bowl, combine the warm milk, yeast, and 1 tablespoon of the sugar. Let stand for 5 to 10 minutes until foamy.
- Make the dough: Whisk in the remaining sugar, eggs, vanilla extract, salt, and 3 cups of the flour into the yeast mixture. Mix until combined.
- Knead the dough: Gradually add the remaining flour until a shaggy dough forms. Turn the dough onto a lightly floured surface and knead for 5 minutes.
- Incorporate butter: Add the softened butter pieces one at a time, kneading until each piece is fully incorporated before adding the next. Continue kneading for 10 to 15 minutes until the dough is smooth and elastic.
- First rise: Place the dough in a lightly oiled bowl, turning to coat. Cover and let rise in a warm place for 1.5 to 2 hours, or until doubled in size.
- Prepare the chocolate filling: While the dough rises, beat together the powdered sugar, cocoa powder, 1/2 cup softened butter, and chopped bittersweet chocolate in a medium bowl until smooth.
- Shape the dough: Punch down the risen dough and turn it out onto a lightly floured surface. Roll the dough into a large rectangle, about 12×18 inches.
- Spread the filling: Spread the chocolate filling evenly over the dough, leaving a 1-inch border on one long edge.
- Roll and slice: Starting from the long edge opposite the border, tightly roll the dough into a log. Pinch the seam closed. Using a sharp knife, slice the log lengthwise down the center, exposing the layers.
- Braid the babka: Turn the cut sides up. Cross the two halves over each other, keeping the cut sides facing up. Twist the two halves together gently to create a braid. Tuck the ends under.
- Second rise: Carefully transfer the braided dough to a greased 9×5 inch loaf pan. Cover loosely and let rise for 45 to 60 minutes, or until puffy. Preheat your oven to 350°F (175°C) during the last 15 minutes of rising.
- Bake: Bake for 35 to 45 minutes, or until golden brown. If the top browns too quickly, loosely tent it with foil.
- Make the syrup: While the babka bakes, combine the water and 1/4 cup sugar in a small saucepan. Bring to a simmer, stirring until the sugar dissolves. Remove from heat.
- Glaze: Immediately after removing the babka from the oven, brush the hot sugar syrup evenly over the top and sides of the loaf. Let the babka cool in the pan for 15 minutes before transferring it to a wire rack to cool completely.
Notes
- For a tender crumb, ensure your butter and eggs are at room temperature before starting the dough.
- You can make the chocolate filling a day ahead and store it in the refrigerator; let it soften slightly before spreading.
- This sweet breakfast loaf freezes well once completely cooled. Wrap tightly in plastic wrap and foil.
Nutrition
- Serving Size: 1 slice
- Calories: 450
- Sugar: 35g
- Sodium: 250mg
- Fat: 24g
- Saturated Fat: 15g
- Unsaturated Fat: 9g
- Trans Fat: 0.5g
- Carbohydrates: 55g
- Fiber: 3g
- Protein: 8g
- Cholesterol: 80mg