
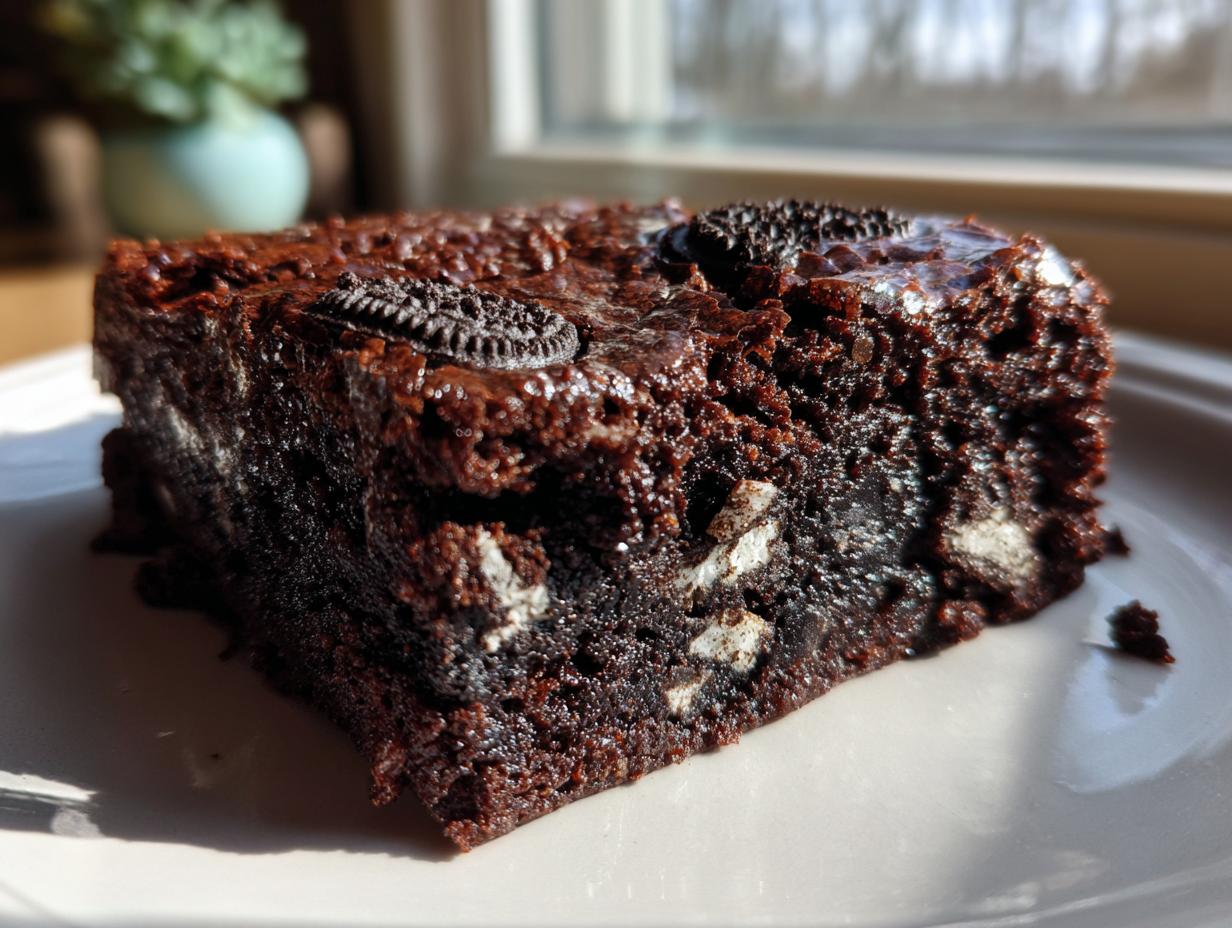
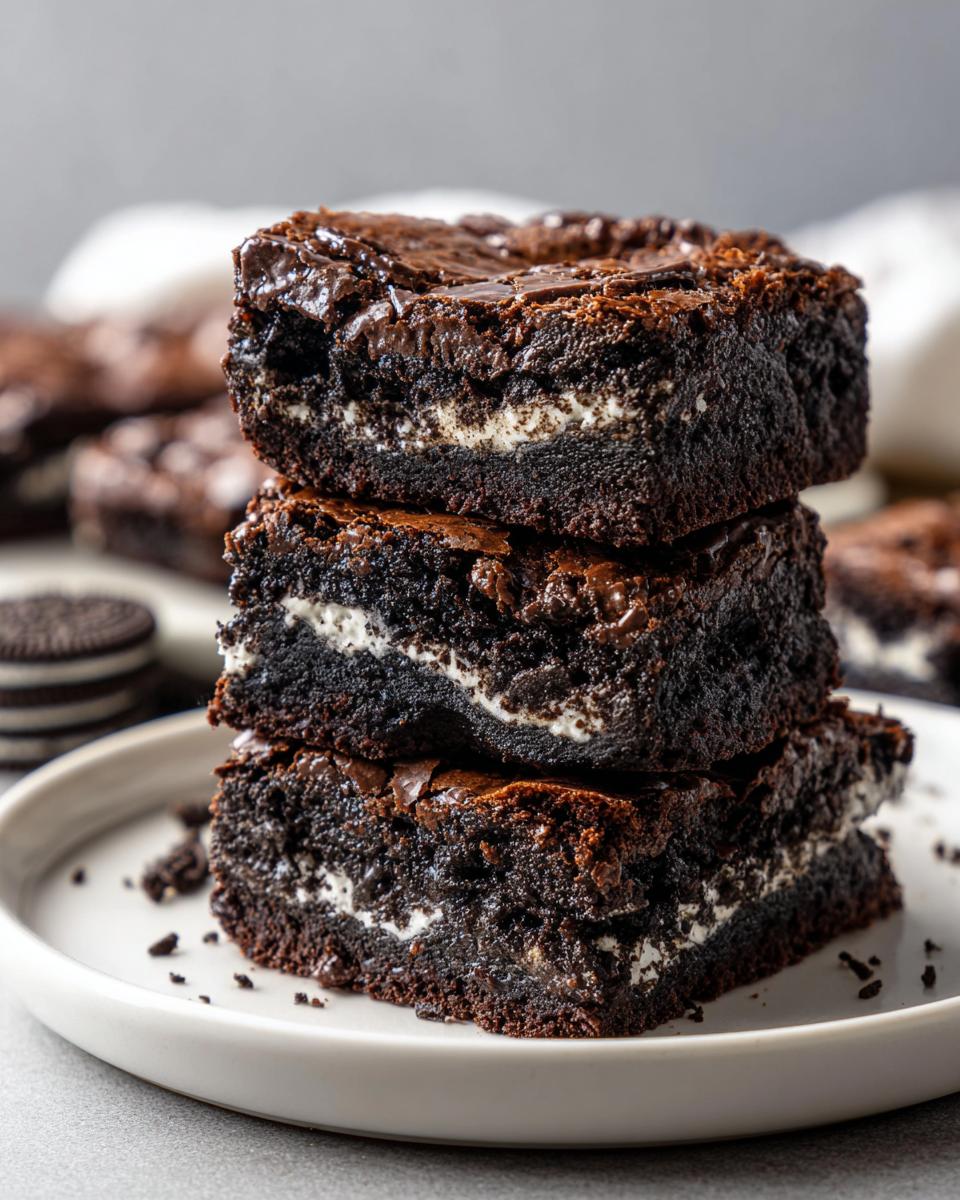
Sometimes, you just hit that wall where only intense chocolate can rescue the day, right? I know I do! When that craving hits, I skip everything else and jump straight to making my ultimate fudgy oreo brownies. Forget dry, cakey squares—we’re making the kind that are rich, dense in the center, and have that gorgeous, crackly, shiny top that looks like it came straight from a bakery case. As Sarah Miller, I believe that comforting desserts need to be straightforward. This recipe delivers that perfect, decadent experience without needing hours in the kitchen. Trust me, once you nail the technique here, you won’t look back!
- Why These are the Best Fudgy Oreo Brownies Recipe
- Gathering Ingredients for Your Homemade Oreo Brownies
- Simple Steps to Make Easy Oreo Brownies
- Expert Tips for Perfect Oreo Brownies Every Time
- Oreo Brownie Variations and Serving Suggestions
- Storage and Reheating Instructions for Leftover Oreo Brownies
- Frequently Asked Questions About These Chocolate Cookie Brownies
- Estimated Nutritional Data for Oreo Brownies
- Share Your Experience Making These Rich Chocolate Desserts
Why These are the Best Fudgy Oreo Brownies Recipe
When people ask me for the best chocolate brownies with Oreos, I always send them here. Why? Because these truly check every box we look for in a decadent, homemade square!
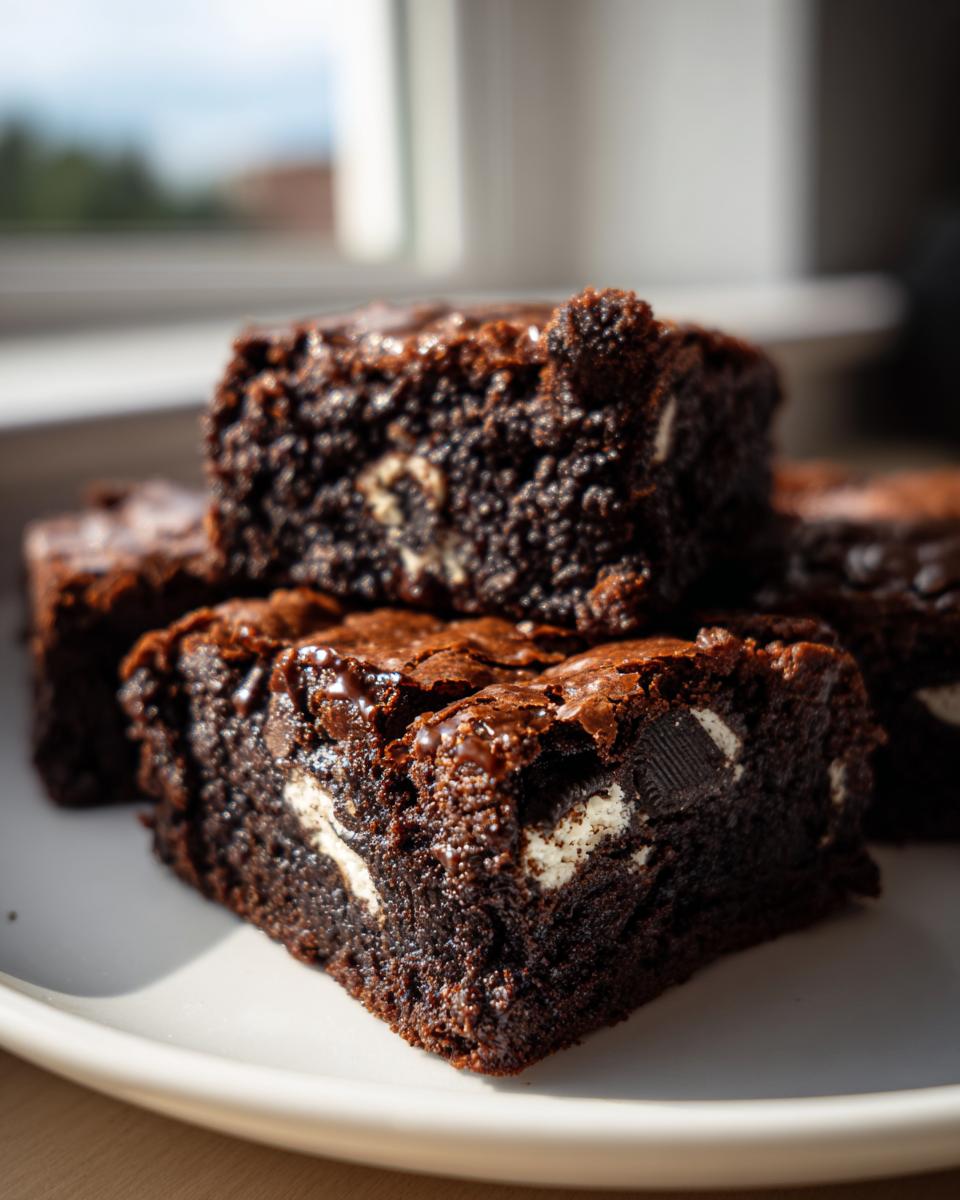
- They are unbelievably fudgy, not dry or cakey—that’s non-negotiable!
- They bake up with that coveted, almost mirror-like brownies with shiny top.
- Honestly, they are so simple. You mix it, you bake it, and you’re done!
Achieving the Ultimate Fudgy Texture
It all comes down to the ratio, friend. We lean heavily on melted butter and two types of sugar here, which keeps the flour count low. Less flour means less structure develops, and that’s exactly what makes them melt-in-your-mouth fudgy rather than crumbly!
The Secret to a Perfect Shiny Top on Your Oreo Brownies
If you want that beautiful crust, listen up! The magic happens when you aggressively whisk the melted butter with both the granulated and brown sugar for a good minute or two before adding the eggs. This dissolves the sugar crystals just enough so they rise to the top during baking and crystallize perfectly. Don’t rush that initial sugar whisk!
Gathering Ingredients for Your Homemade Oreo Brownies
Before we mix up this incredible batch of homemade oreo brownies, let’s make sure the kitchen is stocked. You don’t need any fancy pantry items for this recipe, which is part of why I love it so much! We’re relying on solid chocolate flavor layered with those crunchy cookies. Pay close attention to the temperatures, though—it really makes a difference in the final look.
Ingredient List for Decadent Oreo Dessert Bars
Grab everything before you start mixing. Remember what I said about the shiny top? Using room temperature eggs helps everything emulsify beautifully and prevents the sugar from seizing up. Here’s exactly what you’ll need for sixteen squares:
- 1 cup (226g) unsalted butter, melted
- 2 cups (400g) granulated sugar
- 1 cup (200g) packed light brown sugar
- 4 large eggs, room temperature
- 1 tablespoon vanilla extract
- 1 cup (120g) all-purpose flour
- ¾ cup (65g) unsweetened cocoa powder
- 1 teaspoon salt
- ½ teaspoon baking powder
- 1 cup (170g) semi-sweet chocolate chips
- 12 Oreo cookies, roughly chopped
Simple Steps to Make Easy Oreo Brownies
I promised you an easy recipe, and I deliver! These steps for making oreo brownies are so straightforward you’ll have them mixed up before the oven even finishes preheating. The key to keeping these simple, while still getting that bakery-quality look, is knowing when to stop mixing. We want everything incorporated, but never overdone. Trust me, I’ve baked enough batches (so many batches!) of these easy oreo brownies to know exactly where the finish line is for the best texture.
Preparation and Mixing the Batter for Rich Chocolate Dessert
First things first: get that oven to 350°F (175°C) and prep that 9×13 pan with parchment paper, making sure you leave an overhang—that’s your built-in handle later! Now, back to the shiny top: grab that melted butter and your sugars and whisk them together forcefully. You need to whisk them until they look pale and uniform. Then, beat in those room-temperature eggs one by one, followed by the vanilla. If you need a quick refresher on whipping up ingredients, check out my post on easy egg bites recipe for mixing tips! In a separate bowl, mix your small amount of dry ingredients: flour, cocoa, salt, and baking powder. Slowly add those dry ingredients into the wet. Mix on low speed or by hand until you see *just* combined. Stop! Now stir in your chocolate chips and about two-thirds of your chopped Oreos.
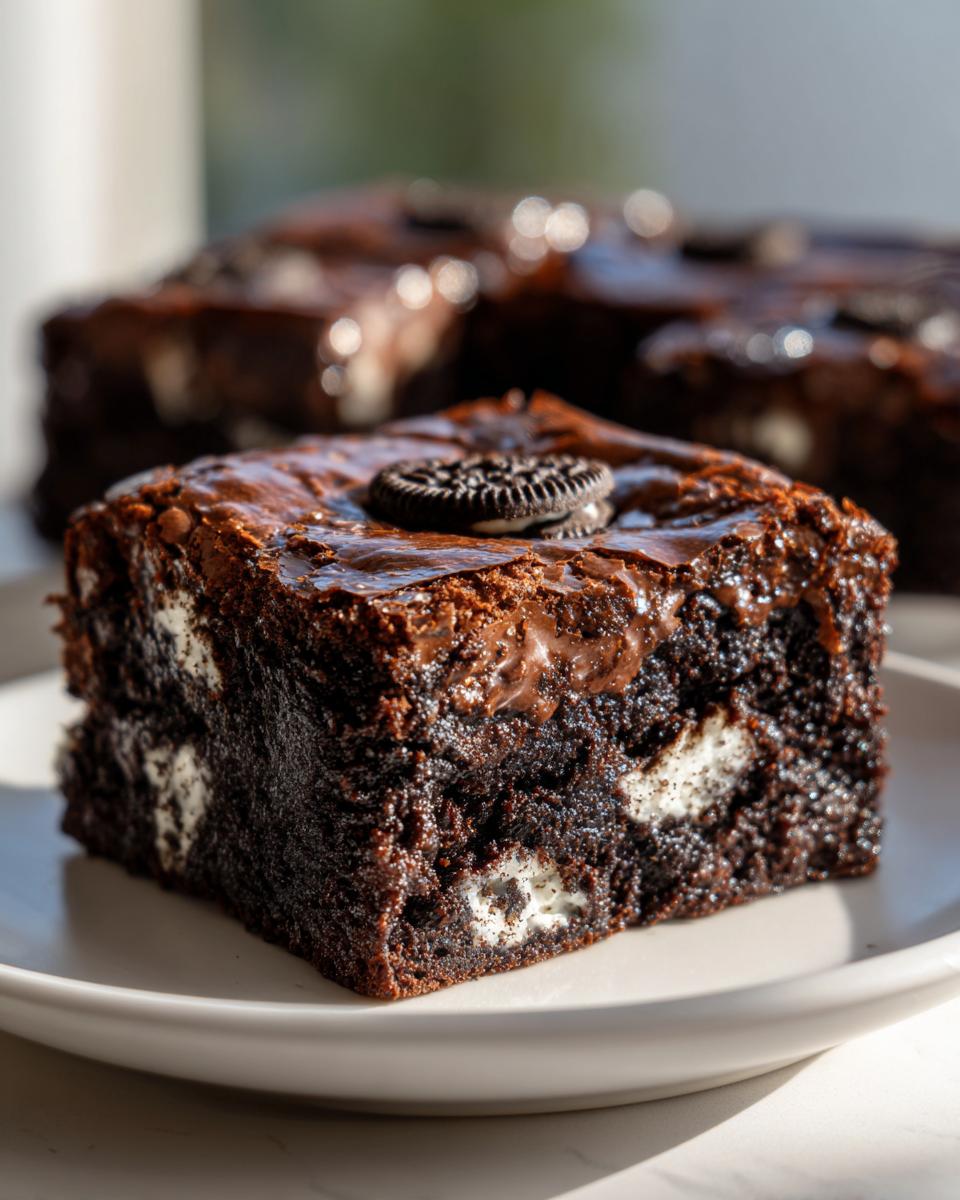
Baking and Cooling Your Cookies and Cream Brownies
Pour that gorgeous batter into your pan and smooth it out. Now, sprinkle the rest of those chopped Oreos right over the top—they’ll bake right in! Pop it in the oven for 30 to 35 minutes. Here’s the fudgy test: don’t expect a clean toothpick! You want moist crumbs clinging to it, but the center should look a tiny bit wobbly. That’s how you guarantee dense, rich flavor. Once they look done, pull them out and for the love of all that is chocolatey, let them cool completely! Trying to cut these cookies and cream brownies while warm is a recipe for a chocolatey mess. That cooling time is when the magic sets—patience pays off!
Expert Tips for Perfect Oreo Brownies Every Time
Okay, we’ve mixed and baked, but just like those fantastic savory recipes, paying attention to a couple of key details is what takes these oreo brownies from ‘good’ to absolutely legendary. Since we want that incredible texture all the time, I want to share a few refined techniques that I’ve learned over perfecting this recipe in my own busy kitchen.
Ingredient Temperature and Mixing for Ultimate Fudge Brownies
I know I mentioned it before, but I have to hammer this home because it’s crucial for the texture and that shiny shell: room temperature eggs are your best friend when making ultimate fudge brownies. Cold eggs drop the temperature of your fluffy butter/sugar mixture, which deflates those air bubbles you worked so hard to create. Also, and I can’t stress this enough, once that flour goes in, treat your batter gently! Overmixing develops gluten, and gluten equals cake. If you want that dense, ultimate fudge center, just mix until the white streaks disappear. Seriously, that’s it!
Adjusting Baking Time for Texture Preference
The 30 to 35-minute window is my sweet spot for fudgy decadence. But, I know some people out there prefer a slightly firmer, almost chewy edge, or maybe they just like their chocolate extra baked. If you find your toothpick is coming out too wet, don’t panic! You can absolutely continue to bake them for an extra 5 to 7 minutes. Just be aware that every minute past that 35-minute mark pushes you further away from that true fudgy experience and closer to a standard chocolate cookie bar. If you decide to try another incredible dessert while these bake, I have a great recipe for a creamy garlic sauce that might pair well with something later, but for now, let’s focus on keeping these brownies rich!
For more insights on avoiding common baking pitfalls, I found this great article on brownie tips from Broma Bakery that shares some fantastic approaches too, like when they discuss why their fudgy Oreo brownies come out so well.
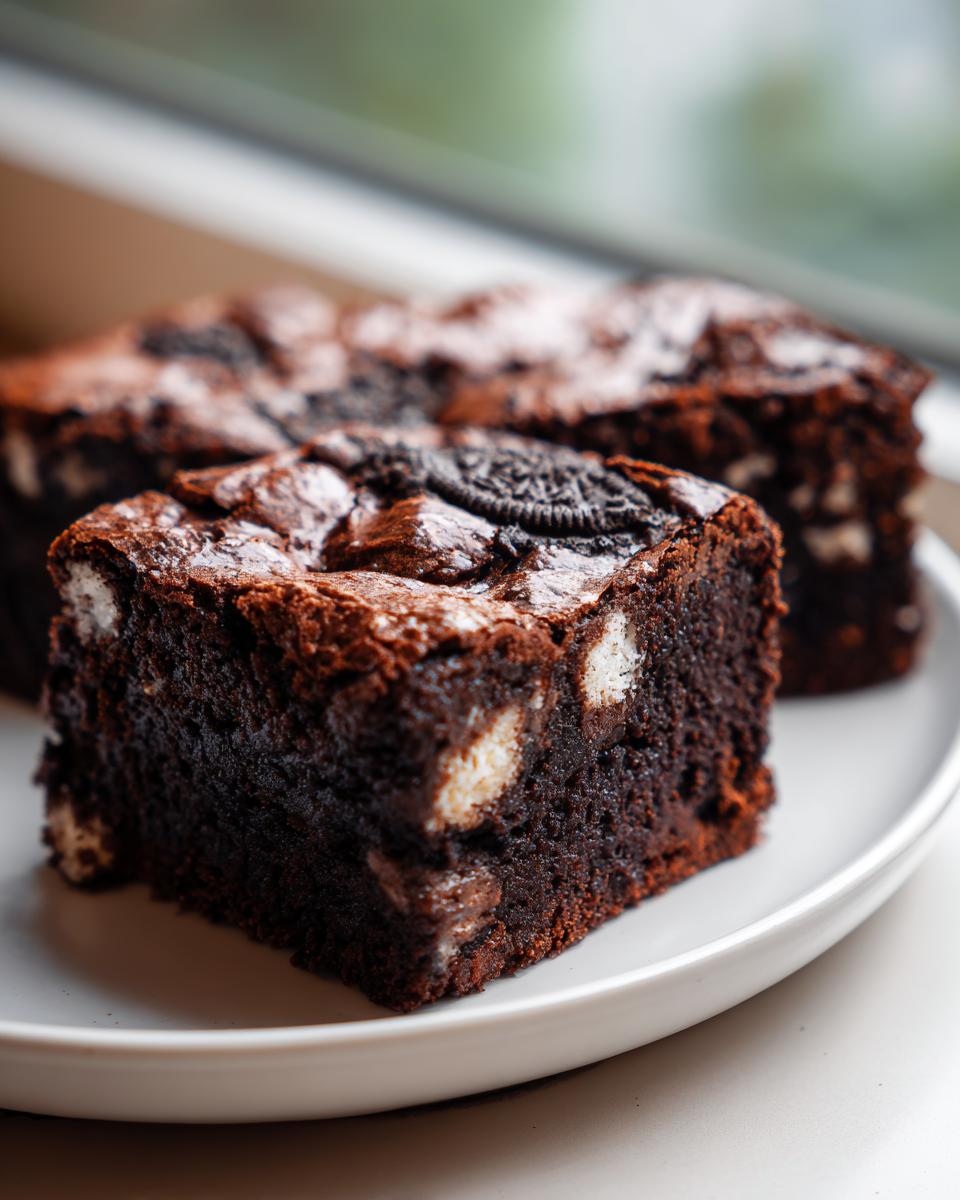
Oreo Brownie Variations and Serving Suggestions
Part of the joy of baking is making a recipe your own, isn’t it? Even though I swear by this base recipe for our decadent oreo brownies, feeling like you can switch things up keeps things exciting! Since we’re aiming for pure indulgence here, you have a few fun roads you can take without overcomplicating things.
Ideas for Oreo Brownie Variations
If you’re feeling adventurous, think about what other crunch you can introduce. You could definitely try swapping out half of the Oreos for another crisp chocolate sandwich cookie—see what happens! For those who love layered treats, you could easily adapt this into one of those fantastic layered oreo dessert bars by spreading a thin layer of softened cream cheese on top of the batter before adding the final sprinkle of cookies. Some folks even swirl in a spoonful of softened chocolate chip cookie dough, turning it into a hybrid that’s almost like a brookie! These kinds of oreo brownie variations are always fun to experiment with.
What to Serve with Your Decadent Dessert
These brownies are intensely rich on their own, but serving them warm alongside a scoop of good vanilla bean ice cream creates such a wonderful temperature contrast. If you don’t want to go full dessert-a-la-mode, a simple, very light dusting of powdered sugar right before serving lets the chocolate flavor shine through brilliantly. That contrast between dark chocolate and white sugar is classic and always looks professional!
Storage and Reheating Instructions for Leftover Oreo Brownies
Now, the real challenge: having leftovers! I know when I make a pan of these rich chocolate squares, they usually disappear within a day, but if you manage to save some of these fudgy oreo brownies for later, proper storage is key to keeping that center dense and not dried out.
Because we achieved such a rich, fudgy texture, these bars store incredibly well, but they don’t love humidity. The best way to keep them fresh is to make sure they are completely cooled—and I mean stone cold—before you even think about wrapping them up. If they are even slightly warm, the condensation will turn that lovely shiny top into a sticky mess. Nobody wants that!
For short-term storage, say 2 to 3 days, just keep them airtight at room temperature. I press a layer of plastic wrap directly onto the surface of the brownies in the pan or container before putting the lid on. This keeps the air away from that beautiful crust. If you’re planning on keeping them longer, or if your kitchen is notoriously warm, wrap each individual square tightly in plastic wrap and then store them in an airtight container in the fridge. They firm up a little bit when chilled, but they are still fantastic.
To reheat, forget the microwave if you want to preserve the texture. Just let the refrigerated squares sit on the counter for about 20 minutes, or you can wrap a square loosely in foil and warm it in a low oven, maybe 300°F (150°C), for about 5 minutes. That little bit of gentle heat softens the chocolate chips and brings back that perfect gooey mouthfeel without destroying the structure of your cookies and cream brownies.
Frequently Asked Questions About These Chocolate Cookie Brownies
Since baking is all about practice and precision, I’ve listed some common things people wonder about when making these ultimate fudge brownies. If you have a question about substituting or fixing a batch, chances are it’s answered right here!
Can I use a different cookie instead of Oreos in this simple brownie recipe with cookies?
Oh, absolutely! While the Oreos give us that specific ‘cookies and cream’ punch, you can definitely sub them out. If you use something with a harder cookie, just make sure you chop it into slightly smaller pieces than I suggested for the Oreos. If you use something softer, like a chocolate wafer cookie, you might want to add it closer to the end of the mixing time so it doesn’t totally disintegrate into the batter. It’s your kitchen, play around!
My top came out dull, not shiny! What went wrong with my brownie top?
Ugh, the dull top is the most frustrating part! This almost always relates back to the initial mixing stage. Did you absolutely beat the melted butter and both sugars together until they were pale and smooth before adding the eggs? That’s step one for shine. Also, if you overmix after the flour is added, that ruins the crust, so that’s step two for failure! Don’t worry; even a dull top on this recipe is going to taste fantastic because the center is so rich.
How do I get these to taste like bakery-style brownies?
It’s the balance of the sugars and the cocoa powder that gives that deep, slightly professional chocolate note. We use both granulated and dark brown sugar, which adds molasses depth that white sugar alone can’t touch. Also, using high-quality, unsweetened cocoa powder really makes a difference in the depth of flavor. If you keep those quality ingredients in mind, you’ll nail that bakery style brownies taste every time.
Can I use oil instead of butter?
I strongly advise against it for this specific recipe, even though I share other recipes where oil works fine. Butter is essential here because the way it melts and reacts with the cooled sugar mixture is what sets up the fudgy texture and helps that shiny crown form. Oil just doesn’t create the same structure when it cools back down after baking. Stick to the butter for the best result!
Estimated Nutritional Data for Oreo Brownies
I always like to be transparent about what goes into our wonderful treats here at Pure Plate Path, even if the numbers are a little startling after eating two squares! These figures are based on the recipe measurements provided above and are estimated for one single brownie square serving.
Remember, baking with all that butter, sugar, and chocolate is for joy, not counting calories, but it’s always good to have a baseline reference for the indulgent nature of these rich chocolate desserts.
- Serving Size: 1 brownie square
- Calories: 320
- Sugar: 35g
- Sodium: 180mg
- Fat: 18g
- Saturated Fat: 10g
- Unsaturated Fat: 8g
- Trans Fat: 0g
- Carbohydrates: 38g
- Fiber: 2g
- Protein: 4g
- Cholesterol: 65mg
Please keep in mind these are just estimates based on standard ingredient brands and preparations. If you add more Oreos (and who wouldn’t want to?), or use a different brand of chocolate chips, those numbers will shift slightly! Enjoy every bite!
Share Your Experience Making These Rich Chocolate Desserts
Well, I hope you’re ready for some serious chocolate satisfaction! I truly can’t wait to hear how these rich chocolate desserts turned out in your kitchen. Remember, baking is a conversation, and I want to hear your feedback!
When you get a chance, please leave me a rating below—five stars if these fudgy beauties made your day! And seriously, drop me a line in the comments. I love seeing your pictures and hearing what you thought. Did you manage to get that legendary shiny top? Or maybe you tried one of the swirl variations we talked about?
If you have any lingering questions about technique or ingredients, or if you just want to share a happy sigh after eating one, head over to my contact page! Happy baking, and enjoy every single decadent square!
PrintUltimate Fudgy Oreo Brownies with a Shiny Top
Make these rich, decadent Oreo brownies that feature a fudgy center and a beautiful, crackly top. This simple recipe delivers bakery-style results using common ingredients.
- Prep Time: 15 min
- Cook Time: 35 min
- Total Time: 50 min
- Yield: 16 servings 1x
- Category: Dessert
- Method: Baking
- Cuisine: American
- Diet: Vegetarian
Ingredients
- 1 cup (226g) unsalted butter, melted
- 2 cups (400g) granulated sugar
- 1 cup (200g) packed light brown sugar
- 4 large eggs, room temperature
- 1 tablespoon vanilla extract
- 1 cup (120g) all-purpose flour
- ¾ cup (65g) unsweetened cocoa powder
- 1 teaspoon salt
- ½ teaspoon baking powder
- 1 cup (170g) semi-sweet chocolate chips
- 12 Oreo cookies, roughly chopped
Instructions
- Preheat your oven to 350°F (175°C). Line a 9×13 inch baking pan with parchment paper, leaving an overhang on the sides for easy removal. Lightly grease the paper.
- In a large bowl, whisk together the melted butter, granulated sugar, and brown sugar until fully combined.
- Whisk in the eggs one at a time, mixing well after each addition. Stir in the vanilla extract.
- In a separate medium bowl, whisk together the flour, cocoa powder, salt, and baking powder.
- Gradually add the dry ingredients to the wet ingredients, mixing on low speed or by hand until just combined. Do not overmix.
- Stir in the chocolate chips.
- Gently fold in about two-thirds of the chopped Oreo cookies.
- Pour the batter into the prepared pan and spread evenly. Sprinkle the remaining chopped Oreos over the top of the batter.
- Bake for 30 to 35 minutes. A toothpick inserted near the edge should come out with moist crumbs, but the center should still look slightly underdone for a fudgy texture.
- Let the brownies cool completely in the pan on a wire rack before lifting them out using the parchment overhang. Cut into squares.
Notes
- For the best shiny, crinkly top, do not overmix the batter after adding the flour. The sugar needs to dissolve properly during mixing.
- Use room temperature eggs for better emulsification, which helps create that desirable shiny crust.
- If you prefer a thicker, more cake-like brownie, bake for an additional 5 to 7 minutes.
- This recipe makes excellent cookies and cream brownies.
Nutrition
- Serving Size: 1 brownie square
- Calories: 320
- Sugar: 35
- Sodium: 180
- Fat: 18
- Saturated Fat: 10
- Unsaturated Fat: 8
- Trans Fat: 0
- Carbohydrates: 38
- Fiber: 2
- Protein: 4
- Cholesterol: 65