
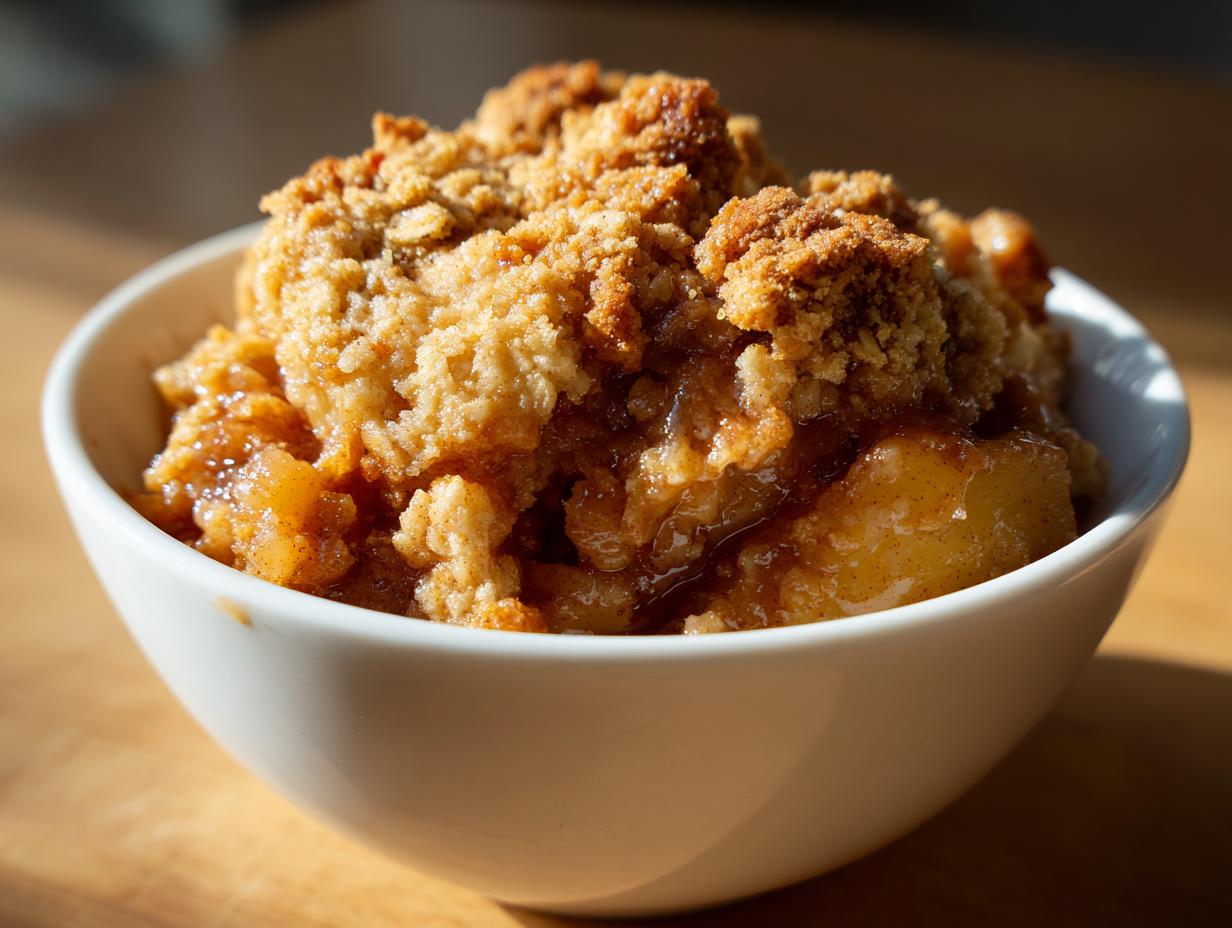
Tell me, is there anything better than that first chilly evening that just screams for a warm **apple crisp**? I know what you’re thinking—apple pie is lovely, but sometimes you just need that deep, nostalgic comfort without all the fuss. That’s exactly why I’m sharing this recipe today! This is my absolute go-to, the Classic Old-Fashioned apple crisp recipe that proves simple, everyday ingredients can make something truly spectacular. Like Sarah always says, great food doesn’t have to come from highfalutin cookbooks; it comes from real kitchens and real experience. This one is quick to prep, loaded with cinnamon-spiced apples, and has the crunchiest topping you’ll ever taste. You truly need this in your autumn rotation! If you want to read more about how we approach simple, nourishing food here at the site, you can always check out our story on the About Page.
- Why This Classic Old-Fashioned apple crisp is Your New Favorite Fall Dessert Recipes
- Gathering Ingredients for Your apple crisp
- Step-by-Step Instructions for Easy apple crisp
- Tips for Success Making Your apple crisp
- Serving Suggestions for Your Warm apple crisp
- Storage and Reheating Instructions for apple crisp
- Frequently Asked Questions About apple crisp
- Estimated Nutritional Data for this apple crisp
- Share Your Old Fashioned Apple Crisp Experience
Why This Classic Old-Fashioned apple crisp is Your New Favorite Fall Dessert Recipes
If you’re tired of complicated pies but still craving that quintessential autumn flavor, this is your answer! This classic apple crisp doesn’t mess around, delivering deep cozy vibes without needing half a day in the kitchen. It’s the ultimate example of a pure Comfort Food Dessert that just works.
- It’s honestly the easiest thing you’ll bake all season—it qualifies as a truly Quick Apple Dessert!
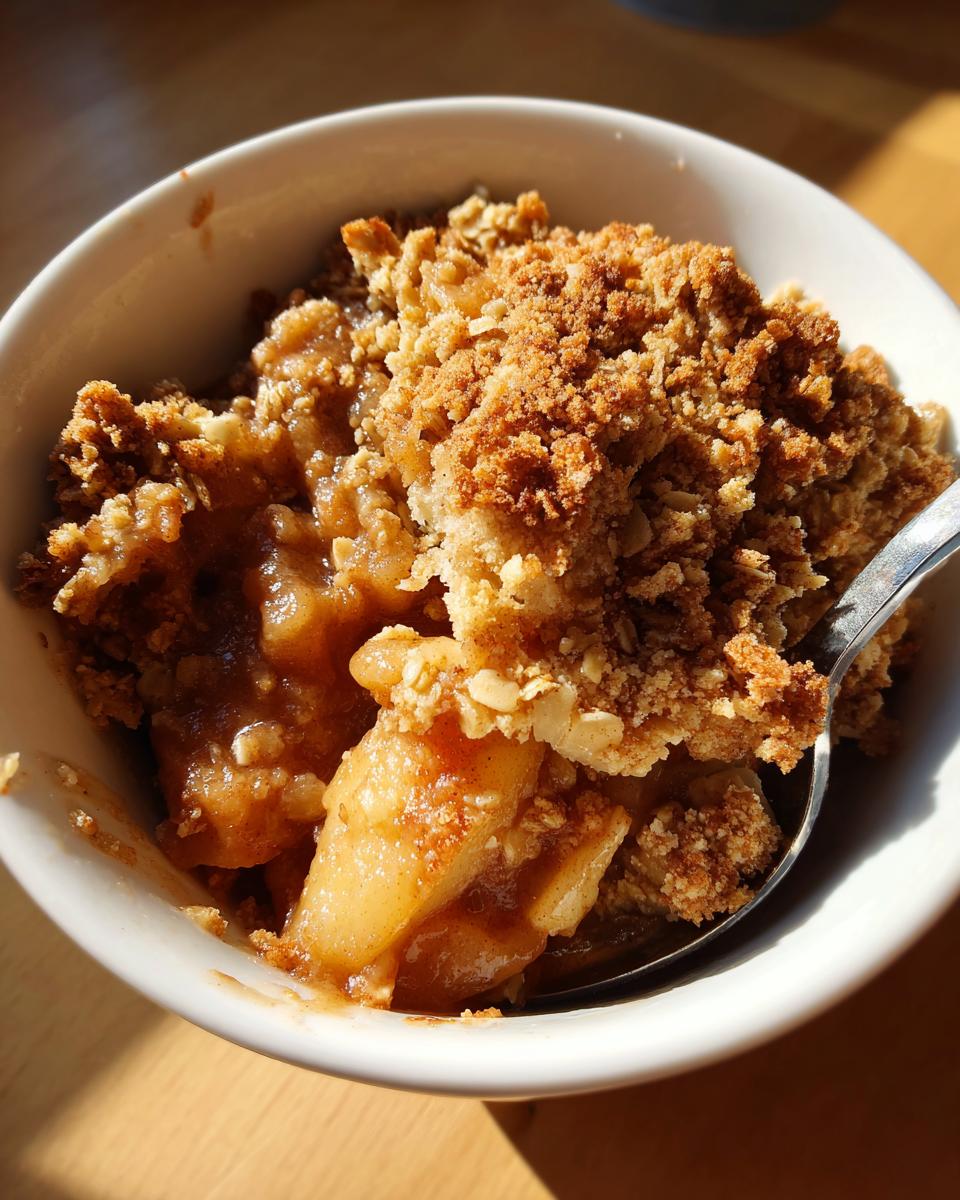
- The texture contrast between the soft fruit and the crumbly topping is just perfection.
- It tastes like holidays, family dinners, and snuggling up under a blanket.
Tender Cinnamon Spiced Apples Filling
Forget mushy fruit! The filling here is all about those perfect little slices. We use a mix of apples, usually something tart like Granny Smith with something sweeter like Honeycrisp, to get that fantastic balance once they cook down. They get coated in just the right amount of spice—it’s all about embracing those warm Cinnamon Spiced Apples notes. Trust me, the aroma alone is worth the effort, and you don’t need a huge pile of sugar to make them shine.
The Ultimate Buttery Crisp Topping Recipe
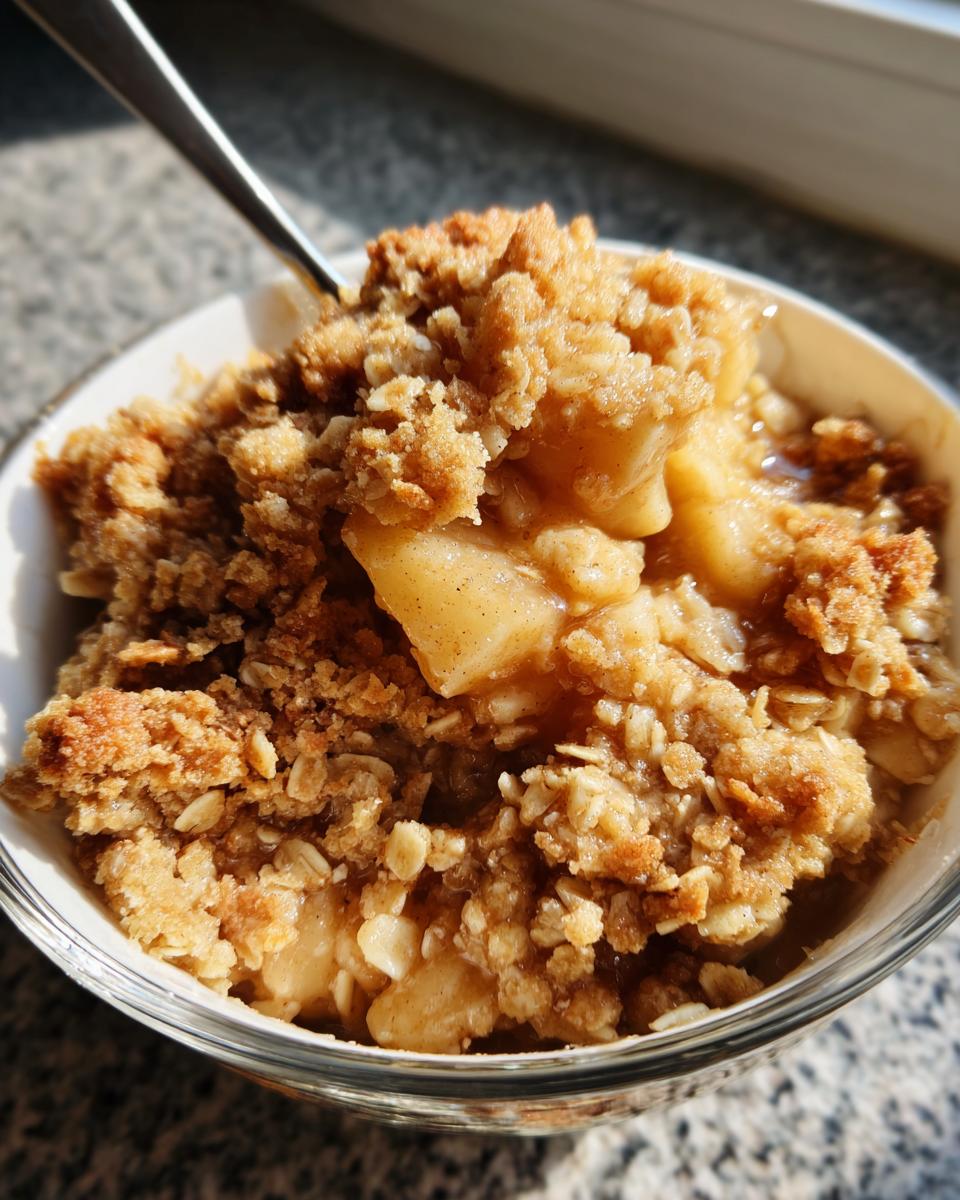
This is where the magic happens. We’re making the Buttery Crisp Topping from scratch, and the secret is keeping that butter *ice cold*. Seriously, don’t let it warm up! I actually cut mine the night before and keep it in the freezer until I need it. When you cut that cold butter into the flour and oats, you create those beautiful little pockets that melt in the oven, creating pockets of glorious, golden, crisp perfection. That’s real technique shining through, even in a simple dessert!
Gathering Ingredients for Your apple crisp
Okay, let’s talk about what you need to pull this apple crisp together. Because this is an Old Fashioned Apple Crisp, we are keeping the list tight and wonderfully simple. You won’t need a huge shopping trip, I promise! I always gather my ingredients onto the counter first, it just makes the whole assembly feel easier, even when you’re just doing a Simple Apple Crumble.
Here is what you need for this cozy treat:
- Six large apples—think Granny Smith for tang or Honeycrisp for sweetness, or grab a mix! They need to be peeled, cored, and then sliced up nicely.
- For the fruit coating: 1/4 cup granulated sugar, 1 tablespoon of flour, 1 teaspoon of cinnamon, 1/4 teaspoon of nutmeg, and about 1 tablespoon of fresh lemon juice.
- For that perfect topping: 1/2 cup of flour, 1/2 cup of old-fashioned rolled oats, 1/2 cup of packed brown sugar (the good stuff!), 1/4 teaspoon of salt, and the most important part—1/2 cup (which is one full stick!) of cold unsalted butter, cut into small chunks. Make sure that butter is genuinely cold!
Ingredient Notes and Simple Apple Crisp Substitutions
If you can’t find Honeycrisp, Granny Smith apples work great with a slightly more tart flavor, or you can even try Gala if that’s what you have on hand! When it comes to spices, I really urge you to use fresh cinnamon. It makes a huge difference in the flavor profile of your Simple Apple Crumble. If you are out of rolled oats, you could technically substitute rolled quick oats, but the texture won’t be quite as delightfully chewy once baked, so try to stick to the standard rolled oats if you can!
Step-by-Step Instructions for Easy apple crisp
Ready to get this into the oven? Since this is such an Easy Apple Crisp, the actual hands-on time is super quick. We need to get organized fast so we don’t run into any issues while baking. Remember to preheat your oven right now to 375°F (190°C) and lightly coat that 8×8 baking dish—a little spray or a smear of butter is all it takes!
This whole process is straightforward, but paying attention to those small details, especially with the topping, is how you guarantee success. If you ever have questions while you’re cooking, don’t hesitate to reach out to us through the Contact Page!
Preparing the Cinnamon Spiced Apples
First up, the star of the show! Toss all those sliced apples in a big bowl with the granulated sugar, the single tablespoon of flour, that gorgeous cinnamon, nutmeg, and the splash of lemon juice. You want to toss this really gently, you know? If you smash the apples too hard while mixing, they get bruised and release sogginess too fast. We want them coated evenly so every bite is packed with flavor when it comes out bubbling hot.
Creating the Perfect Buttery Oat Topping Recipe
Time for the topping! In a separate bowl, whisk together the topping flour, oats, brown sugar, and salt. Now, here’s the most critical part for that crunch: you must *cut in* the cold butter pieces. Use a pastry blender or your fingertips for this step. You’re looking for a mixture that looks like coarse sand, maybe with a few pea-sized chunks of butter remaining. Do NOT over-mix this! Those visible butter chunks are what ensure your topping is delightfully crisp, not just a dense, pale cookie layer on top.
Once that’s done, just sprinkle that crumble evenly over your apples in the pan. Pop it in that preheated oven for about 35 to 45 minutes. Keep an eye on it until you see the filling bubbling super happily around the edges and the top is that perfect golden brown. And this is non-negotiable—let it rest for at least 15 minutes when it comes out. It needs that time to settle down!
Tips for Success Making Your apple crisp
Baking is forgiving, but with a classic like this Homemade Apple Dessert, a few little tricks make all the difference between good and *great*. My biggest tip, which I pulled straight from the notes in this recipe, is watching the topping color. If you notice your oat topping is turning dark brown way too early—maybe around the 25-minute mark—don’t panic! Just loosely tent a piece of aluminum foil over the dish for the last 10 minutes or so. This keeps the butter from burning while allowing the juicy apples underneath time to get perfectly tender.
And please, please, please—don’t skip the rest time! I know it’s torture to pull that piping hot, fragrant dish out of the oven and not immediately dig in with a giant spoon. But letting it sit on the counter for 15 minutes is crucial. It lets the juices thicken up instead of running straight out onto your plate like soup. A little patience here means a much better final structure!
If you are curious about how other folks are managing their crisp toppings, I saw a fantastic technique floating around online recently linked over at Tart Amour that addresses some common crisp issues. It’s always fun to see variations on our old favorites!
Serving Suggestions for Your Warm apple crisp
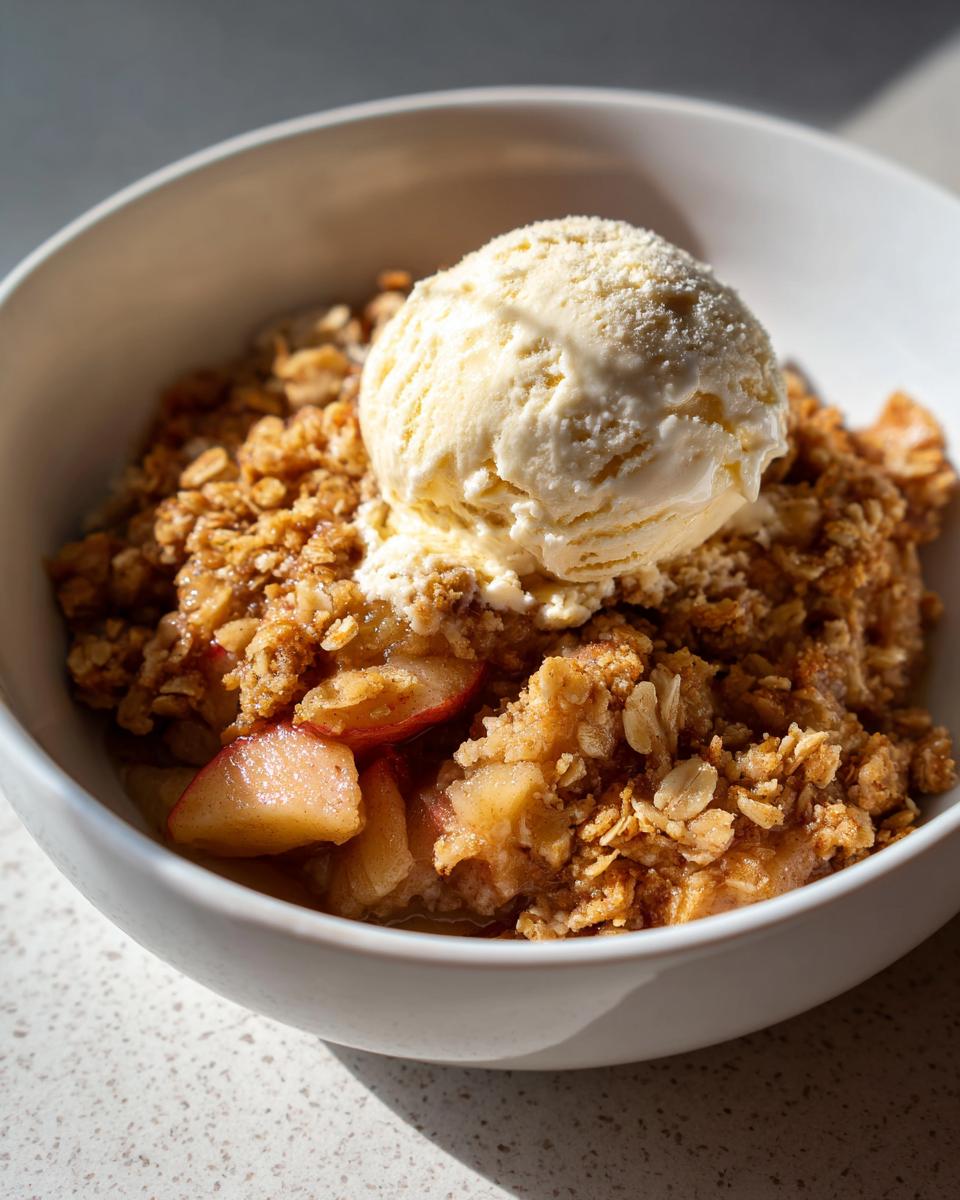
Okay, we’ve done the hard work, and now dessert time arrives! This warm apple crisp begs for a simple, cooling accompaniment. You absolutely have to try it with a big, slightly melting scoop of good quality vanilla ice cream. That hot/cold contrast is what makes this Apple Dessert with Ice Cream absolutely legendary!
But listen, if vanilla isn’t doing it for you, don’t fret! A dollop of lightly sweetened, real whipped cream is heavenly, especially if you dust it with a little extra cinnamon right before serving. And if you’re feeling rich, a drizzle of salted caramel sauce over the top? Forget about it! It makes this simple crumble feel instantly fancy enough for any holiday table, even though it only took you minutes to make.
Storage and Reheating Instructions for apple crisp
So, you managed to have leftovers? Good for you! If you can’t devour the whole pan in one go—which is honestly impressive—storage is simple. Cover the dish tightly with plastic wrap or foil once it’s completely cooled down. You can keep the leftovers on the counter for about a day, but honestly, I prefer putting mine in the fridge if I know it’ll hang around longer than that.
When it comes to reheating to get that classic crunch back, please, please skip the microwave! It just turns the topping into a sponge. The best way to bring this back to bubbling glory is in a 350°F oven for about 10 to 15 minutes. If you don’t want to use a huge pan, you can reheat individual portions in a small toaster oven. You want that buttery oat topping crispy again!
Frequently Asked Questions About apple crisp
I always get tons of questions about this apple crisp, especially when folks are planning their Thanksgiving Apple Desserts menu! It’s easy to get caught up in the details, so let’s clear up a few things that usually pop up. This recipe is pretty robust, but knowing a couple of things beforehand makes baking day a breeze. If you’re ever looking up our policies after reading recipes, you can always check out our Privacy Policy, but rest assured, we keep things simple here!
Why is my oat topping soggy?
Ah, the dreaded soggy topping! This happens when the topping gets steam-logged or the butter wasn’t cold enough when it went into the oven. Remember how I hammered home using cold butter? That’s key because those little pockets need to melt slow enough to crisp up, not melt into the apples underneath. Also, make sure you’re baking it at the right temperature—too low and it steams! If you’re having trouble, check out the article over at Creamy Pot; they have some great troubleshooting tips for that crispy texture.
What are the best apples to use for a Classic Apple Crisp?
For the absolute best flavor and texture in your Fall Dessert Recipes, you really need a blend! I suggest pitting tart apples against sweet ones. Granny Smith is my standard for the tart base because they hold their shape great. Mix those half-and-half with something sweeter and slightly firmer like Honeycrisp or Fuji. Using only soft apples, like McIntosh, usually results in baby food consistency once baked, which defeats the purpose of a good Baked Apple Dessert!
Can I prepare this apple crisp ahead of time?
You sure can! That’s what makes this such a lifesaver for busy cooks. You have two options for making this Easy Apple Crisp ahead of time. Option one: mix your apples and spices, put them in the dish, and cover the whole thing and refrigerate it for up to 24 hours. But here’s the kicker: keep the topping separate in an airtight container in the fridge, too! Add the topping right before it goes into the oven, maybe adding just 5-10 extra minutes to the baking time since the apples are chilled.
Can I freeze this homemade apple dessert?
Yes, and it freezes wonderfully, actually! You must let the entire crisp cool completely first. Then, cover it tightly with plastic wrap, followed by a layer of foil to keep any freezer burn out. It freezes well for about three months. When you want to bake it, just transfer it directly from the freezer to a 375°F oven—you’ll need to add about 20 minutes to the total bake time. It’s an amazing way to have a Cozy Autumn Dessert ready in a pinch later!
Estimated Nutritional Data for this apple crisp
We all love comfort food, but it’s good to know what we’re putting in our bowls, right? Just keep in mind that since this is a homemade, from-scratch delight, these numbers are estimates based on the ingredients I listed above using standard measurements. They should give you a really good idea of what a typical serving looks like after we’ve topped it with that heavenly crisp!
- Serving Size: 1 serving
- Calories: 380
- Fat: 20g (including about 12g Saturated Fat)
- Carbohydrates: 50g
- Protein: 4g
- Fiber: 5g
If you load it up with ice cream, well, those numbers will climb! But that’s part of the fun with a perfect Apple Crisp, isn’t it?
Share Your Old Fashioned Apple Crisp Experience
Now that you have my ultimate secret for the Old Fashioned Apple Crisp, I really want to hear how it turned out for you in your kitchen! Did you manage to get that topping perfectly crunchy? Did it disappear immediately at your dinner table? I love knowing when these simple, comforting recipes become traditions in new homes.
If you served this up for a holiday gathering, maybe even Thanksgiving, please drop me a note below! Tell me what apples you chose and if you stuck to the classic vanilla ice cream topping or tried something wilder. Your feedback helps me make sure this recipe stays true to its comforting roots for everyone else looking for the Best Apple Crisp Recipe.
Don’t forget to leave a simple star rating right here on the page so others know just how good this dessert is! We’re all about sharing that joy. You can also check out our Terms of Use if you have questions about site policies.
If you’ve been looking for other ways people have made this classic, I saw a wonderful variation linked over at You Cook Too that might give you some new inspiration for the next time you bake!
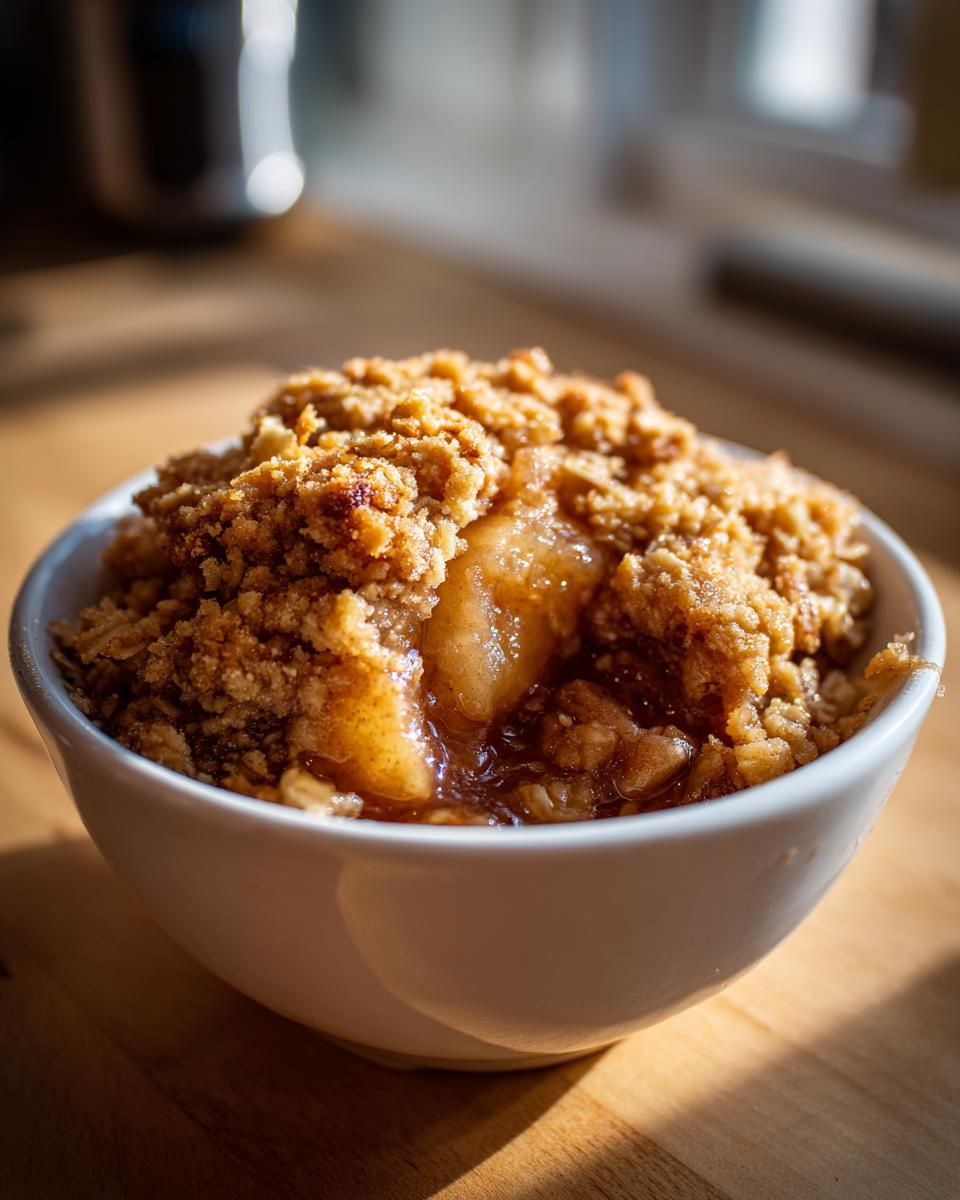
PrintClassic Old-Fashioned Apple Crisp with Buttery Oat Crumble

Make this easy apple crisp for a comforting fall dessert. It features tender, cinnamon-spiced apples topped with a crunchy, buttery oat topping. Serve warm with vanilla ice cream.
- Prep Time: 15 min
- Cook Time: 40 min
- Total Time: 55 min
- Yield: 6 servings 1x
- Category: Dessert
- Method: Baking
- Cuisine: American
- Diet: Vegetarian
Ingredients
- 6 large apples (like Granny Smith or Honeycrisp), peeled, cored, and sliced
- 1/4 cup granulated sugar
- 1 tablespoon all-purpose flour
- 1 teaspoon ground cinnamon
- 1/4 teaspoon ground nutmeg
- 1 tablespoon lemon juice
- 1/2 cup all-purpose flour (for topping)
- 1/2 cup rolled oats
- 1/2 cup packed brown sugar
- 1/4 teaspoon salt
- 1/2 cup (1 stick) cold unsalted butter, cut into small pieces
Instructions
- Preheat your oven to 375°F (190°C). Lightly grease an 8×8 inch baking dish.
- In a large bowl, combine the sliced apples, granulated sugar, 1 tablespoon flour, cinnamon, nutmeg, and lemon juice. Toss gently until the apples are evenly coated.
- Spread the apple mixture into the prepared baking dish in an even layer.
- In a separate medium bowl, prepare the topping. Combine the 1/2 cup flour, rolled oats, brown sugar, and salt.
- Cut in the cold butter using a pastry blender or your fingertips until the mixture resembles coarse crumbs. Do not overmix; you want some pea-sized pieces of butter remaining.
- Sprinkle the oat topping evenly over the apple mixture in the baking dish.
- Bake for 35 to 45 minutes, or until the topping is golden brown and the apple filling is bubbly and tender when pierced with a fork.
- Remove from the oven and let it cool for at least 15 minutes before serving.
- Serve warm, preferably with a scoop of vanilla ice cream.
Notes
- For the best texture, use a mix of tart and sweet apples.
- If the topping begins to brown too quickly, loosely cover the dish with aluminum foil for the last 10 minutes of baking.
- This dessert is excellent for Thanksgiving gatherings.
Nutrition
- Serving Size: 1 serving
- Calories: 380
- Sugar: 35g
- Sodium: 150mg
- Fat: 20g
- Saturated Fat: 12g
- Unsaturated Fat: 8g
- Trans Fat: 0.5g
- Carbohydrates: 50g
- Fiber: 5g
- Protein: 4g
- Cholesterol: 50mg