
Are you ready to bring that incredible, sharp, tangy crunch to your weekday meals? I get it—life is busy, but skipping out on real, vibrant food just isn’t an option if you’re serious about feeling your best. That’s why diving into making your own fermented kimchi is more than just a recipe; it’s a commitment to true wellness. This is my straightforward, traditional approach to napa cabbage fermentation. It’s designed for real home cooks like us who want powerful flavor and true probiotic support without all the fuss. When I started Pure Plate Path, it was this kind of nourishing ritual I wanted to bring back into my hectic schedule. If you want to learn more about why I focus on this kind of foundational cooking, you can check out my story here: why simplicity matters in wellness. Trust me, mastering this flavor will totally transform your gut health journey!
- Why This Fermented Kimchi Recipe is Your Next Culinary Mastery Project
- Gathering Ingredients for Authentic Fermented Kimchi
- Step-by-Step Instructions for Easy Homemade Kimchi
- Packing and Fermenting Your Fermented Kimchi
- Serving Suggestions for Spicy Korean Side Dishes
- Troubleshooting Common Fermented Kimchi Issues
- Frequently Asked Questions About Fermented Kimchi
- Nutritional Snapshot of Homemade Fermented Kimchi
- Share Your Fermented Kimchi Journey
Why This Fermented Kimchi Recipe is Your Next Culinary Mastery Project
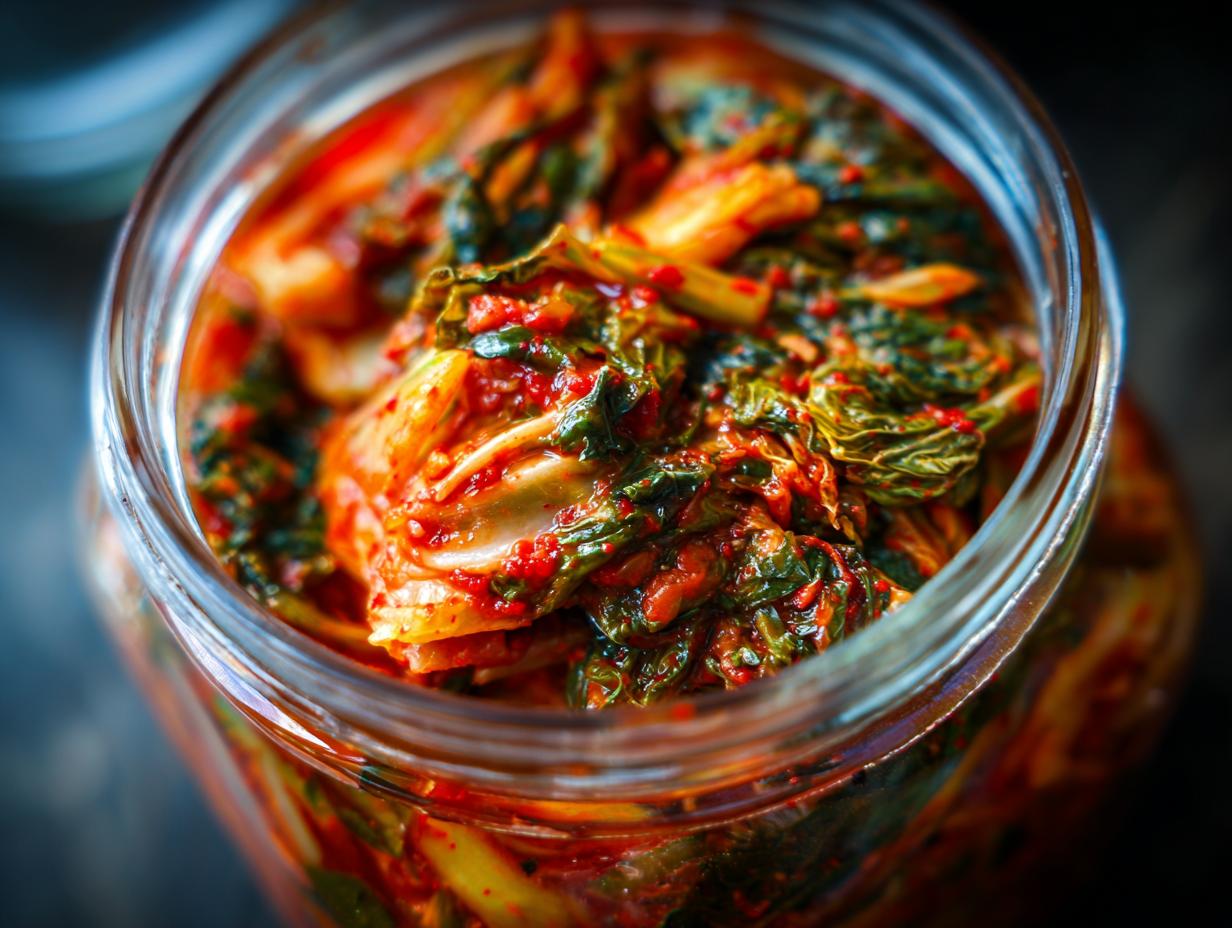
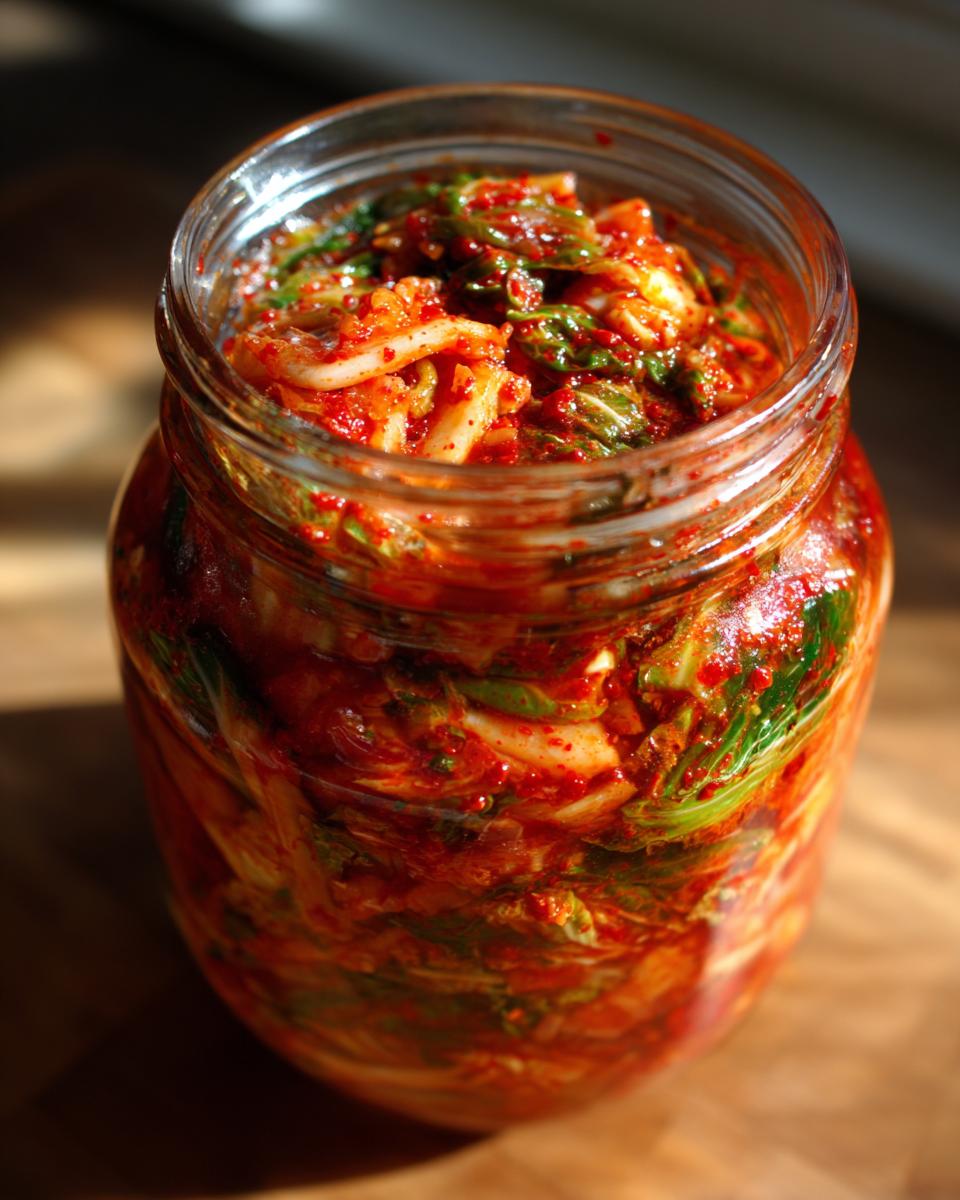
Honestly, there’s nothing quite like pulling open the fridge door and seeing those vibrant jars of homemade kimchi bubbling away. It feels like you’ve just stepped up your kitchen game entirely. This isn’t some watery, pre-made stuff; this is authentic flavor and unbeatable crunch. Making truly fantastic fermented kimchi offers a huge sense of culinary mastery, and it’s easier than you think! I’ll never forget the first time my batch developed that perfect, bubbly tang—I stared at the jar like it was gold!
Achieving Perfect Napa Cabbage Fermentation
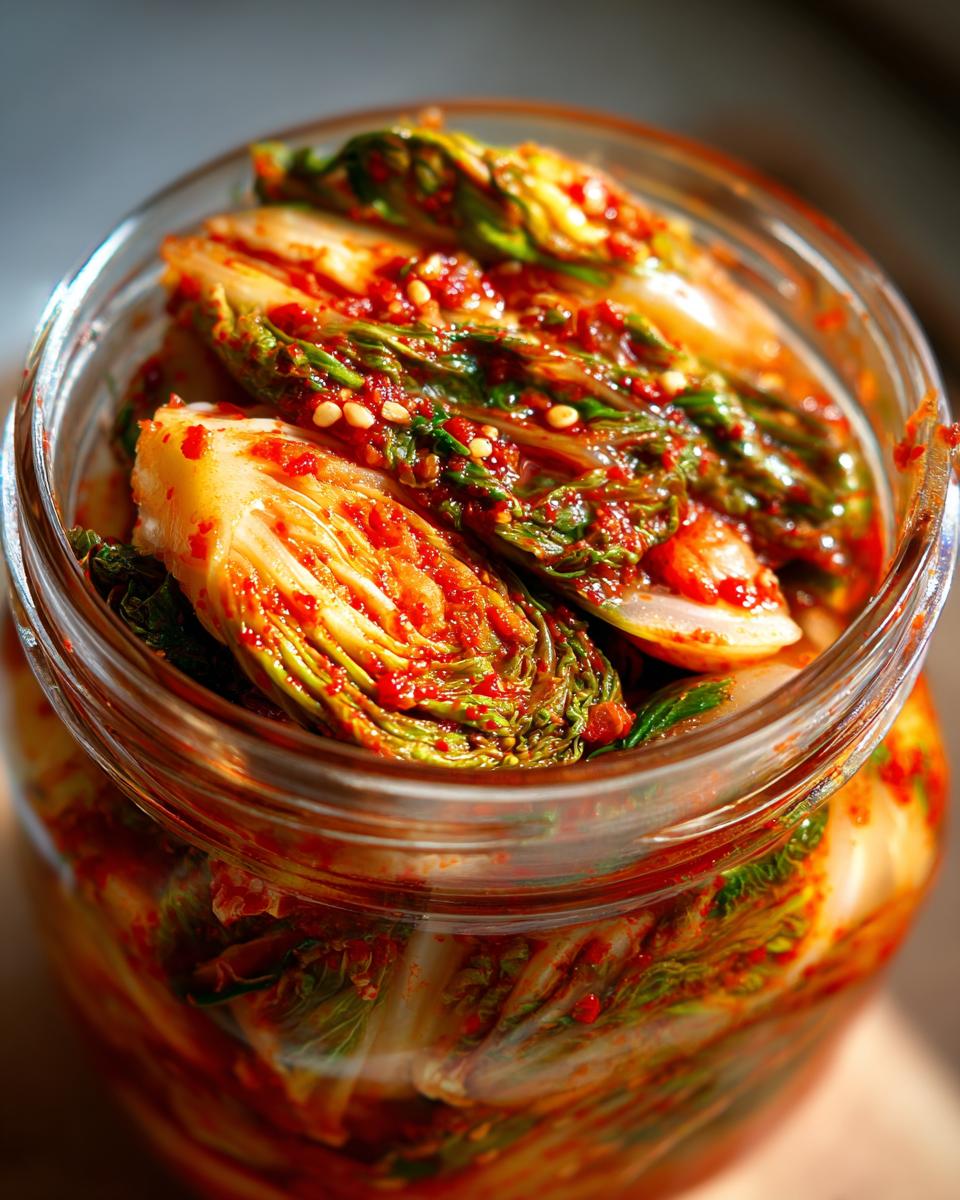
The secret to that satisfying snap in every bite lies 100% in the initial salting. Don’t rush this step, I’m begging you! We need the salt to draw out the water, transforming the cabbage structure dramatically. This careful process is the key to successful napa cabbage fermentation. If the cabbage is limp before the paste goes on, you’re going to end up with mush, and nobody wants that. A few hours of wilting equals days of perfect crunch later on.
The Gut Health Recipes Connection: Probiotic Food Aesthetic
Beyond the massive flavor payoff, this project is amazing for your well-being. Unlike store-bought versions that might be pasteurized, this traditional method cultivates live bacteria right in your jar. It’s one of the best gut health recipes you can embrace. Getting comfortable with this dynamic process helps build that beautiful probiotic food aesthetic right on your shelf. It’s food that visibly works for you!
Gathering Ingredients for Authentic Fermented Kimchi
Okay, let’s talk about what you need to line up before you start throwing things in a bowl. Remember, traditional flavor requires traditional components! You’re going to need about five pounds of good Napa cabbage, cut up and waiting to be salted. Don’t forget your coarse sea salt, of course. The real heart of the spice comes from the Korean chili flakes—make sure you get gochugaru, not just any chili powder, because that determines the color and the beautiful, mild heat we’re aiming for.
We also need aromatics: minced garlic, fresh ginger, and the secret weapon, a grated Asian pear for a touch of natural sweetness to feed those good bacteria. Then there’s the salty kick from the fish sauce and the slightly funkier, deeper flavor from the salted fermented shrimp—those two are vital for that umami foundation.
Ingredient Notes and Substitutions for Fermented Kimchi
Now, about those savory agents: if you’re looking to keep this batch vegan—which is totally fine—you can swap out both the fish sauce and the salted shrimp for about the same total volume using good quality soy sauce and maybe an extra pinch of salt. That keeps the depth without the fish products. And please, splurge a little on your gochugaru! Higher quality flakes give you this incredible deep red color and a nuanced spice that cheap stuff just can’t touch. If you can find a local Korean market, that’s always the best bet for that perfect heat profile.
Step-by-Step Instructions for Easy Homemade Kimchi
Alright, we’re moving into the active part of making your easy homemade kimchi, and this is where the magic really starts to happen! It feels incredibly satisfying to move from raw cabbage to this amazing, spiced mixture. Just remember to keep your work area clean, and I highly recommend wearing gloves for the mixing stage—that gochugaru stains like crazy, and trust me, your hands will thank you later! We need to handle this in three main stages: preparing the cabbage, building our flavor paste, and then combining everything for the fermentation to begin.
The Salting and Rinsing Process for Fermented Kimchi
First up, chop your five pounds of Napa cabbage into nice, manageable 2-inch chunks. Toss those pieces liberally with the coarse sea salt. Now, this is the patient part: let it sit for about two to three hours. You must turn it every 30 minutes or so. What you’re looking for is the cabbage to completely wilt down and release a good amount of liquid. Once that’s done, you rinse it like you mean it! Rinse it thoroughly under cold water three times—we want to get rid of the harsh excess salt but keep that structure intact. Then, let it drain in a colander for a full 30 minutes. Seriously, let every drop escape.
Creating the Flavor Base for Your Fermented Kimchi
While the cabbage is weeping, make your porridge. It sounds fancy, but it’s just whisking the sweet rice flour and water gently over medium heat until it thickens up into a loose paste. Pop that aside and let it cool down completely—you don’t want to cook your spices! Once cooled, mix that porridge base with your gochugaru, fish sauce, saeujeot, garlic, ginger, and that grated Asian pear. Mix this until it’s a cohesive, thick substance. That porridge is crucial; it acts like the glue to hold all those beautiful spices evenly coating every single piece of cabbage. It’s what binds the whole flavor bomb together! If you love making crisp, savory sides like this, you should absolutely check out my recipe for Quick Korean Cucumber Salad for another burst of tangy flavor.
Packing and Fermenting Your Fermented Kimchi
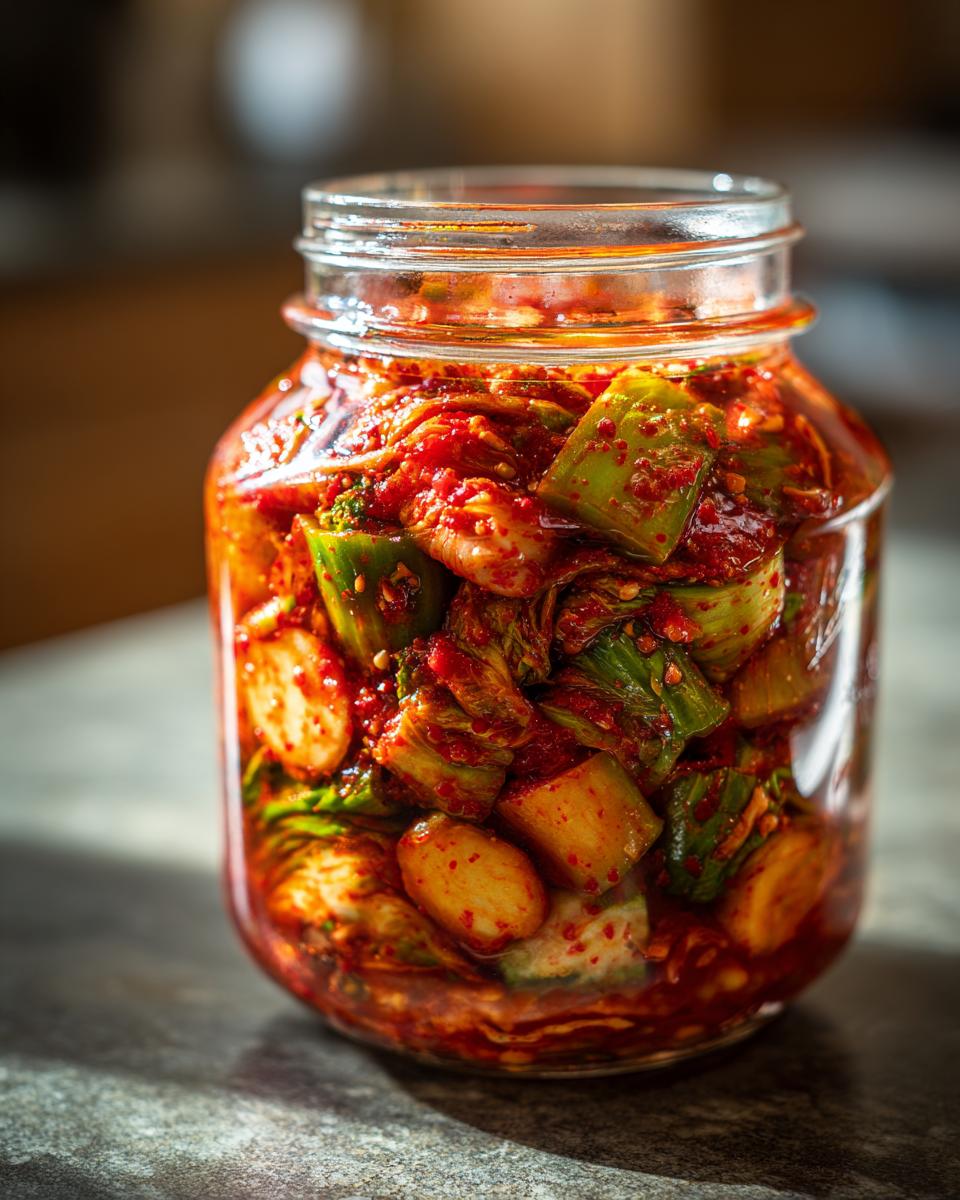
This is the grand finale where all your hard work transforms into that incredible, tangy elixir! Take that beautifully drained cabbage, the radish, and the scallions, and combine them with your vibrant kimchi paste in a giant bowl. Now, wearing those gloves—and I mean *really* wear them—get right in there and massage everything until every piece of cabbage looks fire-engine red. Don’t be shy; you need to ensure every nook and cranny of that vegetable is coated in spices. That’s step six done!
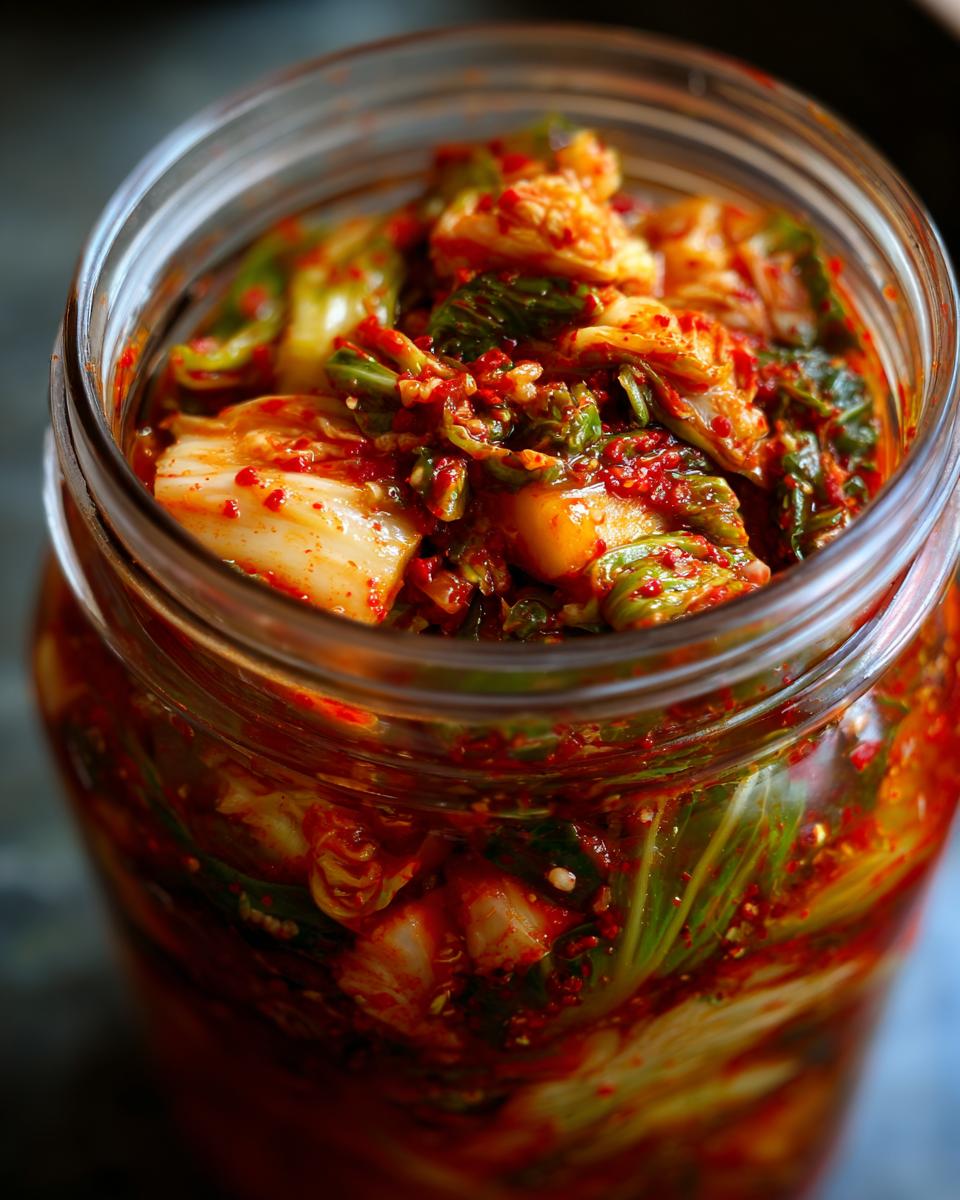
Next, we pack it. You’ll take handfuls and stuff the mixture tightly into your clean jars. You must press down really hard to eliminate as much trapped air as possible. Leave about an inch of space at the very top—that headspace is super important. This tight packing is crucial for quality fermented kimchi.
For the first 24 hours, you need to let the gases escape, so only seal the lids loosely. After that first day, seal them up tight and move them to room temperature for one to three days. This is where the active bubbling begins! Once it smells nice and tart, you pop those jars into the fridge to slow things down, and your gorgeous fermented kimchi is officially ready to age.
Tips for Perfect Fermented Kimchi Storage
The temperature in your kitchen controls everything here. If it’s a really warm day, your fermentation speeds up, so be sure to taste it daily after that initial 24 hours outside the fridge. If it’s tasting just the right level of sourness for you on day two, stop waiting and chill it down! If it’s too mild, let it sit out a little longer. Remember that initial loose seal? If you forget and seal it tight right away, you might come back to a jar explosion—oops! Giving it that initial breath is key to safety and flavor development in your fermented kimchi.
Serving Suggestions for Spicy Korean Side Dishes
Now that you have these amazing, bubbling jars of probiotic goodness, the real fun begins: eating it! Don’t just save your fermented kimchi for a simple side dish with rice, though that’s always delicious. This vibrant crunch elevates virtually anything savory. I love stirring a heaping spoonful right into my scrambled morning eggs—it perks up breakfast instantly!
It’s also fantastic layered onto a sandwich or mixed into ground meat when making burgers or meatballs for an extra layer of tang. It adds the perfect spicy kick to noodle bowls, too. If you’re looking to pair it with something hearty like a rich stew or soup, this kimchi cuts right through the richness beautifully. For a complete meal idea that balances spice and comfort, try pairing it alongside my Easy One-Pot Creamy Chicken Tortilla Soup!
Troubleshooting Common Fermented Kimchi Issues
Even when you follow every single step, sometimes nature decides to throw a curveball, right? Don’t panic if your first batch of fermented kimchi doesn’t look exactly like the magazine photos. The most common issues are totally fixable, or at least manageable. My goal is always to help you get that bold, tangy flavor without any stress.
If your kimchi tastes way too salty after the fermentation period, it usually means you didn’t rinse thoroughly enough after salting. The fix here is simple: just make your next batch of paste a little less salty, or serve the salty kimchi with blander dishes so it balances out.
On the flip side, if it just isn’t getting sour enough, that usually comes down to temperature. If your kitchen is cold, move the jars to the warmest spot you have for another day or two. Remember, you are cultivating life in that jar!
Now, let’s talk safety—this is the big one. White, hairy, or strange-colored mold on the very top surface means you need to toss that section (or the whole jar if it’s bad). True fermentation creates good, harmless white film (kahm yeast), which you can just skim off. But if you see anything fuzzy that looks suspicious, throw it out immediately. Cleanliness when packing is your best defense against bad fermentation!
Frequently Asked Questions About Fermented Kimchi
I know diving into the world of live ferments can bring up a ton of questions, especially around safety and how long the amazing flavor lasts. Don’t worry, these are the same things I stressed about when I first started making my own easy homemade kimchi! I want you to feel completely confident doing this, so let’s clear up any lingering confusion. If you ever need to send a message about a weird-looking jar, you can always find me over on the contact page.
How long does homemade kimchi last once it’s refrigerated?
This is the upside of a good, slow ferment! Once you move your jars to the fridge, the active fermentation slows way down, but the flavor keeps deepening. If you packed it right and kept it submerged, it can last for many months—often six months or even longer. The texture will become softer over time, but the flavor just keeps getting more complex. Taste it every month to see how it’s evolving!
How can I tell if my fermented kimchi has gone bad?
You’ll smell it long before you see it, usually. Good fermented kimchi smells wonderfully sour, spicy, and pungent. Bad kimchi smells rotten, foul, or like rancid cheese. Visually, white, hairy, or strangely colored mold on the very top surface is always a definite no-go. True fermentation creates good, harmless white film (kahm yeast), which you can carefully skim off, but if you see anything fuzzy that looks suspicious, toss it out immediately for safety.
Why is my kimchi not sour enough, even after aging?
If you’re waiting for that signature tang and it’s just not happening, it almost always means one thing: it didn’t ferment long enough at room temperature. The warmer your kitchen, the faster the good bacteria work, which is key to hitting those great levels in your gut health recipes. If your house is cold, you might need four or five days out on the counter instead of just two! Don’t rush the process; let those microbes do their thing.
Does the Asian pear really matter for the fermentation?
Yes, it does! It’s not just for sweetness; that pear provides natural sugars which the lactobacillus bacteria feast on. That feeding process is what creates the beneficial acids and the bubbles that define great napa cabbage fermentation. Trying to skip it is like asking your starter for bread to rise without flour! It helps drive that perfect tangy flavor profile for your spicy Korean side dishes.
Nutritional Snapshot of Homemade Fermented Kimchi
Because we’re focusing on clean eating here at Pure Plate Path, I know you’re going to want to know what you’re putting into your body. Making your own fermented kimchi means you control the sodium and sugar, which is a huge win over anything processed! Below is an estimation of what you’ll find in a half-cup serving of this recipe. Keep in mind, salt levels can really swing based on how well you rinse the cabbage!
- Serving Size: 1/2 cup
- Calories: 45
- Fat: 0.5g
- Carbohydrates: 9g
- Protein: 2g
- Sugar: 3g
It’s important to see these numbers as guidelines, not gospel. For instance, if you use less fish sauce or skip the pear, that sugar content will drop! And if your cabbage was extra salty and you rinsed it a bit less, your sodium count will be higher. This is just a great benchmark for understanding that this delicious side dish supports your goals, especially because the probiotics themselves are the real prize here, offering incredible benefits far beyond the macronutrient breakdown.
Share Your Fermented Kimchi Journey
I truly hope this recipe inspires you to get your hands dirty and enjoy the process of making fantastic fermented kimchi right on your own counter. Watching the process—the bubbling, the slight shift in color, the amazing smell—is honestly half the fun! Once you taste that perfect, crunchy, spicy tang you created, you’ll never look back to the store-bought kind, trust me.
I would absolutely love to hear how it turned out for you! Did you keep it spicy? Did you try the vegan swap? Please take a moment to rate this recipe and leave a comment below with your experience. Knowing what worked for you helps our whole community grow stronger in our commitment to real food. If you’re new to the Pure Plate Path family and want to see more simple, nourishing ideas like this, be sure to check out what we’re all about here: our philosophy. Happy fermenting!
PrintTraditional Napa Cabbage Kimchi for Gut Health

Make authentic, crunchy, and spicy fermented kimchi at home to support your gut health with this straightforward recipe.
- Prep Time: 45 min
- Cook Time: 5 min
- Total Time: 50 min
- Yield: About 2 quarts 1x
- Category: Side Dish
- Method: Fermentation
- Cuisine: Korean
- Diet: Vegetarian
Ingredients
- 5 lbs Napa cabbage
- 1 cup coarse sea salt
- 1/2 cup Korean chili flakes (gochugaru)
- 1/4 cup fish sauce
- 2 tablespoons salted fermented shrimp (saeujeot)
- 1/4 cup minced garlic
- 1 tablespoon minced ginger
- 1 small Asian pear, grated
- 1/2 cup sweet rice flour
- 1 cup water
- 1/2 cup radish, julienned
- 1 cup scallions, cut into 1-inch pieces
Instructions
- Cut the Napa cabbage lengthwise into quarters, then chop into 2-inch pieces.
- In a large bowl, toss the cabbage with the sea salt. Let it sit for 2 to 3 hours, turning every 30 minutes until the cabbage wilts and releases liquid.
- Rinse the salted cabbage thoroughly under cold running water three times to remove excess salt. Drain well in a colander for 30 minutes.
- Make the porridge: Whisk the sweet rice flour and water in a small saucepan over medium heat until it thickens into a paste. Remove from heat and let it cool completely.
- In a separate bowl, combine the cooled rice porridge, gochugaru, fish sauce, saeujeot, garlic, ginger, and grated Asian pear. Mix well to form the kimchi paste.
- In a very large bowl, combine the drained cabbage, julienned radish, and scallions with the kimchi paste. Use your hands (wear gloves) to massage the paste evenly into all the cabbage pieces.
- Pack the kimchi tightly into clean, sterilized glass jars, leaving at least 1 inch of headspace at the top. Press down to release any trapped air bubbles.
- Seal the jars loosely for the first 24 hours to allow initial gas release. After 24 hours, seal tightly and leave at room temperature for 1 to 3 days for initial fermentation, depending on your room temperature.
- Transfer the jars to the refrigerator to slow the fermentation process. Your probiotic food aesthetic is ready to enjoy after at least one week in the fridge.
Notes
- For a vegan version, substitute the fish sauce and salted shrimp with an equal amount of soy sauce and extra salt.
- If you prefer a milder flavor, reduce the amount of gochugaru slightly.
- The fermentation time at room temperature directly affects the sourness; taste daily after day one.
Nutrition
- Serving Size: 1/2 cup
- Calories: 45
- Sugar: 3
- Sodium: 450
- Fat: 0.5
- Saturated Fat: 0.1
- Unsaturated Fat: 0.4
- Trans Fat: 0
- Carbohydrates: 9
- Fiber: 2
- Protein: 2
- Cholesterol: 5