
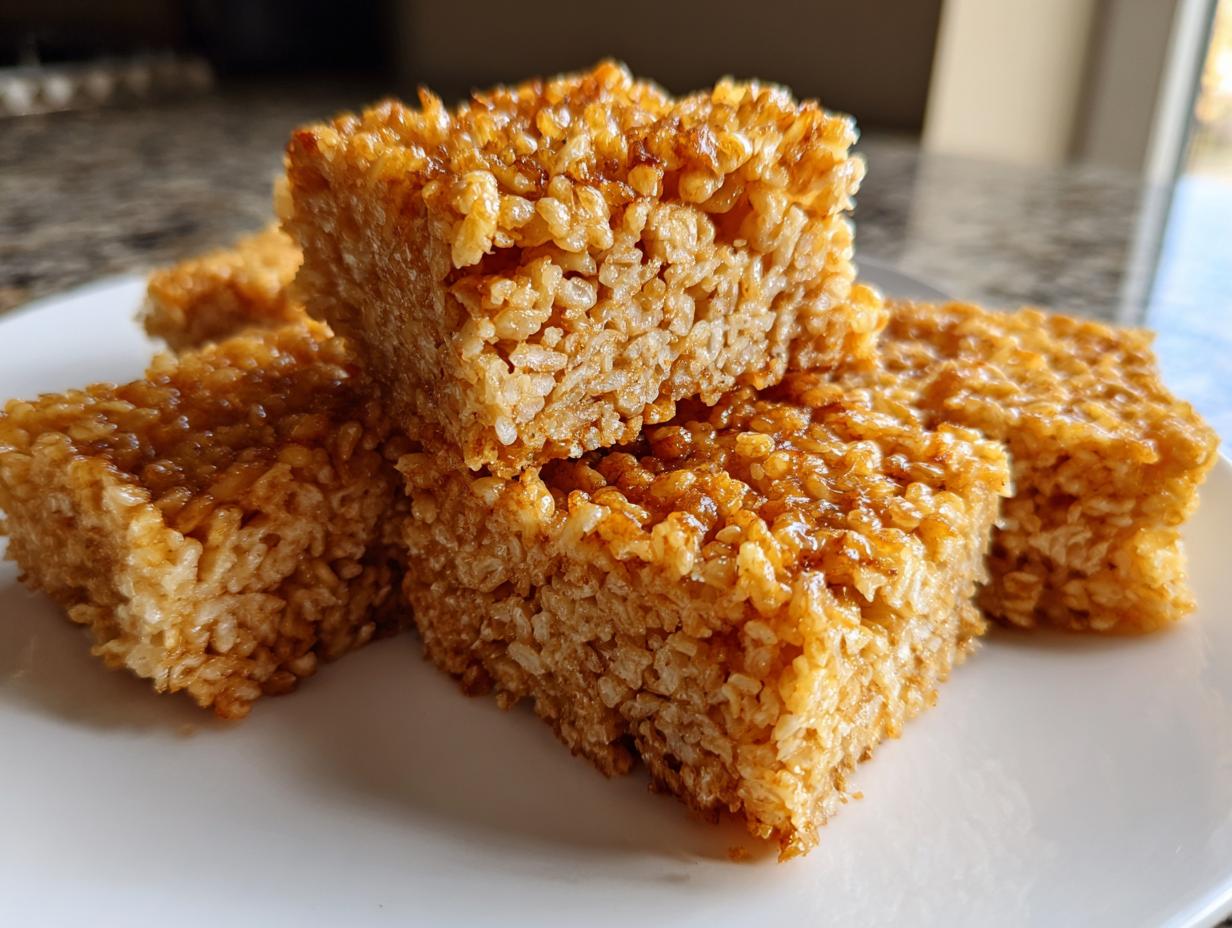
If there is one thing I’ve learned organizing my life around good food, it’s that texture is everything. A soft, comforting dish can suddenly become exciting with just one element of shatteringly good crunch. And honestly, nothing delivers that textural punch like perfectly executed crispy rice. Forget everything you think you know about plain leftovers, because once you master this base, your salads, your snacks, and your appetizers will never be the same again!
Here at Pure Plate Path, we’re all about making real, nourishing food accessible, even when your schedule feels completely out of control. I’m Sarah Miller, and when I was trying to balance my demanding old marketing career with the need to eat well, simple, impactful recipes like this were my lifeline. As you learn more about our journey here, you’ll see that this isn’t just another recipe; it’s the ultimate foundation for achieving that maximum, irresistible crunch. We’re going to take basic sushi rice and turn it into golden, sturdy squares perfect for piling high with your favorite toppings or serving as a standout appetizer!
- Why This Crispy Rice Base Recipe Works So Well (E-E-A-T)
- Gathering Ingredients for Your Crispy Rice
- Step-by-Step Instructions for Perfect Crispy Rice Squares
- Making Crispy Rice Patties Recipe Variations
- Tips for Achieving the Best Crispy Rice Side Dish
- Serving Suggestions: Pairing Crispy Rice with Toppings
- Addressing Popular Crispy Rice Methods (The Bobby Flay Crispy Rice Query)
- Storing and Reheating Your Crispy Rice
- Frequently Asked Questions About Making Crispy Rice
Why This Crispy Rice Base Recipe Works So Well (E-E-A-T)
When you’re trying to figure out how to make crispy rice homemade that actually stays crunchy, it comes down to chemistry, not just luck. This method is tried-and-true because we rely on two non-negotiable elements: a great binder and serious chilling time. The egg acts like glue, locking every grain of rice in place so it doesn’t crumble when it hits the hot oil. That sturdy structure is what lets us achieve that deep, satisfying crust.
Don’t skip the refrigeration phase; it’s truly the secret weapon that separates a good batch from a phenomenal one. Once you’ve got this base down, you can use it in everything from a quick snack to a sophisticated sushi bake!
The Secret to a Perfect Golden Brown Rice Crunch
Success hinges on the type of rice. You absolutely must use short-grain sushi rice. It has the starch content needed to bind so tightly. Long-grain just turns into individual crunchy pebbles—which is fine sometimes, but not for this recipe!
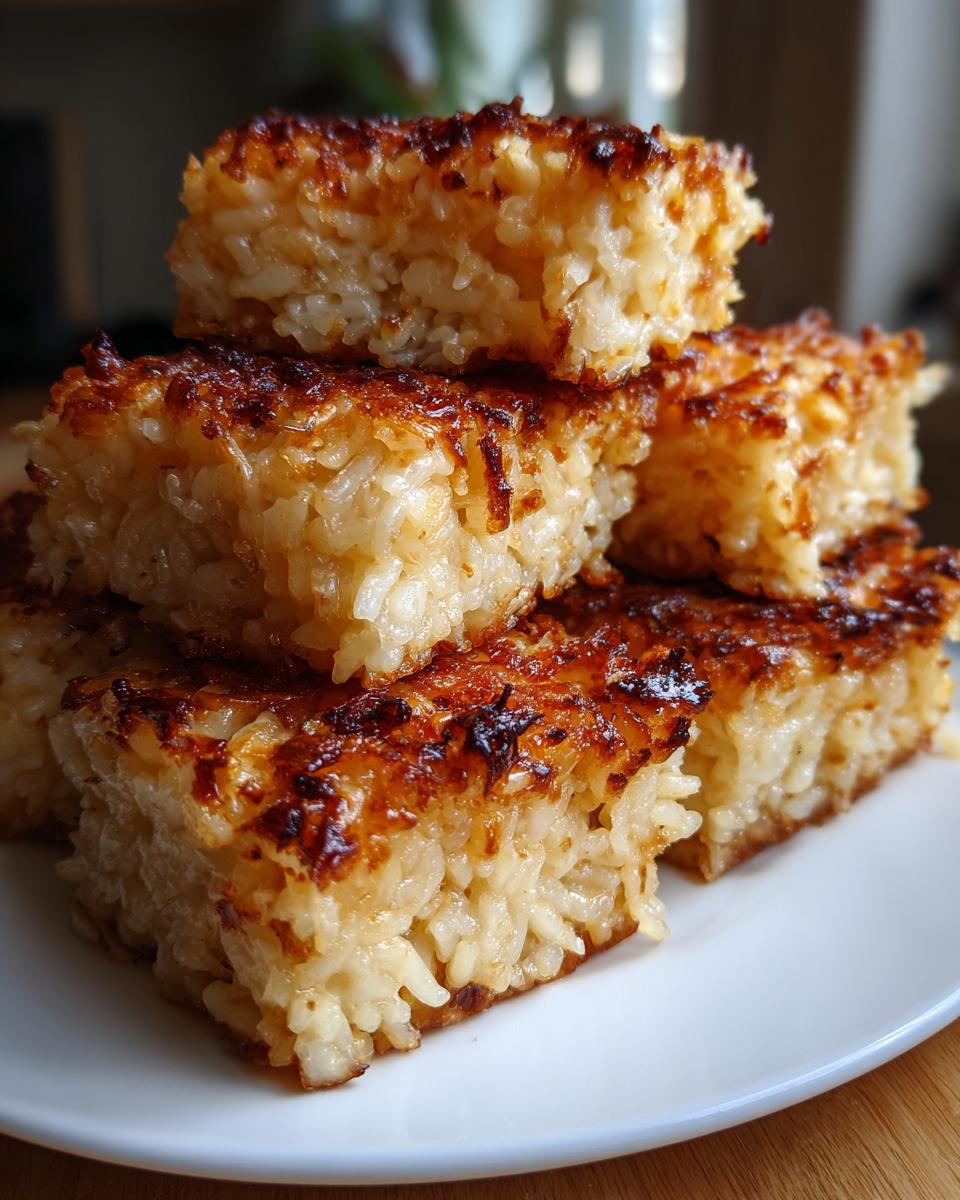
Once mixed with that egg binder, we need it rock solid. Press it into an 8×8 pan and chill it for at least four hours, but honestly, overnight is better. That time in the fridge makes the rice firm enough to cut cleanly and guarantees you get that perfect, shatteringly crisp golden brown rice crunch when frying.

Gathering Ingredients for Your Crispy Rice
Okay, now that we know *why* this works, let’s get everything ready to go. For this base recipe, especially since we are going to be frying, being precise with your ingredients makes a huge difference in the final texture. There’s no room for guesswork here; we need structure!
Ingredient Clarity and Preparation
I always measure everything out before I even turn the stove on. Here’s what you need for your **crispy rice** base:
- Four cups of rice. But listen to me—it has to be cooled short-grain sushi rice. Not warm, already sticky rice, but rice that has completely cooled down.
- Two large eggs, which should be lightly beaten. They’re going to be our stickiness agents!
- One tablespoon of soy sauce and one teaspoon of sesame oil for that subtle, savory base flavor.
- And finally, for frying, you’ll need about 1 cup of neutral oil for frying, like canola or vegetable oil. Hot oil is non-negotiable for the crunch!
Step-by-Step Instructions for Perfect Crispy Rice Squares
This is where the magic happens, turning that chilled block of rice into those perfect little golden bricks we all crave. Since we are combining the egg binder with the cool rice, this process is really straightforward, but you have to be patient, especially waiting for that chill time!
This method, especially using the two eggs to bind everything together, is what makes this such an excellent easy crispy rice recipe for busy cooks. Just follow these steps, and those beautiful **crispy rice** pieces will be yours in no time.
Mixing and Pressing the Rice Base
First thing’s first: grab your big bowl. Gently pour in those four cups of cooled rice, the beaten eggs, soy sauce, and sesame oil. You need to mix this until every single grain looks coated—don’t smash the rice, though; be gentle! Then, line an 8×8 dish with plastic wrap, making sure you leave plenty of overhang on the sides. Scoop that rice mixture in and press it down, down, down! I mean it, press it firmly so it’s really compact, about one inch thick. Cover it up and stick it in the fridge for a minimum of four hours. Honestly, try for overnight if you can spare it; that firmness is everything for clean cuts.
Frying for Maximum Crunchy Rice Recipe Texture
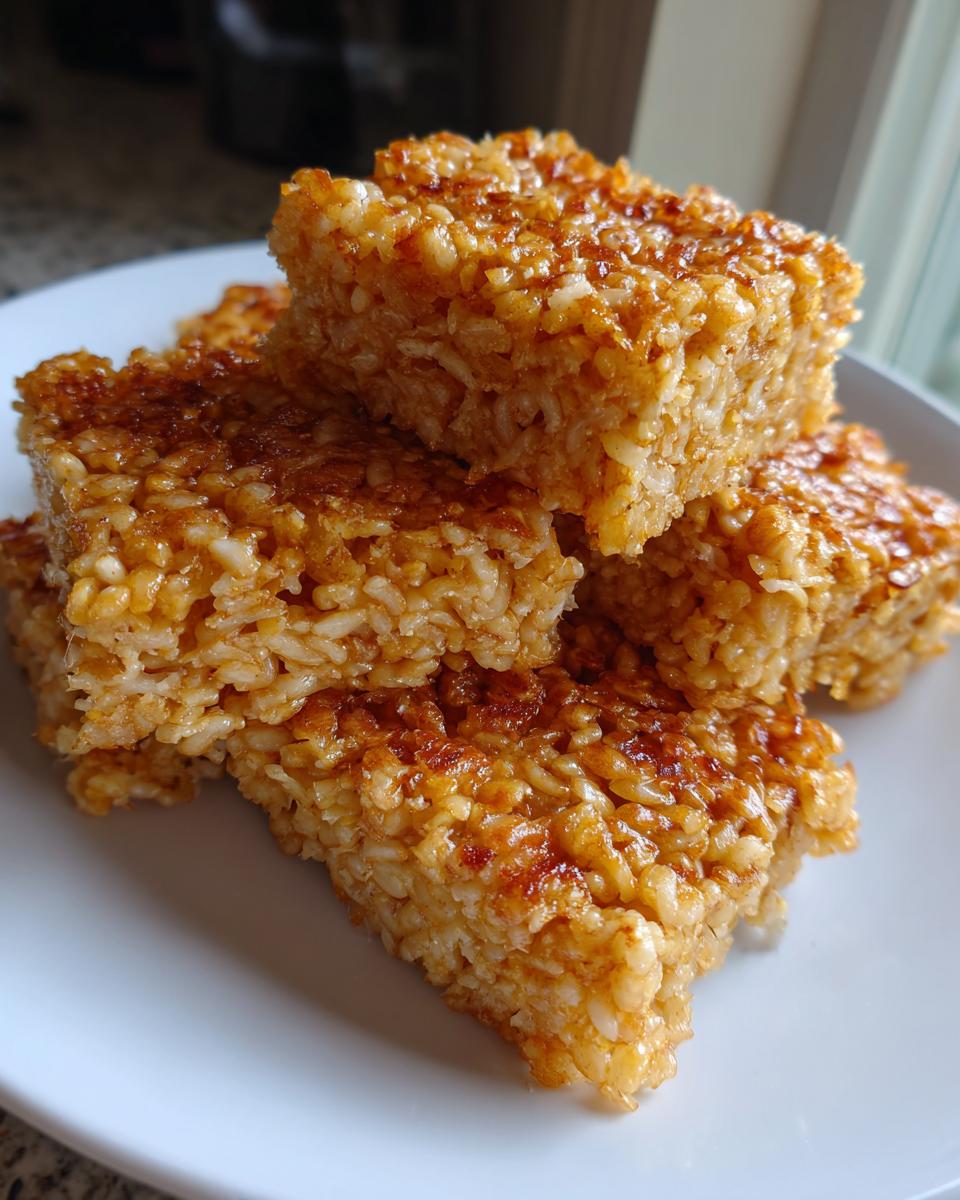
Once your rice is hard like a brick, take it out and use that plastic wrap ‘handle’ to lift it onto your cutting board. Now, cut it into squares—two-inch sizes work great for appetizers. Heat the neutral oil in a large skillet over medium-high heat until it starts to shimmer a little bit. That means it’s ready, probably around 350°F.
Carefully place your rice pieces into that hot oil. Don’t you dare overcrowd the pan, or the oil temp will drop and you’ll end up with greasy rice, not a crunchy rice recipe! Fry them for about three to five minutes on each side. You’re looking for deep golden brown. Use a slotted spoon to pull them out and place them on a plate lined with paper towels to drain excess oil. You can serve these right away, or use them as a base for a delicious dip, perhaps trying out my easy creamy dill dip recipe!
Making Crispy Rice Patties Recipe Variations
Listen, while those neat little squares are fantastic for layering under tuna, sometimes you just need a fun, handheld snack. If you’re looking to pivot this recipe into an awesome quick crunchy snack or a party appetizer, switching gears to make crispy rice patties recipe variations is super easy!
Instead of pressing that seasoned rice mixture into a baking dish after you mix it with the eggs, you skip that step entirely. Once the rice is bound and chilled for at least an hour—just enough time to firm up a bit—you just scoop out about two tablespoons of the mixture at a time. Roll it gently between your palms into a ball, and then flatten it slightly into a patty shape. They don’t need to be perfectly uniform, honestly! They look rustic and homemade that way.
Then, you handle them just like the squares: fry them in that shimmering hot oil until they are deeply golden all over. These patties are fantastic served with a light dipping sauce, like a simple sriracha mayo, or you can check out my recipe for crispy fried pickles if you need a zesty companion appetizer!
Tips for Achieving the Best Crispy Rice Side Dish
Now that you have this amazing base, I want to share a couple of little secrets from my test kitchen that really elevate the final result—especially when you’re serving this as a simple, yet impressive, side dish. The biggest thing with frying is temperature control. If the oil isn’t hot enough, the rice soaks up too much grease before it ever gets a chance to crisp up, and believe me, nobody wants soggy crispy rice!
The second major tip is about the rice itself. Always use day-old, cold rice. That leftover sushi rice you have from last night? It’s practically begging to become this snack! It holds its shape beautifully, unlike freshly cooked rice which can be a little too tender.
Exploring the Oven Baked Crispy Rice Method
If you’re trying to cut down on pan-frying, I have a great alternative, especially if you’re making a huge batch for meal prep. Once you’ve cut your chilled rice block into squares, you can try the oven baked crispy rice route. Arrange the pieces on a baking sheet lined with parchment paper—which helps immensely!
Bake them at 400°F for about 20 minutes total, but make sure you flip them halfway through the cooking time. This will give you a fantastic, less-oily crunch that’s still golden brown and holds up great for snacking later. You can find more great ideas for savory snacks like this over on my easy toffee pretzels recipe page!
Serving Suggestions: Pairing Crispy Rice with Toppings
So, you’ve got your perfect, golden base. What now? This is where this recipe truly shines because it’s adaptable to whatever you’re craving. For me, the most satisfying way to eat this is layered with something cool and creamy on top—it’s that hot-and-cold, crunchy-and-soft dynamic that just sings! If you’re looking for ways to incorporate this into a full meal, check out my collection of salad recipes; you’ll be amazed how much better a salad is with these crunchy additions!
Of course, everyone talks about it, and yes, you absolutely have to try it with a delicious topping like spicy tuna crispy rice. The richness of the fish plus the crunch of the fried square? Heaven! But don’t feel limited to just fish; creamy avocado, shredded carrot slaw, or even a drizzle of peanut sauce works amazingly.
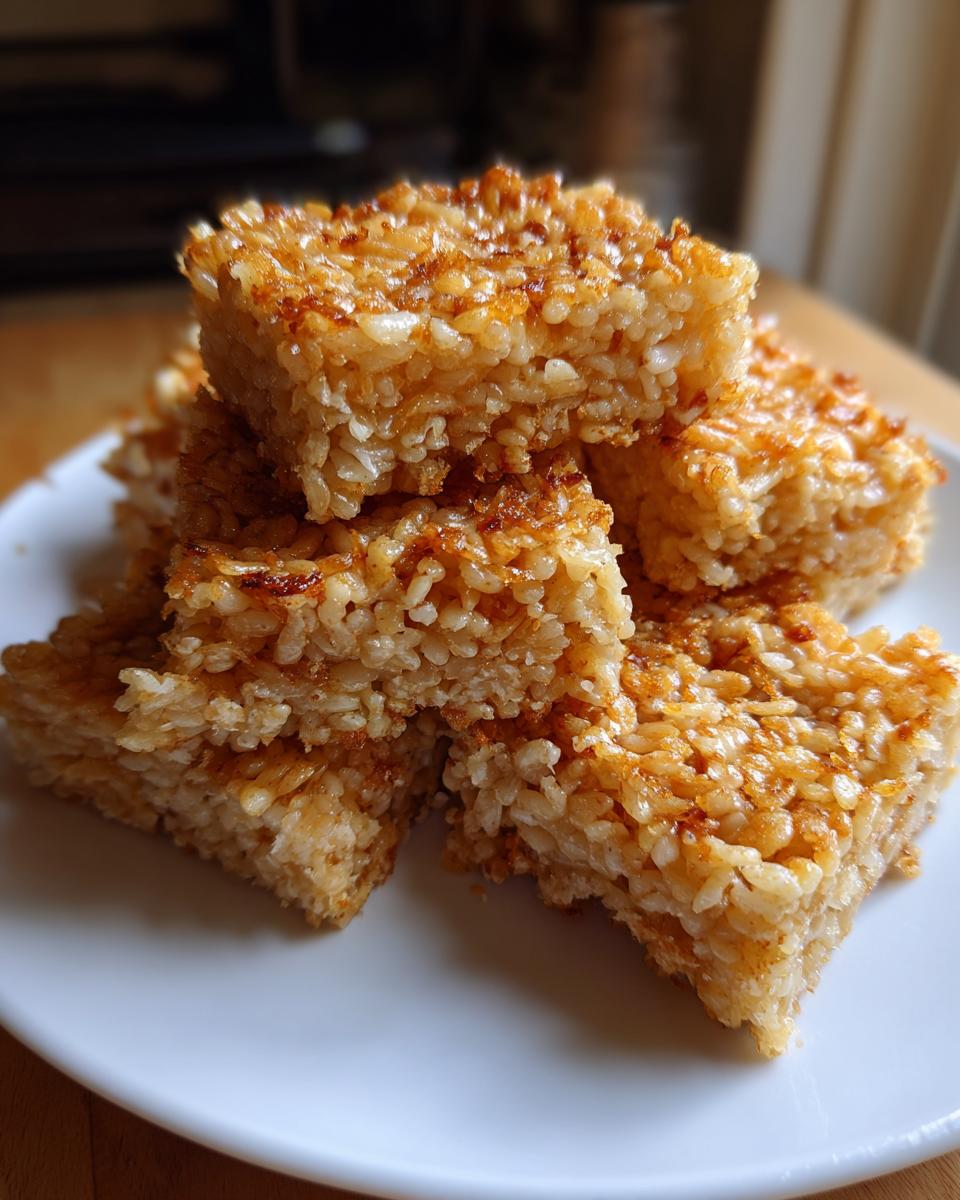
Creating Appetizer Crispy Rice Bites
If you cut your squares smaller—say, closer to one inch—they become the perfect bite-sized appetizer. This instantly elevates any casual gathering into a proper Asian inspired rice dish moment! Serve them on a platter with little bowls of sauces on the side. Think sweet chili sauce or even a simple ponzu reduction. It feels fancy without any extra stress on you, the cook. It’s an impressive, easy way to serve something everyone seems to love, just like the recipes found by others looking for that next big crunchy rice flavor!
Addressing Popular Crispy Rice Methods (The Bobby Flay Crispy Rice Query)
You know I always want you to have the best recipe, and I know some of you are searching specifically for the famous viral versions out there—especially that one everyone talks about from Chef Flay. It’s totally normal to wonder how our technique compares to the Bobby Flay crispy rice method!
Here’s my take: the end goal is the same—a sturdy, deeply fried square of amazingness. While some popular versions season the rice with vinegar and sugar (more like sushi rice), our base focuses purely on that two-egg binding agent to achieve maximum structure for frying. Whether you prefer the tang of a sushi-style square or the straightforward savory flavor here, the method of pressing hard and frying hot remains the key to fantastic crispy rice. Trust me, once you nail this foundation, you can tweak the seasoning to make it your own perfect crispy rice!
Storing and Reheating Your Crispy Rice
We all love leftovers, but nobody wants a stale crunch! If you’ve made a big batch for quick weeknight dinners or planned ahead, storing your crispy rice correctly is super important for maintaining that texture. You need an airtight container—no exceptions! Keep them in the fridge for up to three days, but you have to bring back the crunch when you’re ready to serve them.
Forget the microwave; it guarantees sogginess. The best way for that meal prep rice crunch to return is in the oven or, even better, an air fryer set around 375°F for just a few minutes. That blast of dry heat wakes up the crust perfectly!
Frequently Asked Questions About Making Crispy Rice
I know you might still have a few lingering doubts after diving into this recipe—it’s such a satisfying technique, but getting that first batch right is everything! Don’t worry, I’ve gathered the most common questions I get from friends and family who want to master this technique. Feel free to reach out on my contact page if you have others!
Can I use long-grain rice instead of sushi rice for my easy crispy rice recipe?
Oh, gosh, please don’t! I know it’s tempting to use whatever rice you have floating around, but for this recipe, no, you really can’t use long-grain rice successfully. Long-grain rice, like Basmati or Jasmine, just doesn’t have that high starch content that short-grain sushi rice has. Without that starch, the egg binder just doesn’t have enough to grip onto, and your rice will mostly fall apart in the oil instead of holding that perfect square shape.
What is the best way to get that sushi style crispy rice texture?
The ultimate sushi style crispy rice texture is a partnership between cold and heat. You need the rice pressed into that rock-solid block in the fridge—that’s the cold foundation. Then, you need to introduce it gently, but confidently, into oil that is hot enough (around 350°F). The combination of high heat hitting the ultra-cold, tightly packed rice creates that immediate, intense crust on the outside while the inside stays soft. It’s all about that temperature shock!
Can I skip the eggs in this rice squares recipe?
Skipping the eggs changes the whole game for this **rice squares recipe**. In my method, the eggs are what hold everything together securely enough to be cut and fried without disintegration. If you absolutely must skip them for dietary reasons, you’ll definitely need a substitute binder. A thick cornstarch slurry mixed with a tiny bit of water, or even a flax egg, can work, but I have to warn you—the texture won’t be quite as sturdy or rich. You’ll need to press the rice even more firmly and chill it longer!
PrintThe Ultimate Crispy Rice Base Recipe (Fried Method)
Learn how to make perfectly golden and crunchy rice squares using a simple frying method. This base recipe is ideal for topping salads or serving as an appetizer.
- Prep Time: 20 min
- Cook Time: 15 min
- Total Time: 4 hours 35 min
- Yield: 16 squares 1x
- Category: Appetizer
- Method: Frying
- Cuisine: Asian Inspired
- Diet: Vegetarian
Ingredients
- 4 cups cooked short-grain sushi rice, cooled
- 2 large eggs, lightly beaten
- 1 tablespoon soy sauce
- 1 teaspoon sesame oil
- 1 cup neutral oil for frying (like canola or vegetable oil)
Instructions
- Mix the cooled cooked rice in a large bowl with the beaten eggs, soy sauce, and sesame oil. Combine until the rice is evenly coated.
- Line an 8×8 inch baking dish with plastic wrap, leaving an overhang. Press the rice mixture firmly and evenly into the dish, creating a compact layer about 1 inch thick.
- Cover the rice with plastic wrap and press down again to compact it further. Refrigerate for at least 4 hours, or preferably overnight, until the rice is very firm.
- Once chilled, remove the rice block from the dish using the plastic wrap overhang. Place it on a cutting board and cut it into desired shapes, such as 2-inch squares or rectangles.
- Heat the neutral oil in a large skillet over medium-high heat until it shimmers (about 350°F).
- Carefully place the rice pieces into the hot oil, ensuring you do not overcrowd the pan. Work in batches if necessary.
- Fry for 3 to 5 minutes per side, turning gently, until the rice is deep golden brown and very crispy.
- Remove the crispy rice pieces with a slotted spoon and place them on a plate lined with paper towels to drain excess oil.
- Serve immediately with your favorite toppings or sauces.
Notes
- For the best texture, use day-old, cold sushi rice. This helps the grains stick together firmly.
- If you prefer a less oily result, you can bake these pieces at 400°F for 20 minutes, flipping halfway, after pressing and cutting them.
- This base recipe pairs well with spicy tuna or avocado toppings.
Nutrition
- Serving Size: 2 squares
- Calories: 320
- Sugar: 0.5
- Sodium: 250
- Fat: 15
- Saturated Fat: 2
- Unsaturated Fat: 13
- Trans Fat: 0
- Carbohydrates: 42
- Fiber: 1
- Protein: 5
- Cholesterol: 75