

When the weather turns crisp and you just need a meal that feels like a warm hug, nothing beats a bowl of intensely flavorful soup. Forget those weak-tasting broths; we’re diving into what I truly consider the best Creamy Roasted Garlic Soup recipe out there—it’s pure decadence perfect for cozy dinners after a long day. Back when I was juggling that hectic marketing job, finding simple, nourishing meals like this rich garlic soup was my first step back toward true well-being. Roasting the garlic changes everything, transforming harsh cloves into something sweet and mellow. Trust me, this technique is the secret sauce that makes this comfort food soup absolutely unforgettable.
- Why This Creamy Roasted Garlic Soup Recipe Is Your New Comfort Food Soup Staple
- Ingredients for the Best Garlic Soup
- How to Roast Garlic for Deep Flavor in Your Garlic Soup Recipe
- Step-by-Step Instructions for Creamy Roasted Garlic Soup
- Tips for Success Making the Best Garlic Soup
- Serving Suggestions for Your Flavorful Soup with Crusty Bread
- Storage and Reheating Instructions for Leftover Garlic Soup
- Frequently Asked Questions About This Roasted Garlic Soup Recipe
- Nutritional Estimate for Creamy Garlic Soup
- Tips for Success Making the Best Garlic Soup
- Serving Suggestions for Your Flavorful Soup with Crusty Bread
- Storage and Reheating Instructions for Leftover Garlic Soup
- Frequently Asked Questions About This Roasted Garlic Soup Recipe
- Nutritional Estimate for Creamy Garlic Soup
Why This Creamy Roasted Garlic Soup Recipe Is Your New Comfort Food Soup Staple
Honestly, this roasted garlic soup isn’t just another recipe; it’s my go-to when I need something quick but deeply satisfying. It hits all those cozy notes we crave when the leaves start turning. I know you’re busy, so I made sure this development process focused on maximum flavor with minimum fuss. It’s the definition of an easy homemade soup that tastes like you spent all day on it.
- It delivers an unbelievably velvety garlic soup texture thanks to the blending and the cream.
- Roasting the garlic concentrates the sweetness, making it an incredible comfort food soup.
- Prep is fast, clocking in right around an hour total—quick enough for a busy weeknight!
- It’s unbelievably versatile; you can thin it out or spice it up based on what you need.
Ingredients for the Best Garlic Soup
You absolutely must start with quality ingredients here, especially the garlic itself! We are using a generous amount—two whole heads—because this is supposed to be a rich garlic soup, after all. Don’t be shy! I always use a nice, fruity extra virgin olive oil when roasting the garlic; it really makes a difference in the final depth of flavor.
- 2 heads garlic (Yes, two! Trust me on this.)
- 1 tablespoon olive oil (Use your good stuff for roasting!)
- 1 medium onion, chopped
- 2 tablespoons butter
- 4 cups chicken or vegetable broth
- 1/2 cup heavy cream
- Salt to taste
- Black pepper to taste
- Optional: Fresh thyme sprigs
Ingredient Notes and Substitutions for Your Garlic Soup
This recipe is surprisingly flexible, which is great for those quick pantry pulls. If you need this to be dairy-free, you can swap the heavy cream for full-fat coconut cream; it adds a lovely richness without any dairy taste coming through. Also, remember you can use either chicken or vegetable broth depending on your preference or what you have on hand. That’s just one of the simple ways we keep this flavorful soup adaptable!
How to Roast Garlic for Deep Flavor in Your Garlic Soup Recipe
Okay, pay attention here, because this step is what separates a decent roasted garlic soup from something you’ll dream about for weeks. The standard quick way to make garlic soup? Just tossing raw garlic in. Yuck! When I first started cooking this recipe years ago, I skipped the roasting because I thought it was too much trouble, and honestly, the soup tasted sharp and almost bitter.
Once I committed to roasting, everything changed! We’re going for 400 degrees Fahrenheit. Take your two heads of garlic and slice off that very top quarter, exposing those little creamy tops. Drizzle them with that good olive oil we talked about and wrap them snugly in foil. This traps the moisture and steam. Roast them for about 35 to 40 minutes until they are deeply golden, soft, and tender. When they cool down just a touch, the cloves practically melt right out of their skins! That sweet, caramelized pulp is the absolute base for the best flavor you can get.
Step-by-Step Instructions for Creamy Roasted Garlic Soup
Now that you have your beautifully sweet, roasted garlic pulp, we move to the stovetop! This is where we pull everything together to create one of those easy soup dinners anyone can manage. First up, melt your butter in a big pot over medium heat. Toss in your chopped onion and let it soften up—about five minutes should do the trick. You want them translucent, not brown!
Next, add that soft roasted garlic pulp and stir it around for just one minute; you’ll already smell how amazing this garlic broth soup is getting. Pour in your four cups of broth, and if you decided to use fresh thyme sprigs, throw those in now too. Bring the whole thing up to a simmer and let it cook gently for a full 10 minutes. This simmering time is crucial—it lets the roasted garlic really marry with the broth.
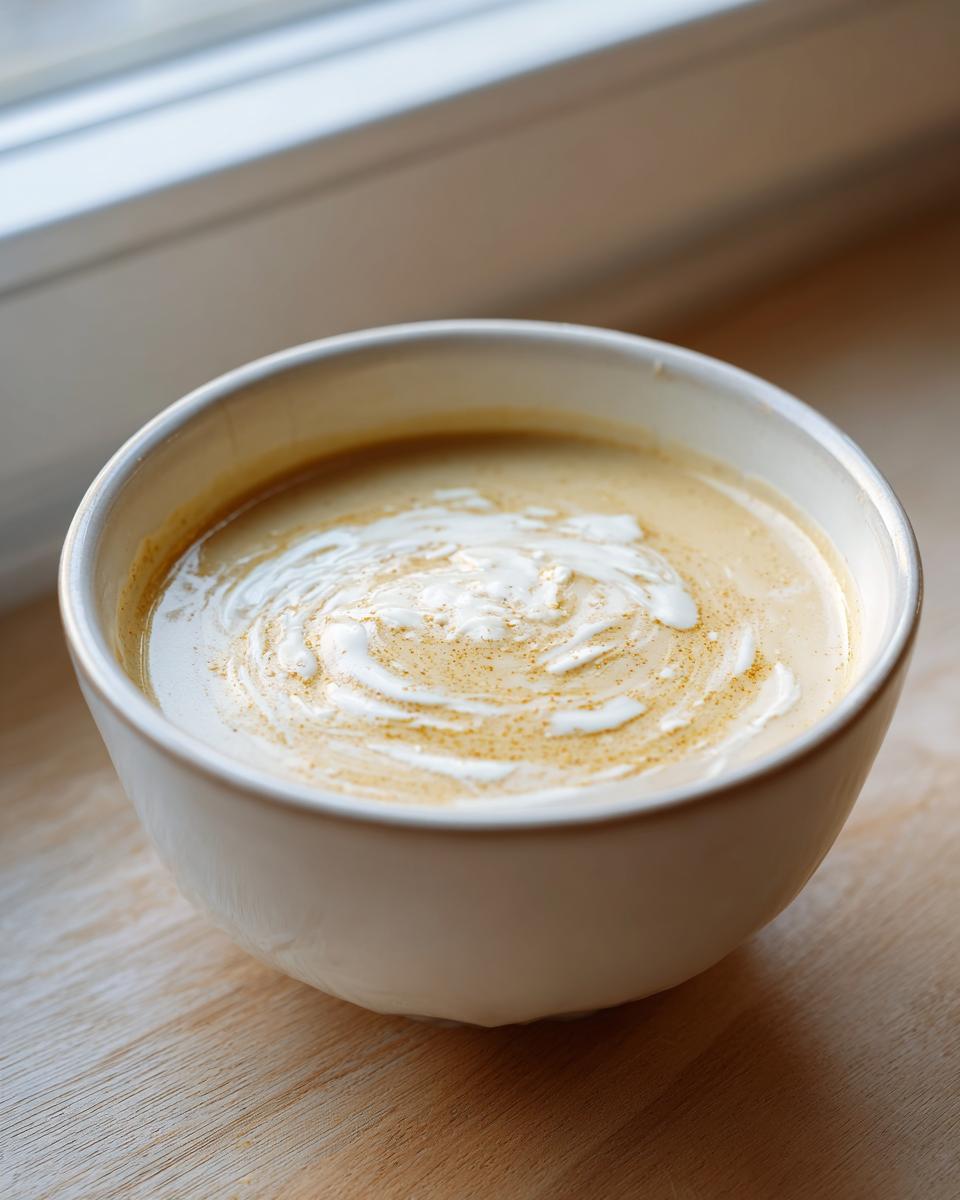
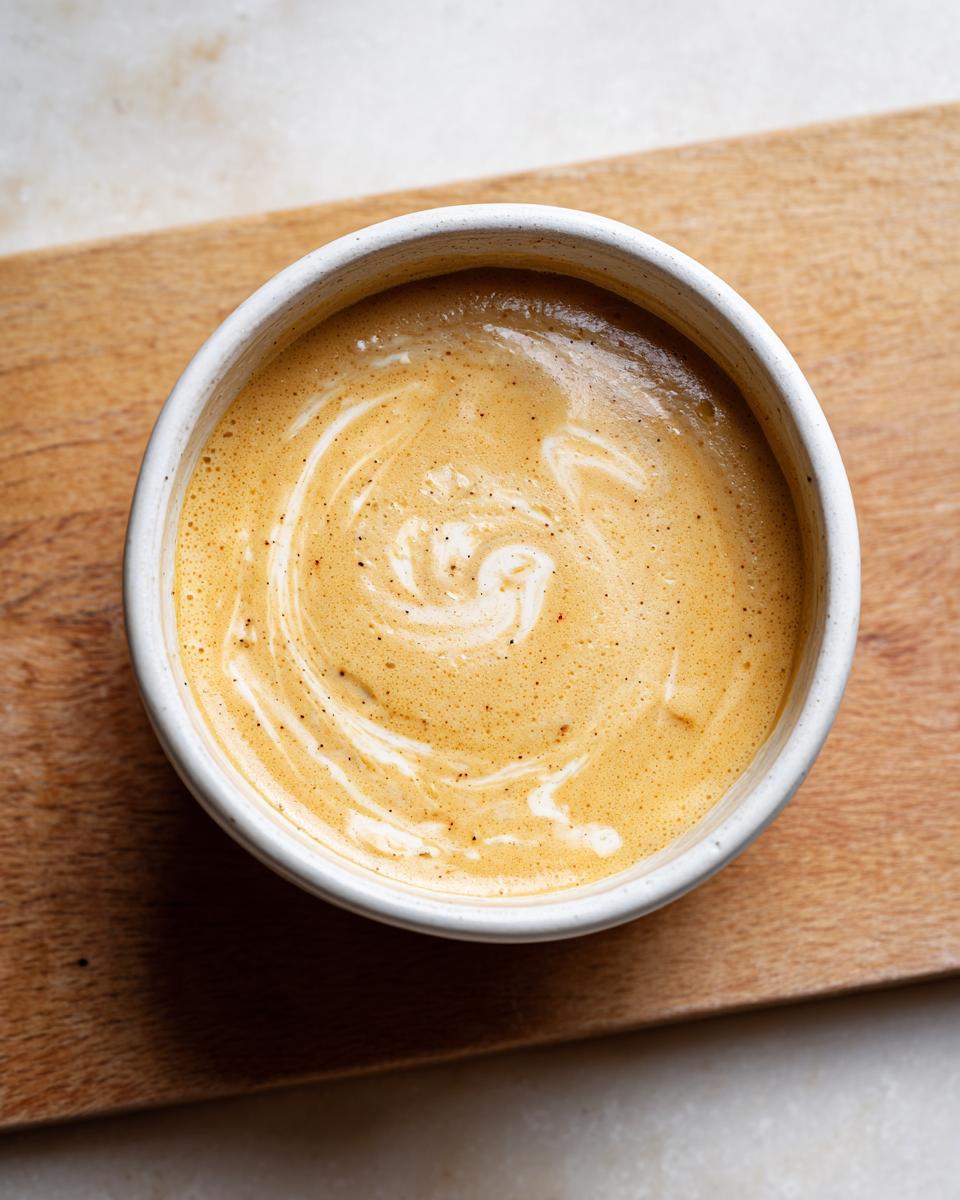
After 10 minutes, fish out those thyme sprigs because we don’t want to blend woody bits! Now for the blending. You can carefully transfer the mixture to a standard blender, or, if you have one, use an immersion blender right in the pot. Blend until it’s completely smooth and velvety. Then, return the soup to the heat, stir in that heavy cream, and warm it gently. Remember, we never boil it once the cream is in!
- Preheat your oven to 400 degrees Fahrenheit (200 degrees Celsius).
- Slice the top quarter off each garlic head to expose the cloves. Drizzle the exposed cloves with olive oil and wrap the heads loosely in foil.
- Roast the garlic for 35 to 40 minutes until the cloves are soft and golden brown. Let them cool slightly.
- Squeeze the soft roasted garlic pulp out of the skins into a bowl. Discard the skins.
- In a large pot, melt the butter over medium heat. Add the chopped onion and cook until soft, about 5 minutes.
- Add the roasted garlic pulp to the pot and stir for one minute.
- Pour in the chicken or vegetable broth. If using thyme, add the sprigs now. Bring the mixture to a simmer.
- Cook for 10 minutes to allow flavors to combine. Remove the thyme sprigs.
- Carefully transfer the soup mixture to a blender, or use an immersion blender directly in the pot. Blend until completely smooth and velvety.
- Return the soup to the pot if necessary. Stir in the heavy cream. Heat gently but do not boil.
- Season with salt and pepper to your preference.
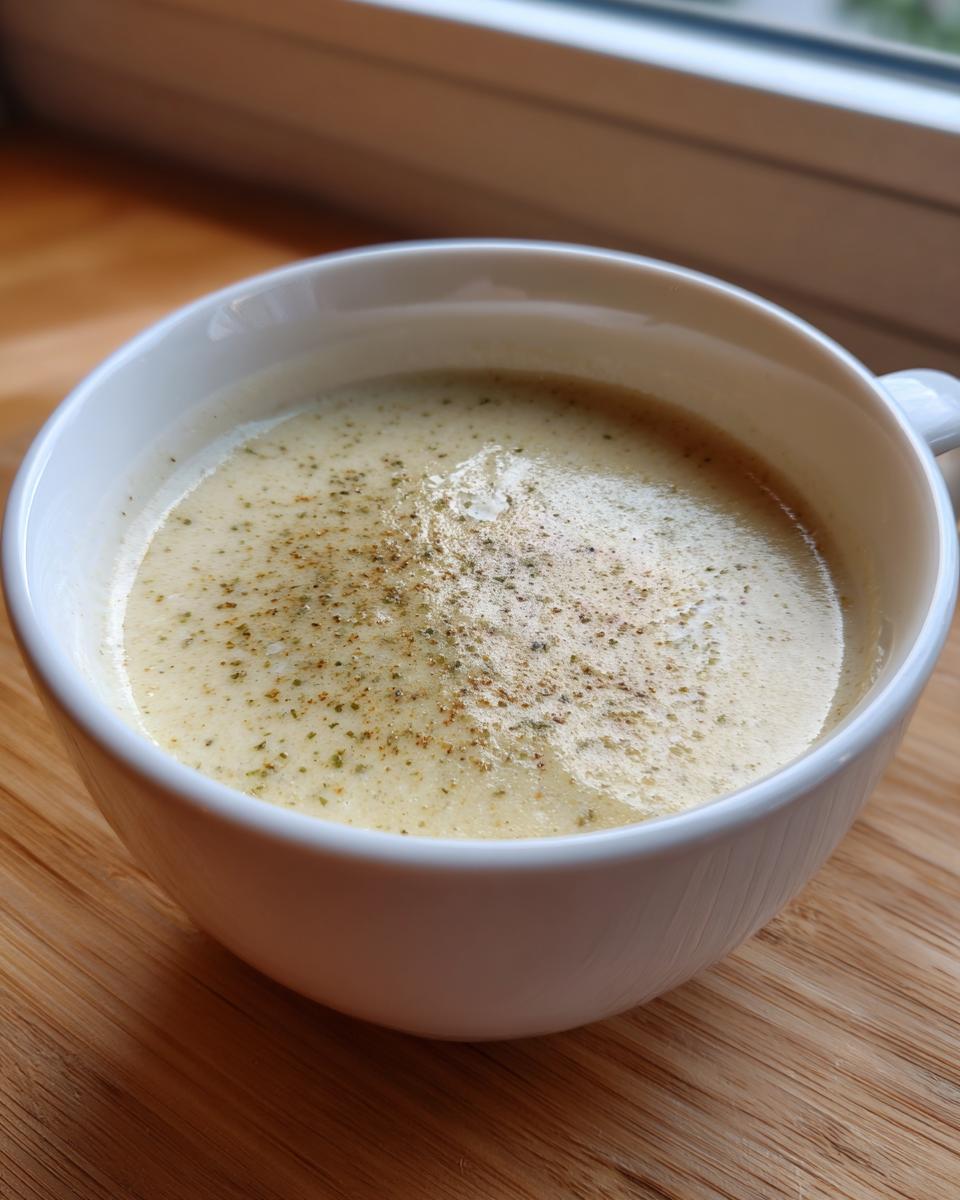
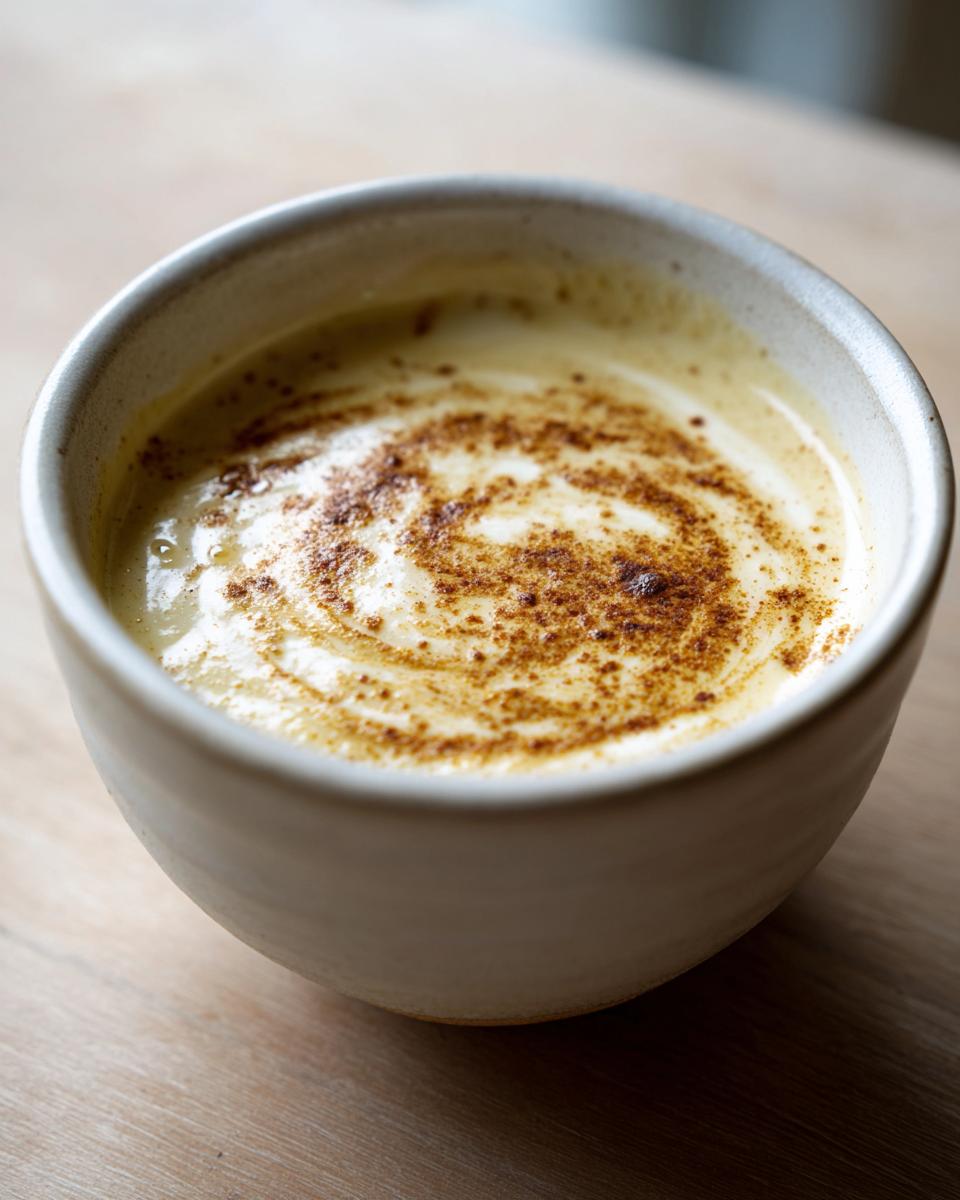
- Serve the velvety garlic soup hot, perhaps with crusty bread or croutons for dipping.
Achieving a Velvety Texture in Your Garlic Soup
The texture is everything when you are aiming for creamy garlic soup perfection! Once you’ve blended the soup until it feels smooth, the final step before serving is stirring in your heavy cream. This is where you get that beautiful richness. Please, please, don’t let it boil after adding the cream. High heat can sometimes cause the cream to separate or curdle, and we absolutely do not want to ruin that gorgeous, velvety consistency we worked so hard for! Just warm it through gently until it’s ready to ladle into bowls.
Tips for Success Making the Best Garlic Soup
To make sure this truly is the best garlic soup you’ve ever made, remember that roasting time matters! If you pull the garlic out too soon and it isn’t soft, you’ll end up with a sharper flavor, which is fine if you like that bite, but true comfort food soup relies on that deep, mellow sweetness. If you have time, roast the garlic a day ahead! It stores perfectly in the fridge.
Also, quality broth cannot be overstated. If you use a weak broth, you end up with a weak soup, no matter how much garlic you roast. I highly recommend making your own, but if you can’t, use the best quality boxed broth you can find. For extra depth, I sometimes take a tiny bit of the butter and oil from the onion step and swirl in a spoonful of dried herbs like rosemary before adding the broth—it’s a little trick I learned when trying to recreate traditional winter soup ideas.
And don’t forget to taste as you go! Adding salt and pepper at the end is vital because the broth’s sodium level can vary so much. You might only need a pinch, or you might need a bit more to make those roasted flavors really sing. Always finish with fresh seasoning.
Serving Suggestions for Your Flavorful Soup with Crusty Bread
This soup begs for something substantial to dip into that creamy goodness. If you don’t serve it with bread, are you even enjoying it? My absolute favorite pairing is a thick slice of toasted crusty bread rubbed lightly with an extra clove of raw garlic before toasting! That texture contrast—the crunch of the bread against the silky soup—is just heavenly.
For garnishes, keep it simple to let that roasted garlic shine. A very generous crack of fresh black pepper over the top is non-negotiable for me. A drizzle of really good olive oil right on the surface just before serving adds a lovely sheen and finish. If you want a little color, a tiny sprinkle of finely chopped fresh chives or parsley works wonders. This is the ultimate soup with crusty bread experience!
Storage and Reheating Instructions for Leftover Garlic Soup
I always hope for leftovers because this flavorful soup actually tastes better the next day! Store any leftovers in an airtight container in the fridge for up to four days. When reheating on the stovetop, go low and slow. You want to bring it up to temperature easily; remember, we don’t want that creamy texture to separate by boiling it hard.
If you want to freeze it, I actually recommend freezing the soup *before* adding the heavy cream. Once thawed and gently reheated, you can stir in the cream fresh. This ensures the best possible texture when you’re ready for your next bowl of cozy comfort.
Frequently Asked Questions About This Roasted Garlic Soup Recipe
I get so many questions about making this recipe work for different tastes, especially since people bring up other styles like Sopa de Ajo or the French style when they search for garlic soup recipe ideas. Here are a few things I’ve learned over the years of perfecting this creamy version:
Can I make a French Garlic Soup version instead of creamy?
Absolutely! If you want a more rustic French Garlic Soup style, you typically skip the heavy cream entirely. In those older recipes, they often use stale bread slices placed in the bowl which soak up the flavorful broth as the soup is poured over them, thickening it naturally instead of relying on dairy fat. It’s a completely different, but equally delicious, approach to comfort!
How do I make this an easy soup dinners option for weeknights?
The key to making this work on a tight schedule is batch prepping the roasted garlic. You can roast a whole tray of garlic on Sunday, squeeze the pulp into a little container, and keep it in the fridge. Then, when you need an easy homemade soup on Tuesday, you just sauté the onion and combine it with the pre-roasted garlic and broth—it cuts your active time down considerably!
How much garlic is too much for a single pot of soup?
That’s an honest question! For this recipe, two heads provide that deep, sweet note without being overwhelmingly pungent. If you use more than three heads, the flavor might start leaning aggressively garlicky rather than sweet and roasted. If you prefer a milder experience, definitely stick to one large head, but know you are sacrificing some of that signature depth.
Did you know that you can adapt this recipe for a whole different vibe? I have a great post on how to make easy homemade soup bases that might get your creative juices flowing for next time!
Nutritional Estimate for Creamy Garlic Soup
Here’s a quick look at the estimated nutrition facts based on the ingredients used in this recipe. Since we are including cream and butter, it’s rich, but wonderfully warming! Remember, these numbers are just estimates, and they will change slightly based on the specific brands of broth and cream you choose to use.
- Serving Size: 1.5 cups
- Calories: 280
- Sugar: 4g
- Sodium: 350mg
- Fat: 22g
- Saturated Fat: 11g
- Unsaturated Fat: 11g
- Trans Fat: 0g
- Carbohydrates: 15g
- Fiber: 3g
- Protein: 6g
- Cholesterol: 40mg
Tips for Success Making the Best Garlic Soup
To make sure this truly is the best garlic soup you’ve ever made, remember that roasting time matters! If you pull the garlic out too soon and it isn’t soft, you’ll end up with a sharper flavor, which is fine if you like that bite, but true comfort food soup relies on that deep, mellow sweetness. If you have time, roast the garlic a day ahead! It stores perfectly in the fridge.
Also, quality broth cannot be overstated. If you use a weak broth, you end up with a weak soup, no matter how much garlic you roast. I highly recommend making your own, but if you can’t, use the best quality boxed broth you can find. For extra depth, I sometimes take a tiny bit of the butter and oil from the onion step and swirl in a spoonful of dried herbs like rosemary before adding the broth—it’s a little trick I learned when trying to recreate traditional winter soup ideas.
And don’t forget to taste as you go! Adding salt and pepper at the end is vital because the broth’s sodium level can vary so much. You might only need a pinch, or you might need a bit more to make those roasted flavors really sing. Always finish with fresh seasoning. If you want to get adventurous with silky textures, check out my tips for making an easy creamy garlic sauce recipe—the blending technique is similar!
Serving Suggestions for Your Flavorful Soup with Crusty Bread
This soup begs for something substantial to dip into that creamy goodness. If you don’t serve it with bread, are you even enjoying it? My absolute favorite pairing is a thick slice of toasted crusty bread rubbed lightly with an extra clove of raw garlic before toasting! That texture contrast—the crunch of the bread against the silky soup—is just heavenly.
For garnishes, keep it simple to let that roasted garlic shine. A very generous crack of fresh black pepper over the top is non-negotiable for me. A drizzle of really good olive oil right on the surface just before serving adds a lovely sheen and finish. If you want a little color, a tiny sprinkle of finely chopped fresh chives or parsley works wonders. This is the ultimate soup with crusty bread experience!
Storage and Reheating Instructions for Leftover Garlic Soup
I always hope for leftovers because this flavorful soup actually tastes better the next day! Store any leftovers in an airtight container in the fridge for up to four days. When reheating on the stovetop, go low and slow. You want to bring it up to temperature easily; remember, we don’t want that creamy texture to separate by boiling it hard.
If you want to freeze it, I actually recommend freezing the soup *before* adding the heavy cream. Once thawed and gently reheated, you can stir in the cream fresh. This ensures the best possible texture when you’re ready for your next bowl of cozy comfort.
Frequently Asked Questions About This Roasted Garlic Soup Recipe
I get so many questions about making this recipe work for different tastes, especially since people bring up other styles like Sopa de Ajo or the French style when they search for garlic soup recipe ideas. Here are a few things I’ve learned over the years of perfecting this creamy version!
Can I make a French Garlic Soup version instead of creamy?
Absolutely! If you want a more rustic French garlic soup style, you typically skip the heavy cream entirely. In those older recipes, they often use stale bread slices placed in the bowl which soak up the flavorful broth as the soup is poured over them, thickening it naturally instead of relying on dairy fat. It’s a completely different, but equally delicious, approach to comfort!
How do I make this an easy soup dinners option for weeknights?
The key to making this work on a tight schedule is batch prepping the roasted garlic. You can roast a whole tray of garlic on Sunday, squeeze the pulp into a little container, and keep it in the fridge. Then, when you need an easy homemade soup on Tuesday, you just sauté the onion and combine it with the pre-roasted garlic and broth—it cuts your active time down considerably for quick easy soup dinners!
How much garlic is too much for a single pot of soup?
That’s an honest question! For this recipe, two heads provide that deep, sweet note without being overwhelmingly pungent. If you use more than three heads, the flavor might start leaning aggressively garlicky rather than sweet and roasted. If you prefer a milder experience, definitely stick to one large head, but know you are sacrificing some of that signature depth.
Did you know that you can adapt this recipe for a whole different vibe? I have a great post on how to make easy homemade soup bases that might get your creative juices flowing for next time!
Nutritional Estimate for Creamy Garlic Soup
Here’s a quick look at the estimated nutrition facts based on the ingredients used in this recipe. Since we are including cream and butter, it’s rich, but wonderfully warming! Remember, these numbers are just estimates, and they will change slightly based on the specific brands of broth and cream you choose to use.
- Serving Size: 1.5 cups
- Calories: 280
- Sugar: 4g
- Sodium: 350mg
- Fat: 22g
- Saturated Fat: 11g
- Unsaturated Fat: 11g
- Trans Fat: 0g
- Carbohydrates: 15g
- Fiber: 3g
- Protein: 6g
- Cholesterol: 40mg
Creamy Roasted Garlic Soup for Cozy Dinners

Prepare this simple and flavorful roasted garlic soup. Roasting the garlic creates a deep, savory base for this creamy, comforting dish perfect for chilly evenings. It pairs well with crusty bread.
- Prep Time: 15 min
- Cook Time: 45 min
- Total Time: 60 min
- Yield: 4 servings 1x
- Category: Dinner
- Method: Stovetop/Roasting
- Cuisine: American
- Diet: Vegetarian
Ingredients
- 2 heads garlic
- 1 tablespoon olive oil
- 1 medium onion, chopped
- 2 tablespoons butter
- 4 cups chicken or vegetable broth
- 1/2 cup heavy cream
- Salt to taste
- Black pepper to taste
- Optional: Fresh thyme sprigs
Instructions
- Preheat your oven to 400 degrees Fahrenheit (200 degrees Celsius).
- Slice the top quarter off each garlic head to expose the cloves. Drizzle the exposed cloves with olive oil and wrap the heads loosely in foil.
- Roast the garlic for 35 to 40 minutes until the cloves are soft and golden brown. Let them cool slightly.
- Squeeze the soft roasted garlic pulp out of the skins into a bowl. Discard the skins.
- In a large pot, melt the butter over medium heat. Add the chopped onion and cook until soft, about 5 minutes.
- Add the roasted garlic pulp to the pot and stir for one minute.
- Pour in the chicken or vegetable broth. If using thyme, add the sprigs now. Bring the mixture to a simmer.
- Cook for 10 minutes to allow flavors to combine. Remove the thyme sprigs.
- Carefully transfer the soup mixture to a blender, or use an immersion blender directly in the pot. Blend until completely smooth and velvety.
- Return the soup to the pot if necessary. Stir in the heavy cream. Heat gently but do not boil.
- Season with salt and pepper to your preference.
- Serve the velvety garlic soup hot, perhaps with crusty bread or croutons for dipping.
Notes
- For a dairy-free option, substitute the heavy cream with full-fat coconut cream.
- If you prefer a less creamy texture, reduce the amount of heavy cream or omit it entirely for a flavorful garlic broth soup.
- Roasting the garlic is key to developing the deep, sweet flavor that makes this comfort food soup special.
Nutrition
- Serving Size: 1.5 cups
- Calories: 280
- Sugar: 4
- Sodium: 350
- Fat: 22
- Saturated Fat: 11
- Unsaturated Fat: 11
- Trans Fat: 0
- Carbohydrates: 15
- Fiber: 3
- Protein: 6
- Cholesterol: 40