
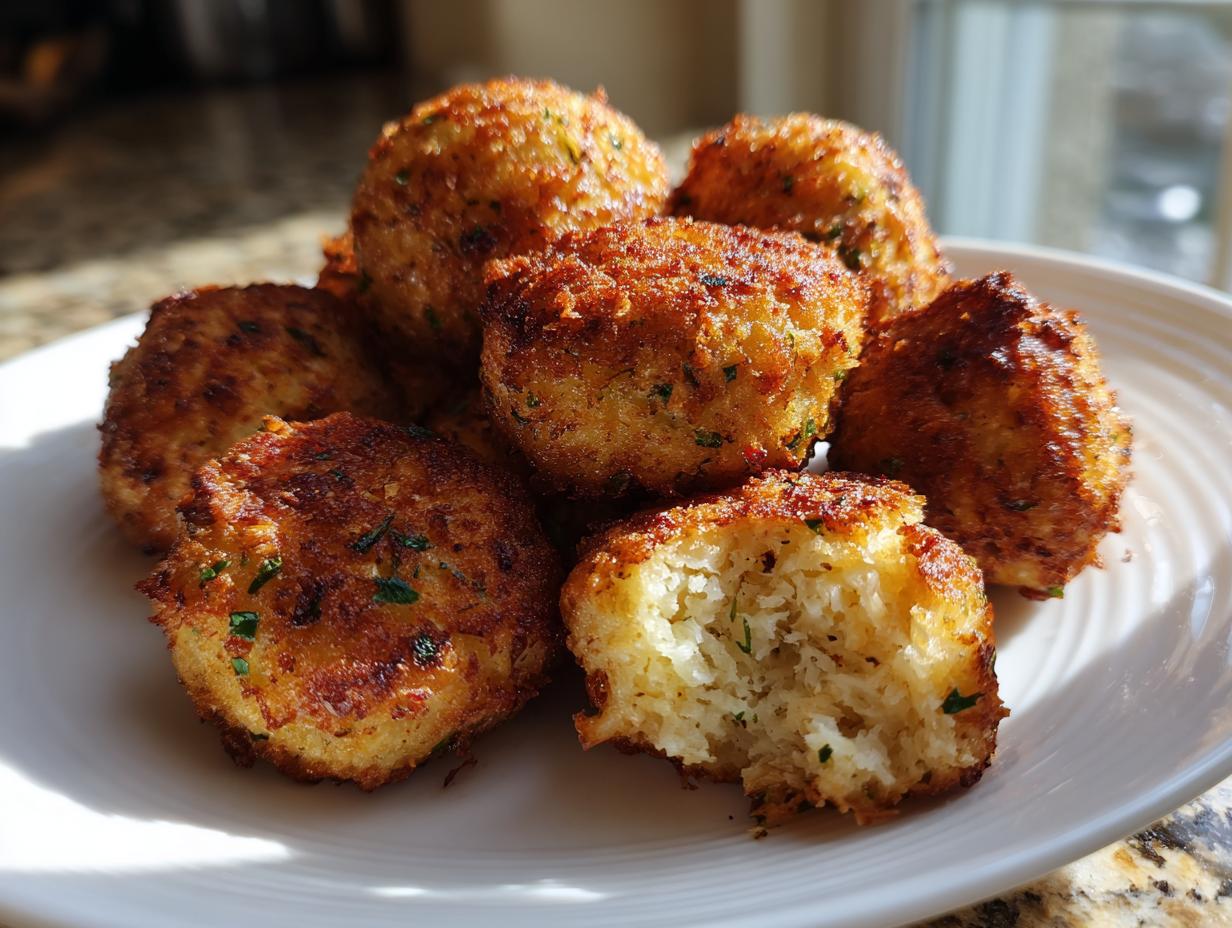
The holiday table can sometimes feel like a high-wire act—so many dishes, so little oven space! If you’ve ever felt that pre-feast panic trying to coordinate everything, I totally get it. That’s why I’m sharing one of my favorite ways to simplify things while keeping that pure, homemade comfort alive: incredible stuffing balls. For me, food is connection, and nothing feels more like a warm hug than perfectly seasoned, herby stuffing. These aren’t just little balls of bread; they are the signature crispy stuffing sides that save you headspace. They bake up with that satisfying golden crunch on the outside and stay wonderfully soft inside. Trust me, making these bite sized stuffing portions takes all the pressure off serving and leaves you more time to actually enjoy your guests!
- Why You Will Love These Classic Herb Stuffing Balls
- Essential Ingredients for Perfect Stuffing Balls Recipe
- How to Prepare Classic Herb Stuffing Balls Step-by-Step
- Tips for Success Making Homemade Stuffing Balls
- Make Ahead Stuffing Balls and Freezer Friendly Storage
- Popular Variations for Savory Herb Balls
- Serving Suggestions for Your Stuffing Balls
- Frequently Asked Questions About Stuffing Balls
- Nutritional Estimate for These Stuffing Sides
Why You Will Love These Classic Herb Stuffing Balls
If you’re looking for an easy stuffing side dish that gets rave reviews every single time, this is it. We conquer the biggest holiday side dish problem right here: serving. But beyond the convenience, these delicious stuffing balls recipe gems deliver pure texture magic. I know you’ll appreciate how much easier they make plating up!
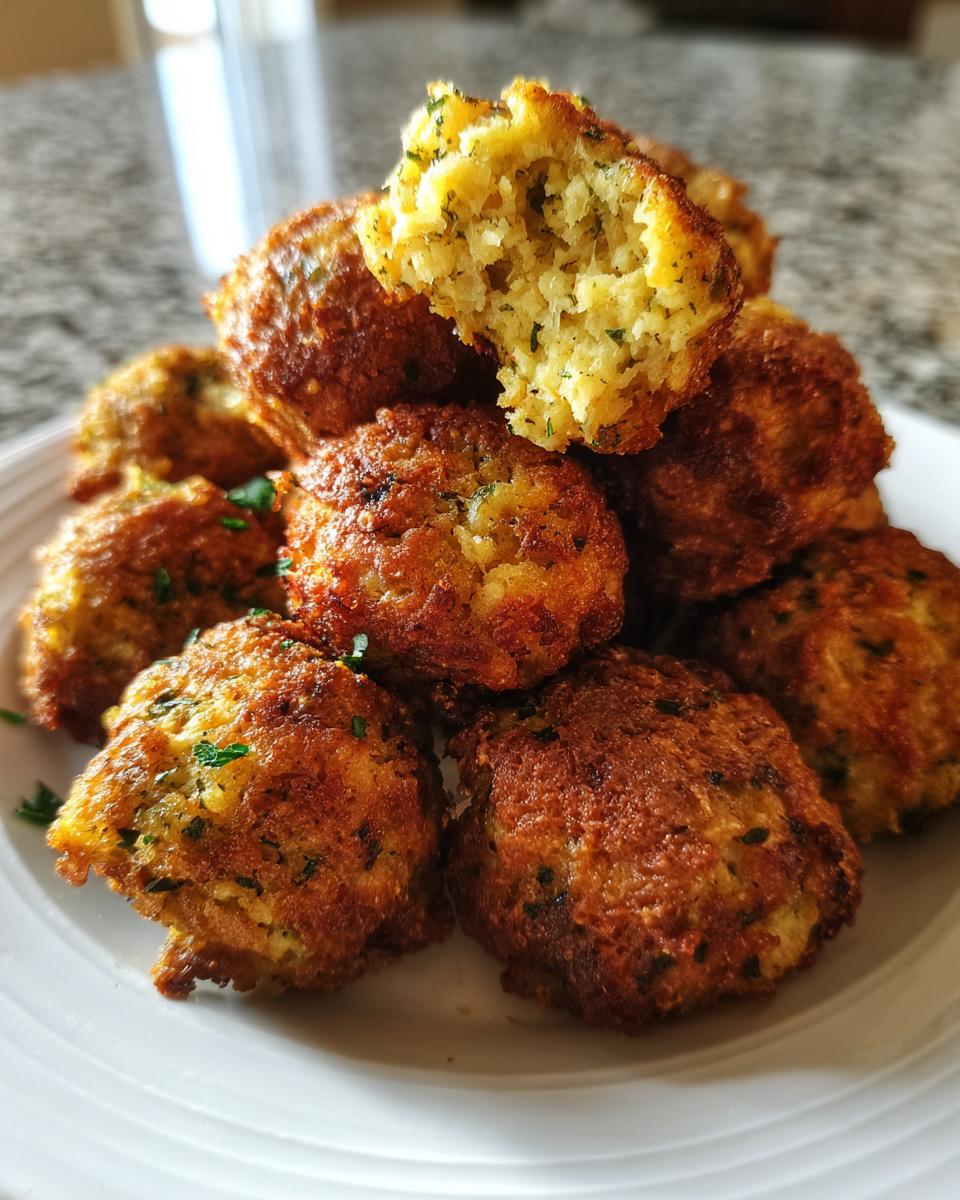
Perfect Texture: Golden Crisp Exterior and Soft Center
Everyone wants that beautiful crispy crust, right? We get that satisfying, crunchy outside because we use day-old bread—it holds its shape better than fresh bread, which tends to get mushy too quickly. When you toss it thoroughly with that melted butter and liquid mixture, you ensure every cube gets just enough moisture to stay tender inside while crisping up beautifully on the outside during baking.
Convenient Individual Stuffing Portions
This is the part I love most when hosting! Forget cutting squares from a messy casserole dish. These are individual stuffing portions, which means they are perfect appetizers for parties or just straightforward serving alongside your main protein. No more fighting over who gets the crispy edges because every single stuffing ball has them! If you’re looking for other ways to make your turkey incredibly juicy, check out my tip on getting the best turkey brine recipe.
Essential Ingredients for Perfect Stuffing Balls Recipe
When we talk about the base for great **stuffing balls**, we are talking about really good bread. Think about it; this is the foundation! We need those bread cubes to be slightly dry—that’s why day-old is the best starting point. Sourdough or French bread really give you a lovely subtle tang that just elevates these homemade stuffing balls.
Here is exactly what you’ll need to pull this together. Don’t skip the fresh herbs if you can help it; they make all the difference in that savory flavor profile.
- 8 cups day-old bread cubes (sourdough or French bread work well)
- 1/2 cup butter, melted
- 1 cup chopped onion
- 1 cup chopped celery
- 2 tablespoons fresh parsley, chopped
- 2 teaspoons poultry seasoning
- 1 teaspoon dried sage
- 1/2 teaspoon dried thyme
- Salt and black pepper to taste
- 1 1/2 cups chicken or vegetable broth
- 2 large eggs, lightly beaten
- 1/2 cup dried cranberries (optional addition)
Ingredient Notes and Substitutions
My main rule here is about the bread. If your bread isn’t at least a day old, you can quickly toast your cubes on a sheet pan at 300°F for about 10 minutes until they are just dry to the touch. We need that absorbency! Also, for the liquid binder, stick to chicken or vegetable broth—water just won’t give you that deep, savory flavor needed for incredible stuffing sides.
If you need to make these vegetarian or dairy-free, you can absolutely swap that melted butter for a good quality olive oil. Just make sure if you are substituting the butter, you might bump up your poultry seasoning just a touch to compensate for that richness you lose.
How to Prepare Classic Herb Stuffing Balls Step-by-Step
Getting these **stuffing balls** right is all about method, not complicated steps. You’ll preheat your oven to 375°F (190°C) first—don’t skip this! We want them nice and hot when they go in. Then, you’ll lightly grease your baking sheet, or if you’re like me and hate fussing with scrubbing baked-on bits, grab some parchment paper like you would for perfect roasted vegetables.
Mixing the Base for Flavorful Stuffing Balls
This is where we build flavor! Toss your day-old bread cubes with the melted butter, all those gorgeous onions, celery, and all those dried herbs like sage and thyme until everything is evenly coated. Don’t rush this part—we want every cube kissed by butter! Separately, just whisk your broth and eggs together in a little bowl. If you’re adding cranberries, toss them in here too. Pour that liquid mixture over the bread and gently combine. Now, here’s the crucial bit: let the bowl sit for a full ten minutes. That resting time lets the bread soak up all that flavor instead of just sitting there soggy.
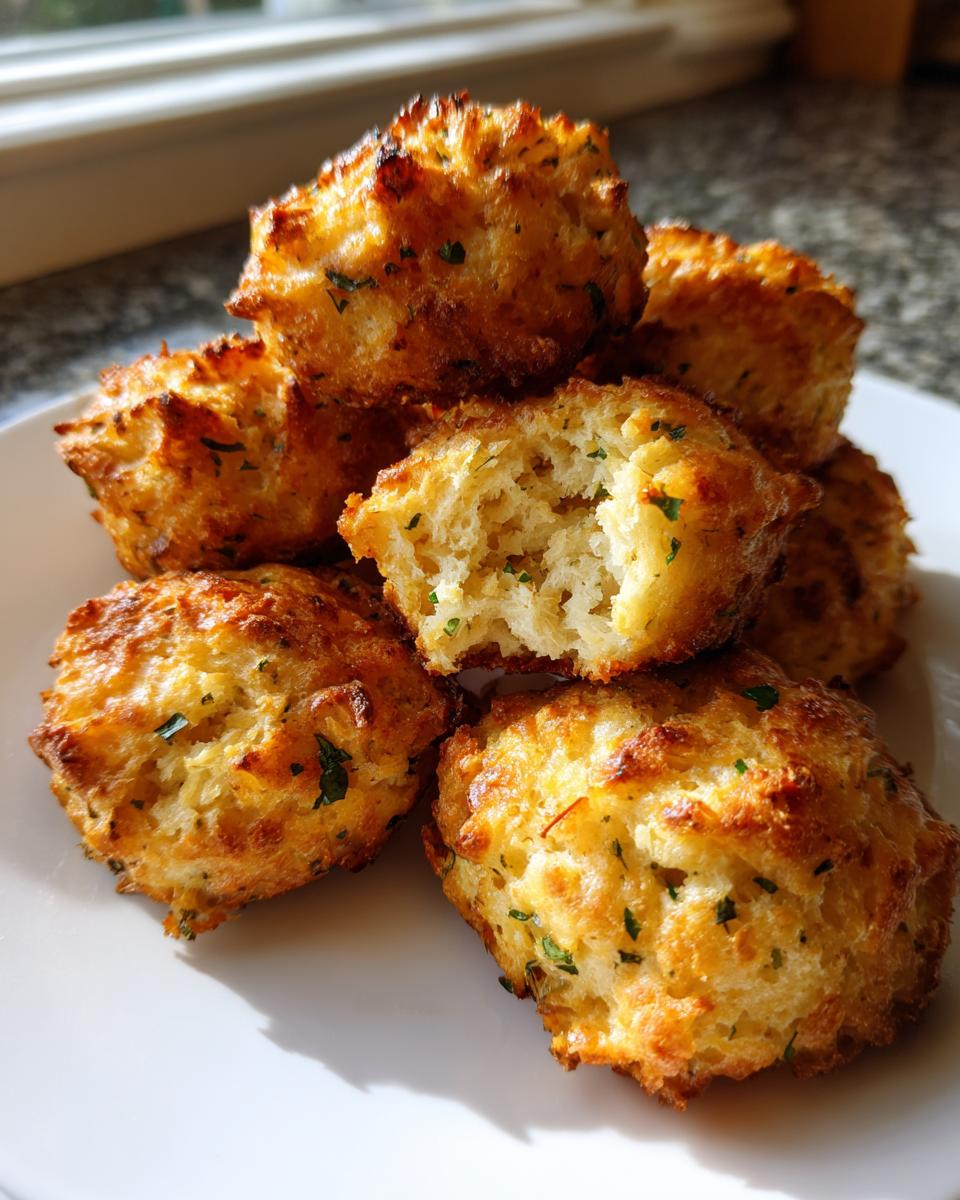
Shaping and Baking for Golden Baked Stuffing
Once the mixture has rested, it’s time to roll! Scoop out the stuffing mixture and roll it firmly into little mounds, about 1.5 inches across. You need to press them enough so they hold their shape and don’t crumble in the oven. Arrange them on your sheet, leaving a little breathing room around each one so the heat can circulate. Pop them in the oven for about 20 to 25 minutes. Remember to turn them halfway through! That ensures you get that lovely, all-over golden baked stuffing crust we talked about.
Tips for Success Making Homemade Stuffing Balls
Okay, now that you have the basic instructions down, let’s talk about those little tricks that elevate these from “good” to “why didn’t I make these sooner?” This is where we really cement these as the gold standard for your holiday table. Since these have to stand up to all the other amazing dishes, we need maximum flavor and texture insurance!
When I was learning to bake these, I found that tweaking the moisture level was the secret handshake to getting that perfect result. If you follow my main recipe, you’re already off to a great start, but these extra bits always seal the deal.
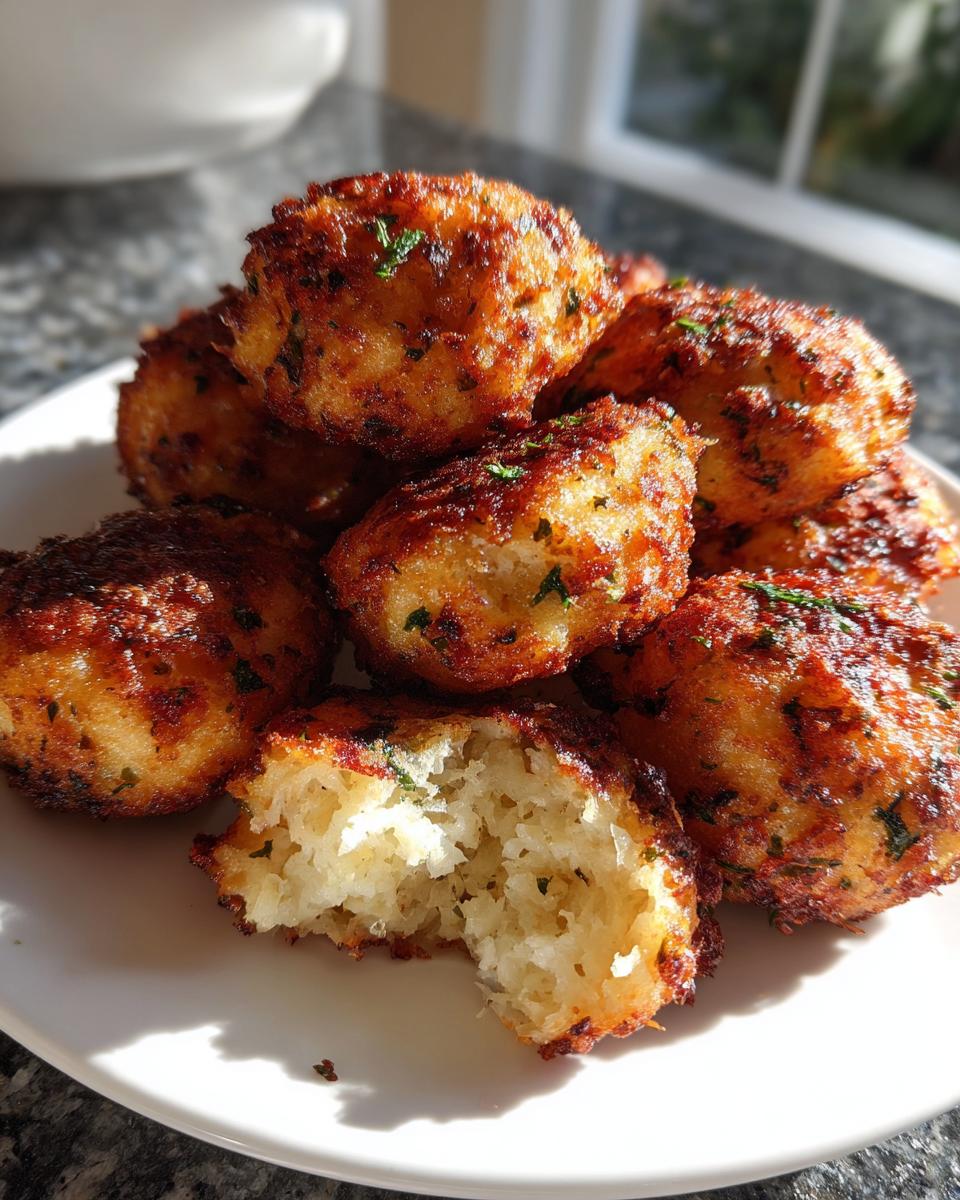
Achieving the Best Crispy Stuffing Sides Texture
We mentioned using day-old bread, but let’s double down on that because it’s key for that shatteringly crisp exterior. If the bread is too fresh, it just gets gummy. Think dry, but not rock hard. That perfect dryness allows the egg and broth mixture to penetrate fully without turning the whole thing into mush.
Another huge factor for truly great crispy stuffing sides is space! When you place your rolled balls on the baking sheet, treat them like they need their own personal bubbles. Overcrowding the pan traps the steam, and steam is the enemy of crispness. I always use two sheets if I have a huge batch, rather than cramming them all onto one. Give them that airspace, and they will bake up gorgeous and golden on all sides. For a fantastic main course pairing, you absolutely have to try my recipe for the easy herb-crusted rib roast—it begs for these little flavor bombs!
Make Ahead Stuffing Balls and Freezer Friendly Storage
I know what you’re thinking: It’s the holidays, I’m already stressed, how can I possibly find time to make something extra? Please, let me take that worry off your plate! These **Make Ahead Stuffing Balls** are a lifesaver. Seriously, this recipe is designed to work around your chaos, not add to it. You can make the little balls entirely, cover them up, and stick them in the fridge a day before you need to bake them. That’s one less thing to worry about on the big morning!
And if you want to plan even further out, the great news is that these are fantastic **Freezer Friendly Stuffing** options. You just have to cool them completely after rolling, seal them up tight, and launch them into the freezer. When you’re ready to bake them, you don’t even need to defrost them completely—just add a little extra time in the oven, and boom, piping hot comfort food!
If you use this make-ahead tip, you can probably tackle my slow cooker favorite, too! Check out my crock pot chicken and stuffing recipe for another easy dinner idea.
Popular Variations for Savory Herb Balls
While the classic herb version is divine, sometimes you want to give your **Savory Herb Balls** a little extra punch, especially when dealing with a big crowd or leftover turkey! Many folks like throwing in tasty meats or tart fruits, and this recipe handles those additions beautifully without losing its structure. It’s so simple to customize these!
You see a lot of variations floating around, especially around the holidays, focusing on maximizing that savory, comforting feel. I’ve tested a few, and they integrate so nicely into the base mixture. We’re not reinventing the wheel here; we’re just adding a delicious spoke or two!
Adding Sausage Stuffing Balls Richness
If you want to transform these into powerhouse Sausage Stuffing Balls, you have a couple of options. The really dedicated cooks among us will cook up some mild or spicy sausage first, drain it slightly, and then simply integrate that cooked sausage right into the bread mixture with the onions and celery. It gives an incredible flavor boost!
But here’s a little baker’s secret, based on what I learned when I was trying to be extra efficient: if you’re using sausage, try to save a tablespoon or two of the *rendered fat* after cooking and use that instead of an equal amount of butter in the initial toss. That fat carries so much deep sausage flavor, and it really enhances the texture when baking. It’s a little shortcut to maximum flavor payoff, kind of like using pan drippings in gravy!
Incorporating Cranberry Stuffing Balls Flavor
For those who love that sweet-and-savory combination, the optional dried cranberries in the ingredient list are your ticket to amazing Cranberry Stuffing Balls Recipe territory. I always keep a bag of dried cranberries handy just for this! You don’t mix the cranberries with the dry bread cubes initially. Instead, toss them into the *wet* mixture—that bowl with the chicken broth and eggs. That way, they get thoroughly moistened before they hit the bread. This prevents them from hardening up too much in the oven and also helps evenly distribute their tartness throughout the ball.
If you’re feeling really festive, maybe even try a little orange zest in that liquid mixture along with the cranberries! If you’ve already made a killer turkey, maybe you want to turn those leftovers into something unexpected? You can check out my approach to stove top stuffing meatloaf recipe for another way to use those flavors!
Serving Suggestions for Your Stuffing Balls
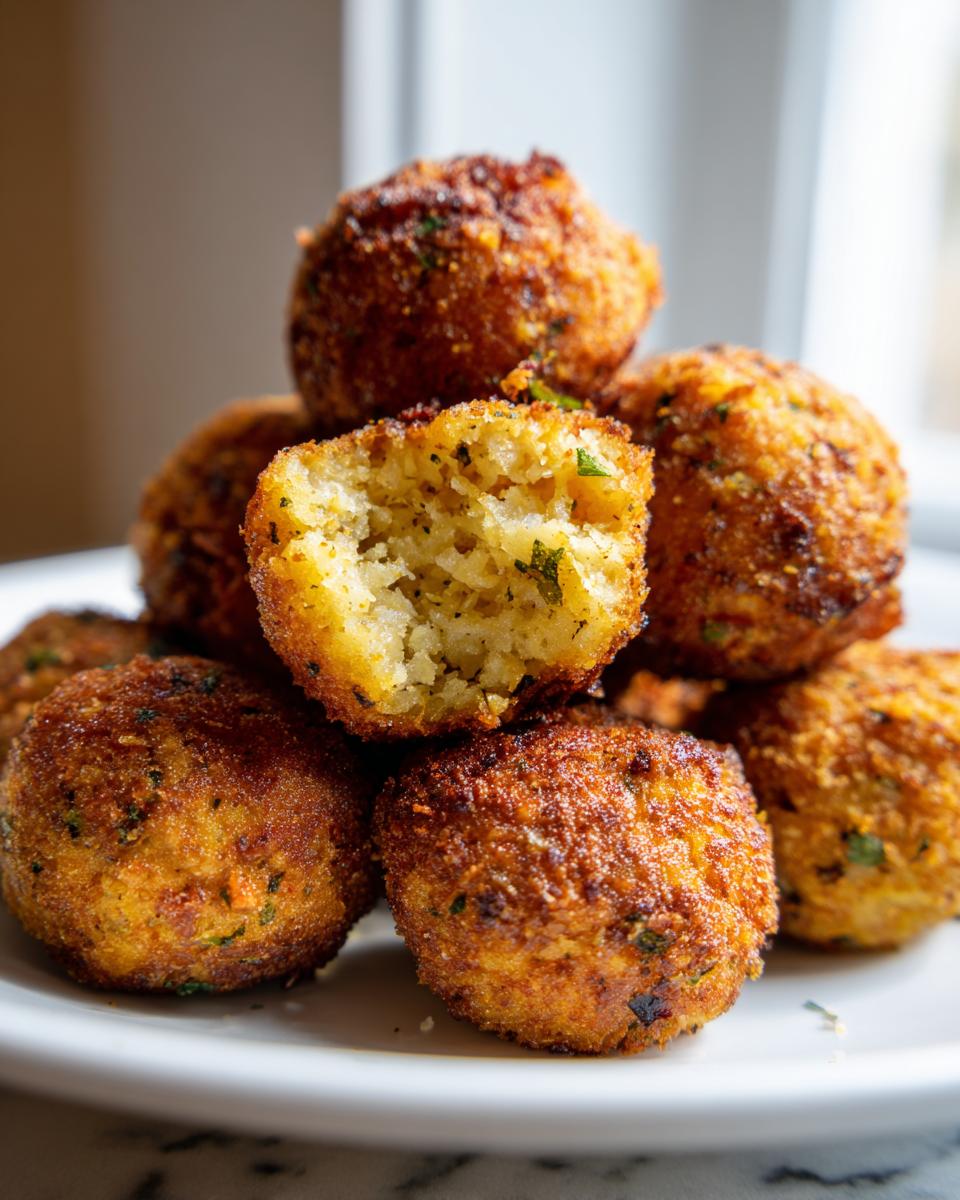
So, your gorgeous, golden-baked stuffing balls are fresh out of the oven, smelling like heaven, and ready for the table! What are you going to serve them with? Honestly, these little bites are almost perfect on their own, especially if you managed to get a nice crispy exterior on every side. But since we are aiming for that full comfort food experience, we need some partners in crime!
These work so well because they are the perfect size for dipping, which is why they make such stellar Thanksgiving Appetizers before the main event even hits. Forget a big communal bowl; these are grab-and-go goodness!
First and foremost, you absolutely must have gravy! Rich, savory brown gravy is the classic partner. Pour it right into a little boat on the table so people can dunk their balls without interrupting their conversation—it’s fun and keeps things tidy. If you’re worried about your main dish sauce, maybe try making a separate veggie gravy? Sometimes I bake a small side of my easy creamy dill dip just to offer something tangy and cool that cuts through all that wonderful richness.
And you know I always advocate for a little bit of brightness! Cranberry sauce isn’t just for the turkey. That little burst of tart sweetness is the perfect foil to the savory herbs in the stuffing. Whether you use canned jellied or a homemade chunky sauce, have it ready for dipping. It just balances everything perfectly.
Seriously, though, don’t feel limited to just those two! If you’re feeling non-traditional or just want something different, these little bread bites pair just as beautifully with melted cheese sauce or even a punchy apple chutney, if that’s your jam. Enjoy them hot, and make sure you bake extra!
Frequently Asked Questions About Stuffing Balls
I know when you’re planning a huge meal, you start thinking about all the little details and potential problems. I get a lot of questions when people try my recipes for the first time, especially around holidays when stress levels are already high! Don’t sweat it; we can troubleshoot anything together for these stuffing balls.
Is day-old bread necessary for the best stuffing balls?
When I first started experimenting, I didn’t always have day-old bread ready, and honestly, you can absolutely fudge it! But if you ask me for the *best* result, then yes, that stale bread is important. Stale or day-old bread is drier, which means it absorbs the liquid (the broth and eggs) much more evenly and fully. If the bread is completely fresh and soft, it tends to get compacted and gummy when you roll it, and you won’t get that wonderful contrast between the soft inside and the crispy outside.
Can I use pre-made stuffing mix instead of making stuffing balls from scratch?
Oh, absolutely! I think that’s one of the most popular ways people learn to make these! If you are short on time and want to use a quality pre-made bread stuffing mix, this recipe handles it beautifully. Here’s the key adjustment: if you use a seasoned mix, you have to cut back significantly on the extra seasonings I listed—the poultry seasoning, sage, and thyme. Those mixes already have a lot of salt and flavor built in! I usually cut my added dried seasonings in half and taste the mixture before adding all the liquid. You want the sausage or herb flavor to shine, not be an overpowering salt bomb!
If you want to know more about my philosophy on quick but wholesome cooking, you can always check out my About Page. I believe everyone deserves simple, real food!
Nutritional Estimate for These Stuffing Sides
I always believe in transparency, especially when it comes to what we put on our plates. Knowing the rough nutritional breakdown helps me plan my entire meal, and I’m guessing you do too! Remember, since we are using real ingredients and potentially adding things like sausage or extra butter for flavor, these numbers are an estimate based purely on the recipe card as written.
Use this as a helpful guideline, but don’t stress too much—we are looking for comfort and flavor here, not winning some restrictive competition! These estimates are calculated based on serving size being two of the stuffing sides balls.
- Serving Size: 2 balls
- Calories: 180
- Fat: 10g (with 5g saturated)
- Carbohydrates: 20g
- Protein: 4g
- Sodium: 350mg (this is one area to watch if you use high-salt broth!)
- Sugar: 1g
As you can see, they lean a bit higher in carbs and fat, which is totally expected because we are using bread and butter to get that perfect texture! Just be mindful of your overall meal components. If you are making my perfect roasted vegetables alongside these, you’re balancing out the plate really nicely!
A quick but important note: These figures are just my best guess based on standard ingredient averages. If you sneakily add bacon grease or a sugary glaze on top, the numbers will change! Always treat this as an estimate rather than a strict guarantee.
PrintClassic Herb Stuffing Balls: Crispy Sides for Your Holiday Table

Make these classic herb stuffing balls for a simple, satisfying side dish. They bake up with a perfectly crispy exterior and a soft, savory interior, making them ideal for holiday gatherings or weeknight dinners.
- Prep Time: 20 min
- Cook Time: 25 min
- Total Time: 45 min
- Yield: About 18 servings 1x
- Category: Side Dish
- Method: Baking
- Cuisine: American
- Diet: Vegetarian
Ingredients
- 8 cups day-old bread cubes (sourdough or French bread work well)
- 1/2 cup butter, melted
- 1 cup chopped onion
- 1 cup chopped celery
- 2 tablespoons fresh parsley, chopped
- 2 teaspoons poultry seasoning
- 1 teaspoon dried sage
- 1/2 teaspoon dried thyme
- Salt and black pepper to taste
- 1 1/2 cups chicken or vegetable broth
- 2 large eggs, lightly beaten
- 1/2 cup dried cranberries (optional addition)
Instructions
- Preheat your oven to 375°F (190°C). Lightly grease a baking sheet or line it with parchment paper.
- In a large bowl, combine the bread cubes, melted butter, onion, celery, parsley, poultry seasoning, sage, thyme, salt, and pepper. Toss until the bread is evenly coated.
- In a separate small bowl, whisk together the broth and eggs. If you are using cranberries, add them now.
- Pour the broth and egg mixture over the bread mixture. Gently toss everything together until the bread cubes are moistened. Let the mixture sit for 10 minutes so the bread absorbs the liquid.
- Scoop the mixture and roll it firmly into 1.5-inch balls. Place the stuffing balls onto the prepared baking sheet, leaving a small space between each one.
- Bake for 20 to 25 minutes, turning them halfway through, until the stuffing balls are golden brown and crispy on the outside.
- Serve the stuffing balls hot with gravy or cranberry sauce for dipping.
Notes
- For make-ahead convenience, prepare the balls, place them on the baking sheet, cover, and refrigerate for up to 24 hours before baking. Add 5 minutes to the baking time if baking directly from the refrigerator.
- To achieve a richer flavor, substitute half the butter with melted sausage fat if you are using sausage in your recipe.
- These stuffing balls freeze well. Cool completely, then place them in a freezer-safe bag. Bake from frozen at 375°F for about 30 minutes, checking for doneness.
Nutrition
- Serving Size: 2 balls
- Calories: 180
- Sugar: 1
- Sodium: 350
- Fat: 10
- Saturated Fat: 5
- Unsaturated Fat: 5
- Trans Fat: 0
- Carbohydrates: 20
- Fiber: 1
- Protein: 4
- Cholesterol: 30