
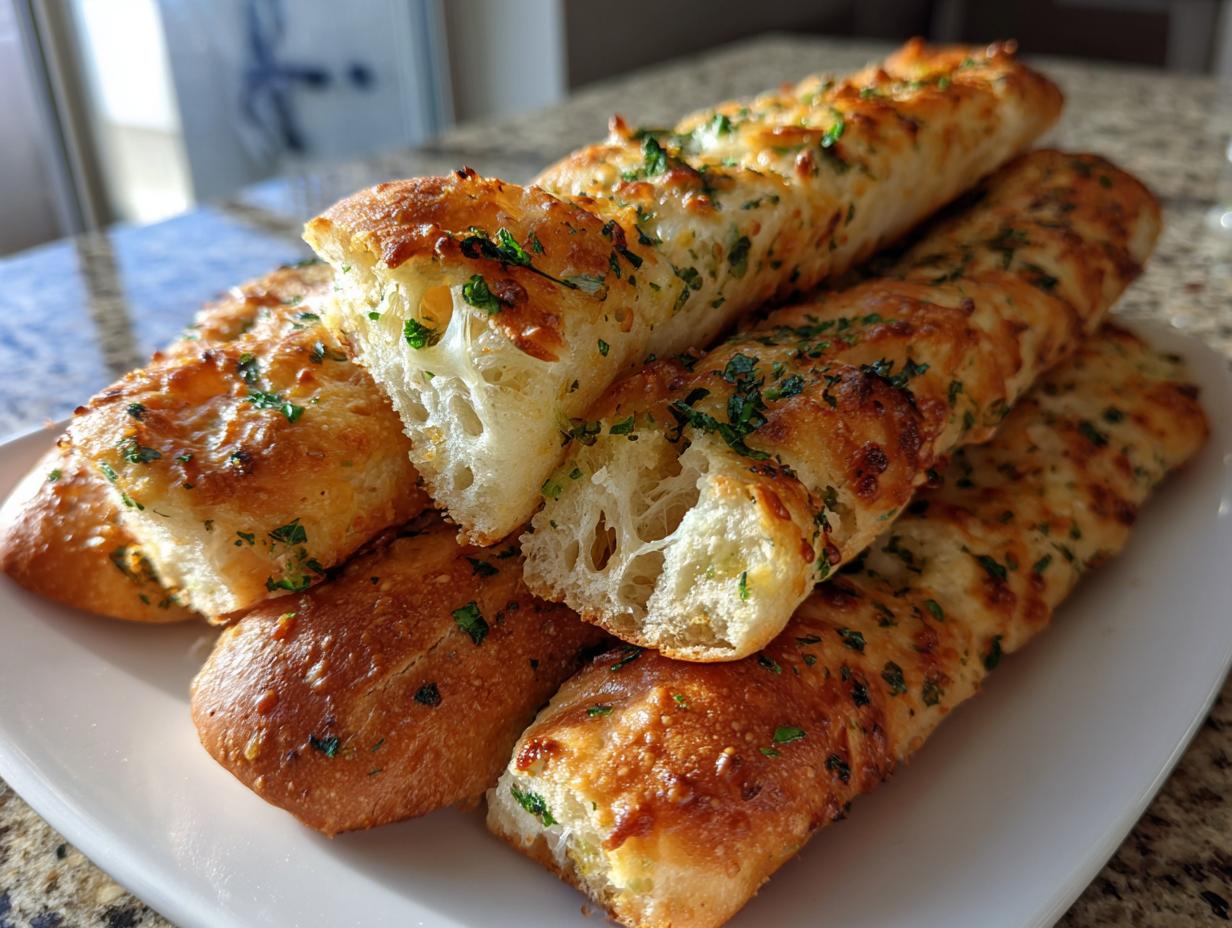
There’s nothing quite like that moment when you’re settling in for a big bowl of pasta or a hearty soup and you crave those perfectly soft, unbelievably buttery, restaurant-style breadsticks—the kind you could eat five of before the appetizers even hit the table. I totally get it! After a stressful week, sometimes the simplest comforts are the best, and recreating that beloved taste at home is what Pure Plate Path is all about.
Forget the frozen bag; this recipe is my absolute go-to for those iconic, garlic-glazed treats. We nailed the texture—they are impossibly soft and chewy—and the homemade glaze makes all the difference. If you’ve ever made a rich pasta dish, you might want to check out my recipe for creamy Alfredo sauce; these taste even better dipped in that!
- Why These Are the Best Homemade breadsticks Ever
- Gathering Ingredients for Copycat Olive Garden breadsticks
- Step-by-Step Instructions for Easy breadsticks recipe
- Tips for Perfect Soft and Chewy breadsticks
- Variations: Making Cheesy breadsticks and More
- Serving Suggestions for Your Homemade breadsticks
- Storage and Reheating of Fresh Baked breadsticks
- Frequently Asked Questions About Making breadsticks
- Nutritional Estimate for These breadsticks
- Share Your Homemade breadsticks Experience
Why These Are the Best Homemade breadsticks Ever
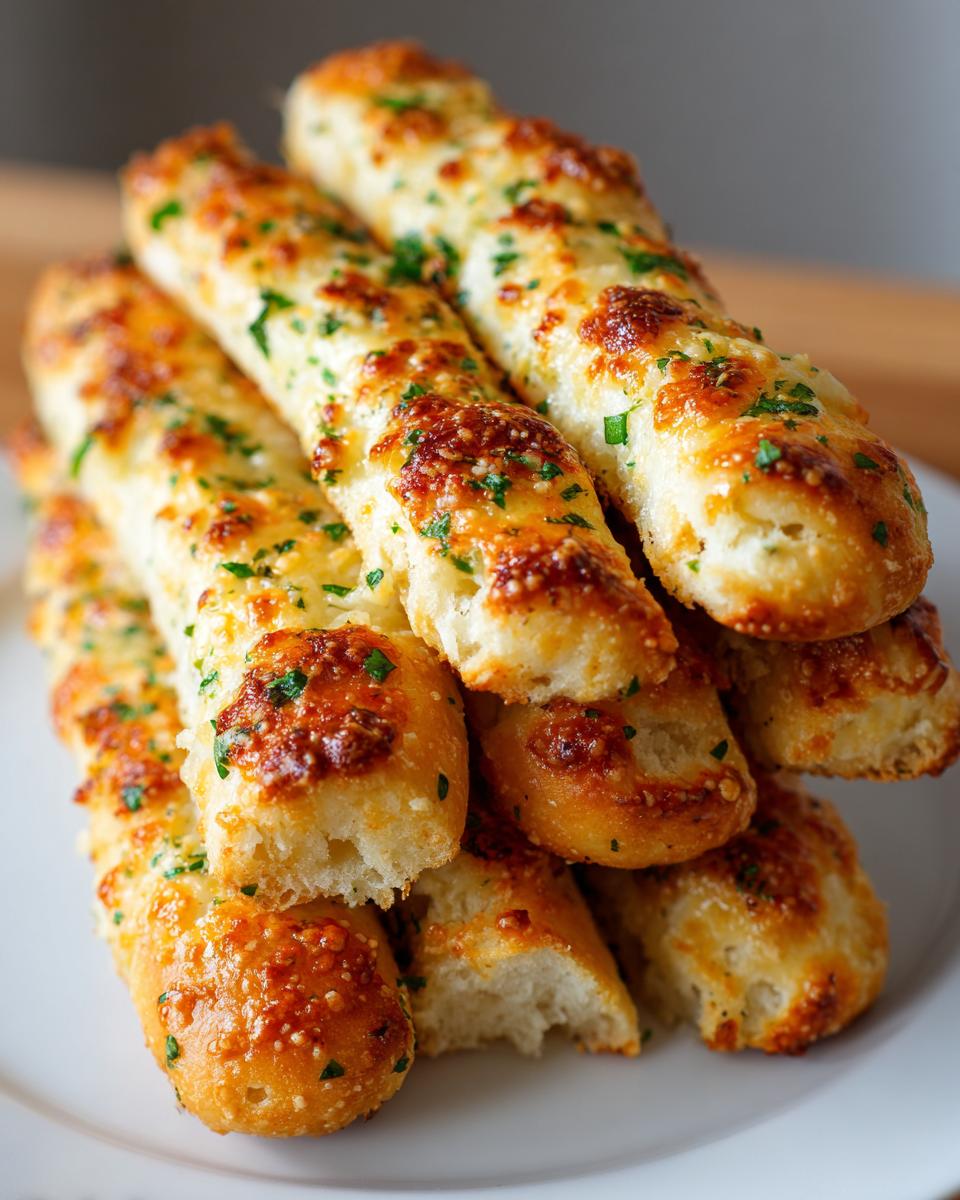
When I tell you these are the best breadsticks ever, I mean it from the bottom of my busy-mom heart! We aren’t just making simple rolls here; we are crafting those perfect appetizers designed to soak up every last drop of sauce on your plate. They are unbelievably soft and chewy, and honestly, they deserve their own spotlight.
- They achieve that signature, melt-in-your-mouth interior thanks to the perfect dough hydration.
- The garlic butter glaze is applied while they’re piping hot, locking in moisture and flavor instantly.
- They are quick enough for a weeknight side dish, pairing wonderfully with my garlic parmesan chicken or a simple bowl of soup made from my creamy garlic sauce base.
Gathering Ingredients for Copycat Olive Garden breadsticks
Okay, friends, the secret to truly amazing homemade breadsticks always starts with good ingredients. You can’t cut corners here, especially when trying to capture that specific restaurant-quality flavor. Don’t look at this list as a chore; look at it as your blueprint for soft and chewy perfection! I separated the ingredients so you can prep your station easily—it just makes the whole process smoother, trust me.
When you measure that water, make sure it’s the right temperature. If it’s too hot, you’ll kill the yeast right away, and we absolutely cannot have that! We need that yeast to wake up and do its job so our dough rises beautifully.
Dough Components for Soft and Chewy breadsticks
These are the building blocks for our dough. Pay special attention to that warm water—aim right for 105 to 115°F. That’s just warm to the touch, not hot!
- 1 cup warm water (105-115°F)
- 2 1/4 teaspoons active dry yeast
- 1 tablespoon granulated sugar
- 2 3/4 cups all-purpose flour, plus more for dusting
- 1 teaspoon salt
- 2 tablespoons unsalted butter, melted, plus more for brushing
Garlic Butter Glaze for Buttery breadsticks
This glaze is where the magic happens, transforming a simple roll into true garlic breadsticks heaven. That melted butter coats everything perfectly, and the dried parsley gives it that gorgeous look everyone expects.
- 1/2 cup (1 stick) unsalted butter, melted (for glaze)
- 2 teaspoons garlic powder
- 1 teaspoon dried parsley
- 1/2 teaspoon salt (for glaze)
Step-by-Step Instructions for Easy breadsticks recipe
Following a clear path makes baking so much less stressful, and that’s what we are all about here! These instructions keep things moving smoothly from start to finish. This herb-crusted rib roast is amazing, but these breadsticks are ready much faster! We are using the simple, reliable sheet pan method here, which cuts down on cleanup big time.
Activating Yeast and Mixing the breadsticks Dough
First things first, we need to wake up that yeast! Mix your warm water, the yeast, and the tablespoon of sugar together in a small bowl. Just let it chill for about five to ten minutes; you will know it’s happy when it looks foamy on top. Once it’s bubbly, grab your large bowl or stand mixer and combine the flour and salt for the dry ingredients. Pour in that yeast mixture along with the two tablespoons of melted butter you reserved. Mix it all up until you have what looks like a very messy, shaggy dough.
Kneading and Rising the breadsticks Dough
Now we need to develop some gluten—this is how we get that soft and chewy texture! Turn the dough out onto a surface dusted with flour. Knead it actively for a good five to Tseven minutes until it feels smooth and you can see some elasticity return when you press it. If you are using a mixer, set that dough hook on medium speed for about five minutes—it takes the hard work out of it. After kneading, tuck the dough into a lightly oiled bowl, covering it tightly. Let it rest near warmth for at least an hour to an hour and a half until it has doubled in size. Patience here is key!
Shaping, Baking, and Glazing Your breadsticks
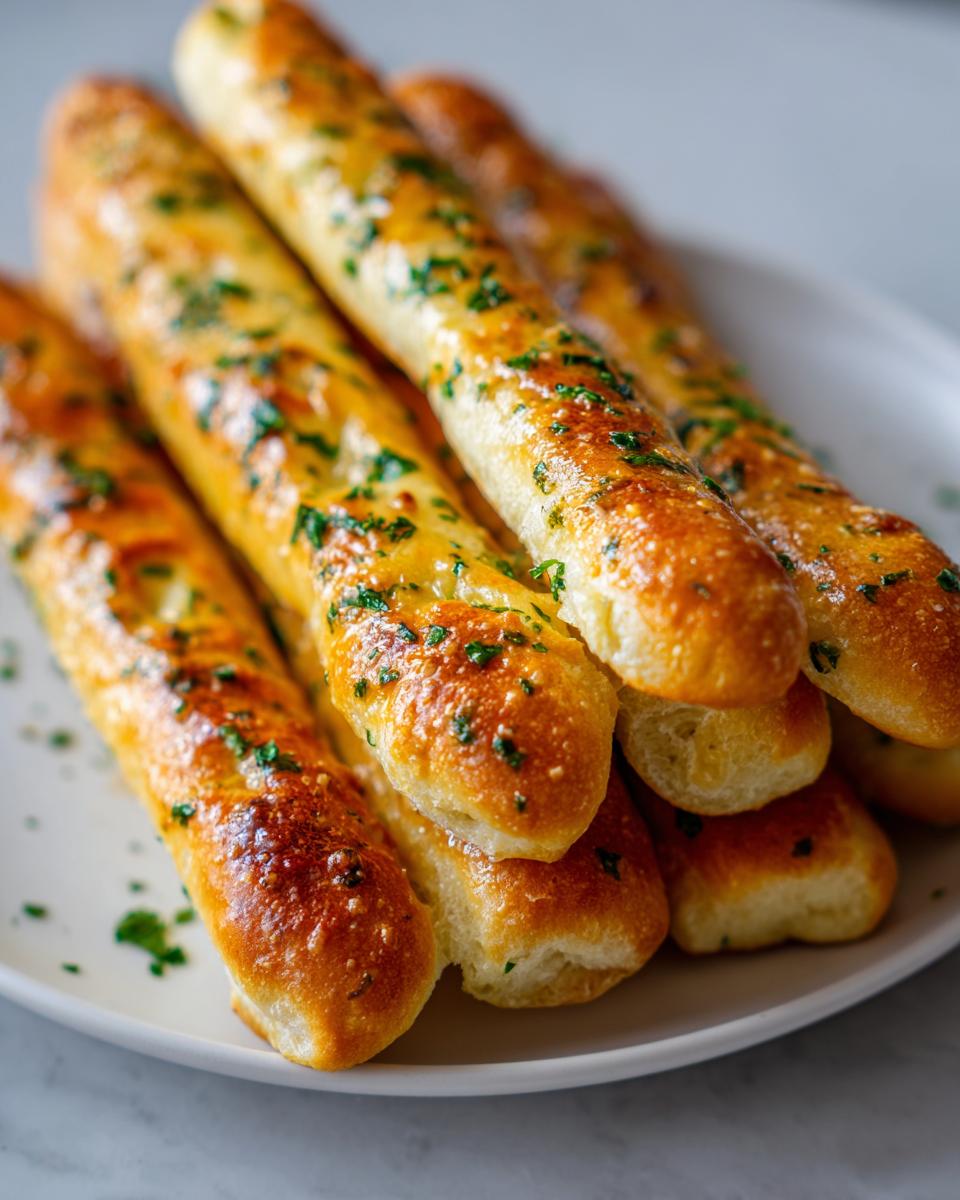
Preheat your oven to 400°F before you start rolling. Gently punch down the risen dough and pat it right onto a parchment-lined baking sheet into a rough rectangle, keeping it about half an inch thick. Use a pizza cutter to slice those strips about one inch wide—this easy breadsticks recipe is so forgiving! Bake them for 10 to 14 minutes until they just start turning golden. While they bake, melt that last half-cup of butter and mix in your garlic powder, parsley, and salt for the glaze. Pull those hot breadsticks out, and brush that fragrant garlic butter all over them immediately. The heat lets the butter sink right in!
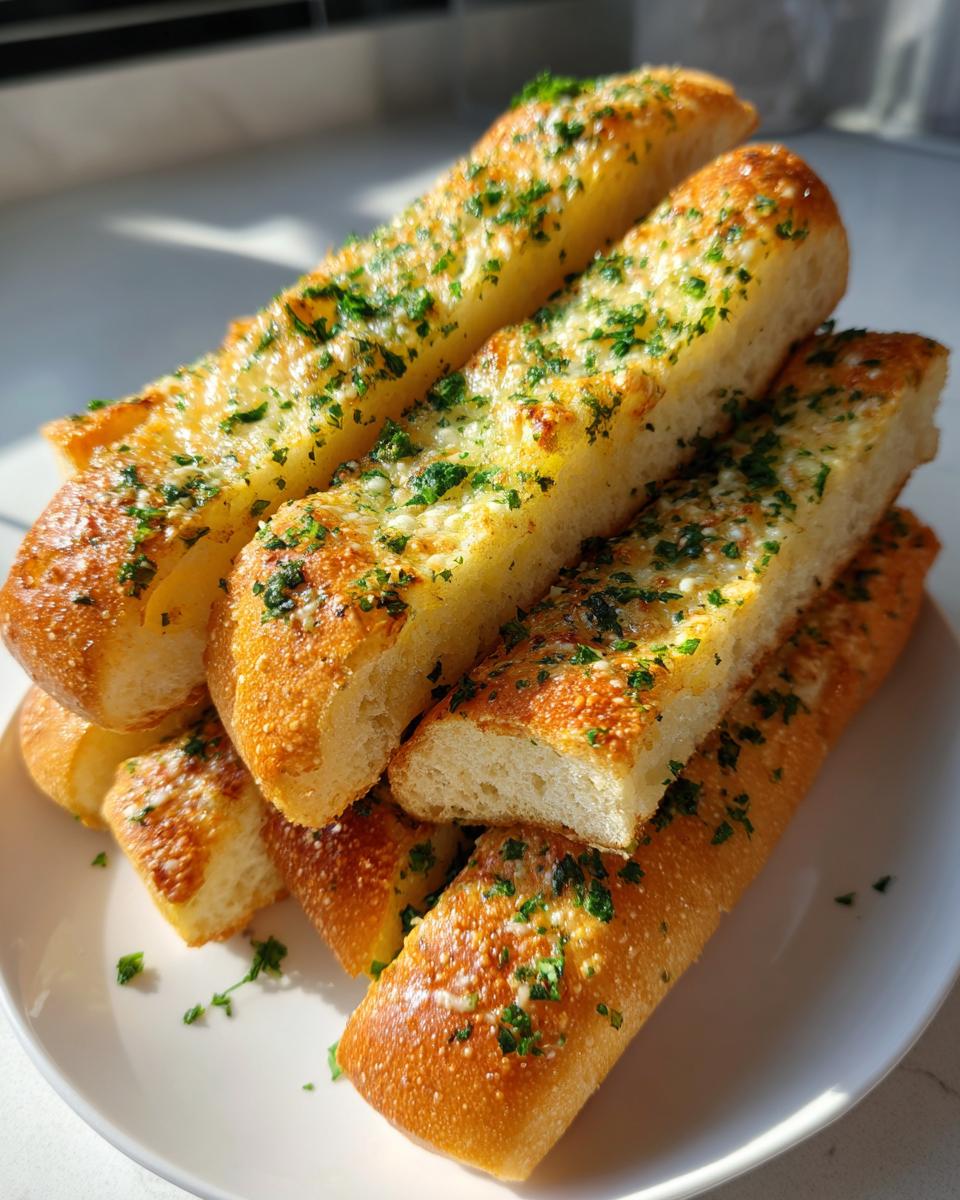
Tips for Perfect Soft and Chewy breadsticks
Achieving those truly soft and chewy breadsticks isn’t just about the ingredients; it’s about technique, my friends! The biggest mistake people make when trying to recreate these is over-handling the dough once it’s risen. You just want to gently press the air out—not punch it aggressively like you are mad at it! This keeps those lovely air pockets intact for baking. I wrote a little about handling dough in my sourdough guide if you want to get really deep into the science, but the main rule applies here: be kind to your dough.
Also, please, please do not over-bake them! Those last few minutes are critical. You want them light golden, not dark brown, because residual heat does a lot of carryover cooking after they leave the oven. And finally, when that garlic butter comes into play? Brush it on while they are still sizzling hot. That direct heat absorption is what makes the glaze stick and keeps the exterior from crusting up too much, ensuring they stay decadent.
A quick tip if you are in a huge rush: if your recipe calls for active dry yeast, you can usually swap in instant yeast! If you use instant, you don’t need to proof it separately in the water; you can just mix that instant yeast right in with your dry flour and salt!
Variations: Making Cheesy breadsticks and More
While the basic warm, buttery, garlicky breadsticks are heaven on their own, I totally understand the urge to go big, especially when company is coming or the kids are begging! We have seen huge requests for additions like cheese, and happily, this dough handles extra flavor like a champ. It’s a really simple recipe, so adding a layer of richness doesn’t complicate things at all.
The easiest way to turn these into amazing cheesy breadsticks is by upgrading that final glazing step. Remember when you pull them out of the oven, piping hot? That’s your window! You want a nice blend of cheeses that melt quickly. I recommend having about a half cup ready to go.
For that glorious mozzarella pull or that sharp kick of garlic parmesan bread, here is what you do: right after you brush the first layer of garlic butter over the hot breadsticks, immediately dust them generously with 1/2 cup of freshly grated Parmesan cheese, or a blend of mozzarella, or both! The residual heat melts the cheese instantly, turning them into incredible, savory baked goods. They are definitely the best side dish option for pasta night!
If you’re making these cheesy, you might want a dipping sauce too. If you’re tired of standard marinara, you absolutely have to check out my recipe for creamy white pizza sauce—dipping these cheesy breadsticks into that feels illegal they are so good together.
Serving Suggestions for Your Homemade breadsticks
Now that you’ve got a sheet pan full of warm, glistening, fragrant breadsticks, the real question is: what are we eating them with? I find that these aren’t just a side; they are the star of the show sometimes! Because they are buttery and have that lovely garlic punch, they pull together any simple meal perfectly. Honestly, having these ready makes any Tuesday feel like a little party.
When I make my ultra-rich classic lasagna, these are required. No debate. They are the essential tool for scraping up every last bit of cheesy, saucy goodness that escapes the baking dish. You definitely don’t need a fancy reason to serve them, but they shine brightest next to saucy dishes.
Here are a few ways these humble rolls transform into amazing accompaniments:
- Soup Nights: Forget crackers! Dip these into creamy tomato soup or a hearty vegetable broth. They hold up perfectly without getting soggy too quickly.
- Pizza Night Side Dish: Having these alongside your delivery or frozen pizza feels a little indulgent, right? It instantly turns pizza night into a full, restaurant-style experience. They are perfect for dipping in leftover marinara sauce or even ranch dressing if that’s your thing!
- As an Appetizer Bread: Just brush them with the garlic butter and set them out with a small bowl of good quality olive oil mixed with some balsamic vinegar. That’s it! It requires zero extra effort but feels sophisticated. These are an excellent, crowd-pleasing appetizer bread for any gathering.
If you’re looking for a lighter main course that still packs plenty of flavor, try these next to my chicken scampi with garlic parmesan rice—the buttery breadsticks tie all those garlic notes together beautifully!
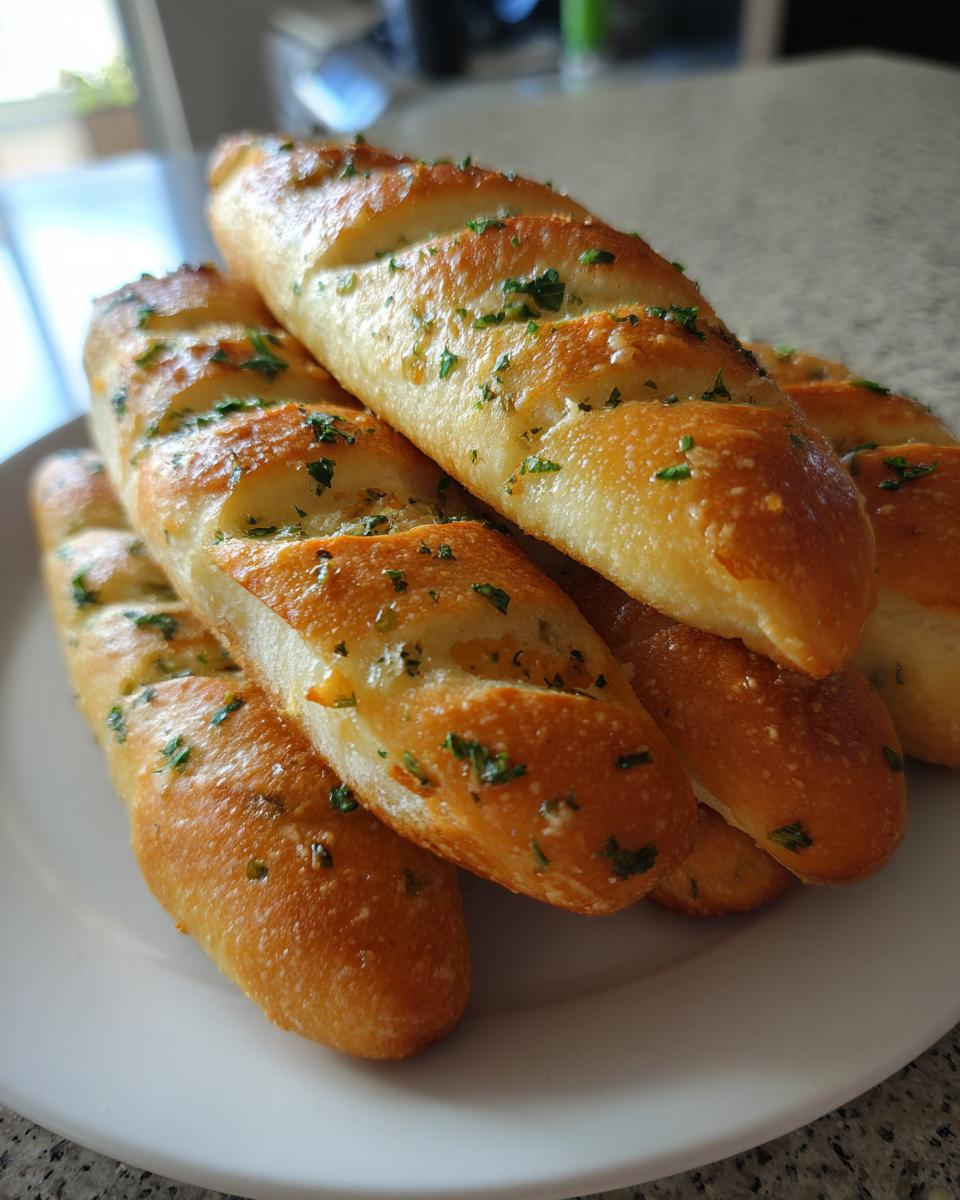
Storage and Reheating of Fresh Baked breadsticks
The great thing about these breadsticks is that they are truly fantastic the moment they come out of the oven, smothered in that garlic butter. But let’s be real—sometimes we have leftovers, or maybe you want to prep them way ahead of time for a big dinner party. The good news is that they reheat beautifully, provided you skip the microwave! I learned that lesson the hard way when I tried to warm up a leftover roll and ended up with something that tasted like elastic.
For storage, treat them just like you would any other fresh baked bread. Once they have cooled completely—this is important, or you trap steam and get sogginess—store them in an airtight container at room temperature. They should stay soft and chewy for about three days this way. Don’t be tempted to stick them in the fridge, as that dries out bread way faster than storing it on the counter.
Reheating is where you bring back that fresh-from-the-oven magic. If you have a lot to reheat, an oven or toaster oven is your absolute best friend. Spread the cooled breadsticks out on a baking sheet—you can even brush them with a tiny pat of extra butter before they go in, just for good measure!
Restoring Softness in the Oven or Toaster Oven
Set your oven to a low, gentle heat—around 300°F (150°C) is perfect. You don’t want them to cook more, just warm through gently. Give them about 5 to 7 minutes. You will smell that beautiful garlic aroma again! This low heat allows the fats and moisture deep inside the dough to redistribute, making them soft and pliable again. It’s an amazing trick that works wonders, unlike the microwave which just heats the water content unevenly.
If you’re only tackling two or three of these amazing appetizers, the toaster oven is fantastic because it heats up quickly and crisps them up just enough on the outside while warming the inside. Remember that if you decide to dust them with Parmesan cheese when you reheat them, do it in the last minute of baking so the cheese gets melty but doesn’t burn!
Can I freeze leftover breadsticks?
Yes, you absolutely can! Freezing is great if you know you won’t get to them within three days. After they cool down completely, wrap the entire batch tightly first in plastic wrap, and then wrap them again in aluminum foil. This double-layer protection keeps freezer burn away. They freeze perfectly solid for up to two months. When you’re ready to eat them, thaw them on the counter for a few hours, and then proceed with the gentle oven reheating instructions above. It makes having these around so easy for a weeknight side dish!
I use similar freezing techniques when I make big batches of dough for my herb-crusted roast—it saves so much time later on!
Frequently Asked Questions About Making breadsticks
I love hearing from you all about how these breadsticks turned out! Usually, the questions I get are about timing or small ingredient swaps. Don’t worry if the dough seems a little sticky or if your oven runs a little hot—we can fix almost anything with just a little kitchen intuition. Here are a few things folks ask me most often about achieving that perfect, copycat texture.
Can I make the breadsticks dough ahead of time?
Oh yes, you totally can! That’s the mark of a great easy breadsticks recipe—it works on your schedule. Once you finish kneading the dough and it looks smooth, you can oil the bowl, cover it, and pop it right into the refrigerator. It will slow way down, but it will still rise slowly—maybe taking 4 to 6 hours instead of 90 minutes. When you are ready to bake, just let the cold dough sit on the counter for about 30 minutes before punching it down, cutting the strips, and moving them to the oven. Amazing for planning ahead!
What if I do not have active dry yeast for these breadsticks?
This is a super common question! Active dry yeast is what this specific recipe calls for because we need that foamy proofing step to check that our yeast is alive. But if you only have instant yeast (sometimes called rapid-rise), you can absolutely use it. Just mix the instant yeast directly into your dry ingredients (flour and salt) instead of mixing it with the warm water. Then, you can skip that initial 5-minute proofing time and go right into Step 2 to mix it with the liquid and melted butter. It’s one of the best shortcuts for an easy breadsticks recipe!
How do I get the softest possible breadsticks?
This comes down to two things, I promise! First, when you are kneading, stop as soon as it becomes smooth and elastic. If you keep going and over-knead, you develop too much structure that gets tough when you bake it. Second, and this is non-negotiable: the moment those buttery breadsticks come out of the oven, they need to be heavily brushed with that glorious garlic butter glaze. The heat opens up the crumb structure, and the glaze saturates it immediately as it cools, sealing in all that moisture. That’s how you guarantee they stay soft and chewy instead of getting stiff!
If you’re feeling ambitious and want another great quick bread recipe for another day, you should definitely try my simple loaf recipe next!
Nutritional Estimate for These breadsticks
I always want to give you a full picture of what you’re serving, even when we’re making pure comfort food like these amazing breadsticks. Since baking is an art and ovens vary, these numbers are what I figure based on the standard ingredients we used in the recipe card above. Think of this as a helpful guide, not a hard-and-fast rule!
These estimates are calculated based on a serving size of two delicious, buttery breadsticks. Remember, this recipe is definitely geared toward incredible flavor and that soft, chewy texture, so the fat content reflects that wonderful garlic butter glaze we brush on top!
- Serving Size: 2 breadsticks
- Calories: 180
- Fat: 9g
- Saturated Fat: 5g
- Unsaturated Fat: 4g
- Trans Fat: 0g
- Sodium: 250mg
- Carbohydrates: 22g
- Fiber: 1g
- Sugar: 1g
- Protein: 4g
- Cholesterol: 20mg
I always say that knowing what goes into your food is part of the joy of cooking it yourself! The benefit here is that you know exactly what kind of fats are going in, versus some mysterious oil blend from takeout. Enjoy every single bite—you totally earned this delicious appetizer bread!
Share Your Homemade breadsticks Experience
Wow, I truly hope you loved making these soft and buttery breadsticks as much as my family loves eating them! If you followed along and ended up with a pan full of deliciousness, please, please leave me a rating below. Five stars if you think they rival the restaurant version!
I always want to hear what you served them with—did you try them with a big pasta dinner or maybe just dip them straight into some melted mozzarella? Drop me a comment when you reach out via my contact page, and don’t forget to snap a picture and share your success with your friends!
Happy baking, everyone!
PrintCopycat Soft and Buttery Garlic Breadsticks

Make restaurant-style, soft and chewy breadsticks at home. This recipe delivers the buttery, garlicky flavor you love, perfect as a side for pasta or soup.
- Prep Time: 20 min
- Cook Time: 15 min
- Total Time: 1 hour 35 min
- Yield: 12 servings 1x
- Category: Appetizer
- Method: Baking
- Cuisine: American
- Diet: Vegetarian
Ingredients
- 1 cup warm water (105-115°F)
- 2 1/4 teaspoons active dry yeast
- 1 tablespoon granulated sugar
- 2 3/4 cups all-purpose flour, plus more for dusting
- 1 teaspoon salt
- 2 tablespoons unsalted butter, melted, plus more for brushing
- 1/2 cup (1 stick) unsalted butter, melted (for glaze)
- 2 teaspoons garlic powder
- 1 teaspoon dried parsley
- 1/2 teaspoon salt (for glaze)
Instructions
- Combine the warm water, yeast, and sugar in a small bowl. Let it sit for 5 to 10 minutes until foamy.
- In a large bowl or stand mixer, mix the flour and salt. Pour in the yeast mixture and 2 tablespoons of melted butter. Mix until a shaggy dough forms.
- Knead the dough on a lightly floured surface for about 5 to 7 minutes until it is smooth and elastic. Alternatively, use a dough hook on medium speed for 5 minutes.
- Place the dough in a lightly oiled bowl, turning to coat. Cover the bowl with plastic wrap or a clean towel and let it rise in a warm place for 1 to 1.5 hours, or until doubled in size.
- Preheat your oven to 400°F (200°C). Line a large baking sheet with parchment paper.
- Gently punch down the risen dough. Roll or pat the dough out onto the prepared baking sheet into a rough rectangle, about 1/2 inch thick.
- Use a pizza cutter or knife to cut the dough into strips, about 1 inch wide.
- Bake for 10 to 14 minutes, or until the edges are lightly golden brown.
- While the breadsticks bake, prepare the garlic butter glaze: Melt the remaining 1/2 cup of butter in a small saucepan or microwave-safe bowl. Stir in the garlic powder, dried parsley, and 1/2 teaspoon of salt.
- Immediately after removing the breadsticks from the oven, brush the warm garlic butter mixture generously over the tops of the hot breadsticks.
- Serve the soft and chewy breadsticks warm.
Notes
- For cheesy breadsticks, sprinkle 1/2 cup of grated Parmesan cheese over the tops immediately after brushing with the garlic butter glaze.
- If you prefer a quicker rise, place the dough in a slightly warm oven (turned off) to proof.
- You can use instant yeast by mixing it directly with the dry ingredients, skipping the proofing step with the water.
Nutrition
- Serving Size: 2 breadsticks
- Calories: 180
- Sugar: 1
- Sodium: 250
- Fat: 9
- Saturated Fat: 5
- Unsaturated Fat: 4
- Trans Fat: 0
- Carbohydrates: 22
- Fiber: 1
- Protein: 4
- Cholesterol: 20