
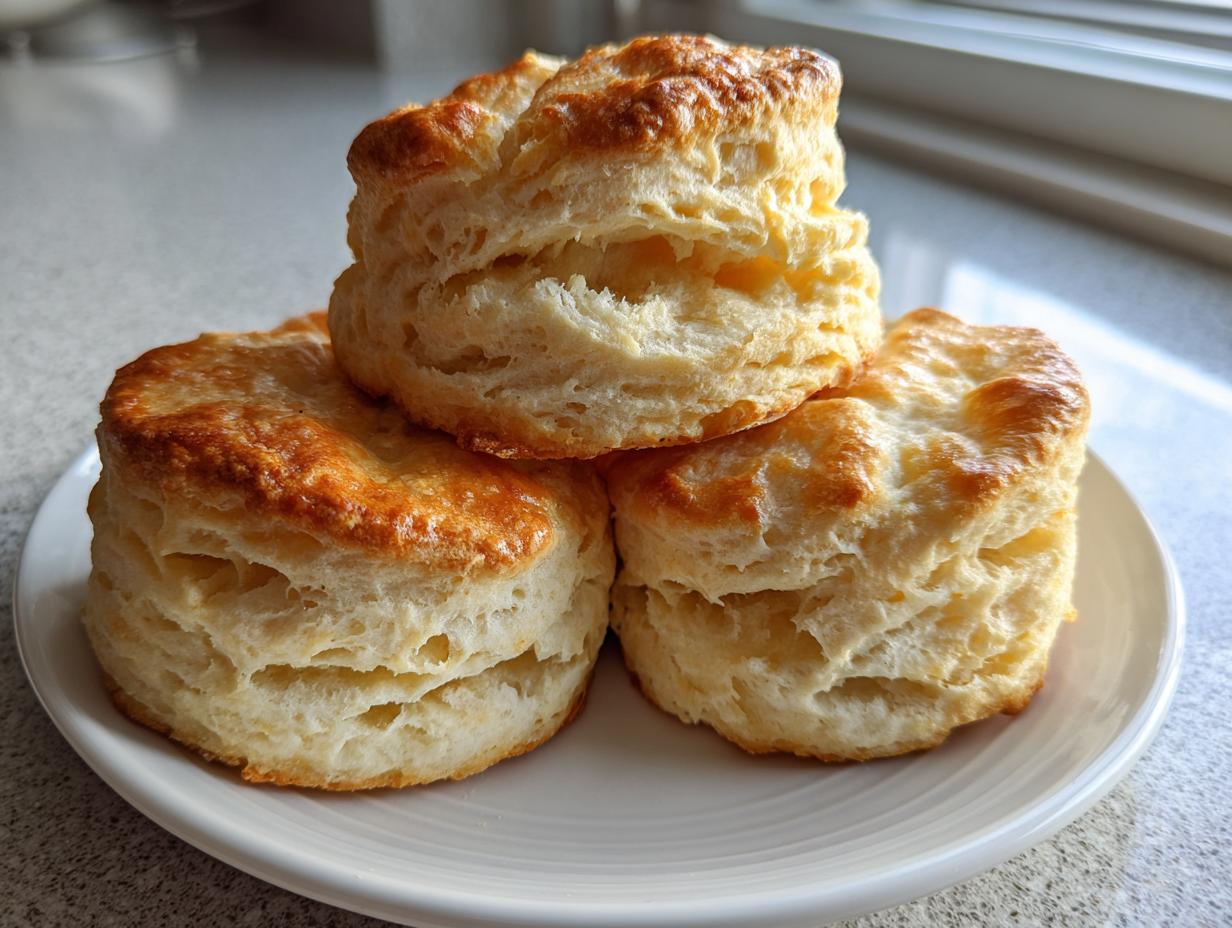
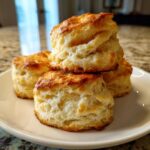
If you’ve ever dreamed of pulling bakery-quality, impossibly tall biscuits right out of your own oven, stop scrolling right now. I’m Sarah, and at Pure Plate Path, we believe that truly nourishing food should feel simple, not overwhelming. That’s why this recipe isn’t just about measuring flour; it’s about mastering a foundational Southern baking technique. We’re talking about Fluffy buttermilk biscuits that shatter perfectly when you pull them apart, revealing a wonderfully tender crumb inside. No fuss, no complicated kneading—just pure, rewarding home cooking. You can read more about our philosophy here: finding joy in simple food.
The magic, trust me, lies almost entirely in technique, specifically how you treat one very important ingredient: the butter. When that butter is super cold and you handle the dough just right, you unlock those incredible, secret flaky layers you thought only existed in professional kitchens. This classic approach ensures that every biscuit tastes like a celebration. So, let’s roll up our sleeves and start making memories around the breakfast table.
- Why This is the Best Buttermilk Biscuit Recipe for Tender Crumb
- Gathering Ingredients for Fluffy Buttermilk Biscuits
- Mastering the Folding Technique for Southern Baking Success
- Step-by-Step Instructions for Fluffy Buttermilk Biscuits
- Baking Your Fluffy Buttermilk Biscuits Perfectly
- Troubleshooting Common Fluffy Buttermilk Biscuits Issues
- Serving Suggestions for Your Fluffy Buttermilk Biscuits
- Storage and Reheating Fluffy Buttermilk Biscuits
- Frequently Asked Questions About Buttermilk Biscuits
Why This is the Best Buttermilk Biscuit Recipe for Tender Crumb
I absolutely stand by this claim: it’s the best buttermilk biscuit recipe you’ll ever use if you want that authentic Southern lift. Why bother with complicated steps when we can use foundational techniques to guarantee success? My goal here is always to give you a rewarding experience, not frustration!
- We focus on minimal mixing to prevent gluten development, which keeps the crumb wonderfully tender.
- The layering process builds air pockets right into the dough structure, promising those tall, airy centers.
- The interaction between the cold fat and the acidic buttermilk creates the perfect lift and flavor balance.
The Cold Butter Secret to Flaky Layers
This is the absolute key to achieving those gorgeous, visible layers—it’s pure science, friends! You need your butter to be frigid, cut into small cubes. When the dough hits the hot oven, those tiny, cold butter pieces steam up instantly. That steam needs space to escape, and it pushes the layers of dough apart!
If the butter melts before the oven gets hot, you just get a greasy biscuit, not the spectacular lift you’re looking for. It’s one of the biggest secrets to flaky biscuits, and it requires zero extra effort, just a bit of chilling time before you bake. Don’t forget to check out my quick no-yeast soda bread for another simple baking win!
Gathering Ingredients for Fluffy Buttermilk Biscuits
To get those perfectly fluffy buttermilk biscuits, we need to respect the ingredients, especially their temperature. You only need five simple things, but the *coldness* of the butter and buttermilk is non-negotiable for a great result. Remember, we are aiming for texture here, and warm ingredients sabotage the delicate crumb we want!
Here’s exactly what you’ll need for about eight glorious biscuits:
- 2 cups all-purpose flour
- 1 tablespoon baking powder
- 1 teaspoon baking soda
- 1 teaspoon salt
- 6 tablespoons cold unsalted butter, cut into small cubes
- 3/4 cup cold buttermilk
Ingredient Notes and Substitutions
Please grab that buttermilk straight from the back of the fridge! Seriously, it should feel icy. If you open your fridge and realize you’re out (we’ve all been there, trust me!), don’t panic. You can make your own substitute right now. Just measure out your milk, and stir in one teaspoon of white vinegar or lemon juice for every cup of milk you need.
Let that mixture sit for about five minutes until it looks slightly curdled. That acidity is what reacts with the baking soda to give you that beautiful lift, which is vital for your tender crumb. But honestly, nothing beats real buttermilk!
Mastering the Folding Technique for Southern Baking Success
Okay, now for the fun part where we build those majestic layers! This is where we create the structure inside your Fluffy buttermilk biscuits without ever having to knead the dough into submission. Kneading makes bread tough; we want soft, flaky treats, which is a core pillar of great Southern baking. If you love this kind of layered dough action, you should also check out my recipe for easy biscuit dough pizza bites!
Once you gently mix in the buttermilk—just until it’s shaggy—turn that mess out onto a lightly floured surface. Gently pat it into a rough rectangle. Then, you fold it over itself like you’re folding a business letter. Turn the dough 90 degrees and pat it down again. You repeat this gentle folding process two more times.
Each fold layers those little sheets of cold butter between the dough. When they bake, they burst open and rise, giving you incredible height. This is the no-knead method that traps all the air and tenderness inside!
Tips for Success: Cutting the Dough
This advice is critical, so jot this down! When you go to use your biscuit cutter, you absolutely CANNOT twist it. I know it’s tempting! Twisting might feel like it’s sealing the edges, but it actually just glues the layers shut right where they need to lift.
My trick, which I learned from my own early messy attempts, is to use the sharpest cutter I own, or even a heavy drinking glass. Press straight down firmly and pull straight up. That’s it! Keeping those edges clean and unsealed is how you guarantee maximum upward puff for your beautiful biscuits.
Step-by-Step Instructions for Fluffy Buttermilk Biscuits
Now that we know the secrets to cold butter and gentle folding, let’s get straight into making these easy homemade biscuits! Follow these steps exactly, and you’ll find your dough handles beautifully. Remember, we aren’t kneading here; we are just coaxing the layers into existence. Don’t worry if the dough looks a bit messy right after you add the liquid—that’s totally normal!
- First, whisk all your dry stuff—flour, baking powder, baking soda, and salt—in a big bowl until they are totally happy together.
- Toss in those little cubes of icy cold butter. Using your fingertips or a pastry blender (if you have one), work that butter into the flour until it looks like chunky sand with some visible pea-sized chunks left. Those chunks are gold!
- Make a little divot in the middle, and pour in all the cold buttermilk at once.
- Grab a fork and mix it gently, just until everything clumps together. It shouldn’t be smooth!
- Turn the shaggy dough onto your floured counter. Pat it gently into a rough rectangle, about an inch thick.
- Time to build those layers! Fold the dough like a letter—a third over the middle, then the other third over that. Give it a 90-degree turn and pat it back down to about 3/4 inch. Repeat this folding process two more times total.
- Pat or roll it one last time to about a half-inch thickness.
- Take your sharpest biscuit cutter and press straight down firmly to cut your biscuits. Don’t get tempted to twist!
- This step is crucial: Pop those cut biscuits onto an ungreased sheet and slide them into the fridge for 15 minutes. We have to keep that butter cold!
Once the time is up, they are ready for the oven. For more simple, foundational baked goods, take a peek at my recipe for easy homemade French bread!
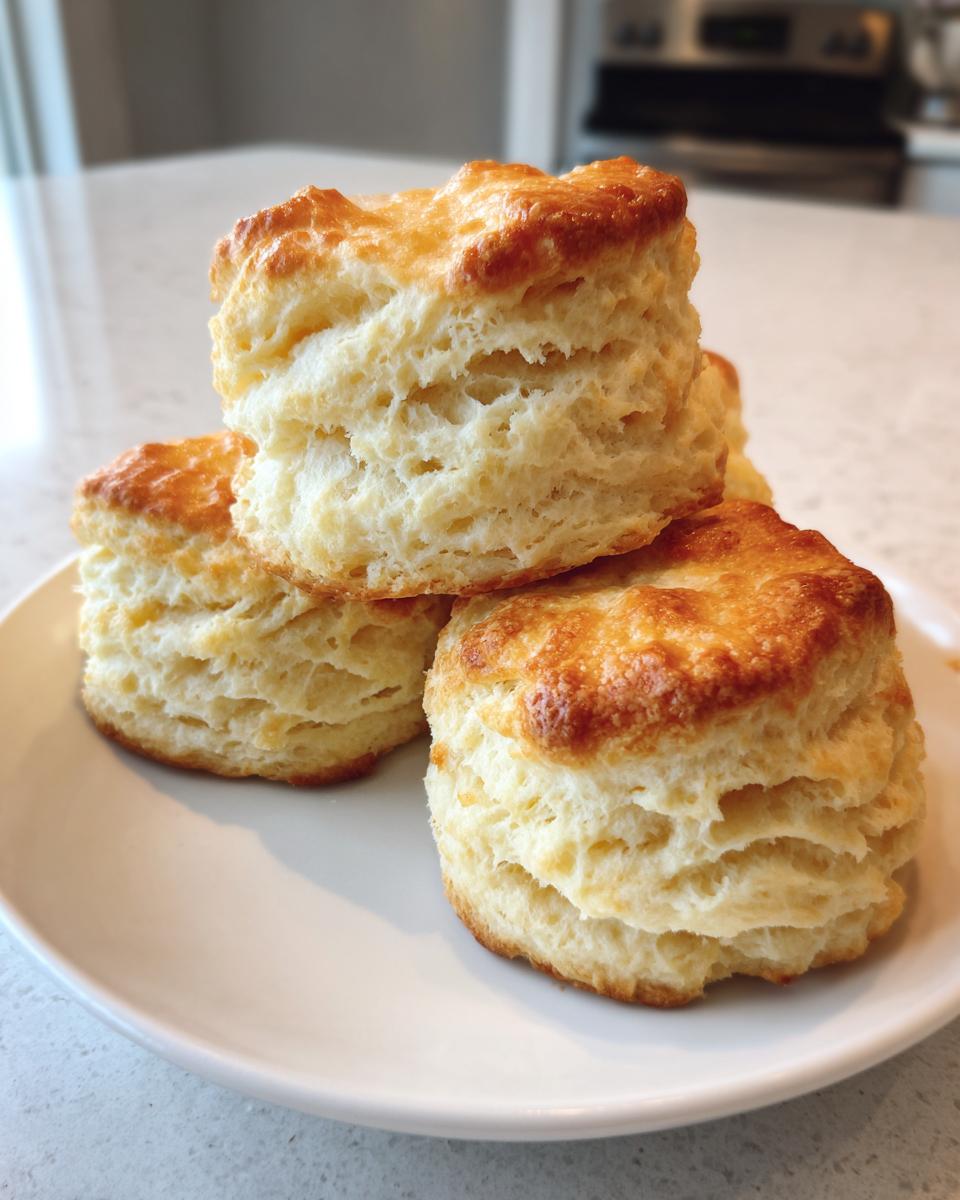
Baking Your Fluffy Buttermilk Biscuits Perfectly
Once those biscuits have had their essential chill time, it’s time for the glorious payoff! We are preheating that oven to a hot 425 degrees Fahrenheit (that’s 220 Celsius). High heat is what shocks the butter into creating steam so fast. Bake them for about 12 to 15 minutes.
Here’s a little pro tip about placement: If you want those extra tall, super tender biscuits with soft sides that melt in your mouth, place them close together on the baking sheet so they touch. They’ll support each other as they rise. If you prefer crispier edges all around, space them maybe an inch apart. Either way, they puff up beautifully!
Troubleshooting Common Fluffy Buttermilk Biscuits Issues
Listen, even the best recipes can hit a snag sometimes. When I first started trying to nail that perfect Southern lift, I made some real bricks! If you end up with biscuits that are dense, tough, or just didn’t puff like you hoped, don’t toss the batch yet. Usually, the fix is just going back to basics, which frankly, I always have to remind myself to do!
The main culprits are almost always temperature or handling. If you suspect you’ve gone wrong, take a deep breath. We can usually diagnose the issue pretty quickly.
Why Are My Fluffy Buttermilk Biscuits Not Rising?
This is the big one, right? If your biscuits are flat, I guarantee it’s one of two reasons. First, your butter got warm while you were cutting it in—it has to be icy! Second, you overmixed or overworked the dough during the folding stage. Overworking activates too much gluten, making it stretchy instead of flaky.
Keep everything cold, handle the dough as little as possible, and remember that shaggy look after the buttermilk goes in is *exactly* what you want. If you want to dig into long-term bread science, check out my guide to starting a sourdough starter, which teaches patience with dough!
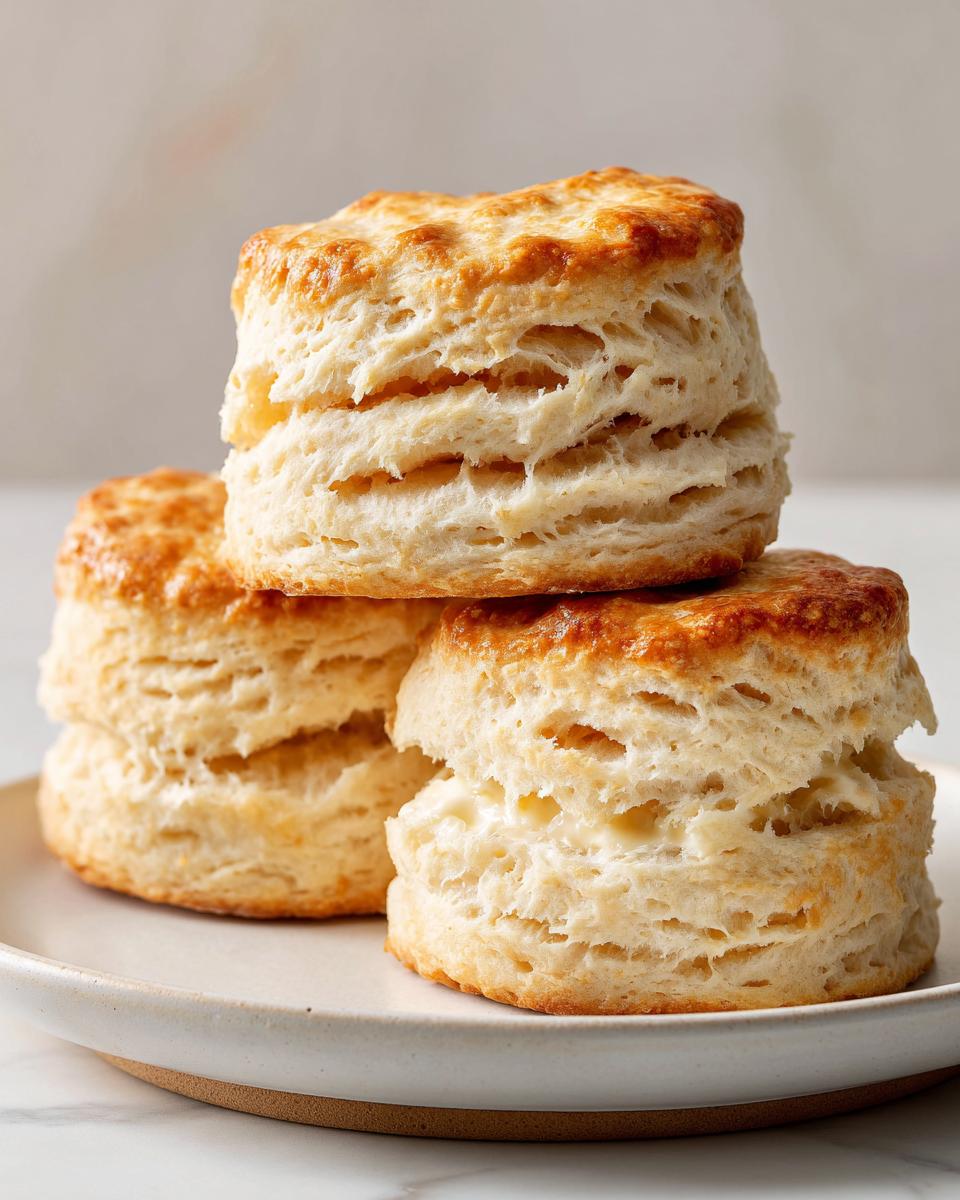
Serving Suggestions for Your Fluffy Buttermilk Biscuits
Pulling those warm, fluffy buttermilk biscuits out of the oven is just the beginning! In the South, these aren’t just a side dish; they are the main event sometimes. Of course, the absolute classic way is smothered in creamy sausage gravy—that’s a must-try for experiencing the full flavor. But if you want to highlight those secrets to flaky biscuits, keep it simple!
Slather them thick with good quality salted butter while they are still steaming hot. A beautiful drizzle of local honey or some homemade peach jam is divine. These also make the perfect base for soaking up leftover sauce from a roast chicken or serving alongside a big bowl of soup. If you’re feeling sweet later, these biscuits are even amazing sliced open and topped with my easy homemade caramel sauce or used as the top layer for a simple Southern peach cobbler!

Storage and Reheating Fluffy Buttermilk Biscuits
These biscuits are best eaten the second they come out of the oven, naturally! But if you have leftovers (which usually means they are just *that* good), store them in an airtight container at room temperature for up to two days. Resist the urge to put them in the fridge right away, as that can actually dry them out faster!
If you want to restore that incredible, flaky texture, the microwave is your enemy. Pop them straight into a 350°F oven for about five minutes. This warms them through and revives the edges. If you freeze them, wrap them tightly and reheat directly from frozen in the oven. They are also wonderful served alongside quick weeknight meals like my 30-minute chicken piccata!
Frequently Asked Questions About Buttermilk Biscuits
I always get questions when people try this recipe because the technique is so important! Don’t worry if you have a few doubts; that just means you really care about getting those perfect results. Here are the things I hear most often from folks trying to master their fluffy buttermilk biscuits.
Can I use regular milk instead of buttermilk for fluffy buttermilk biscuits?
Yes, you absolutely can in a pinch! But listen, the only way this works is if you acidify the regular milk first. You need to add about one teaspoon of white vinegar or lemon juice for every cup of regular milk you use. Then, just let it sit on the counter for five minutes until it looks a little chunky. That acid wakes up the baking soda! That said, nothing gives you that true, superior tender crumb like actual buttermilk, so if you can grab it, do it!
What is the best way to celebrate National Buttermilk Biscuit Day?
Well, for me, the best way is by finally mastering this technique! If you’ve conquered these secrets to flaky biscuits, you’re officially celebrating National Buttermilk Biscuit Day the right way—by making scratch baking a reality. This method is the groundwork for so much traditional Southern baking, so once you nail this, you can conquer almost anything!
If you are looking for another classic way to use up that buttermilk, you simply must try my recipe for classic old-fashioned buttermilk pie!
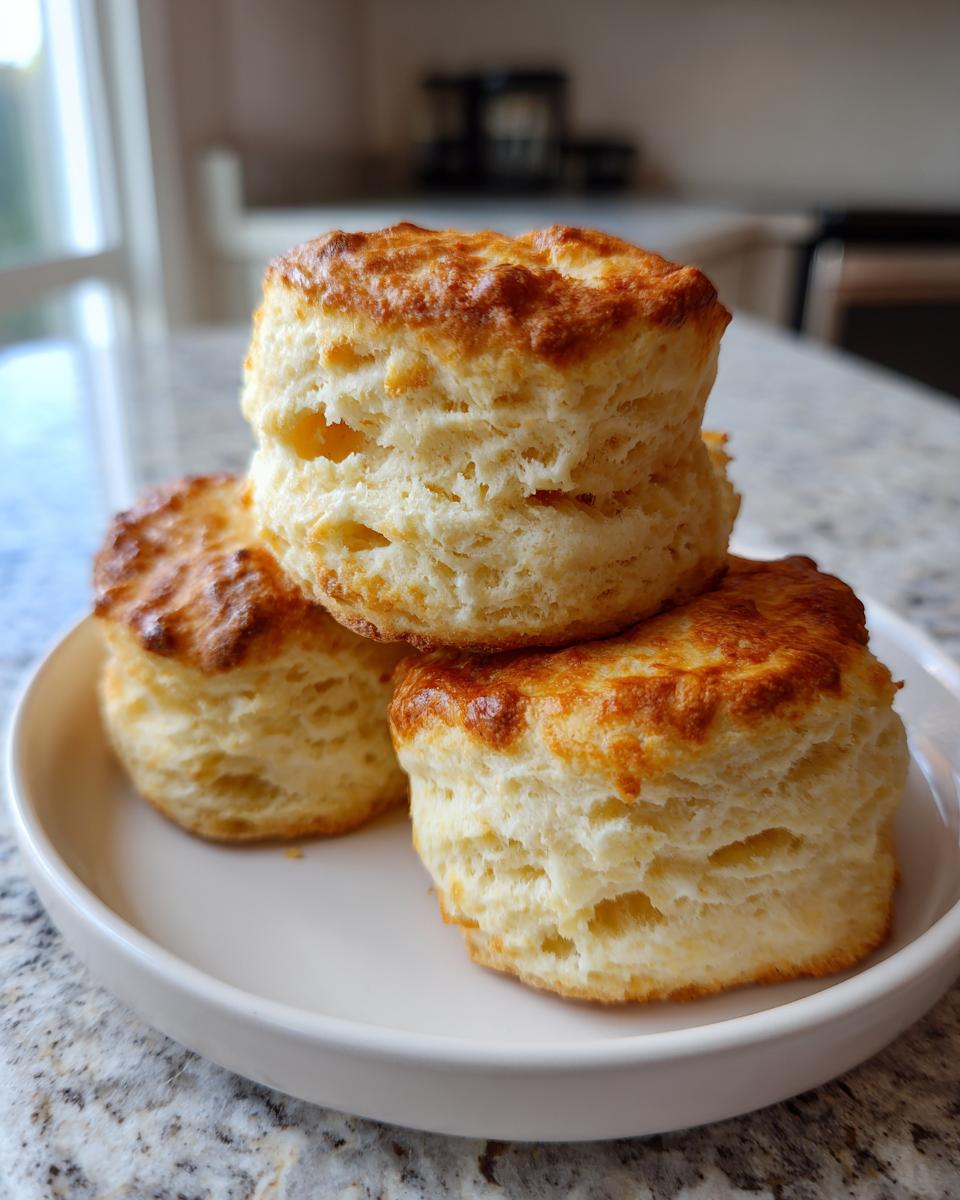
How do I get tall, perfect layers in my biscuits?
It all comes down to two things we keep talking about! First, the butter has to be rock solid cold when you cut it in. Second, you have to treat that dough like it’s fragile spun glass when you fold it. Remember we did those three gentle letter folds? That lamination process creates those little separated planes inside the dough. If you handle it gently and everything stays cold, those layers rise like they have wings!
PrintFluffy Buttermilk Biscuits: Secrets to Southern Flaky Layers
Learn the foundational technique for making tender, flaky, Southern-style buttermilk biscuits using cold butter and a no-knead method for bakery-quality results at home.
- Prep Time: 20 min
- Cook Time: 15 min
- Total Time: 35 min
- Yield: 8 biscuits 1x
- Category: Breakfast
- Method: Baking
- Cuisine: Southern
- Diet: Vegetarian
Ingredients
- 2 cups all-purpose flour
- 1 tablespoon baking powder
- 1 teaspoon baking soda
- 1 teaspoon salt
- 6 tablespoons cold unsalted butter, cut into small cubes
- 3/4 cup cold buttermilk
Instructions
- Combine the flour, baking powder, baking soda, and salt in a large bowl. Whisk these dry ingredients together well.
- Add the cold butter cubes to the flour mixture. Use a pastry blender or your fingertips to cut the butter into the flour until the mixture resembles coarse crumbs with some pea-sized pieces of butter remaining. This step is key for flaky layers.
- Make a well in the center of the flour mixture and pour in the cold buttermilk all at once.
- Use a fork to gently mix the ingredients until just combined. Do not overmix; the dough will look shaggy.
- Turn the shaggy dough out onto a lightly floured surface. Gently pat the dough into a rough rectangle about 1 inch thick.
- Fold the dough into thirds, like a letter. Turn the dough 90 degrees and gently pat it down again to about 3/4 inch thickness. Repeat this folding and patting process two more times. This builds the layers.
- Pat or lightly roll the dough to a final thickness of about 1/2 to 3/4 inch.
- Use a sharp biscuit cutter (do not twist the cutter) to cut out the biscuits. Place the cut biscuits close together on an ungreased baking sheet for softer sides, or slightly apart for crispier sides.
- Place the baking sheet in the refrigerator for 15 minutes before baking. This keeps the butter cold.
- Preheat your oven to 425 degrees Fahrenheit (220 degrees Celsius).
- Bake for 12 to 15 minutes, or until the biscuits are puffed and golden brown on top.
Notes
- For the best results and tender crumb, use buttermilk that is very cold, straight from the refrigerator.
- Do not twist the biscuit cutter when cutting shapes; pressing straight down seals the edges, preventing the layers from rising properly.
- If you do not have a pastry blender, chilling your hands before cutting in the butter helps prevent the butter from melting.
Nutrition
- Serving Size: 1 biscuit
- Calories: 250
- Sugar: 1
- Sodium: 450
- Fat: 12
- Saturated Fat: 7
- Unsaturated Fat: 5
- Trans Fat: 0
- Carbohydrates: 30
- Fiber: 1
- Protein: 5
- Cholesterol: 25