
Sometimes, you just need a dessert that stops the whole party when it walks into the room. I totally get that urge! We all want those showstopper desserts, but I truly believe they shouldn’t require a culinary degree to pull off. That’s why I’m sharing my absolute favorite creation: the strawberry chocolate shell cake. Sounds intimidating, right? It looks like something from a fancy bakery case, but I promise you, this is built on simple chocolate cake layers and fresh fruit you can handle right in your own kitchen. It’s about using smart techniques to create something elegant. This is the blueprint for making that stunning, crisp chocolate coating happen beautifully—no stress! When I started Pure Plate Path, it was about making food that felt special without the fuss, and this recipe perfectly captures that idea.
- Why This Strawberry Chocolate Shell Cake is a Showstopper Strawberry Cake Idea
- Essential Ingredients for Your Strawberry Chocolate Shell Cake
- Step-by-Step Instructions for the Hard Shell Chocolate Cake Recipe
- Tips for Success with Your Rich Chocolate Shell Dessert Recipe
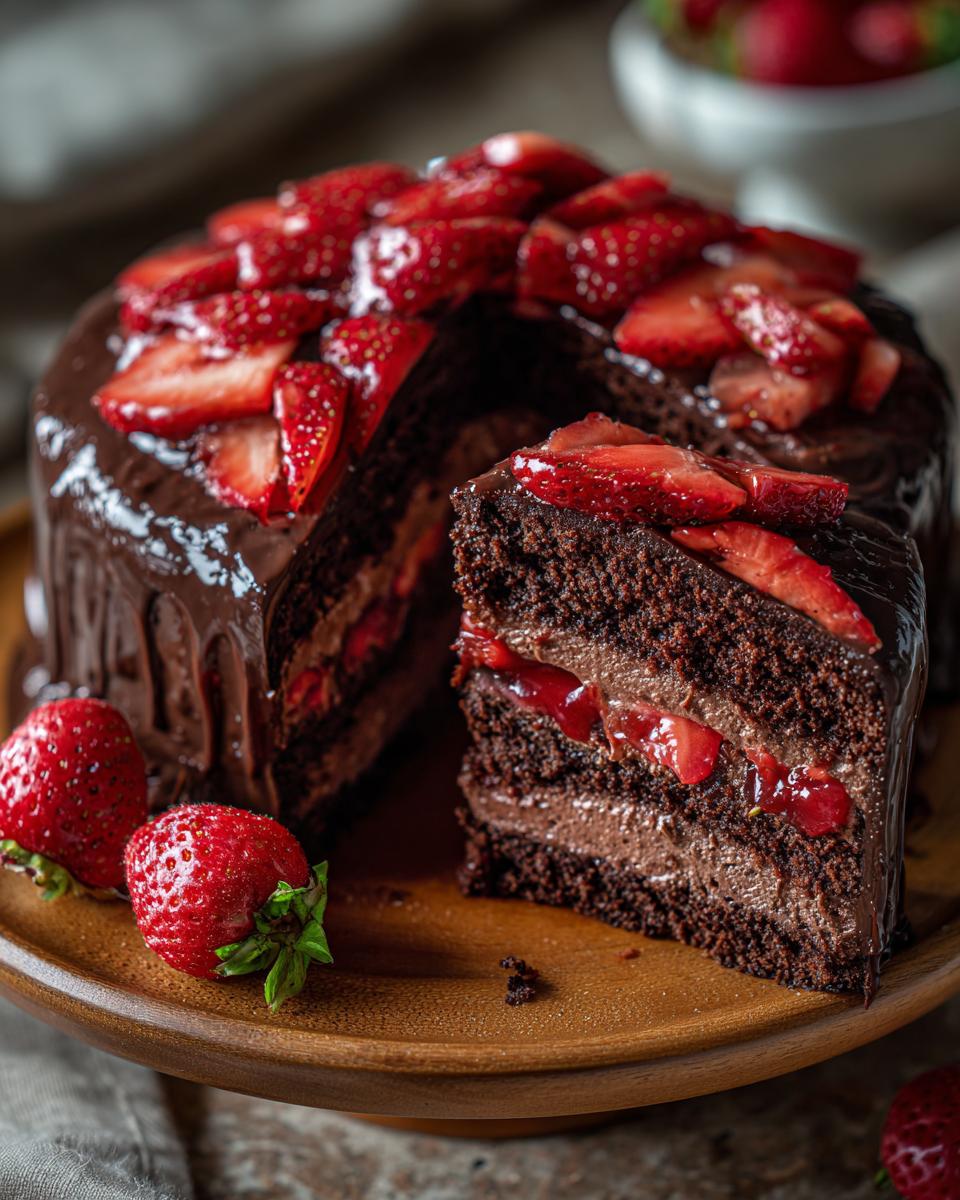
- Assembling the Chocolate Strawberry Layer Cake: Structural Integrity
- Serving Suggestions for This Elegant Chocolate Shell Dessert
- Storage and Reheating Instructions for Strawberry Chocolate Shell Cake
- Frequently Asked Questions About Chocolate Shell Cakes
- Share Your Impressive Birthday Cake Designs
Why This Strawberry Chocolate Shell Cake is a Showstopper Strawberry Cake Idea
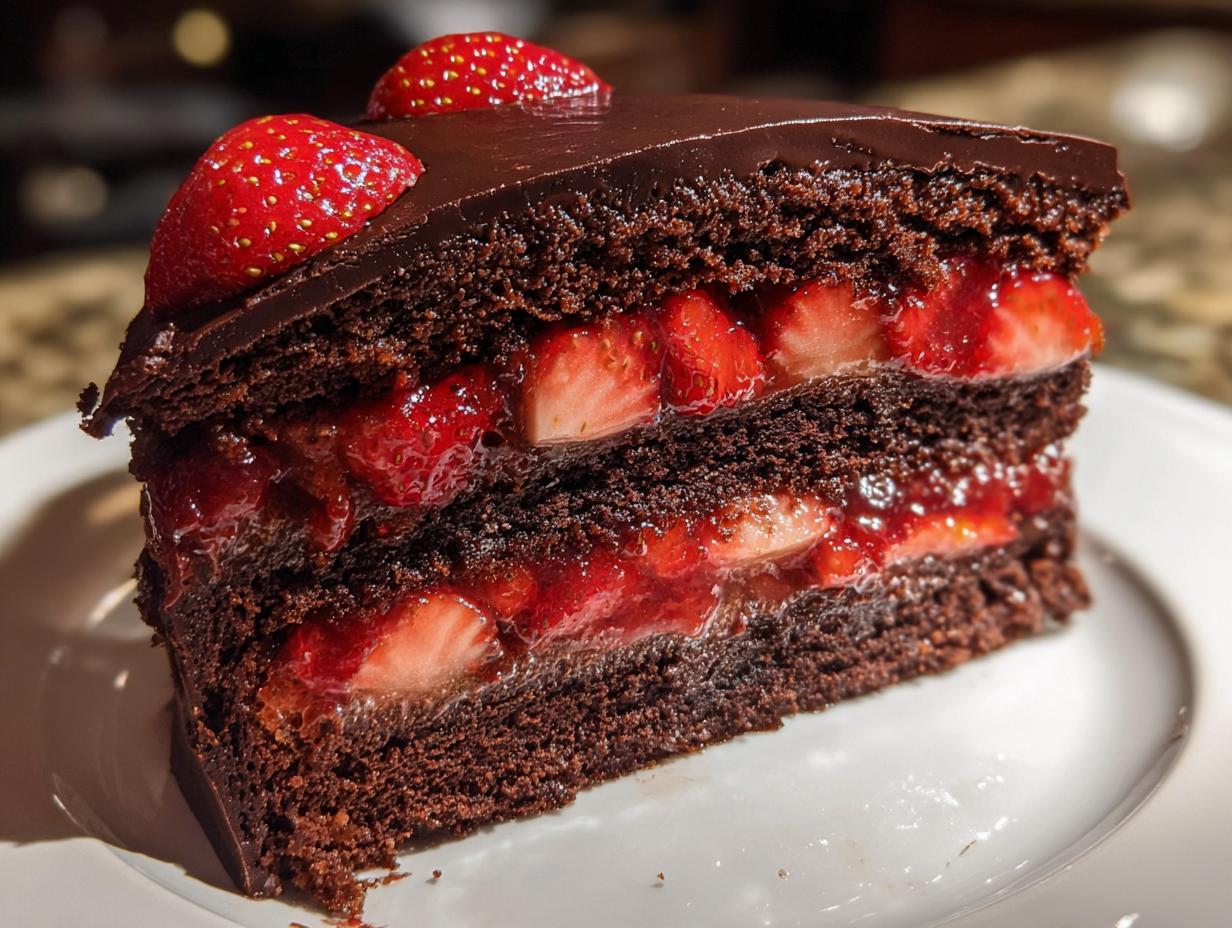
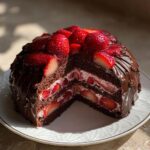
What makes this cake so spectacular? It’s the drama! When you cut into it, you get this amazing, audible *crack* from the hard chocolate shell. It’s pure theatre, and honestly, it just tastes incredible. We’re marrying the brightness of fresh strawberries with deep, rich chocolate—true decadent chocolate strawberry combinations.
- Visual Pop: The smooth, often mirror-like, chocolate coating just screams ‘special occasion.’
- Flavor Contrast: The slight tartness of the strawberries cuts through the richness of the shell perfectly.
- It’s one of the best showstopper strawberry cake ideas you can tackle at home!
Achieving the Perfect Texture Contrast
That hard chocolate shell is the star here, delivering a satisfying snap with every forkful. It contrasts beautifully with the soft, tender chocolate cake layers underneath. We use a stable buttercream to hold everything together, ensuring that when the knife hits the shell, you hear that perfect, crisp breaking sound. It’s the best textural surprise!
Essential Ingredients for Your Strawberry Chocolate Shell Cake
Okay, now for the fun part—gathering our supplies! The success of this strawberry chocolate shell cake really hinges on using good quality stuff, especially for that shell. Don’t skimp on the chocolate, trust me on this one. We’re separating things into three main groups: the cake, the wonderful strawberry filling, and the magic shell coating itself.
- For the Cake: You need your favorite reliable recipe for two 8-inch Chocolate Cake Layers—make sure they are baked and totally cool!
- For the Filling: About 2 cups of sliced Fresh Strawberries, 1 cup of Strawberry Jam or Preserves, and 2 cups of Buttercream Frosting (I love using my fluffy vanilla recipe for this, you can find it right here).
- For the Shell: This needs 12 oz of High-quality Dark Chocolate, chopped into pieces—this is non-negotiable for a good snap! Also, grab 2 tablespoons of Coconut Oil.
Ingredient Notes and Substitution Guidance
You noticed I listed cocoa butter as optional? If you’re planning to temper the chocolate properly for that glass-smooth, crisp shell, cocoa butter is your secret weapon; it makes the chocolate much easier to work with temperature-wise. If you’re skipping the tempering, the coconut oil helps it stay liquid enough to pour. Also, please use a sturdy buttercream for the filling. Whipped cream just won’t support the weight of that hard chocolate shell structure, and we don’t want any leaning towers here!
Step-by-Step Instructions for the Hard Shell Chocolate Cake Recipe
Alright, deep breath! This process seems long, but when you break it down, it flows really nicely. We’re moving from building the base structure to creating that incredible, snappy coating. Always make sure your cake layers are completely cool before you even think about frosting them—warm cake equals melted buttercream equals, well, disaster!
- First up, take your two baked chocolate cake layers and level them off if they domed up. We need flat surfaces for stacking!
- Now, let’s build the inside: On your first layer, spread a thin layer of your buttercream. Top that with half the sliced fresh strawberries, and then drizzle over some strawberry jam. Place the second cake layer on top.
- Time for the protective armor layer! Cover the entire cake—top and sides—with a very thin layer of buttercream. This is our crumb coat, and it’s essential! Pop the whole thing into the fridge for at least 30 minutes until that coat is firm to the touch. This chilling is key to supporting the final shell.
- While it chills, prepare your shell mix. You need to gently melt your chopped dark chocolate, coconut oil, and cocoa butter (if you are using it for that professional snap) together. Use a double boiler or microwave in 20-second bursts, stirring constantly until it’s perfectly smooth. If you tempered it correctly, the temperature should be around 90°F when you start coating.
Mastering the DIY Chocolate Coating Cake Technique
This is your main event for achieving the perfect hard shell chocolate cake recipe finish. Once your chilled cake is sitting on a wire rack over a baking sheet (to catch all that glorious excess chocolate!), you pour the chocolate mixture fast and decisively right over the center of the top. Don’t dawdle! The cold cake acts like an immediate catalyst, setting the chocolate almost instantly as it cascades down the sides. Speed equals smoothness!
If you want that smooth, flawless finish that resists cracking when you slice it, make sure your chocolate is tempered near 90°F. However, if you’re aiming for an intentional, rustic ‘crunch’ effect—which is totally cool too—let your cake warm up just slightly on the counter before that big pour. That small temp difference encourages fissures as it sets. Either way, let it set completely before moving it.
For extra chocolate sauce depth, check out my tips for making homemade chocolate sauce, though for the shell, we need that specific solid consistency.
Tips for Success with Your Rich Chocolate Shell Dessert Recipe
Listen, making something this beautiful on a weekly basis isn’t always our reality, so when we do make a showstopper like this strawberry chocolate shell cake, we want it perfect! My biggest tip revolves around temperature management. That cold cake hitting warm chocolate is what creates the shell, but too big a difference, and you get massive cracks when the cake breathes later.
Make sure your base cake is stable—that thin crumb coat we put on is doing heavy lifting under that rich chocolate shell dessert topping. If you are storing it before serving, keep it somewhere cool, around 65°F, if you can. Refrigeration is fine for a short while, but watch out for condensation when you bring it out; that moisture is the enemy of a perfect snap!
If you need a quick touch-up on some exposed spots after the shell sets, you can very carefully use a tiny bit of room-temperature chocolate frosting, or pipe some extra chocolate onto the spots. I have an amazing recipe for easy, smooth chocolate frosting if you need a little extra help around the edges!
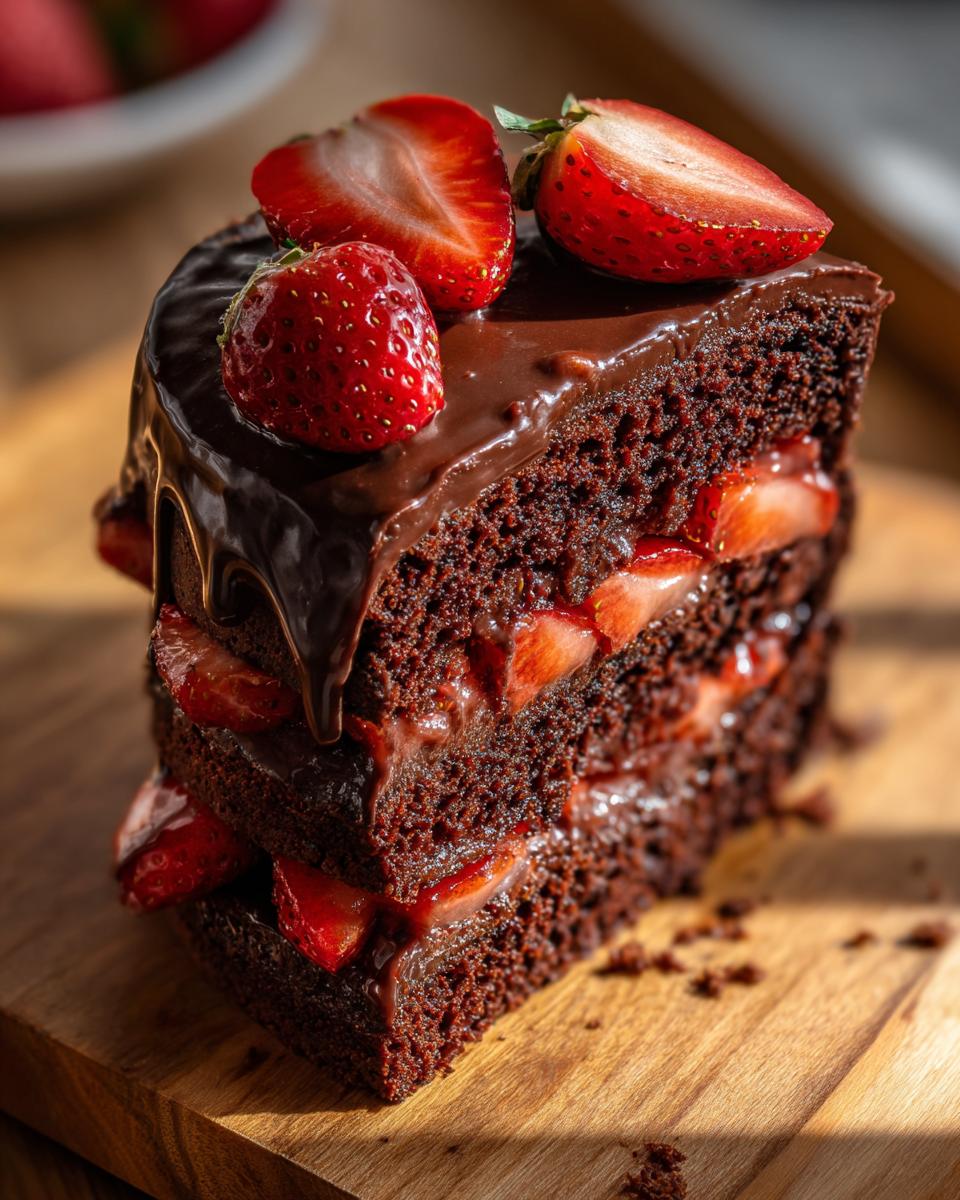
Assembling the Chocolate Strawberry Layer Cake: Structural Integrity
Before we even think about that shiny chocolate coating, we have to make sure our actual cake foundation is rock solid. This is where building a great chocolate strawberry layer cake pays off! You need those cool, level layers separated by something robust—that’s why we use the buttercream barrier.
The crumb coat is non-negotiable here; it basically locks in all those loose crumbs so they don’t float up into our beautiful chocolate shell later on. Seriously, chill that coated cake until it’s firm—sometimes 45 minutes is better than 30, depending on your fridge! This firm base is the insurance policy that keeps your top coating from cracking catastrophically when you finally slice into it.

After chilling, you can check out my recipe for fudgy strawberry brownies if you need a simpler, sliceable treat, but for this structure, we need that firm foundation!
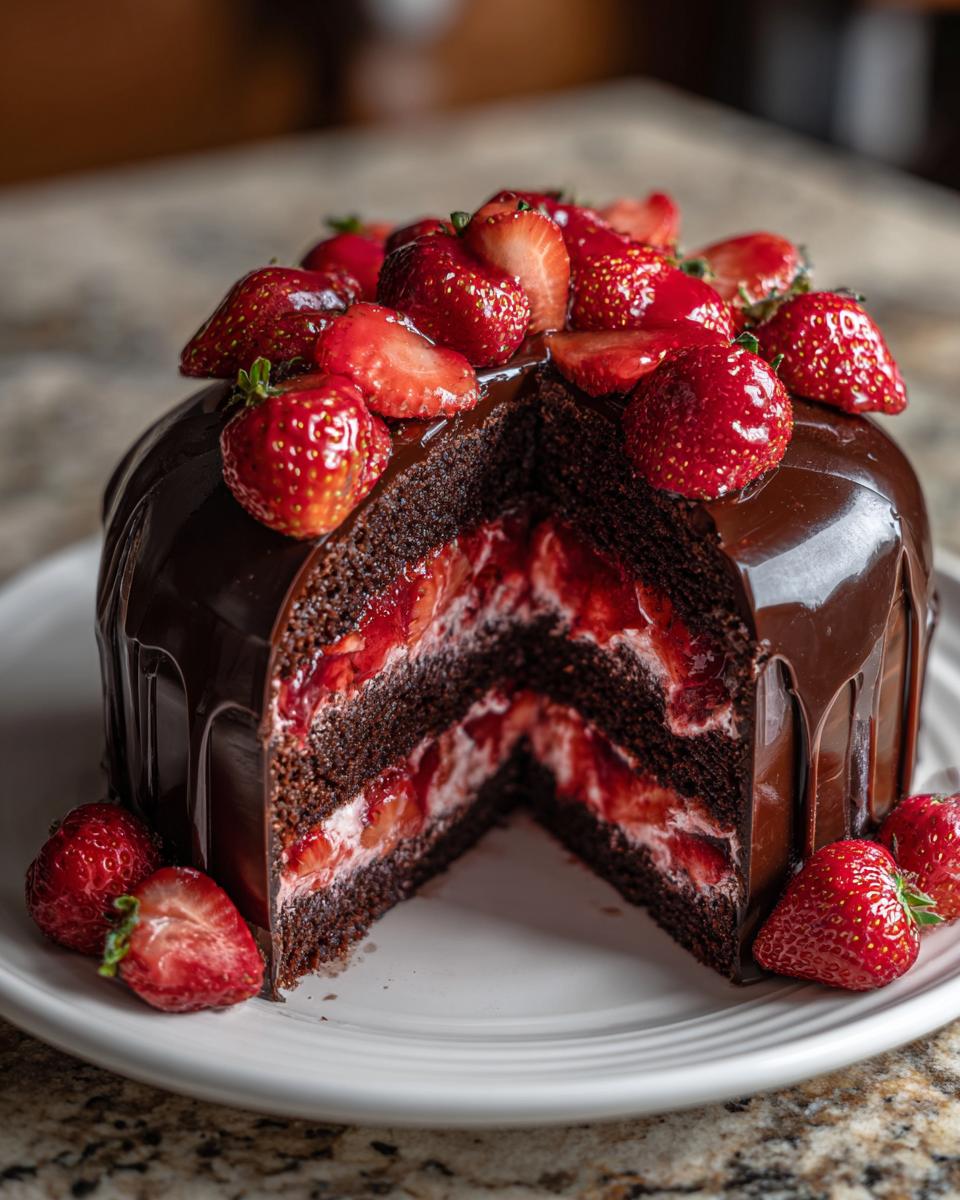
Serving Suggestions for This Elegant Chocolate Shell Dessert
Now that you’ve mastered the hard shell, how should you present this incredible strawberry chocolate shell cake? Keep the garnish simple; the shell is the main event! I love topping the very top—where the chocolate pools slightly before hardening—with a crown of perfectly fresh, halved strawberries. A tiny dusting of edible gold leaf, if you feel fancy, looks absolutely stunning against the dark chocolate.
If you are serving this summer stunner after a big meal, it pairs divinely with a strong, dark roast coffee. For something lighter, I highly recommend a glass of something bubbly! You can whip up a batch of my easy strawberry champagne punch to keep the celebration theme going. It’s all about balancing that decadence!
Storage and Reheating Instructions for Strawberry Chocolate Shell Cake
This hard shell chocolate cake recipe needs special handling post-baking because of that crisp chocolate coating. The simple truth is that the shell hates humidity! If you plan to serve your strawberry chocolate shell cake within just a few hours, leave it right out on the counter in a cool, dry spot—it will stay beautifully set.
If you absolutely must chill it, wrap the cake loosely (I mean loosely!) after the shell has set firm. But be warned: taking a cold cake out of the fridge often causes condensation to form on the shell, leading to dullness or even weeping. If you chill it, let it sit on the counter for at least an hour before slicing so it can adjust slowly. Never try to reheat this cake; the chocolate will melt right off!
Frequently Asked Questions About Chocolate Shell Cakes
I knew as soon as I posted this that the questions would start pouring in! That’s the best part of baking—figuring out the little tricks that make it work perfectly for you. Here are the things I get asked most often about making this strawberry chocolate shell cake structure.
What kind of chocolate do I absolutely need for that snap? You really need high-quality dark chocolate. If you use cheap stuff, it often has too many stabilizers and won’t set up crisp; it just ends up soft and greasy. If you use tempered chocolate, you get that amazing, satisfying *snap*! It’s the hallmark of a real rich chocolate shell dessert recipe.
Do I have to temper the chocolate? Honestly, you don’t *have* to, but if you want that perfectly smooth, shiny finish and that strong, non-sticky snap, yes, you should! If you’re intimidated, stick with adding the coconut oil, and accept that your shell might be slightly softer or perhaps crack more easily when cut.
How do I make sure the fresh strawberries stick to the outside? Because our hard shell chocolate cake recipe involves a pour-over method, the strawberries need a little help adhering! Place your final berry garnishes right after you pour the chocolate—before it sets completely but after the main pour has settled. Or, you can use a tiny dab of melted chocolate as ‘glue’ once the shell is fully set.
Can I use a mirror glaze instead of a hard chocolate shell?
That’s a great question! Sure, you *can* use a mirror glaze, but it completely changes the dessert. A mirror glaze is gelatin-based, meaning it’s usually soft, jiggly, and incredibly shiny. This recipe is strictly dedicated to the sound and feel of a distinct, hard tempered chocolate cake crust alternative. If you want that hard snap and crunch, stick to the melted dark chocolate!
If you’re interested in seeing how I make an incredible molten center cake, maybe take a peek at my easy lava cake recipe notes for comparison on chocolate textures!
Share Your Impressive Birthday Cake Designs
I so hope you jump in and try making this showstopper! When you manage to pull off this gorgeous, crisp strawberry chocolate shell cake, I absolutely need to see it. Tag us in your photos—it’s fantastic seeing everyone’s unique take on these impressive birthday cake designs!
Let me know in the comments below: what was your favorite part of the process? Was it the satisfying pour, or that first *crack* when you cut into it? Happy baking, and if you need more inspiration, check out my ideas for beautiful rose cakes!
PrintStrawberry Chocolate Shell Cake
Make this impressive strawberry chocolate shell cake featuring a rich cake base, fresh strawberry filling, and a crisp, hard chocolate coating.
- Prep Time: 45 min
- Cook Time: 35 min
- Total Time: 1 hour 20 min
- Yield: 10 servings 1x
- Category: Dessert
- Method: Coating/Assembly
- Cuisine: American
- Diet: Vegetarian
Ingredients
- 1 recipe Chocolate Cake Layers (your favorite 8-inch recipe)
- 2 cups Fresh Strawberries, sliced
- 1 cup Strawberry Jam or Preserves
- 2 cups Buttercream Frosting (for filling and crumb coat)
- 12 oz High-quality Dark Chocolate, chopped (for shell)
- 4 oz Cocoa Butter (optional, for tempering)
- 2 tablespoons Coconut Oil (for shell)
Instructions
- Prepare and bake your two chocolate cake layers according to your chosen recipe. Let them cool completely.
- Prepare your buttercream frosting. Slice the fresh strawberries.
- Level the cake layers. Place the first layer on a serving plate or cake board. Spread a thin layer of buttercream, followed by half of the sliced strawberries and a layer of strawberry jam.
- Place the second cake layer on top. Apply a thin crumb coat of buttercream to the entire cake and chill for 30 minutes until firm.
- Prepare the chocolate shell mixture: Gently melt the chopped dark chocolate and coconut oil (and cocoa butter, if using) in a double boiler or microwave in short bursts, stirring until smooth. If tempering, follow standard tempering procedures to ensure a crisp shell. The mixture must be fluid but not overly hot (around 90°F/32°C).
- Place the chilled cake on a wire rack set over a baking sheet to catch drips.
- Pour the melted chocolate mixture quickly and evenly over the top center of the cake, allowing it to flow down the sides to create a complete coating or ‘shell’. Work fast, as the cold cake will cause the chocolate to set quickly.
- Allow the chocolate shell to set completely at room temperature or briefly in the refrigerator (about 15-20 minutes). Do not over-chill, as this can cause cracking.
- Decorate the top of the shell with remaining fresh strawberries or piped buttercream accents before serving.
Notes
- For a perfect, crack-free shell, ensure your cake is very cold and your melted chocolate is tempered correctly.
- If you desire an intentionally cracked, ‘crunch’ effect, use slightly warmer chocolate or allow the cake to warm slightly before coating.
- Use high-quality chocolate for the best flavor and snap in your hard shell dessert.
- This hard shell chocolate cake recipe works best with a stable buttercream filling rather than whipped cream.
Nutrition
- Serving Size: 1 slice
- Calories: 450
- Sugar: 45g
- Sodium: 250mg
- Fat: 28g
- Saturated Fat: 16g
- Unsaturated Fat: 12g
- Trans Fat: 0g
- Carbohydrates: 50g
- Fiber: 3g
- Protein: 5g
- Cholesterol: 50mg