
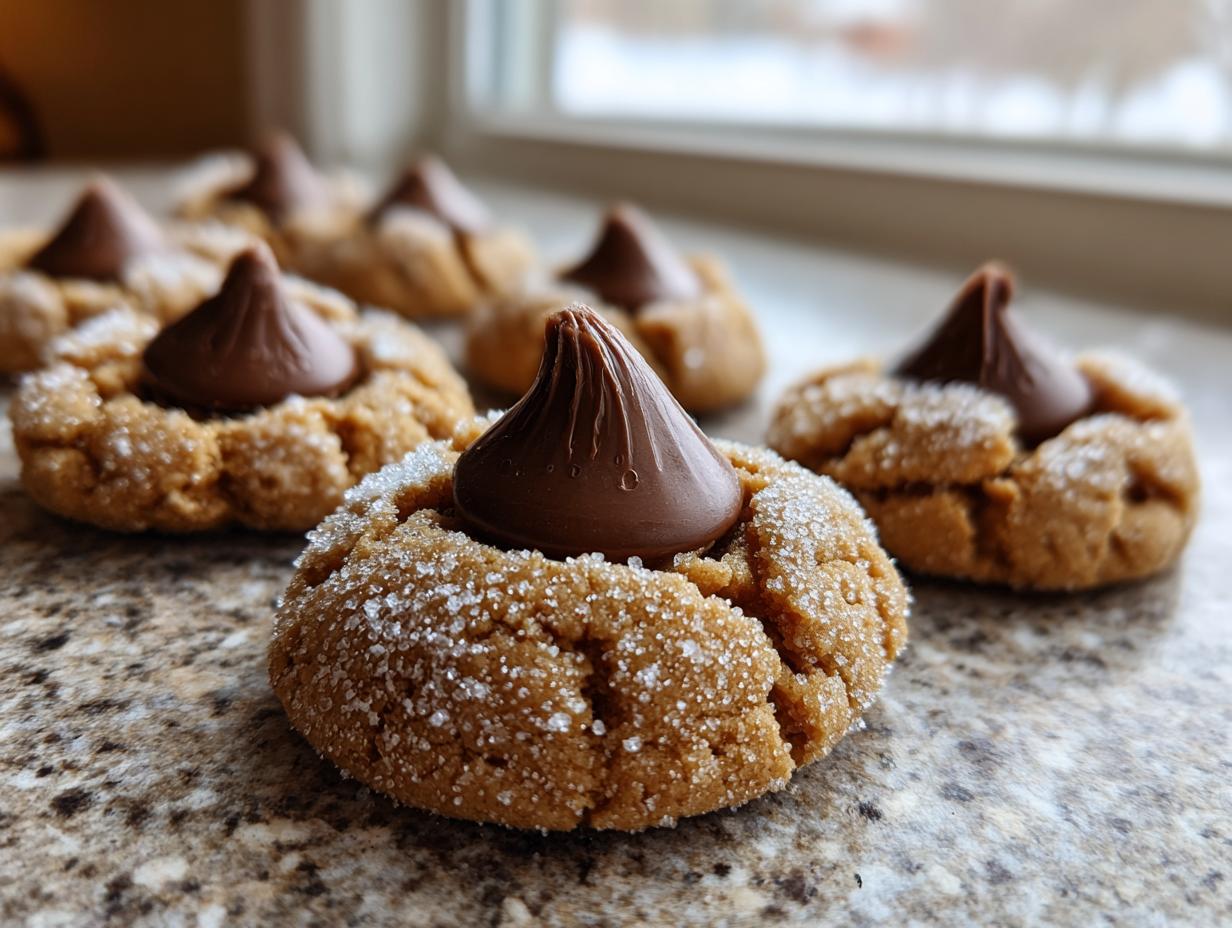
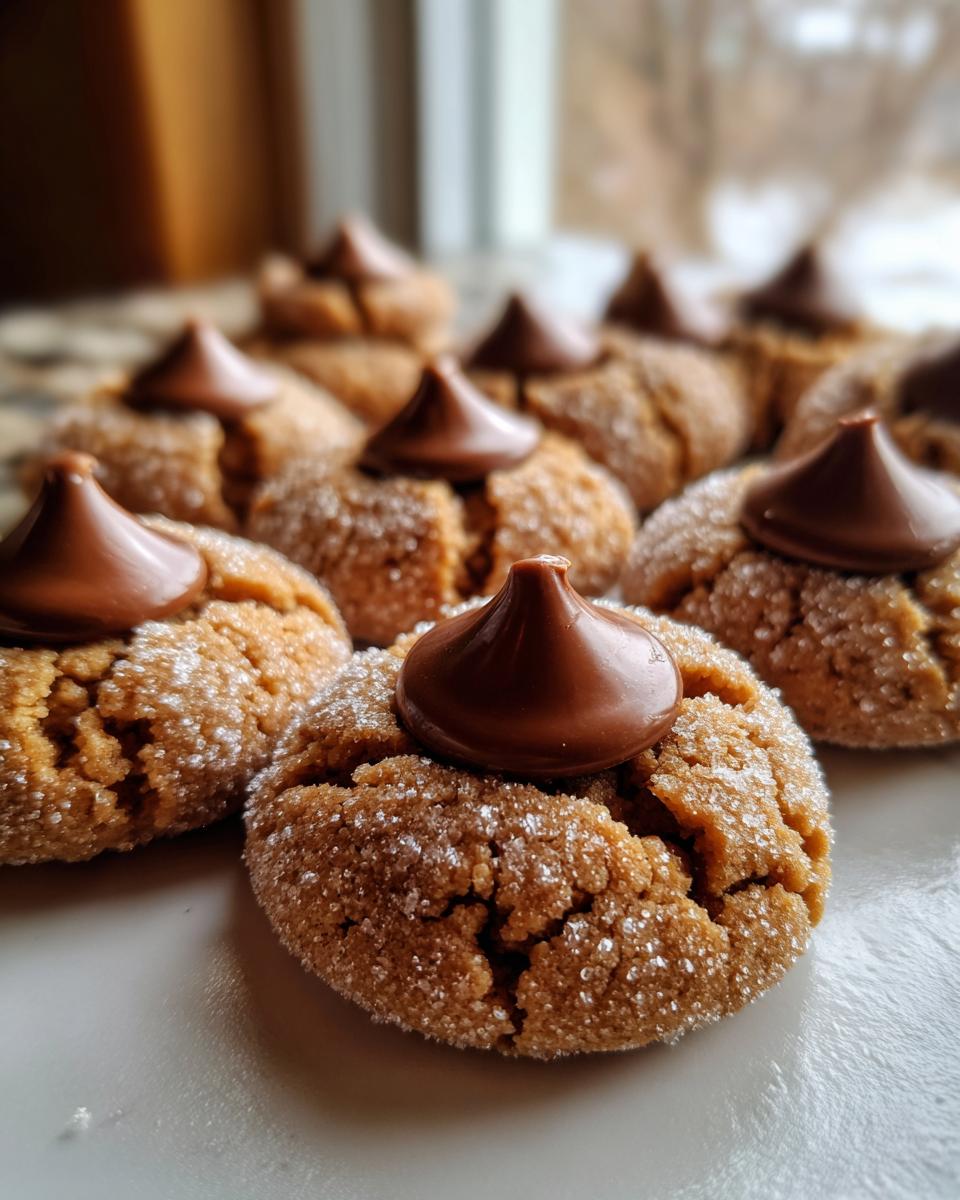
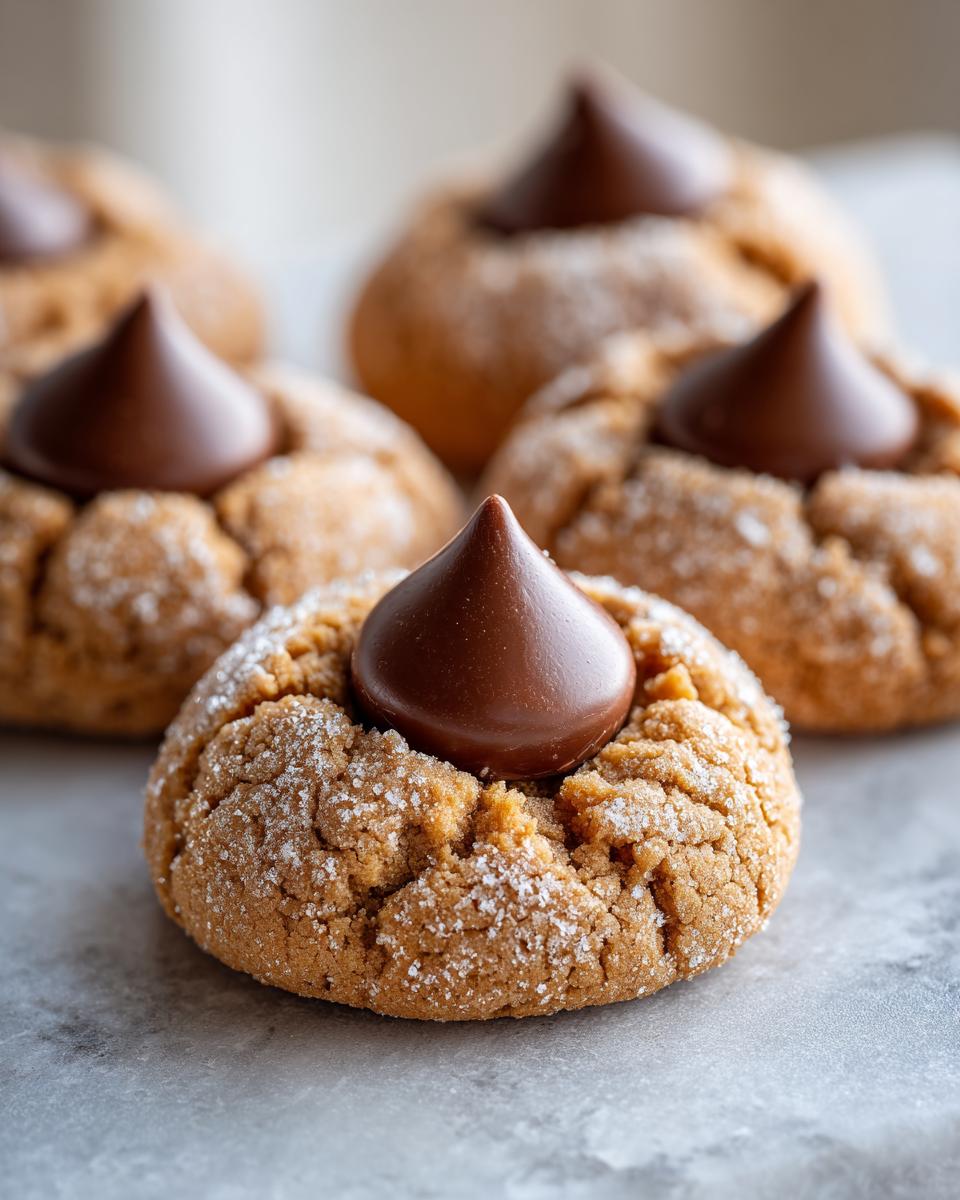
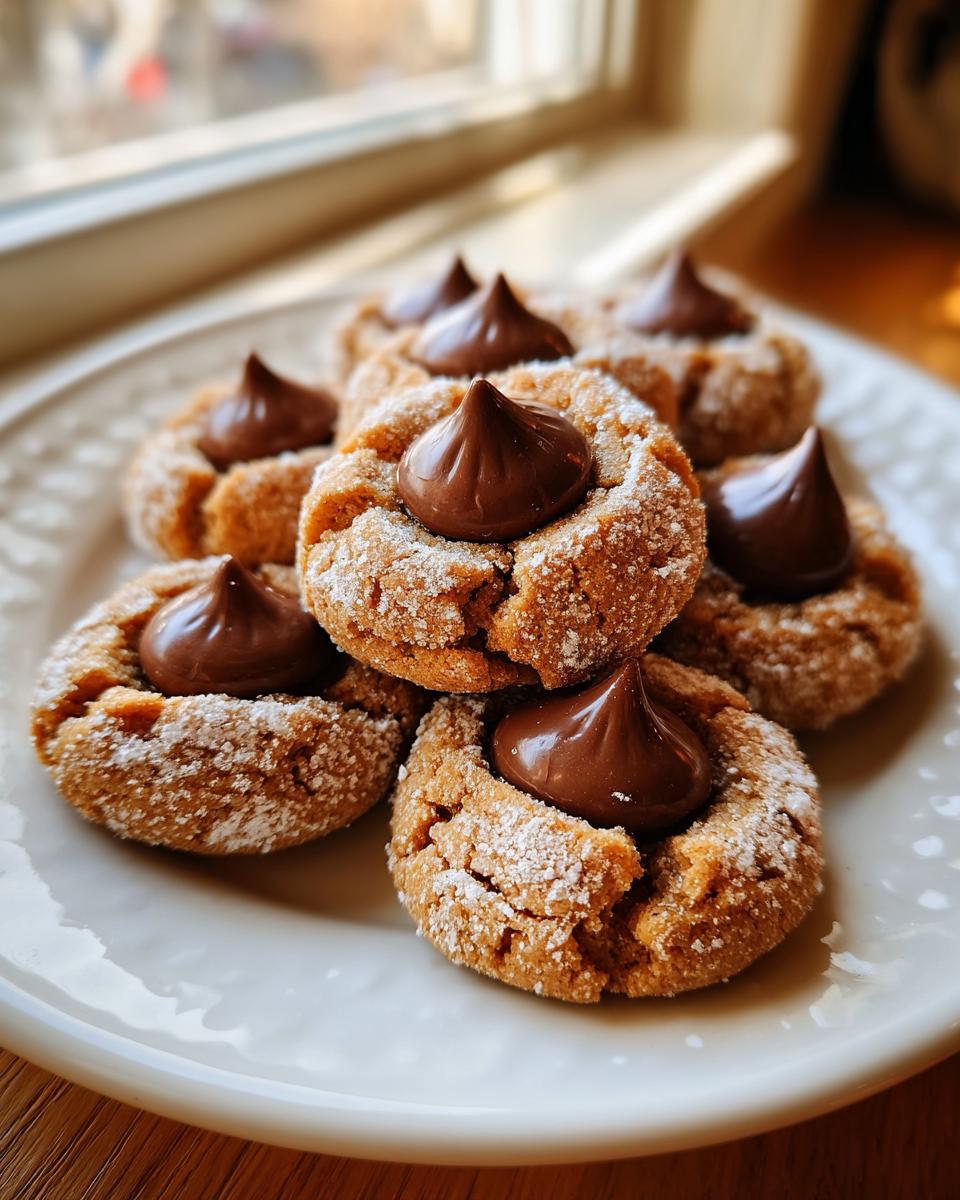
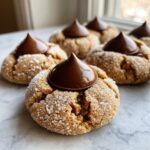
Oh, the nostalgia rush when you see one of these perfectly round cookies topped with that iconic little chocolate peak! If you’re looking for the ultimate comforting bake that screams ‘homemade’ without demanding your whole afternoon, you’ve found it. These are my definitive, go-to recipe for classic kiss cookies, which you might know better as Peanut Butter Blossoms. When I started Pure Plate Path, I needed recipes like this—simple, powerful flavor, and comforting. Since I know so many of you are balancing a busy life just like I am, I wrote about my journey and why simplicity matters in my own story. Trust me, this batch of Peanut Butter Blossoms is going to be your new favorite tradition.
- Why These Classic Kiss Cookies Are a Home Baker Favorite (E-E-A-T Focus)
- Gathering Ingredients for Your Kiss Cookies
- Step-by-Step Guide to Making Kiss Cookies
- Tips for Perfect Kiss Cookies Every Time
- Seasonal Variations of Kiss Cookies
- Storage and Freezer Tips for Kiss Cookies
- Serving Suggestions for Your Festive Dessert Baking
- Frequently Asked Questions About Kiss Cookies
- Estimated Nutritional Data for Kiss Cookies
Why These Classic Kiss Cookies Are a Home Baker Favorite (E-E-A-T Focus)
Honestly, you see these cookies saved everywhere for a reason! They are the definition of a low-effort, high-reward treat. We aren’t dealing with fussy rolling, chilling, or complicated decorating here. It’s a simple drop and bake, and then—the best part—you press in that beautiful Hershey’s Kiss right when they come out of the heat. I always go back to this formula when I need something dependable, knowing it’ll be a hit at any gathering. For anyone trying to get back to basics in the kitchen, this is where you start. If you’re looking for more simple recipes that fit right into a busy week, check out my guide on quick and easy dinners.
Achieving Soft and Chewy Kiss Cookies
The secret to that fantastic texture that keeps people coming back is all in the mixing. You absolutely must use butter that is perfectly softened. Not melted, not cold—softened! This helps incorporate the sugars correctly, creating those crucial air pockets. A gentle hand during mixing ensures you get these Soft and Chewy Cookies rather than something too tough. That creamy base is what supports the chocolate top perfectly.
Gathering Ingredients for Your Kiss Cookies
Okay, let’s talk about what you need for these incredible Classic Hershey Kiss Cookies. Since we’re making these from scratch, quality matters, even in the simplest cookies! You’ll see we rely on both white and brown sugar for that wonderful balance of sweetness and depth. Don’t forget, we’re using molasses too—that’s one of my little secrets for extra chew! Make sure you have all 72 of those Hershey’s Kisses ready to go and unwrapped before you even think about turning on the oven. You don’t want to be scrambling for foil wrappers while your cookies are cooling!
Ingredient Notes and Substitutions for Kiss Cookies
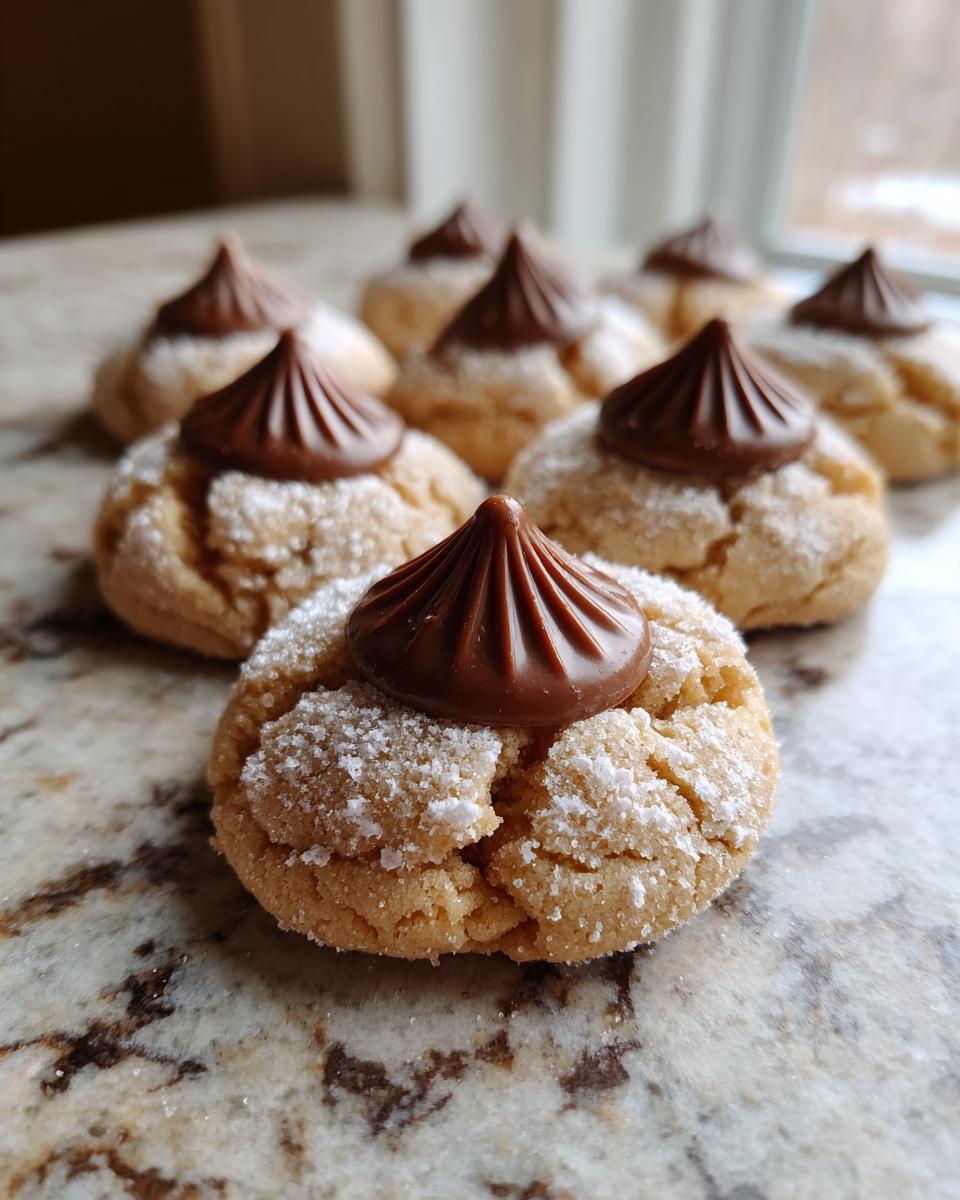
The most important thing here, outside of the Kisses themselves, is that butter! It has to be softened; if it’s cold, you’ll end up with tougher cookies, and we are aiming for soft and chewy here. If you don’t like peanut butter (though why wouldn’t you?), you can swap it out for SunButter for a seed butter alternative, but you might need to chill the dough slightly longer. Also, feel free to swap out the regular milk chocolate Kisses for their Hugs counterparts or even the dark chocolate ones if you want a richer flavor. It’s your cookie, after all!
Step-by-Step Guide to Making Kiss Cookies
Alright, now we get to the fun part where we turn simple ingredients into cookie magic! You want to get your environment ready first. That means setting your oven to 375 degrees F right away and lining those baking sheets with parchment paper. You don’t want any sticking drama later, trust me! Once the oven is warming up, we jump straight into making the dough. We mix the wet ingredients first to build that fluffy base, then we slowly introduce the dry stuff. I always keep the speed low when adding flour—we are making cookies, not bread, so we keep that gluten development to a minimum. It all comes together quickly, making this one of the best easy weekday baking projects you can tackle!
Mixing the Dough for Classic Hershey Kiss Cookies
Start by creaming your softened butter with both sugars until it looks perfectly pale and light. That fluffiness is everything! After that, beat in your eggs one by one. Now listen up: when you add the flour mixture, add it slowly and mix only until you don’t see streaks of flour anymore. Seriously, stop mixing there! Over-mixing the flour is the number one way to lose that desirable tender texture in your Classic Hershey Kiss Cookies. Lastly, stir in that peanut butter until it’s just combined. You’re aiming for a thick, slightly sticky dough.
Baking and Adding the Chocolate Center to Your Kiss Cookies
Portion your dough into small, 1-inch balls, and give them a quick roll in that extra granulated sugar you set out—this gives you that lovely crackled exterior. Bake them until the edges just look set, usually under 10 minutes. Here’s the critical moment for all Kiss Cookies: the second they come out of the oven, you need to gently press one unwrapped chocolate Kiss into the center of each hot cookie. You need that residual heat to melt the bottom of the Kiss just enough so it anchors itself and sinks in beautifully. If you wait too long, the cookie hardens, and the Kiss just sits sadly on top!
Tips for Perfect Kiss Cookies Every Time
Even though this recipe is super simple, there are a few little tricks that put your Kiss Cookies from good to absolutely legendary. If you want that gorgeous, crackled top that looks like stained glass, you need to make sure you roll those dough balls generously in the side sugar. It creates the necessary surface tension for cracking during baking! Also, a big reason cookies can turn into flat puddles is warm dough or a hot baking sheet.
Always use room-temperature baking sheets or let them cool down between batches. If the pan is too hot, the butter melts before the cookie structure can set up, and boom—you get a large, thin disc instead of a nice puff. If your dough starts feeling greasy while you’re rolling, pop the whole bowl into the fridge for 15 minutes. It takes a little patience, but that small pause keeps them thick and chewy, which is the goal! If you need another super speedy recipe, I have a guide on 30-minute egg bites you might love.
Seasonal Variations of Kiss Cookies
When the holidays roll around, or maybe just when you’re craving something pink for Valentine’s Day, you don’t have to stick just to peanut butter! These little chocolate drops are so versatile, and that’s why they pop up everywhere when people search for Christmas Cookie Ideas. The beauty of a Kiss Cookie is that the base dough can be swapped out entirely. You can use a spiced snickerdoodle dough, or even a chocolate dough for a double-chocolate hit.
For things like Christmas or Valentine’s celebrations, swapping the base is the easiest way to instantly change the whole look and flavor profile. It’s all about creating those festive colors! If you’re trying out different sweet treats for Christmas, my peppermint fudge recipe is another stunner that comes together fast.
Making Sugar Cookie with Kiss Center Variations
If you switch to a Sugar Cookie with Kiss Center base, know that the handling changes a bit. Sugar cookie dough is usually softer than peanut butter dough, so you definitely need to chill it before rolling it into balls. Since it doesn’t have peanut butter’s natural structure, we chill it longer so it doesn’t spread out flat in the oven before you can press in the chocolate. Roll these gently in coarse sugar for extra sparkle!
Storage and Freezer Tips for Kiss Cookies
The great news about these Kiss Cookies is that they stay fantastic! Once the chocolate Kiss is fully set, you can store them in an airtight container at room temperature for up to four or five days. I actually think the flavor deepens slightly on day two—how great is that for holiday prep? If you are making a huge batch, stop right before you add the Kisses and freeze the dough balls instead. They hold up beautifully! This is perfect for when you need a quick batch of homemade cookies for a last-minute snack.
Serving Suggestions for Your Festive Dessert Baking
These rich peanut butter and chocolate gems are perfect on their own, but presentation really elevates them, especially during the holiday season! I love serving these Kiss Cookies alongside something cool and creamy to cut through that richness. A tall glass of cold milk is classic, of course. If you’re throwing a party, whip up a batch of my creamy homemade eggnog; the spiced warmth pairs unbelievably well with the peanut butter base. They look so beautiful arranged on a simple white platter—instant festive charm!
Frequently Asked Questions About Kiss Cookies
I always get questions when I bring these to gatherings, so let’s tackle the things you might be wondering about your Kiss Cookies. Sometimes people worry about skipping steps, but for these, a few things really are make-or-break!
Can I skip rolling the dough balls in the extra sugar?
You truly shouldn’t skip rolling them in the sugar! That coating is what gives your Peanut Butter Blossoms that classic, crackled look once they bake. If you just bake them plain, they tend to spread a bit more and won’t have that signature crystallized texture on the surface. It only takes a second, so take the time to give them that sugary bath!
Why did my chocolate Kiss melt completely off the cookie?
Oh, that’s frustrating! This usually happens for two reasons: either you baked the cookies too long, making them too flat, or you didn’t press the Kiss in immediately. Remember, the cookie has to be piping hot right out of the oven so the chocolate melts just enough to anchor itself to the cookie structure. If you wait even a minute or two, the cookie cools slightly, and the chocolate ends up sliding right off as it cools down completely. It’s a race against time!
Can I use almond butter instead of peanut butter?
Yes, you absolutely can try that! If you want to make a nut-free version, SunButter is a great choice, but if you prefer other nut butters, almond butter works well too. Just remember that different nut butters have slightly different fat and oil contents, so the dough might feel a little softer initially. You might need to pop the dough balls in the fridge for an extra 10 minutes before rolling them in sugar, just to firm them up a bit. If you’re looking for other lighter dessert options, check out my guide on healthy desserts!
Are there other great recipes for chocolate drop cookies like these for the holidays?
There are so many fun twists for Christmas Cookie Ideas! If you want a totally different flavor but the same concept, search online for ways to swap in different bases. I saw a wonderful list of ideas on easy Hershey Kiss Christmas Cookies recipes that shows how you can adapt the idea using sugar cookies or even snickerdoodles. The key is always the timing of adding that chocolate center!
Estimated Nutritional Data for Kiss Cookies
I always feel a little bit awkward posting nutritional information because, let’s be honest, when you’re pulling these amazing Kiss Cookies out of the oven, you’re not thinking about macros! But since we’re all about clarity and transparency here at Pure Plate Path, I wanted to share the estimates based on the ingredients we used in this exact batch.
Keep in mind, these numbers are definitely estimates, and they change slightly based on the exact size of your cookies and what kind of peanut butter or chocolate you use. This accounts for one cookie, yielding about three dozen in total.
- Serving Size: 1 cookie
- Calories: 170
- Total Fat: 9g
- Saturated Fat: 4g
- Carbohydrates: 21g
- Sugar: 14g
- Protein: 3g
See? They are decadent, but honestly, 170 calories for a homemade, chewy, salty-sweet chocolate treat is pretty fantastic, especially when you remember they’re completely made from scratch with real ingredients!
PrintClassic Peanut Butter Kiss Cookies (Peanut Butter Blossoms)
Make the classic Peanut Butter Blossoms, soft and chewy peanut butter cookies topped with a chocolate kiss. This simple recipe is perfect for holiday baking or any time you need a comforting, homemade treat.
- Prep Time: 20 min
- Cook Time: 10 min
- Total Time: 30 min
- Yield: About 3 dozen cookies 1x
- Category: Dessert
- Method: Baking
- Cuisine: American
- Diet: Vegetarian
Ingredients
- 1 cup unsalted butter, softened
- 3/4 cup granulated sugar, plus extra for rolling
- 3/4 cup packed light brown sugar
- 2 large eggs
- 1 teaspoon vanilla extract
- 1/4 cup unsulfured molasses
- 1 3/4 cups all-purpose flour
- 1 teaspoon baking soda
- 1/2 teaspoon salt
- 3/4 cup creamy peanut butter
- About 72 Hershey’s Milk Chocolate Kisses, unwrapped
Instructions
- Preheat your oven to 375 degrees F. Line baking sheets with parchment paper.
- In a large bowl, cream together the softened butter, granulated sugar, and brown sugar until the mixture is light and fluffy.
- Beat in the eggs one at a time, followed by the vanilla extract and molasses. Mix until just combined.
- In a separate bowl, whisk together the flour, baking soda, and salt. Gradually add the dry ingredients to the wet ingredients, mixing on low speed until just incorporated.
- Stir in the peanut butter until the dough is uniform. Do not overmix.
- Place about 1/4 cup of extra granulated sugar in a shallow dish.
- Roll the dough into 1-inch balls. Roll each ball in the extra sugar to coat lightly.
- Place the sugared dough balls about 2 inches apart on the prepared baking sheets.
- Bake for 8 to 10 minutes, or until the edges are lightly set. The cookies will look slightly puffed.
- Immediately upon removing the cookies from the oven, gently press one unwrapped Hershey’s Kiss into the center of each warm cookie. The heat from the cookie will soften the chocolate slightly.
- Let the cookies cool on the baking sheet for 5 minutes before transferring them to a wire rack to cool completely. The chocolate kiss will set as the cookie cools.
Notes
- For the best texture, make sure your butter is truly softened, not melted.
- If you want a crackled appearance on the cookie surface, press the Kiss into the cookie immediately after removing it from the oven.
- You can substitute milk chocolate Kisses with Hugs Kisses or dark chocolate Kisses for variation.
- These cookies freeze well before the Kiss is added. Store frozen dough balls in an airtight container and bake from frozen, adding 1-2 minutes to the bake time.
Nutrition
- Serving Size: 1 cookie
- Calories: 170
- Sugar: 14g
- Sodium: 95mg
- Fat: 9g
- Saturated Fat: 4g
- Unsaturated Fat: 5g
- Trans Fat: 0g
- Carbohydrates: 21g
- Fiber: 1g
- Protein: 3g
- Cholesterol: 20mg