
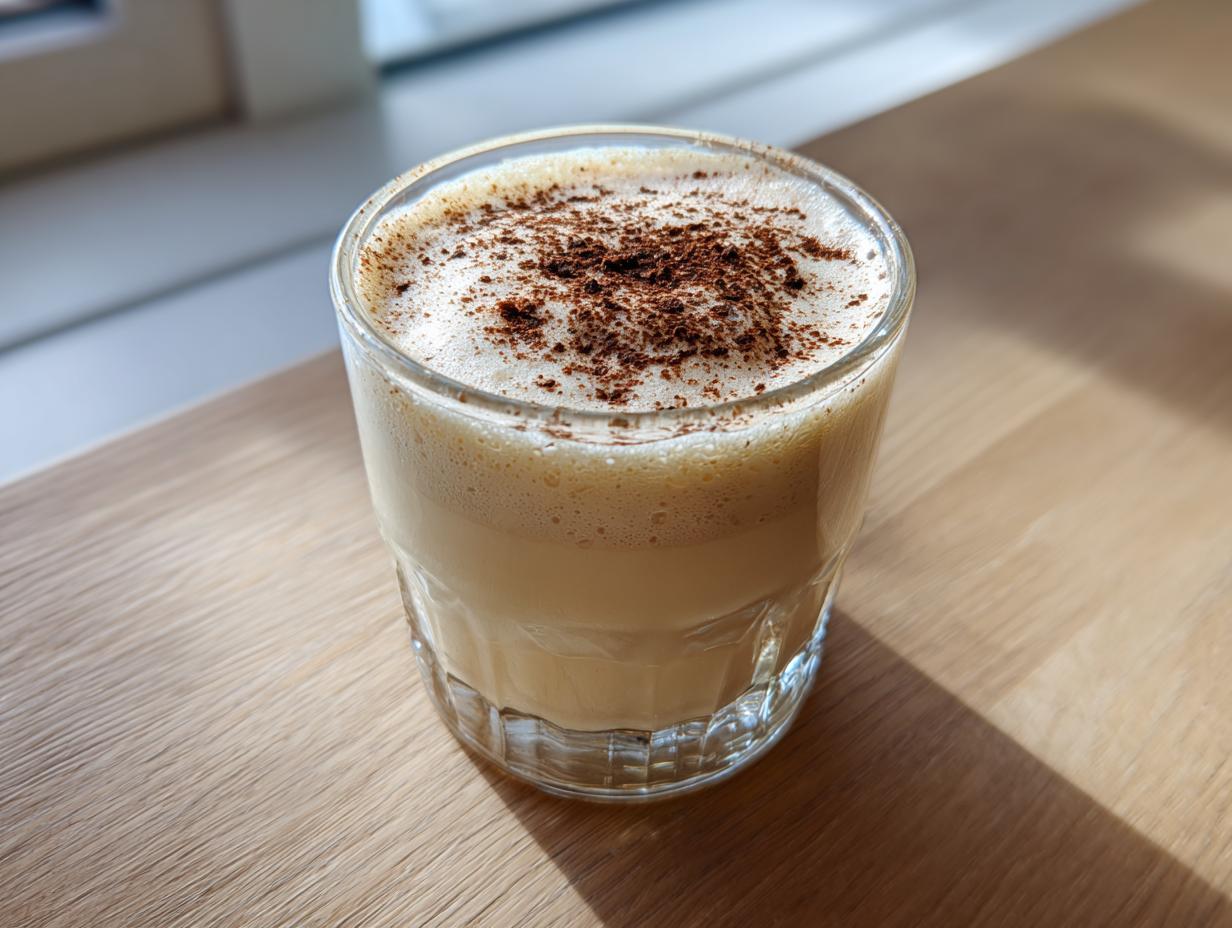
Oh, the holidays! They just wouldn’t be the same without that rich, decadent sip of cold, spicy goodness, right? I remember when I first started Pure Plate Path, I was trying to trade convenience for quality, and guess what had to go? Thin, overly sweet, borderline chemical-tasting store eggnog! No thank you. That’s why I worked so hard on this recipe because making your own **eggnog** is truly the key to enjoying the season. Trust me when I say this homemade version—perfectly balanced and incredibly **creamy eggnog**—will make you swear off those cartons forever. It’s nourishing comfort in a glass, which is exactly what my journey back to real food was all about. You can read more about that philosophy over on our About Page!
- Why This Homemade Eggnog Recipe is Your New Holiday Staple
- Ingredients for Classic Creamy Eggnog
- How to Prepare the Best Homemade Eggnog Recipe
- Variations: Spiced Eggnog, Bourbon Eggnog, and More
- Serving Suggestions for Your Festive Eggnog
- Storage and Reheating Instructions for Leftover Eggnog
- Frequently Asked Questions About Homemade Eggnog
- Nutritional Estimates for This Creamy Eggnog
- Share Your Holiday Eggnog Creations
Why This Homemade Eggnog Recipe is Your New Holiday Staple
Listen, I know the holidays get busy. That’s why I focused on making this recipe deliver massive flavor without needing a culinary degree or half a day in the kitchen. When you taste this, you’ll see why it beats anything you buy off the shelf. It’s just pure, spiced holiday happiness in a glass.
- It’s so much richer than anything commercial—that deep custard base makes all the difference.
- The spice blend is perfectly balanced; enough nutmeg to feel festive, but not overwhelming.
- It chills beautifully, making it an amazing make-ahead option for your party!
Achieving the Perfect Creamy Eggnog Texture
This is all thanks to our secret weapon: just the egg yolks, cooked gently. That slow cooking process, where you stir constantly, creates a beautiful, velvety custard base. We aren’t just whisking things together randomly! This careful cooking builds the body that makes our **creamy eggnog** so satisfying. No gummy texture here, only smooth comfort.
Simple Steps for an Easy Eggnog
Don’t let the word “custard” scare you off! Seriously, the active prep time is only about 15 minutes. You temper the eggs, cook it down for about 10 minutes, and then it’s chilling time. It’s so straightforward that even if you’re juggling wrapping and decorating, you can whip up this amazing **eggnog** base before your guests even arrive.
Ingredients for Classic Creamy Eggnog
Getting the ingredients laid out first is my number one rule for any recipe, especially **eggnog**! When you use quality items here, you get that fantastic, rich flavor that storehouses can never match. Since we are using the yolks and cooking the base, the quality really shines through. Everything goes into the bowl or pot exactly as written, and you are already halfway to the best Christmas cocktail ever.
Ingredient Notes and Substitutions for Your Eggnog
Pay close attention to these details; they make the drink sing! You absolutely need whole milk; don’t try to sneak in skim milk here—we need the fat content for true creaminess! And listen, if you want that authentic, sharp holiday flavor, skip the pre-ground jar stuff and use fresh nutmeg. You grate it right over the top when serving, and WOW, the aroma is incredible. If you decide mid-process that you want an **eggnog recipe no alcohol** version, that’s wonderful! Just omit the bourbon or rum completely; the recipe is delicious either way.
How to Prepare the Best Homemade Eggnog Recipe
Okay, this is where we turn simple ingredients into pure holiday magic. Since we are cooking this **eggnog** base, we need a little focus, but don’t panic! The instructions look long, but they are just making sure you don’t accidentally cook scrambled eggs instead of custardy goodness. We use the stovetop method here, which gives us total control over the richness. If you want a really detailed visual guide on making an old-fashioned version, check out this guide on making homemade egg nog.
Tempering the Eggs for Smooth Homemade Eggnog
This is the one step you cannot rush, promise! First, whisk those six egg yolks and the sugar together until they get pale yellow and kind of thick—like a ribbon forms when you lift the whisk. Now, take about a cup of your hot milk and cream mixture and drizzle it in *very* slowly while whisking the egg yolks non-stop. If you dump it fast, you’ll end up with sweet scrambled eggs, and nobody wants that! This slow introduction is called tempering, and it gently brings the temperature up on the yolks. Once you’ve whisked in that hot liquid, you pour that happy yolk mixture back into the saucepan with the rest of your milk.
Keep the heat low—and I mean low—and stir constantly with a wooden spoon until the mixture coats the back of the spoon. Watch that spoon! If you can draw a clear line across it that doesn’t immediately run back together, you’re perfectly cooked, usually right around 170°F. Pull it right off the heat immediately!
Chilling and Flavor Development for Rich Eggnog
Once it’s off the heat, stir in your vanilla, cinnamon, and that gorgeous nutmeg, plus any booze you’re using. Now, here’s the crucial part for texture: chilling. You need to get this into an airtight container and stick it in the fridge for a *minimum* of four hours. Honestly, though, overnight is the magic number. As the **eggnog** chills, those fats and liquids really settle in, and the whole drink thickens up into that luxurious texture you showed up for. It just tastes so much better after those flavors have had time to mingle!

Variations: Spiced Eggnog, Bourbon Eggnog, and More
One of the best parts about making your **eggnog** at home is that you are the boss! Store-bought is usually one-size-fits-all, but here, you can customize it perfectly for your crowd and your personal taste. Do you want a little kick? Or maybe you’re hosting a crowd with kids and need a zero-proof option? This base recipe handles it beautifully. We can easily turn this into a spiked delight or keep it totally family-friendly.
Making a Classic Bourbon Eggnog
If you are making **bourbon eggnog**, you absolutely need to wait until the custard base has been cooked and removed from the heat before adding your spirits. Never boil alcohol, or you just cook off all the flavor we want! Once everything has cooled down a touch—say, after you’ve stirred in the vanilla and spices—then you pour in your spirit of choice. I love using a nice quality spiced rum or a smooth bourbon; it just warms up the drink perfectly. Remember, the alcohol also acts as a slight preservative, but don’t let that trick you into thinking you can skip the chilling step!
Creating an Eggnog Recipe No Alcohol Version
This is so easy, it barely counts as a variation! If you know you’ll have little ones at your **holiday drinks** gathering, or if you just prefer things straight, you simply skip adding the bourbon or rum entirely. That’s it! Our instructions tell you to stir it in during step seven, so just skip that one line. The milk, cream, eggs, and spices create such a rich base that the drink stands wonderfully on its own. Honestly, my little nephew sometimes prefers the non-spiked version because he says it lets the nutmeg shine through even more!
If you want to explore some other boozy options that pair well with this creamy base, you might find some fun inspiration on quick holiday recipes like the easy homemade eggnog ideas out there.
Serving Suggestions for Your Festive Eggnog
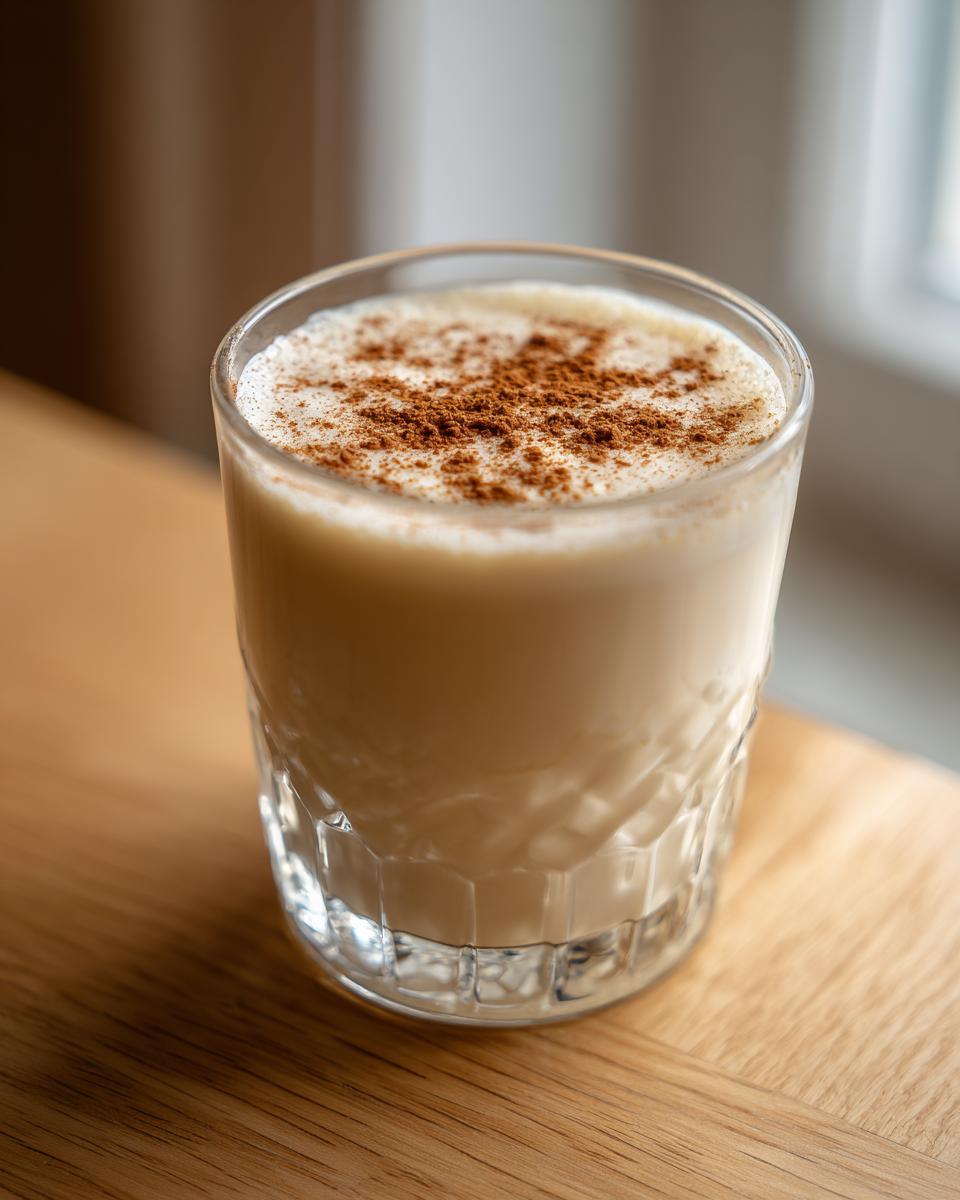
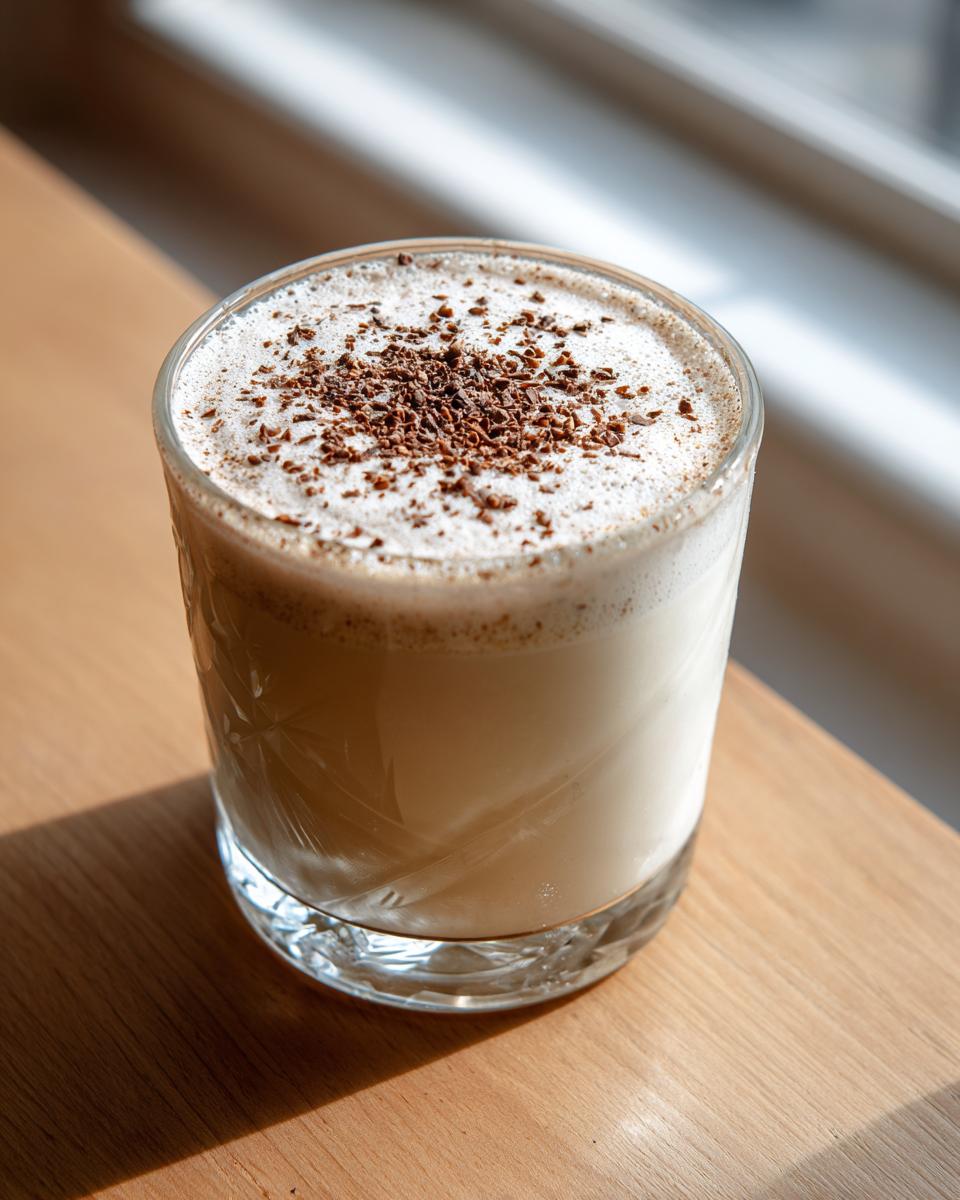
Now that you’ve made the most incredibly rich and creamy **eggnog** imaginable, we absolutely need to talk about presentation! A drink this good deserves the full holiday treatment. It helps elevate the whole experience, turning your regular living room into a cozy Christmas cocktail spot. First things first: always serve this chilled. It should be ice cold when it hits the glass.
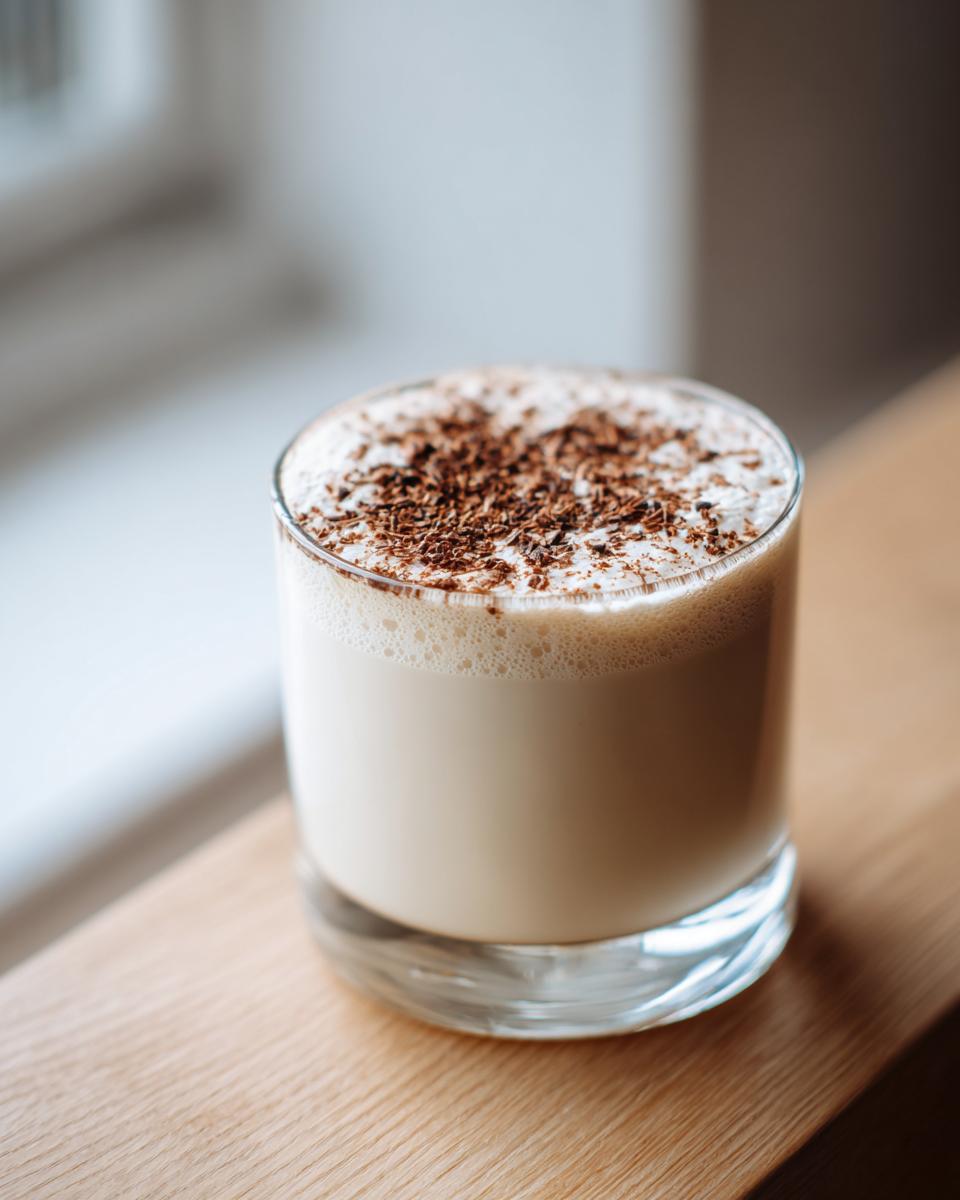
For garnishes, you have a few amazing options. The absolute best way to show off your homemade quality is a dusting of fresh nutmeg. I mean the stuff you grate yourself right over the top of the glass! The aroma alone seals the deal and screams ‘homemade quality’ instantly. Don’t use the stuff that’s been sitting in that yellow shaker for three years; trust me on the fresh grates.
If you’re feeling fancy, you could rim the glasses in a little cinnamon and sugar mix before pouring. For a gorgeous visual pop, especially if you’re doing **bourbon eggnog**, float a single whole clove right on top of the nutmeg. It looks so elegant!
What should you serve it with? This thick, rich drink pairs beautifully with slightly salty or spiced snacks. Think about serving it alongside some homemade gingerbread cookies or maybe some lightly salted roasted nuts. It cuts through the richness perfectly. If you need a little visual inspiration for setting up your drinks cart, check out some great eggnog serving ideas online—it’ll get your creative juices flowing!
Storage and Reheating Instructions for Leftover Eggnog
So, what happens if you actually have leftover **eggnog**? Honestly, that rarely happens in my house, but when it does, we treat that liquid gold gently! Since this is a real dairy and egg product, unlike that super-preserved stuff on the shelf, storage is really important. You need to treat this like a fresh custard base.
Always keep your homemade **eggnog** tightly sealed in the refrigerator. An airtight pitcher or a glass container with a secure lid works best. Because ours is so rich and fresh, it keeps beautifully for about five to seven days in the fridge. I know some people try to push it, but for the best flavor and texture—and food safety, which is super important to me—I wouldn’t push past one week.
Now, about reheating. If you’re serving it cold as a traditional **Christmas cocktail** or holiday drink, you don’t need to do anything! Just give it a good whisk before pouring because sometimes the heavier cream can settle slightly on the very bottom after sitting for a day. If, however, you want a warm spice drink—maybe you saw a cute idea online—you can gently warm it up on the stovetop, but keep that heat extremely low. Never boil it, or you risk scrambling those lovely yolks we cooked so carefully!
If you happen to be making a specialty batch, like a dairy-free eggnog, just make sure you check the specific storage times for your milk substitute, as some plant milks can curdle more easily than whole milk when cold.
Frequently Asked Questions About Homemade Eggnog
I get so many questions every holiday season about this **classic eggnog** recipe. You guys are the best, diving right into making this from scratch! Here are a few things I hear most often as people try to perfect their **holiday drinks**.
Can I make this an old fashioned eggnog without cooking the base?
If you are thinking of making a ‘raw’ **old fashioned eggnog** by just skipping the cooking part, please, please don’t! While it saves a few minutes, cooking the base is essential for two huge reasons. First, safety—we are dealing with raw eggs, and heating them makes the drink safe for everyone, especially when serving at big parties. Second, texture! Cooking those yolks and sugar is what creates that luxurious, thick, custard-like body. Raw versions are usually thin and watery, and we want rich and **creamy eggnog**, remember?
How does this homemade eggnog compare to store-bought versions?
Oh, honey, there is no comparison. Store-bought **eggnog** is often thinner, heavier on stabilizers, and sometimes tastes artificially flavored. When you make this **homemade eggnog recipe**, you get real depth—the cream, the fresh spices, the mellowed bourbon, if you use it. It’s like drinking a velvety dessert. You will take one sip, and you’ll understand why I say you’ll never go back to the carton again. It’s richer, fresher, and perfectly spiced!
Why is my eggnog not thickening up during chilling?
If you followed the stovetop instructions and it still seems a bit thin after chilling for a few hours, don’t worry! Sometimes the chilling process needs a little encouragement. Give it a really vigorous whisk right before you put it away for the night. If you chilled it overnight and it’s still too thin for your liking, it probably means you didn’t cook it long enough to reach that 170°F stage. Next time, watch that spoon for the proper coating! For now, consider adding a splash more heavy cream or even using a bit less milk next batch for an even better **creamy eggnog** result.
Nutritional Estimates for This Creamy Eggnog
Okay, let’s talk about what you’re sipping! Since this is homemade **eggnog**, you know exactly what’s going into it—real dairy and real sugar, which means we are in decadent territory! I pulled together some estimates for you, because even when we are treating ourselves during the holidays, it’s good to know what we’re enjoying. This information is based on the recipe provided without the optional alcohol additions.
Remember, because we are using real ingredients and you might use a different brand of cream or sugar, these are just great guidelines, not strict science. If you add that wonderful **bourbon eggnog** kick, those numbers will shift, of course!
- Calories: About 450 per serving cup
- Fat: Around 28g (Get that creamy texture!)
- Carbohydrates: Roughly 38g
- Protein: About 10g
- Sugar: Approximately 35g
See? It really is more like a dessert than a simple drink, which is why it’s perfect for sipping slowly by the fire. Enjoy this rich treat responsibly!
Share Your Holiday Eggnog Creations
Well, that’s it! You’ve made the absolute best **homemade eggnog recipe**, and it’s ready to be shared with everyone you love this holiday season. Taking the time to make something this rich by hand is an act of love, so please, don’t keep the wonderful flavor a secret!
I would absolutely *love* to hear what you thought! Did you try spiking yours with a little dark rum, or did you stick to the family-friendly **eggnog recipe no alcohol** version? Did you use fresh nutmeg on top, or maybe you tried some cinnamon sugar on the rim?
Please leave a rating right here on the recipe card—a five-star rating lets me know I succeeded in sharing the perfect **creamy eggnog** with you! And if you snap a picture of your beautiful glass of cold, festive cheer, please share it with me. Tag us or send a photo through the contact page so I can see your gorgeous **holiday drinks**!
Happy sipping, everyone, and have the happiest, warmest holidays!
PrintCreamy Homemade Eggnog Recipe

Make rich, creamy, and perfectly spiced homemade eggnog that tastes better than store-bought versions. This recipe is easy to prepare for your holiday gatherings.
- Prep Time: 15 min
- Cook Time: 10 min
- Total Time: 4 hr 25 min
- Yield: 6 servings 1x
- Category: Dessert Drink
- Method: Stovetop Cooking
- Cuisine: American
- Diet: Vegetarian
Ingredients
- 6 large egg yolks
- 1 cup granulated sugar
- 1 quart whole milk
- 1 pint heavy cream
- 1 teaspoon vanilla extract
- 1/2 teaspoon ground nutmeg
- 1/4 teaspoon ground cinnamon
- Pinch of salt
- Optional: 1 cup bourbon or spiced rum
Instructions
- In a medium bowl, whisk the egg yolks and sugar together until the mixture is pale yellow and thick.
- In a saucepan, combine the whole milk and heavy cream. Heat over medium heat until small bubbles form around the edges; do not boil.
- Slowly temper the egg mixture by pouring about one cup of the hot milk mixture into the egg yolks while whisking constantly.
- Pour the tempered egg mixture back into the saucepan with the remaining milk and cream.
- Cook over low heat, stirring constantly with a wooden spoon, until the mixture thickens enough to coat the back of the spoon (about 170°F). Do not let it boil.
- Remove the saucepan from the heat. Stir in the vanilla extract, nutmeg, cinnamon, and salt.
- If using alcohol, stir in the bourbon or rum now.
- Pour the eggnog into a pitcher or airtight container. Chill in the refrigerator for at least 4 hours, or preferably overnight, to allow the flavors to meld and the mixture to thicken further.
- Serve cold, garnished with freshly grated nutmeg.
Notes
- For a non-alcoholic version, omit the bourbon or rum entirely.
- To achieve the best creamy texture, use the egg yolks as directed and cook the base mixture gently until thickened.
- Grate fresh nutmeg over the top just before serving for the strongest flavor.
Nutrition
- Serving Size: 1 cup
- Calories: 450
- Sugar: 35
- Sodium: 80
- Fat: 28
- Saturated Fat: 16
- Unsaturated Fat: 12
- Trans Fat: 1
- Carbohydrates: 38
- Fiber: 0
- Protein: 10
- Cholesterol: 250