
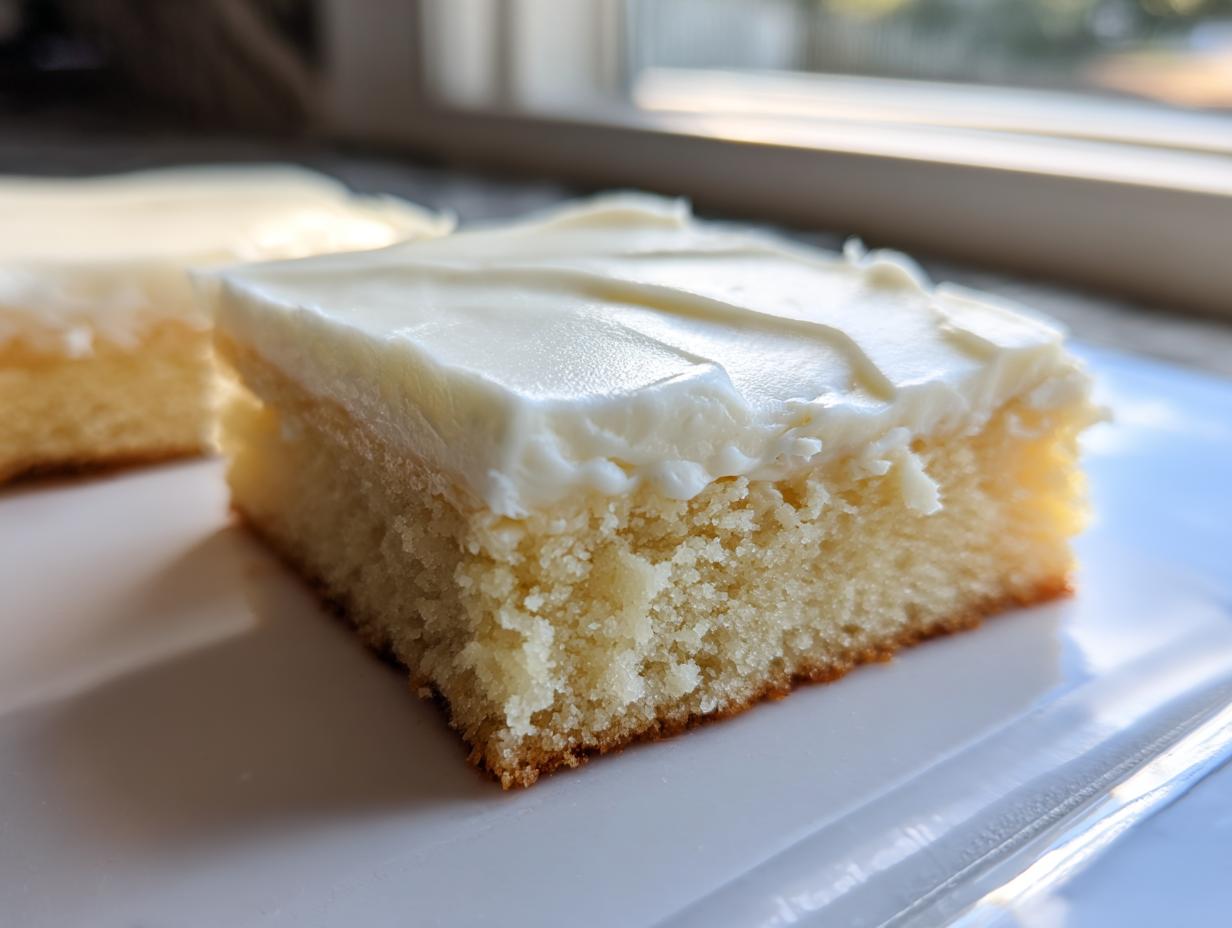
Oh, you know those beautiful, classic sugar cookies—the ones that taste like pure vanilla joy? Well, they usually require all that tedious rolling, chilling, and cutting, right? Who has time for that when life is already so hectic? That’s why I spent time perfecting what I call the ultimate soft & chewy sugar cookie bars. Here at Pure Plate Path, my goal as Sarah Miller is always to deliver deeply nourishing food that fits right into your busy day. These bars give you that incredible, rich flavor and that perfect texture without ever needing a cookie cutter. Seriously, they are a game-changer for easy baking!
We use simple, high-quality ingredients because getting nutritious food on the table shouldn’t be stressful. If you need quick ideas for dinner or dessert, check out my guide to quick and easy weeknight dinners, but for now, let’s focus on these amazing squares!
- Why These Are the Best Sugar Cookie Bar Recipe You Need
- Ingredients for Your Chewy Vanilla Cookie Bars
- How to Prepare Easy Sugar Cookie Bars Step-by-Step
- Tips for Perfect Bakery Style Sugar Cookie Squares Every Time
- Storing and Making Ahead Dessert Bars
- Serving Suggestions for Frosted Bar Cookies
- Frequently Asked Questions About Sugar Cookie Bars
- Nutritional Estimate for Your Sugar Cookie Bars
- Share Your Simple Sheet Pan Cookies Creations
Why These Are the Best Sugar Cookie Bar Recipe You Need
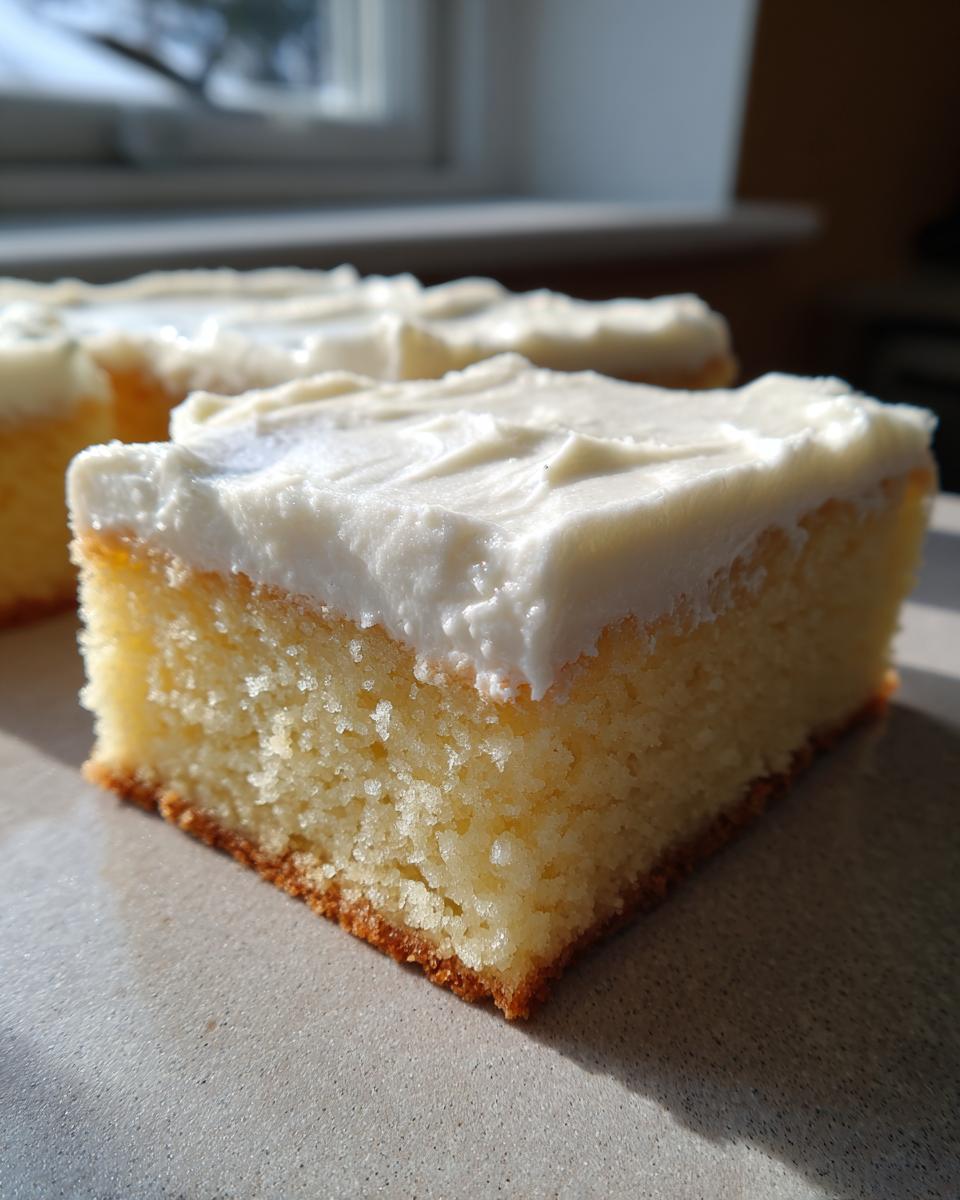
Listen, I love the tradition of cut-out cookies, but sometimes I just need dessert fast. That’s why this has become the best sugar cookie bar recipe I keep coming back to. Forget chilling dough for hours! We skip all that mess and get rich, satisfying results that look like they came straight from a fancy bakery. These are truly bakery style cookie bars made simple.
Achieving Soft Frosted Cookie Bars Texture
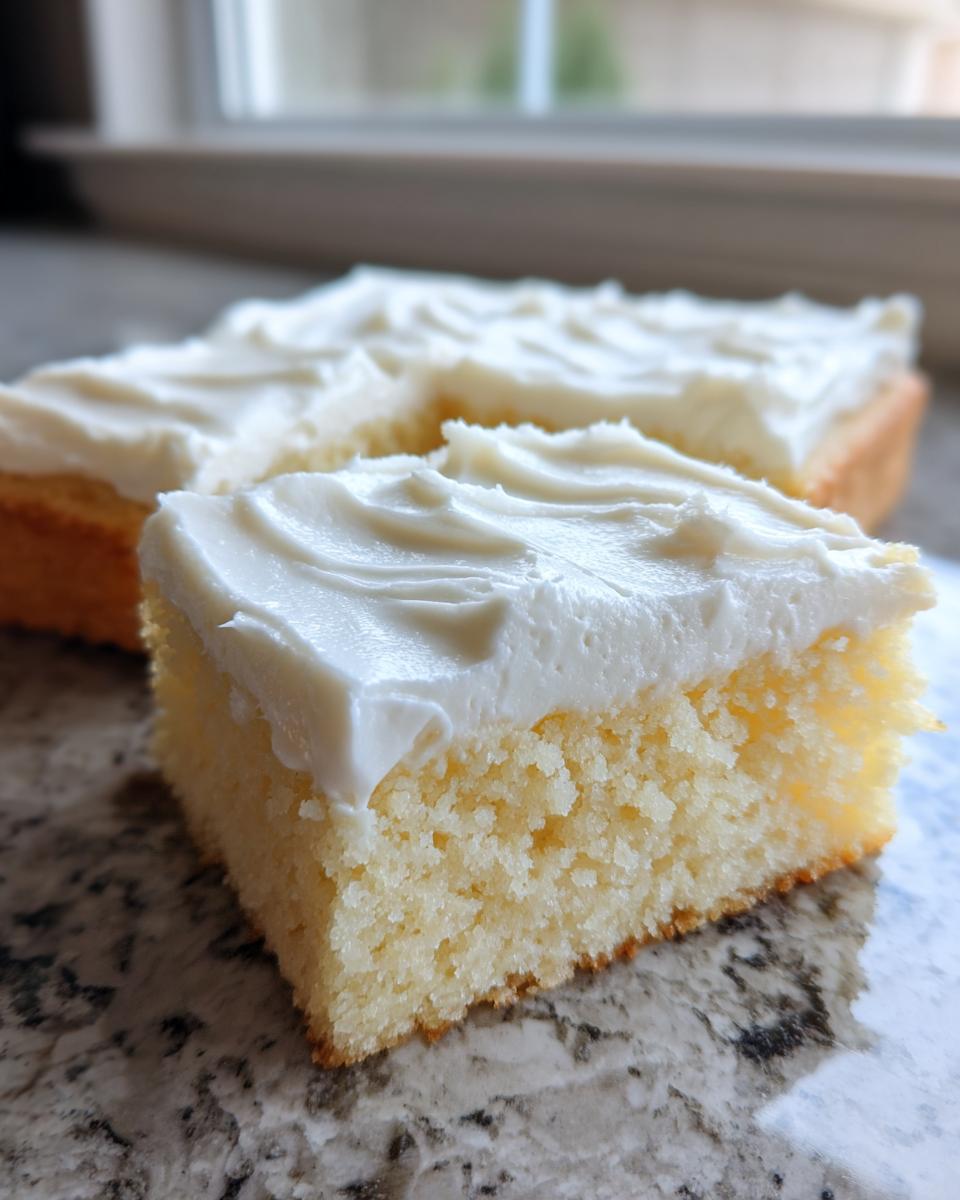
The secret to getting those perfectly soft frosted cookie bars isn’t complex—it’s just good creaming technique. When you beat the butter and sugar together until it’s wonderfully fluffy, you’re creating microscopic air pockets. Those pockets are what keep the final bar tender instead of dense and hard as a brick!
The Appeal of Quick Dessert Bars
For me, dessert needs to feel like a reward, not a chore. That’s the beauty of quick dessert bars like these. We’re talking about pressing dough into a pan and baking it while you clean up dinner. It’s dessert convenience without sacrificing that wonderful, comforting, homemade feeling. It just fits perfectly into a real-life schedule.
Ingredients for Your Chewy Vanilla Cookie Bars
Okay, for these sugar cookie bars to turn out perfectly soft and chewy, we need good measurements, but don’t stress! Precision really helps when you skip the rolling part. I’ve broken down exactly what you need below, separating the bar components from the fluffy frosting components. Trust me, using softened butter for both parts is non-negotiable for texture!
For the Bars:
- 1 cup unsalted butter, softened
- 1 1/2 cups granulated sugar
- 2 large eggs
- 1 tablespoon vanilla extract
- 3 3/4 cups all-purpose flour
- 1 1/2 teaspoons baking powder
- 1/2 teaspoon salt
- 1/2 cup milk
And for the Creamy Buttercream Topped Bars Frosting:
- 1 cup unsalted butter, softened
- 4 cups powdered sugar (make sure it’s sifted, please!)
- 1 teaspoon vanilla extract
- 3 tablespoons milk or heavy cream
- Pinch of salt
Ingredient Notes and Substitutions for Sugar Cookie Bars
Let’s talk specifics because the ingredients are what make these bars special. First, for the butter: it *must* be softened, not melted. Melted butter gives you greasy, flat bars. Softened means if you gently press it, your finger leaves an indent, but it holds its shape. That warmth helps us cream it properly, which is the secret to making these chewy vanilla cookie bars.
When it comes to the frosting, the milk versus cream choice is yours. Using heavy cream will give you a slightly richer, stiffer buttercream that holds its shape a little better if your kitchen is warm. Milk works perfectly fine for a softer, perfectly spreadable topping. If you want a little something extra in the frosting, swap out half the vanilla extract for almond extract—it gives it that classic, slightly almond-y finish you often find in the best supermarket cookie squares!
How to Prepare Easy Sugar Cookie Bars Step-by-Step
Now for the fun part—putting it all together! This is where we turn a bowl of ingredients into truly easy sugar cookie bars that come together faster than you think. Like with my easy egg bites, the method here is all about efficiency without cutting corners on flavor.
Mixing the Dough for No Chill Cookie Bars
Start by preheating that oven to 350°F (175°C) and getting your 9×13 pan lined with parchment paper—make sure that paper hangs over the sides a bit so you can lift the whole thing out later! Now, back to the bowl where you creamed your butter and sugar until fluffy. Beat those eggs in one by one, followed by the vanilla. In a separate bowl, whisk your dry ingredients. This is where you need to pay attention: gently add the dry mix alternating with the milk. Stop mixing right when you see the last streaks of flour disappear. Seriously, stop! Overmixing develops gluten and that’s how you get tough, dry bars. Since we are aiming for those wonderful no chill cookie bars, gentle mixing is key to keeping them soft.
Baking and Cooling Your Sugar Cookie Squares
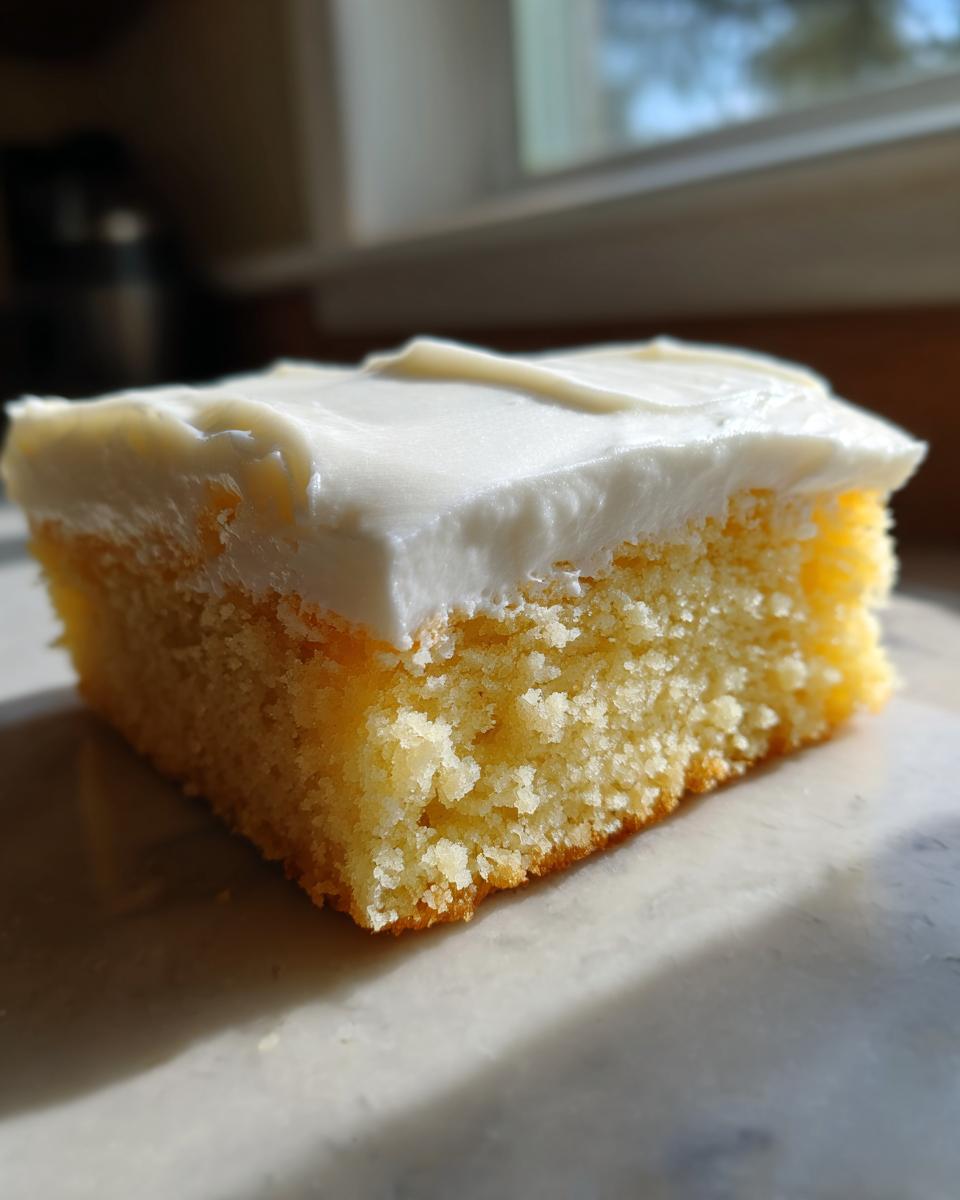
Once the dough is pressed evenly into that prepared pan, it’s ready for the heat! Bake for about 20 to 25 minutes. Don’t look for dark brown edges; you want them just barely golden at the sides, and the center should look set but still soft. A toothpick should come out with moist crumbs clinging to it, not wet batter. This is crucial for perfect sugar cookie squares! You absolutely must let these cool completely before even thinking about frosting them. If you rush this step, you’ll end up with a melted, sad puddle of frosting on your pan.
Creating the Perfect Buttercream Topped Bars Frosting
While those bars are cooling down completely—use that time to make your frosting! Start by beating that second cup of softened butter until it’s perfectly smooth, kind of like silk. Then, slowly incorporate the powdered sugar, a cup at a time, mixing on low so you don’t create a sugar cloud in your kitchen! Once it’s incorporated, drizzle in the vanilla and milk/cream until you hit that perfect spreading consistency. This is how we deliver those gorgeous, thick buttercream topped bars that taste just heavenly!
Tips for Perfect Bakery Style Sugar Cookie Squares Every Time
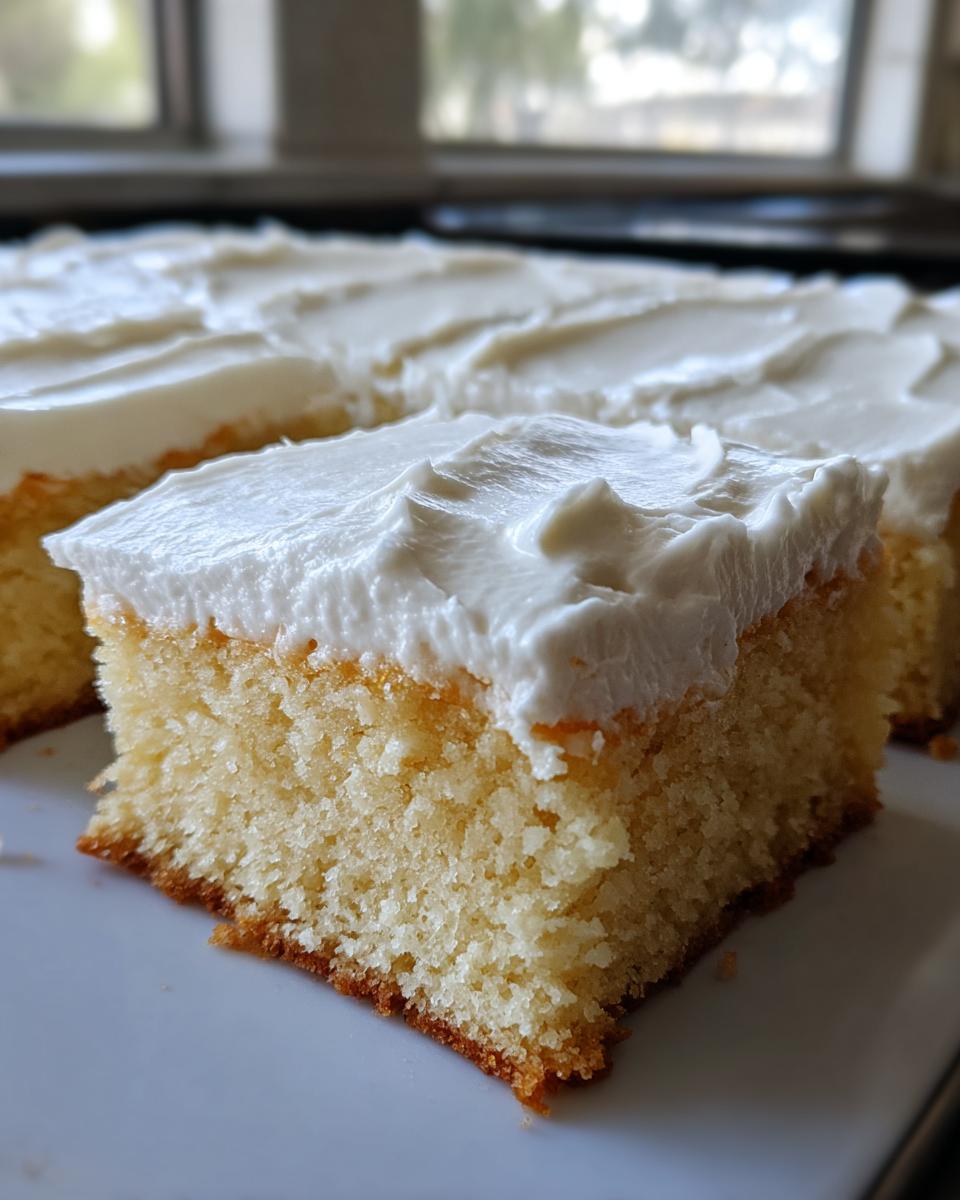
Getting these to look like they came from a professional shop—you know, those amazing, thick bakery style sugar cookie squares—comes down to a couple of tiny tricks I learned the hard way! First off, that parchment paper overhang I mentioned? Do not skip it. If you lift the entire cooled slab out of the pan with those paper ‘handles,’ you avoid the risk of cracking the edges while trying to pry them loose. It’s just a stress-free lift!
Another thing that makes a difference is your final spread when frosting. To get that level, professional look, use an offset spatula if you have one. It makes spreading the buttercream evenly across the entire surface so simple. If you don’t have one, just dip the back of a large spoon into a little hot water, wipe it dry, and use that! You can see some great inspiration over at Cooking with Karli on how they style their bars.
Finally, wait! Resist the urge to cut them immediately. Cutting warm bars results in jagged edges and frosting smears. Let that frosting set up for 30 minutes before slicing into perfect, clean squares. That patience pays off big time!
Storing and Making Ahead Dessert Bars
One of the things I love most about these sugar cookie bars is how well they play into my meal planning routine. They absolutely qualify as excellent make ahead dessert bars! Knowing I can whip up a huge tray on a Sunday and have dessert covered for the week? That’s real self-care right there.
If you’re making them ahead, I really suggest keeping the frosting and the bars separate until just before you plan to serve them. If you frost them right away, the sugar in the buttercream can start to weep or bleed into the cookie layer after a couple of days, especially if your fridge is a little humid. Wrap the completely cooled bars tightly in plastic wrap—I use about two layers—and they stay perfect at room temperature for a good three days.
Can you freeze them? Yes, you totally can, but freezing is best done before the frosting goes on. Wrap the unfrosted bars tightly, maybe even putting one layer of parchment between two stacked layers so they don’t stick together. They freeze beautifully for up to two months!
If you freeze them frosted (which is fine if you’re short on time!), make sure you put parchment paper squares between the layers before wrapping them. When you thaw them, put them right into the fridge overnight still loosely wrapped. This slow thaw prevents condensation—that watery mess—from ruining your beautiful $\text{buttercream topped bars}$. If you want to serve them warm after thawing (which is divine, by the way), let them come to room temp and then pop the square into the microwave for just 10 seconds before eating. For more make-ahead magic that saves time later, take a look at how I make my easy peppermint fudge recipe!
Serving Suggestions for Frosted Bar Cookies
These frosted bar cookies are so versatile, which is why I love them! If you’re serving them up casually, just slice them into squares and stack them on a pretty plate. For a simple presentation upgrade, especially if you’re serving them alongside something savory—maybe my easy creamy garlic sauce on some chicken the night before—try adding a small, colorful garnish.
If it’s not Christmas, maybe use bright yellow sprinkles for summer lemonade vibes, or soft blues and greens for Easter. A tiny dollop of raspberry jam on top of the frosting looks beautiful too! If you’re looking for holiday ideas specifically, check out the festive looks over at All Home Recipes; they show you how to turn a simple bar into holiday magic with just sprinkles.
Frequently Asked Questions About Sugar Cookie Bars
I get so many lovely messages asking for little tweaks on this recipe. It’s wonderful to see so many of you making these sugar cookie bars at home! Here are the top questions I always hear, hoping it helps you out as you bake!
Can I use a different frosting on these sugar cookie bars?
Absolutely! That vanilla buttercream is my personal favorite for that soft, classic flavor, but the base cookie recipe is strong enough to handle other toppings. If you are looking for something a little tangier, you can easily swap it out for a cream cheese frosting. Just use 4 ounces of softened cream cheese in place of two tablespoons of the butter in the frosting recipe, and adjust the powdered sugar slightly to get the right consistency. Or, as I mentioned earlier, using almond extract instead of vanilla gives you an amazing, slightly different flavor profile that mimics some of those delicious bakery style sugar cookie squares!
How do I make these holiday sugar cookie bars?
This is probably the most fun way to use this recipe! Since these are such easy sugar cookie bars, they are perfect for turning festive. For easy flavoring, swap out the vanilla extract in the *cookie* dough for almond extract. It gives that lovely, festive undertone associated with holiday baking. Then, once the frosting is done, this is where you go wild! Use red and green food coloring, or just top the white frosting with lots of festive sprinkles or sanding sugar. Suddenly, your quick dessert bars become perfect for any holiday traybake!
Why are my chewy vanilla cookie bars a bit dry?
If your bars aren’t getting that lovely moisture we are aiming for in these chewy vanilla cookie bars, nine times out of ten, it’s one of two things. First, check your baking time—if they go even a minute or two past being done, they dry out fast. Pull them when the edges are just barely set! Second, measure your flour! Spoon the flour lightly into your measuring cup and then level it off; scooping directly from the bag packs the flour in, which dries everything out. We want soft, not cakey!
Are these kid friendly cookie bars?
These are incredibly kid friendly cookie bars! Since we aren’t dealing with sharp cookie cutters or sticky rolling pins, kids can really jump in. They’re usually great at helping cream the butter and sugar, and stirring in the dry ingredients (slowly, so the mixer doesn’t fling powder everywhere!). My favorite part for the little ones is letting them decorate the cooled, frosted layer with sprinkles. It’s a big win since they get to see the results of their work right away!
Nutritional Estimate for Your Sugar Cookie Bars
I always believe in being upfront about what’s going into our bodies, even when we’re enjoying a bit of sweet comfort like these amazing sugar cookie bars! When you’re feeding your family, knowing the basics helps you make informed choices, right? This information is purely an estimate based on the standard ingredients listed in the recipe. Since we all use slightly different brands and milk fat percentages, think of this as a helpful guide rather than a strict count.
This recipe yields 24 servings, and here’s a ballpark look at what one of those gorgeous, frosted squares contains:
- Serving Size: 1 bar
- Calories: 310
- Sugar: 35g
- Fat: 16g (10g Saturated)
- Carbohydrates: 40g
- Protein: 3g
- Sodium: 150mg
I always tell people that these are designed for enjoyment, not for restrictive dieting. We used high-quality ingredients like real butter, which gives us that phenomenal texture, but know that it adds to the fat and calorie count. It’s about balance, which is the whole philosophy here at Pure Plate Path! If you’re tracking macros or just curious, I hope this transparency helps you fit these frosted bar cookies into your week guilt-free.
Share Your Simple Sheet Pan Cookies Creations
Whew! We made it through the baking and the frosting! I hope you are absolutely delighted with how these simple sheet pan cookies turned out for you. For me, making food accessible and bringing that joy of home cooking back into busy schedules is what Pure Plate Path is all about, and I truly want to hear about your experience!
Did you stick to the classic vanilla frosting, or did you experiment with almond extract like I mentioned? Please, drop a comment below! Rating the recipe right on the page helps other busy people see that yes, you can make something truly wonderful without spending all afternoon in the kitchen. Your feedback confirms that these sugar cookie bars work in real, busy homes like mine!
If you feel inspired to connect more with our philosophy of finding peace and wellness one simple meal at a time, I’d love for you to learn more about my journey here. Happy baking, friend, and thank you for bringing these sweet squares into your table!
PrintThe Ultimate Soft & Chewy Frosted Sugar Cookie Bars (Year-Round Recipe)
Make these easy sugar cookie bars for a simple, soft, and chewy dessert. This recipe skips the cookie cutters and delivers bakery style cookie bars topped with classic vanilla buttercream frosting, perfect for any occasion.
- Prep Time: 20 min
- Cook Time: 25 min
- Total Time: 45 min
- Yield: 24 servings 1x
- Category: Dessert
- Method: Baking
- Cuisine: American
- Diet: Vegetarian
Ingredients
- 1 cup unsalted butter, softened
- 1 1/2 cups granulated sugar
- 2 large eggs
- 1 tablespoon vanilla extract
- 3 3/4 cups all-purpose flour
- 1 1/2 teaspoons baking powder
- 1/2 teaspoon salt
- 1/2 cup milk
- For the Frosting: 1 cup unsalted butter, softened
- 4 cups powdered sugar
- 1 teaspoon vanilla extract
- 3 tablespoons milk or heavy cream
- Pinch of salt
Instructions
- Preheat your oven to 350°F (175°C). Line a 9×13 inch baking pan with parchment paper, leaving an overhang on the sides for easy removal. Lightly grease the paper.
- In a large bowl, cream together the softened butter and granulated sugar until the mixture is light and fluffy. This step helps create soft frosted cookie bars.
- Beat in the eggs one at a time, mixing well after each addition. Stir in the vanilla extract.
- In a separate bowl, whisk together the flour, baking powder, and salt.
- Gradually add the dry ingredients to the wet ingredients, alternating with the milk, beginning and ending with the flour mixture. Mix only until just combined. Do not overmix your dough.
- Press the sugar cookie bar dough evenly into the prepared 9×13 inch pan.
- Bake for 20 to 25 minutes, or until the edges are lightly golden and a toothpick inserted near the center comes out clean. The bars should still look soft.
- Let the cookie bars cool completely in the pan on a wire rack before frosting. This prevents the frosting from melting.
- To make the frosting, beat the softened butter until smooth. Gradually add the powdered sugar, vanilla extract, and milk or cream until you reach a smooth, spreadable consistency for your buttercream topped bars. Add a pinch of salt to balance the sweetness.
- Spread the vanilla buttercream evenly over the cooled sugar cookie squares.
- Cut into squares and serve your quick dessert bars.
Notes
- For a slightly tangy topping, substitute the vanilla extract in the frosting with 1 teaspoon of almond extract for a bakery style sugar cookie square flavor.
- If you want make ahead dessert bars, you can bake the bars and store them unfrosted at room temperature for up to two days. Frost just before serving.
- For kid friendly cookie bars, use food coloring in the frosting and add festive sprinkles immediately after spreading.
Nutrition
- Serving Size: 1 bar
- Calories: 310
- Sugar: 35
- Sodium: 150
- Fat: 16
- Saturated Fat: 10
- Unsaturated Fat: 6
- Trans Fat: 0
- Carbohydrates: 40
- Fiber: 0
- Protein: 3
- Cholesterol: 55