
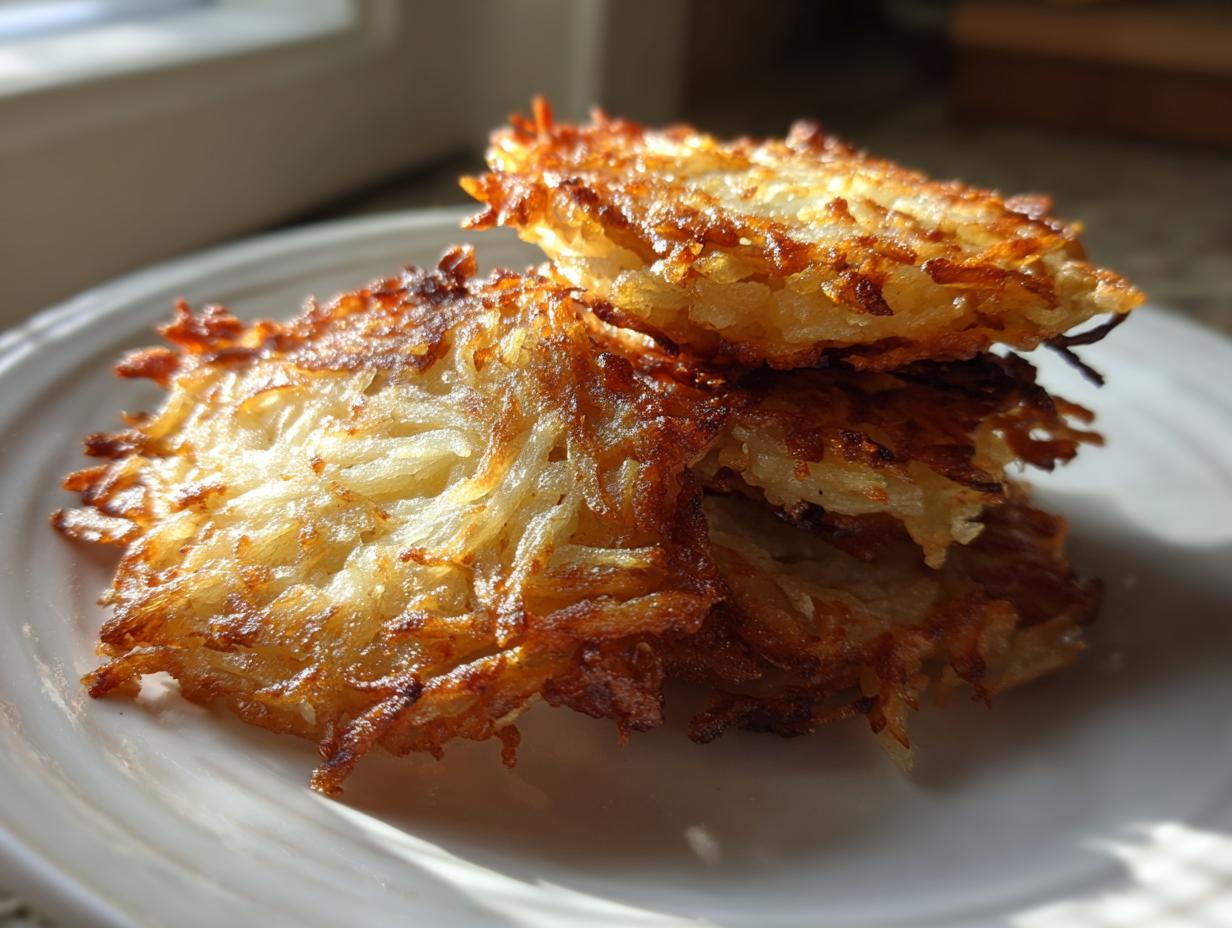
Hanukkah is finally here, and honestly, the air just smells better when there’s oil sizzling on the stovetop! For me, the Festival of Lights isn’t truly celebrated until we’ve got a big stack of golden, crispy potato latkes ready to go. Making these traditional Jewish holiday dishes isn’t just about following steps; it’s about honoring that beautiful miracle of the oil, and that means we have to get the crunch right!
There’s nothing worse than a pancake that tastes soggy or greasy, so I want to share the absolute secrets my family uses to guarantee an ultra-crispy exterior and a tender, flavorful center every single time. It all comes down to respecting the technique, starting with getting every last drop of water out of those potatoes. Trust me, getting this one technique down means you are halfway to latke perfection!
- Why This Potato Latkes Recipe Delivers Ultimate Crispiness
- Gathering Ingredients for Perfect Potato Latkes
- Step-by-Step Instructions for Crispy Fried Latkes
- Tips for Success Making Traditional Potato Latkes
- Serving Suggestions for Your Potato Latkes
- Storage and Reheating Crispy Fried Latkes
- Frequently Asked Questions About Potato Latkes
- Estimated Nutritional Information for Potato Latkes
- Share Your Hanukkah Potato Pancakes Experience
Why This Potato Latkes Recipe Delivers Ultimate Crispiness
I totally get it—you want potato latkes that crackle when you bite into them, not the sad, floppy kind that soak up oil! That’s why this recipe focuses on those key steps that separate the extraordinary from the ordinary. We are aiming for serious crunch here. These Hanukkah potato pancakes are designed to stand up to heavy toppings without wilting.
Key Benefits of These Potato Latkes
- Ultra-crispy exterior that sings when you cut it
- Tender and perfectly seasoned interior
- That authentic, savory flavor you crave from tradition
- Straightforward steps that work even when the house is chaotic
Gathering Ingredients for Perfect Potato Latkes
Okay, let’s talk supplies! If you want these potato latkes to actually come out crispy, you can’t just grab any old bag of potatoes. We need starch, structure, and substance. My must-have potato for this job? Russet potatoes, hands down. They have that perfect high-starch content that helps them bind and crisp up beautifully when they hit the hot oil. Don’t substitute those if you can help it because different potatoes have different water levels, and that is our enemy right now!
The rest of the list is pretty simple, but those basics matter a ton. We keep the binder light—just a touch of egg and flour—because flour weighs them down. We want light and crisp little medallions, holding tight together!
Ingredient Notes and Substitutions for Potato Latkes
Here are the little details that make all the difference when you’re gathering things from your pantry. When it comes to thickening agents, you have a choice! I usually stick with all-purpose flour because it’s easy, but if you’re keeping things traditional for Passover, or just prefer it, feel free to swap in matzo meal. It does the job perfectly well for these homemade potato latkes.
Now, let’s talk oil. Since we are frying these babies, we need a neutral oil with a high smoke point—that means canola, peanut, or vegetable oil. Please don’t try olive oil; it burns too fast and ruins the flavor. You need a good inch in the bottom of that heavy skillet, and it needs to be hot enough to sizzle the second the batter touches it. That initial sizzle is what seals the outside and keeps the inside tender—that’s the secret weapon for crispy fried latkes!
Step-by-Step Instructions for Crispy Fried Latkes
Alright, this is where the magic—and the hard work—actually happens. Making perfect potato latkes isn’t just about mixing; it’s about managing moisture and heat. If you’ve ever wondered why your glorious holiday treats turned out like greasy mashed potatoes instead of crisp perfection, I bet it was in these next few steps. Follow these closely and I promise your potato latkes recipe will be the one people talk about all year.
Preparing the Potato Mixture for Potato Latkes
First things first: grating! Use the large holes on your box grater or the shredding disk in your food processor. You want texture, remember? Grate both the potatoes and that onion right into a big bowl, but don’t hang around admiring your work! Potatoes start oxidizing almost immediately, and we don’t want brown latkes!
Now for the most important part, the one I learned the hard way: squeezing out the liquid. Take all those grated bits and dump them onto a clean, sturdy kitchen towel or several layers of cheesecloth. You need to squeeze this mixture with all your might. I mean, really put your back into it! Get every ounce of water out. You’ll be shocked how much liquid comes out—it’s the starch water that makes latkes soggy in the middle. Work fast once they are dry, mix in your eggs and flour/matzo meal, stir just until it comes together, and move straight to the oil.
Frying Technique for Golden Potato Latkes
You need a heavy skillet—cast iron is my ride-or-die for frying—and pour in a good inch of oil. Heat that oil until it hits about 350°F. If you don’t have a thermometer, just drop a tiny speck of the potato mix in. If it jumps right up and starts sizzling aggressively, you’re good to go. If it sinks slowly, wait a minute!
Carefully drop large spoonfuls of your mixture into that hot oil. Don’t throw them in; use the back of the spoon to gently flatten them into discs, maybe half an inch thick. Do not, I repeat, DO NOT overcrowd your pan! Those potatoes need space to breathe or the oil temperature will suddenly plummet, and you’ll end up with greasy fried latkes.
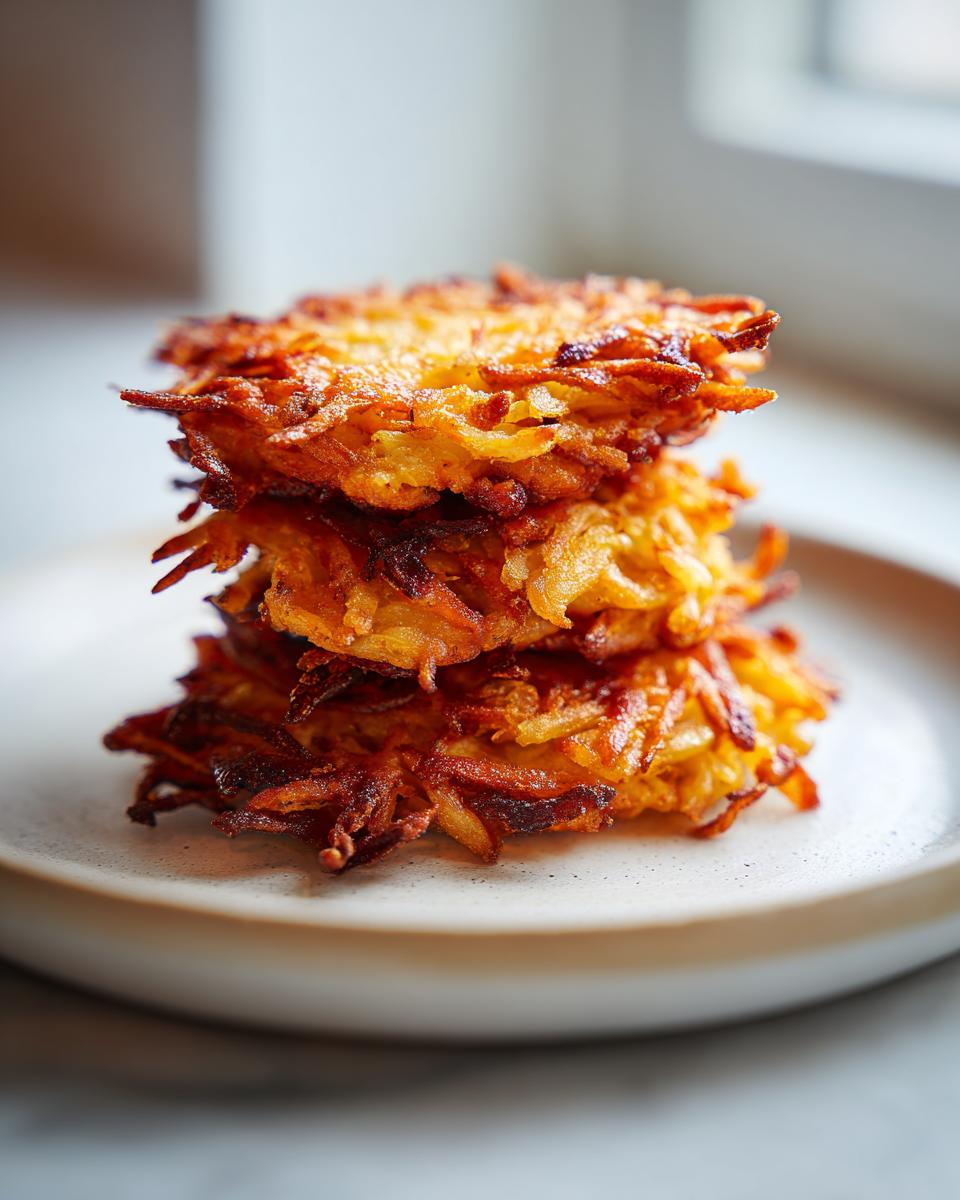
Fry for about three to five minutes on the first side until they look deeply golden brown—seriously golden! Flip them gently and fry the second side until crisp too. Scoop them out and let them rest on a wire rack. That rack is key; it lets air circulate so the bottoms don’t steam themselves soggy!
Tips for Success Making Traditional Potato Latkes
You’ve fried the first batch, and they look amazing, but now what? If you’re making a huge batch of these potato latkes for the whole family, you can’t let the first ones get cold while the rest are frying. That’s just not honoring the spirit of the holiday, right? We want every single one piping hot and crunchy!
This recipe is best when you work quickly through the batter, but you need a staging area for the finished goodies. Trust me, stacking them on a plate just traps steam and kills the crispness we worked so hard to achieve. A little bit of planning ahead makes serving these traditional potato latkes so much easier.
Maintaining Heat and Texture
Here is my game plan for serving a crowd: as soon as the latkes come out of that hot oil and drain briefly on the paper towel-lined rack, move them immediately to a wire rack that’s sitting inside a baking sheet. Pop that whole setup into a low oven, around 200°F.
This super low temperature is just warm enough to keep the latkes hot without actually continuing to cook them or letting them soften up. They stay right where they need to be—hot, perfectly textured, and ready for when you call everyone to the table for the best potato latkes they’ve ever had!
Serving Suggestions for Your Potato Latkes
The frying is done, the house smells incredible, and now we get to the best part: the toppings! Serving these amazing, crispy potato latkes is truly a celebration. In our house, we never forget that we are commemorating the oil miracle, and that means keeping things simple and traditional. You can get fancy, sure, but nothing—and I mean nothing—beats the classic combination.
For me, you absolutely need two things sitting right next to the serving platter. First, homemade applesauce. I know you can buy it, but quickly cooking down some fresh apples with a little cinnamon makes a massive textural difference. Second, a big, cool dollop of full-fat sour cream. The cool, tangy creaminess cuts right through the savory, fatty crunch of the latkes. It’s heaven! Try mixing a tiny bit of chives into the sour cream if you want to switch it up, but honestly, keeping the potato latkes classic lets their crispy flavor truly shine.

Storage and Reheating Crispy Fried Latkes
Listen, I know it’s almost impossible to have leftovers when you make potato latkes this good, but sometimes we manage! If you have any crispy fried latkes left over—maybe you made an extra huge batch—you definitely shouldn’t throw them out.
The trick is avoiding the microwave at all costs. Microwaving turns them into mushy sponges instantly, which defeats our entire goal of making them utterly crispy!
When storing them, let them cool completely first, then store them in a single layer in an airtight container in the fridge. It’s best to reheat them in a single layer on a baking sheet in an oven heated to about 375°F until they’re hot all the way through and crunchy again. If you have an air fryer, even better—that blasts the moisture right out and brings back that amazing texture in just a few minutes!
Frequently Asked Questions About Potato Latkes
I always get so many questions during the holidays about how to make sure our traditional potato latkes turn out just right. It’s easy to get stuck on texture or ingredients, especially when this dish is tied so closely to our heritage. Here are a few things I hear most often when people are trying to nail the perfect crispy fried latkes.
Can I bake potato latkes instead of frying?
This is a common question, because who doesn’t want to save a little cleanup? The short answer is you can, but you won’t get the same result, and honestly, you miss the point of making them! Frying the potato latkes in oil is how we commemorate the miracle of the oil during Hanukkah. Baking tends to steam them slightly, leaving you with something closer to a baked potato patty rather than that beautiful, deeply golden, crackling potato pancake we want. For the true holiday experience, you really need to fry them!
What is the best way to keep potato latkes from getting soggy?
Remember that towel squeezing step? That is the MVP of avoiding sogginess! You must be ruthless when removing the water from the shredded potatoes and onions. After you mix the batter—and don’t let it sit for more than five minutes—you need to drain the finished latkes immediately on a wire rack, not just paper towels alone. Paper towels wick up surface grease, but the rack lets air circulate underneath, which stops the bottoms from steaming and getting limp. A little effort there makes a huge difference in your crispy fried latkes!
Feel free to check out our privacy policy if you have any other concerns about how we handle information on the site!
Estimated Nutritional Information for Potato Latkes
Look, I’m not a nutritionist, okay? I’m just focused on getting those crispy, delicious potato latkes on the table so everyone is happy during Hanukkah! But because I know some of you track these things, here are the estimated values based on the recipe serving size. Remember, this is just a general guide, especially since how much oil you use for frying definitely changes the numbers!
For one potato latke serving, you are looking roughly at:
- Calories: Around 120
- Fat: About 7 grams
- Carbs: Roughly 13 grams
- Protein: 2 grams
Share Your Hanukkah Potato Pancakes Experience
I truly hope these steps help you create the most perfect, shatteringly crisp potato latkes for your Hanukkah celebration this year! Seriously, those sounds of sizzle and crunch are half the fun of the holiday, aren’t they?
I would absolutely love it if you took a moment to leave a rating five stars if they turned out amazing! And please, tell me about your family traditions in the comments below! Do you prefer applesauce or sour cream first? Drop me a line at my contact page—I can’t wait to hear how your Jewish holiday dish turned out!
PrintTraditional Crispy Potato Latkes for Hanukkah

Make golden, crispy potato latkes using this straightforward recipe, perfect for celebrating the Festival of Lights.
- Prep Time: 20 min
- Cook Time: 25 min
- Total Time: 45 min
- Yield: About 12 latkes 1x
- Category: Side Dish
- Method: Pan Frying
- Cuisine: Jewish
- Diet: Vegetarian
Ingredients
- 2 lbs Russet potatoes, peeled
- 1 medium yellow onion, peeled
- 2 large eggs, lightly beaten
- 1/4 cup all-purpose flour or matzo meal
- 1 teaspoon salt
- 1/4 teaspoon black pepper
- Vegetable oil or canola oil, for frying (about 1 inch deep in the skillet)
Instructions
- Grate the potatoes and onion using the large holes of a box grater or a food processor attachment.
- Place the grated mixture in a clean kitchen towel or several layers of cheesecloth. Twist and squeeze firmly over the sink to remove as much liquid as possible. This step is key for crispy latkes.
- Transfer the dried potato and onion mixture to a medium bowl.
- Add the beaten eggs, flour (or matzo meal), salt, and pepper. Mix gently until just combined. Do not overmix.
- Pour about 1 inch of oil into a large, heavy-bottomed skillet (cast iron works well) and heat over medium-high heat until the oil reaches 350°F (175°C). If you do not have a thermometer, test the oil by dropping a tiny bit of batter; it should sizzle immediately.
- Carefully drop heaping tablespoons of the potato mixture into the hot oil, flattening them slightly with the back of the spoon to form pancakes about 1/2 inch thick. Do not overcrowd the pan.
- Fry for 3 to 5 minutes per side, until deep golden brown and crisp. Adjust the heat as needed to maintain a steady frying temperature.
- Remove the latkes from the oil using a slotted spatula and place them on a wire rack set over a baking sheet lined with paper towels to drain excess oil.
- Serve the potato latkes immediately while hot with your preferred toppings.
Notes
- For the best texture, prepare the batter just before frying.
- Keep the oil temperature consistent; if it drops too low, the latkes will absorb oil and become greasy.
- If you are making a large batch, keep finished latkes warm in a single layer on a baking sheet in a 200°F oven while you finish frying the rest.
Nutrition
- Serving Size: 1 latke
- Calories: 120
- Sugar: 0.5
- Sodium: 150
- Fat: 7
- Saturated Fat: 1.5
- Unsaturated Fat: 5.5
- Trans Fat: 0
- Carbohydrates: 13
- Fiber: 1
- Protein: 2
- Cholesterol: 30