
In our busy lives, it feels like we’re constantly reaching for convenience, right? Sometimes that means sacrificing that bright, zingy flavor that makes a meal truly sing. When I was running around with my marketing job, I desperately needed vibrant food that didn’t demand hours standing at the stove. That’s why I am so excited to share my go-to fix: pickled carrots! Forget waiting weeks for traditional preserves; these are quick, crunchy, refrigerator pickled carrots that give you the flavor you crave almost instantly. This recipe is pure plate path philosophy in a jar—simple, real food that instantly upgrades your weekly meals without draining your time.
Sometimes the simplest condiments make the biggest difference. If you’re looking for ways to easily add flavor to your cooking, check out some of my favorite quick and easy weeknight dinners on the blog!
- Why You Need These Easy, Crunchy Pickled Carrots
- Gathering Ingredients for Perfect Pickled Carrots
- How to Prepare Quick Pickled Carrots Step-by-Step
- Tips for Achieving Truly Crunchy Pickled Carrots
- Flavor Variations: Beyond Basic Pickled Carrots
- Storage and Shelf Life for Refrigerator Pickled Carrots
- When to Choose Canning Pickled Carrots
- Frequently Asked Questions About Homemade Pickled Carrots
- Serving Suggestions for Your Tangy Pickled Carrots
Why You Need These Easy, Crunchy Pickled Carrots
Honestly, these aren’t just pickles; they are a weeknight lifesaver! If you’ve ever been disappointed by the texture of store-bought jars, you need this recipe. We skip the water bath canning process entirely, which means we get better crunch and faster results. These pickled carrots are the upgrade your leftovers deserve.
Maximum Crunch in Minimal Time
- They stay genuinely crisp! The short refrigerator pickling time sets the snap perfectly, keeping them miles ahead of anything that has sat on a shelf for months.
- Hands-on prep is genuinely under 15 minutes. Seriously, you slice, you pour, you chill.
Flavor Customization for Your Homemade Pickled Carrots
The basic brine is fantastic, but it’s the built-in flexibility that I love most. You can easily pivot based on what your tacos need that night: go traditional, add some heat for spicy pickled carrots, or sneak in some jalapeños for a true Mexican flair. Think of it as your master condiment key!
These pair perfectly with my favorite vibrant salad recipes when I need a little tang!
Gathering Ingredients for Perfect Pickled Carrots
Okay, let’s talk about what you need to make this magic happen! The beauty of these refrigerator pickles is that the ingredient list is so short, which makes this an incredibly easy pickled carrots recipe. We are keeping things simple so you can focus on that amazing crunch.
Carrot Preparation and Jarring Essentials
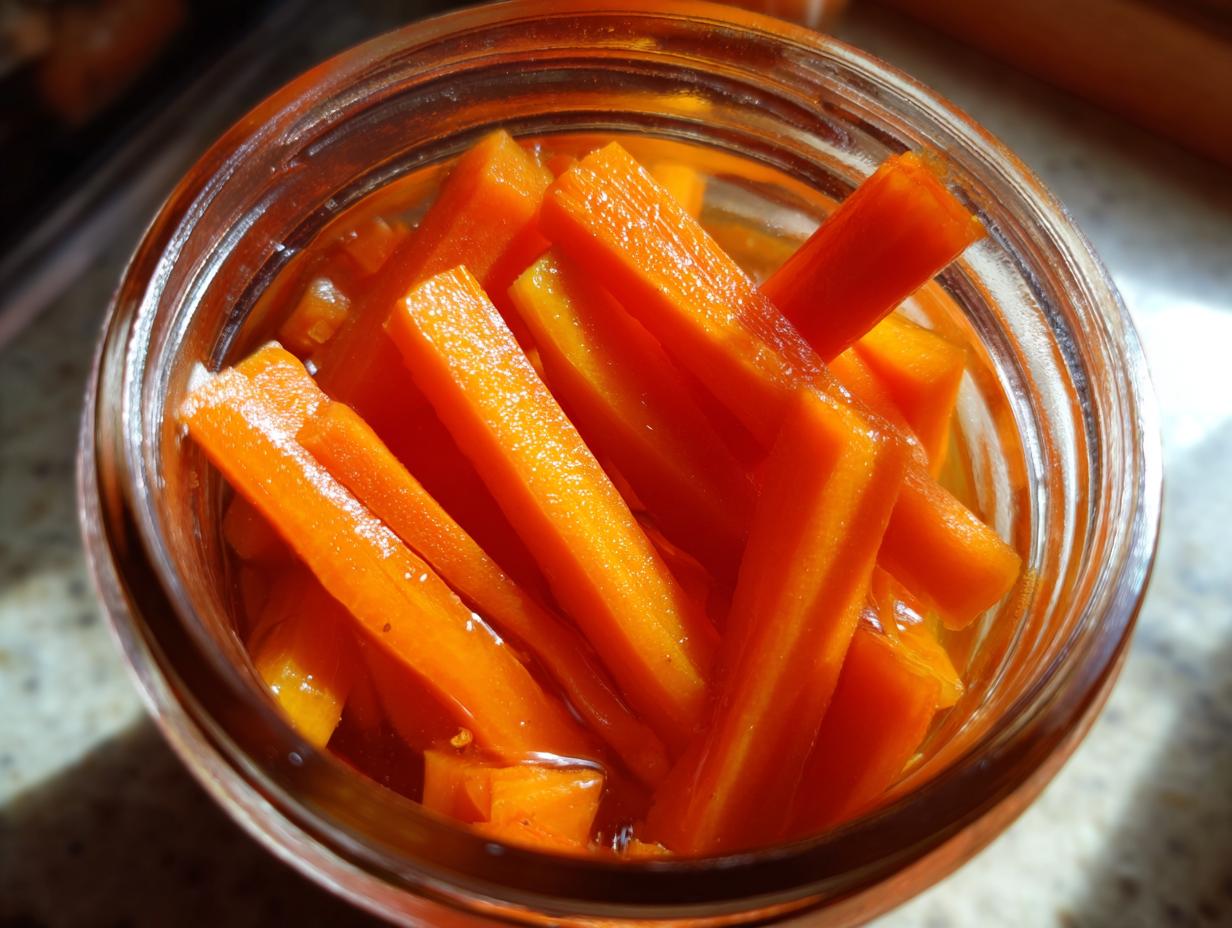
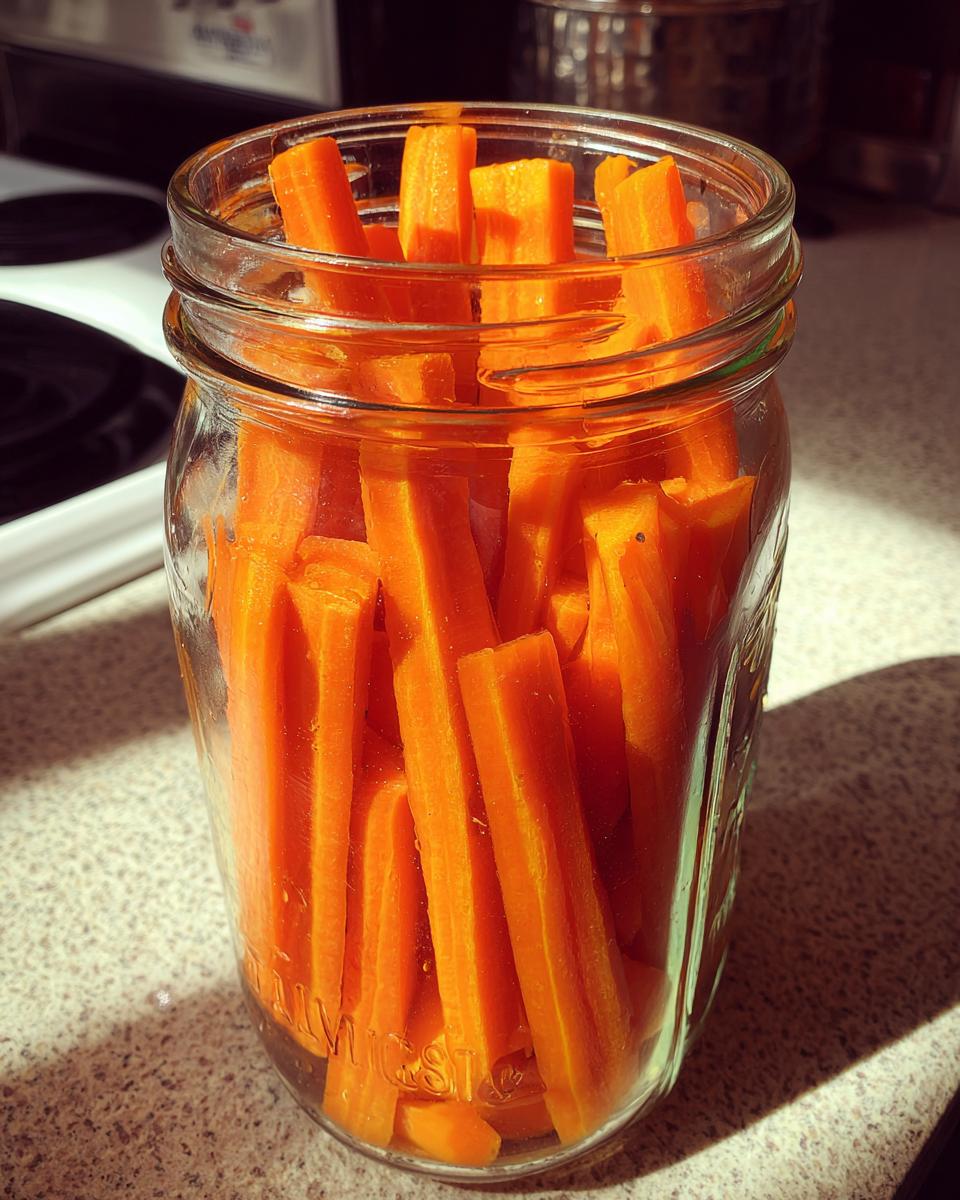
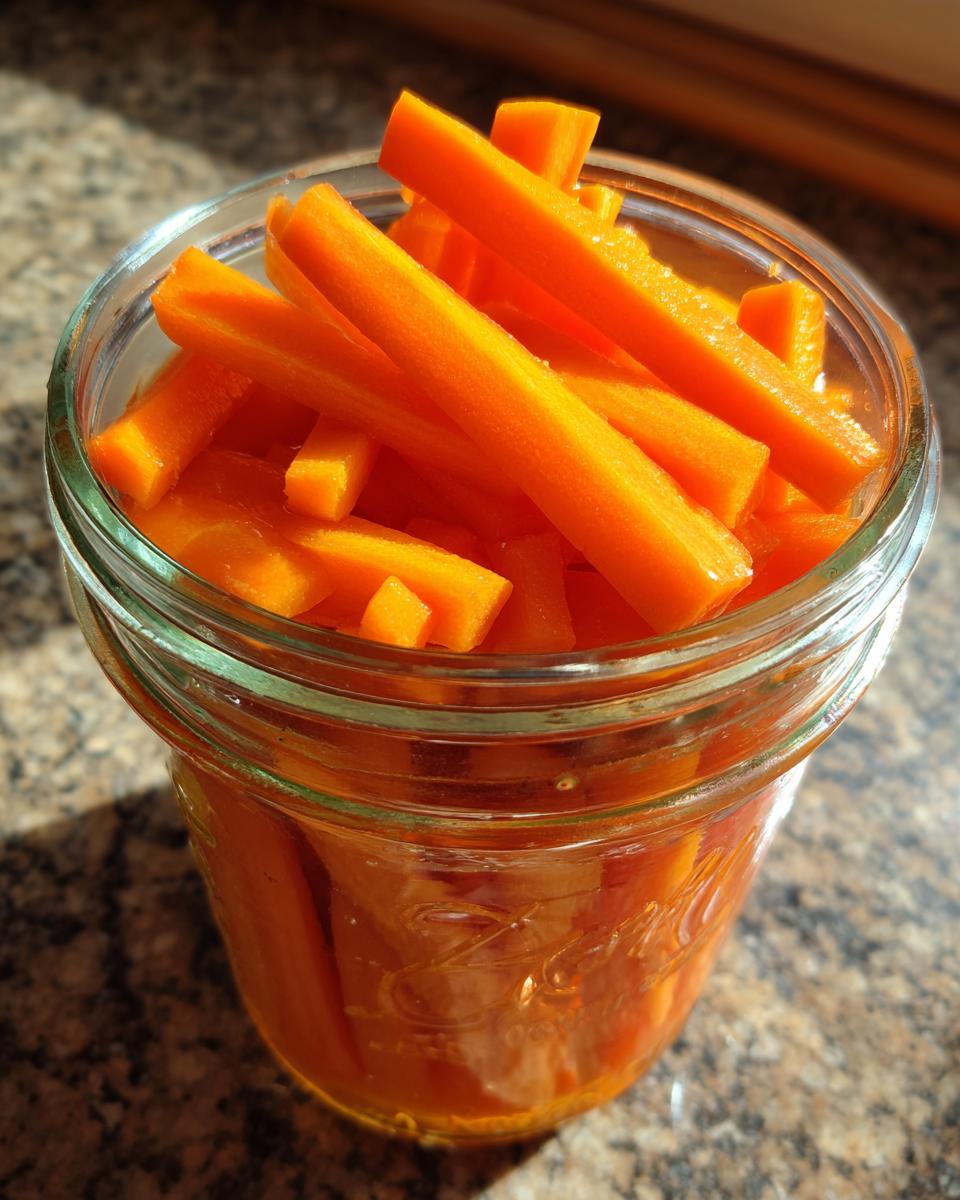
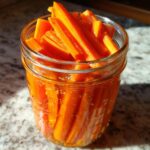
You’ll need about one pound of carrots, and please, peel them first! Once they’re bare, slice them the way you like best—I usually do thin rounds, but matchsticks work great too, especially if you want them done faster. Then we pack them into clean, pint-sized glass jars. Make sure those jars are ready to go!
The Simple Brine Recipe for Pickled Carrots
This is the heart of the whole thing, the base for our brine recipe for carrots. You need one cup of white vinegar and one cup of water to balance everything out. To get that nice tang mixed with sweet, grab two tablespoons of granulated sugar and one tablespoon of kosher salt. Heat this gently until everything dissolves.
Optional Flavor Boosters (Dill, Spicy, or Mexican)
If you want to jazz things up, this is where you play! Throw in two smashed garlic cloves and a teaspoon of whole black peppercorns for that classic flavor profile. If you’re going the spicy route, add about half a teaspoon of red pepper flakes. If you’re making Mexican pickled carrots, toss in a thinly sliced jalapeño right in there for a nice, vibrant kick!
When you’re done gathering, hop over and grab my tips for quick healthy breakfast ideas to make sure your mornings are as effortless as your condiments!
How to Prepare Quick Pickled Carrots Step-by-Step
This is where the fun starts, and trust me, it moves fast! We are making these amazing pickled carrots in minutes, and we are skipping any complicated water bath canning steps. Just keep an eye on your stove while you prep the jars; that’s the main juggle here. Once the brine hits the carrots, you’re practically done!
Step 1: Preparing the Carrots and Packing Jars
First things first: peel those carrots and slice them thinly. Remember, thin means they pickle faster! Get your jars ready and start packing them with the prepared carrots. If you decided on any optional flavorings like whole garlic cloves or peppercorns, tuck those in now. Fill the jars, leaving about a half-inch space—that’s your headspace—at the very top.
Step 2: Creating the Brine for Tangy Pickled Carrots
Time for the brine! On the stove, whisk together your vinegar, water, sugar, and salt in a small saucepan. You want these dissolved, so heat it over medium heat until everything is incorporated. But here’s my friendly warning: don’t let it aggressively boil! We just need it hot enough to dissolve the solids for our tangy pickled carrots.
Step 3: Submerging and Cooling the Pickled Carrots
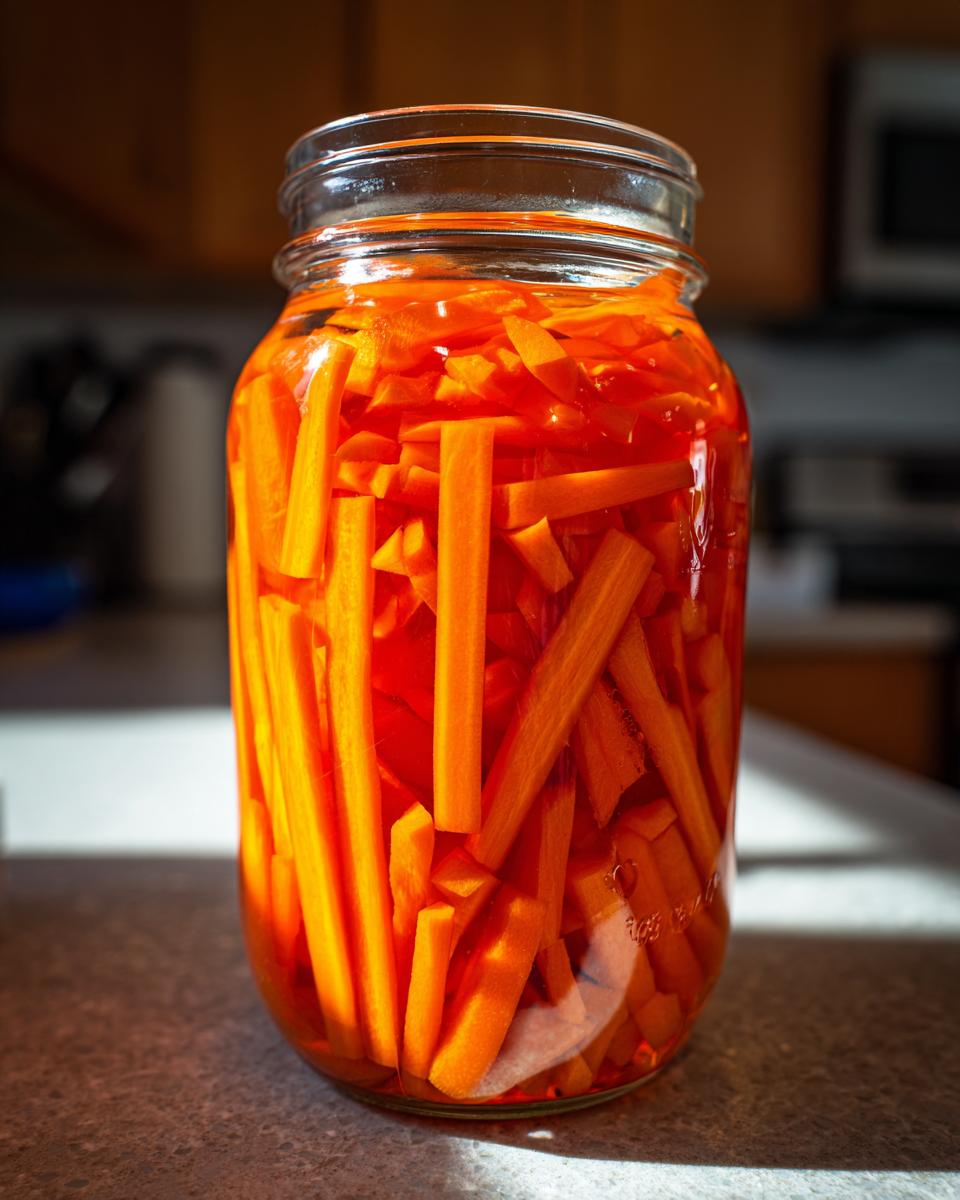
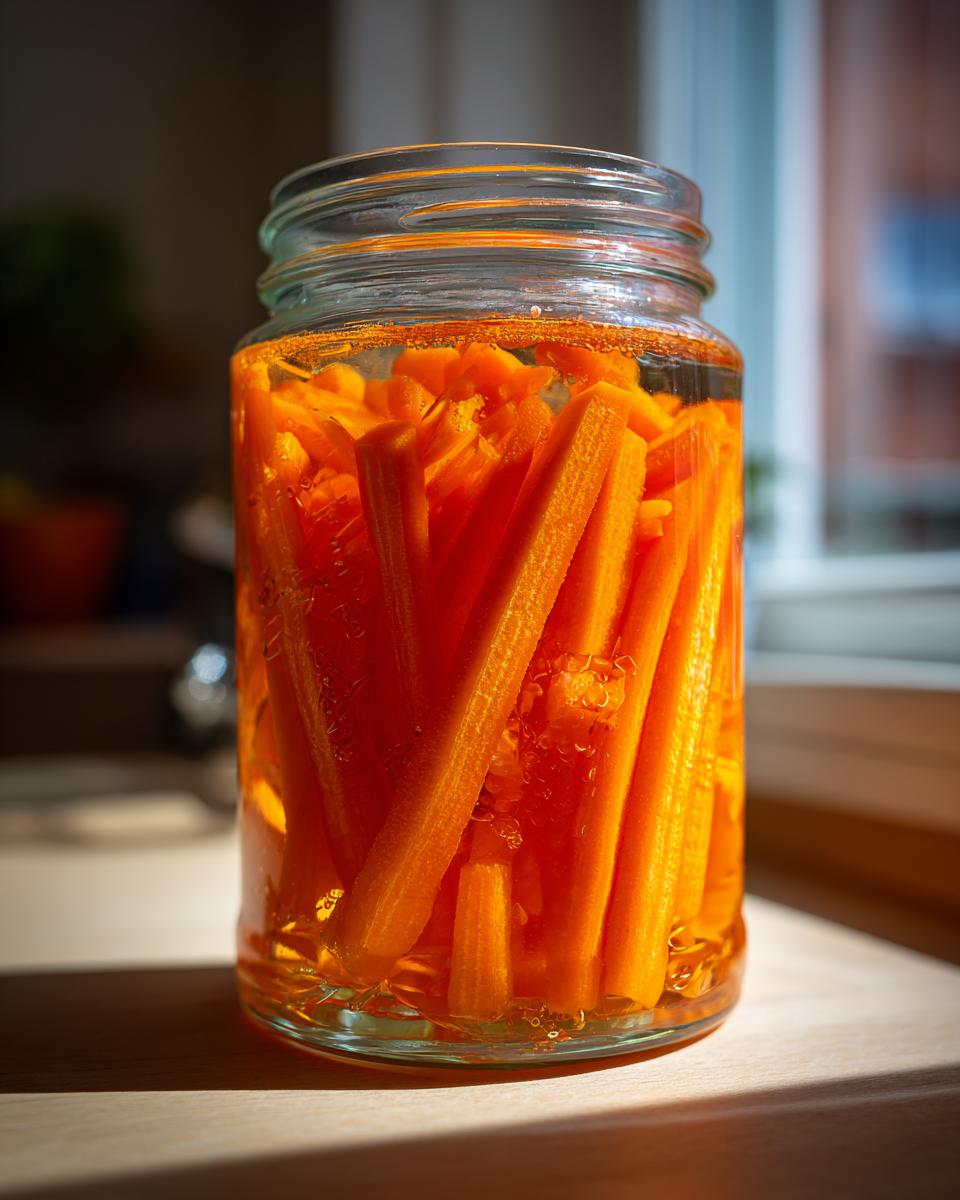
Carefully pour that hot brine right over your carrots, making sure they are all swimming and submerged. Check that headspace again—you need about a quarter-inch left at the top. Give the jars a gentle tap on the counter to push out any stubborn air bubbles. If you need to top it off with a little more brine, do it now. Let the sealed jars cool down on the counter for about 30 minutes before you pop them into the fridge. That cooling time is important before chilling!
Once they are chilling, you can check out my guide for simple lunch recipes to see what I’m topping with these beauties!
Tips for Achieving Truly Crunchy Pickled Carrots
This is the part I get asked about the most: how to avoid sad, floppy vegetables! When we are making these quick pickled carrots, the crunch is non-negotiable. It’s all about temperature control and patience, even when we are trying to move fast. Trust me, these little details make a huge difference in the final snap.
The Importance of Brine Temperature
Remember when we heated the brine just until the salt dissolved? That’s key! Pouring that hot (not furiously boiling!) liquid over the carrots actually helps set that crisp texture right away. If you boil that vinegar solution for ages, you’re just cooking the carrots a little, and nobody wants that. Hot is good; boiling furiously is bad for crunch, simple as that.
Resting Time for Best Flavor and Texture
I know you want to grab them instantly—I do too! But you absolutely must let them rest. You can technically eat them after two hours in the fridge, but that’s just barely flavored. For the crunchy pickled carrots experience you deserve, give them 24 hours. Since these are refrigerator pickles, they need that time in the cold to fully meld the vinegar flavor without getting soft. Always remember these are no canning pickles, so they must stay tucked away in the fridge after cooling!
If you need a sweet balance to all this tang, make sure to check out my healthy desserts section for ideas!
Flavor Variations: Beyond Basic Pickled Carrots
The brine we made is really versatile, which is why I love this recipe so much! Once you’ve mastered the basic ratios, you can transform your pickled carrots into completely different flavor profiles. It’s so much better than buying three different jars when you only need one base brine. This customization is what keeps things interesting in my fridge!
Making Authentic Mexican Pickled Carrots
If you want that addictive, slightly spicy kick you get at a great taco shop, this is easy to nail. For spicy pickled carrots, just toss in one sliced jalapeño right into the jar with your carrots before pouring the brine over top. That’s it! It gives you that perfect Taqueria style flavor without changing the base ratio at all. So good!
Creating Dill Pickled Carrots
For a classic dill flavor, you don’t need to go fancy, honestly. The whole black peppercorns we added earlier already give it a certain sharpness. But if you really want that deep herbaceous note, just tuck a nice sprig of fresh dill into the jar alongside the carrots. It adds a lovely, fresh scent as it pickles.
Vietnamese Pickled Carrots and Daikon
Oh, this is one of my favorites for sandwiches! If you want to make authentic Vietnamese style pickled carrots, often called Đồ Chua, you just need one addition: thin slices of daikon radish. Mix the daikon slices in with your carrot matchsticks. The daikon soaks up the brine beautifully and gives you that authentic Vietnamese pickled carrots and daikon texture contrast.
If you are looking for something creamy to balance all this tang, you have to try my recipe for easy, creamy dill dip!
Storage and Shelf Life for Refrigerator Pickled Carrots
Okay, this is the easy part because we skipped canning! Since we used the refrigerator method, these pickled carrots are meant to be enjoyed fresh from the fridge. Just make sure those jars are sealed tight and kept cold. They stay wonderfully crisp and flavorful for about three weeks, maybe even four if you resist eating them all in the first week! Seriously, knowing they are there saves me when I need a quick, healthy snack or condiment. Remember, because we didn’t water-bath process these, they are strictly no canning pickles and must stay chilled.
If you want to learn about preserving other things for longer shelf stability, I have some great tips for easy pear butter canning instructions on the site!
When to Choose Canning Pickled Carrots
Now, everything I showed you above deals with quick refrigerator pickled carrots, which are my favorite for daily use. But sometimes, you just have an insane surplus of carrots, right? If you want to make a huge batch of your brine recipe for carrots last way longer than three weeks, you might look into traditional canning. We aren’t covering the water bath process here because this guide focuses on speed, but just know that canning them properly does allow for pantry storage.
If you decide to go that route, just be sure you follow tested canning guidelines strictly for safety. You can always check out my terms of use page for more info on why I stick to the simpler fridge method first!
Frequently Asked Questions About Homemade Pickled Carrots
I totally get it—when you are trying something new, you have a million little questions hovering! People often ask me about the specifics of keeping these pickled carrots perfect. It’s easy once you know the little tricks. Here are the most common things I hear from folks trying this easy pickled carrots recipe for the first time!
Can I use apple cider vinegar in my brine recipe for carrots?
That’s a smart question! Absolutely, you can swap it out. If you use apple cider vinegar instead of the regular white vinegar for your brine recipe for carrots, you’re going to get a slightly fruitier, maybe a tiny bit milder taste. It works just fine, but just know it might affect the super bright color we are hoping for.
How do I make sure my pickled carrots stay extra tangy?
If you are a real vinegar fan, you have options! The base recipe balances things perfectly, but if you want that extra sharp hit that makes your jaw tingle, just tip the scales slightly toward the vinegar. Keep that vinegar-to-water ratio at 1:1, or maybe even push it to 1.25 cups of vinegar to 1 cup of water. That guarantees a super sharp, super tangy pickled carrots experience!
Are these quick pickled carrots healthy?
Yes, they really are great! Since we’re focusing on refrigerator pickled carrots with minimal sugar—and absolutely no crazy preservatives—they fall into the category of healthy pickled vegetables. They are low-cal and deliver a massive punch of flavor thanks to that simple vinegar brine. They make a wonderful condiment recipe homemade addition to any meal!
If you still have questions or want to chat about flavor testing, feel free to reach out on my contact page. Happy pickling!
Serving Suggestions for Your Tangy Pickled Carrots
Now that you have a jar of perfectly crisp, tangy pickled carrots chilling in the fridge, what do you do with them? Honestly, they go on EVERYTHING! They add that bright, necessary acid pop that lifts heavy flavors. I toss them on top of my grain bowls, use them as a crunchy topping whenever I make steak tacos, and they are wonderful on simple turkey sandwiches. Don’t forget just grabbing a forkful straight from the jar—that counts as a snack in my book!
PrintEasy Refrigerator Pickled Carrots for Maximum Crunch
Make crisp, tangy refrigerator pickled carrots quickly without canning. This simple recipe lets you customize the brine for a flavorful condiment perfect for tacos, sandwiches, or snacking.
- Prep Time: 15 min
- Cook Time: 5 min
- Total Time: 20 min
- Yield: 2 pints 1x
- Category: Condiment
- Method: Refrigerator Pickling
- Cuisine: American
- Diet: Vegetarian
Ingredients
- 1 pound carrots, peeled and sliced into thin rounds or matchsticks
- 1 cup white vinegar
- 1 cup water
- 2 tablespoons granulated sugar
- 1 tablespoon kosher salt
- 2 cloves garlic, smashed (optional)
- 1 teaspoon whole black peppercorns (optional)
- 1/2 teaspoon red pepper flakes (optional, for spicy pickled carrots)
Instructions
- Prepare the carrots: Peel the carrots and slice them into thin rounds or matchsticks, depending on your preference. You want them thin for quick pickling.
- Pack the jars: Place the prepared carrots into clean, pint-sized glass jars, leaving about 1/2 inch of headspace. Add any optional flavorings like garlic, peppercorns, or red pepper flakes to the jars now.
- Make the brine: In a small saucepan, combine the white vinegar, water, sugar, and salt. Heat the mixture over medium heat, stirring until the sugar and salt completely dissolve. Do not boil aggressively.
- Pour the brine: Carefully pour the hot brine over the carrots in the jars, ensuring the carrots are fully submerged. Leave about 1/4 inch of headspace at the top of the jar.
- Remove air bubbles: Gently tap the jars on the counter or use a chopstick to release any trapped air bubbles. Add more brine if necessary to maintain the headspace.
- Cool and refrigerate: Let the jars cool on the counter for about 30 minutes. Once cooled, seal the jars with lids and transfer them to the refrigerator.
- Wait for flavor: For the best crunchy pickled carrots, allow them to chill for at least 2 hours before eating. They develop better flavor after 24 hours and keep well in the refrigerator for up to three weeks.
Notes
- For Mexican pickled carrots, add 1 sliced jalapeño to each jar along with the carrots.
- For Vietnamese pickled carrots (Do Chua), use this brine recipe but also include thin slices of daikon radish with the carrots.
- These refrigerator pickles are ready fast and require no water bath canning process.
- If you prefer a sweeter flavor, increase the sugar slightly in the brine recipe.
Nutrition
- Serving Size: 1/4 cup
- Calories: 35
- Sugar: 5g
- Sodium: 350mg
- Fat: 0g
- Saturated Fat: 0g
- Unsaturated Fat: 0g
- Trans Fat: 0g
- Carbohydrates: 8g
- Fiber: 1g
- Protein: 0g
- Cholesterol: 0mg