
Sometimes, life just demands a sweet moment—something rich, buttery, and deeply comforting that tastes like tradition. We all crave those homemade Mexican baked goods that remind us of simpler times, and honestly, my journey back to balancing stress and wellness started right here in the kitchen with achievable treats like these incredible carmelitas. I’m Sarah Miller, and when I felt overwhelmed by corporate life, rediscovering how to make something fantastic from scratch, like these flaky pastries filled with gorgeous cajeta, was my reset button. Forget complicated bakery trips; I promise you can create these stunning, layered caramel desserts right now, bringing that accessible joy back to your own table.
- Why You Will Love This Authentic Carmelitas Recipe
- Essential Ingredients for Perfect Carmelitas
- Buttery Layered Dough Recipe: The Key to Flaky Carmelitas
- Assembling Your Layered Caramel Dessert: Filling and Shaping
- Baking Instructions for Golden Brown Carmelitas
- Ingredient Notes and Substitutions for Traditional Mexican Pastries
- Storage & Reheating Instructions for Homemade Mexican Sweets
- Frequently Asked Questions About Making Carmelitas
- Serving Suggestions for Classic Mexican Pan Dulce
Why You Will Love This Authentic Carmelitas Recipe
Seriously, this recipe just clicks. It’s everything you want in a traditional Mexican pastry, but streamlined for a busy weeknight treat. You’re going to feel like a baking pro!
- The dough comes together quickly; it feels intimidating but it’s actually super manageable, even if you’re new to layered dough.
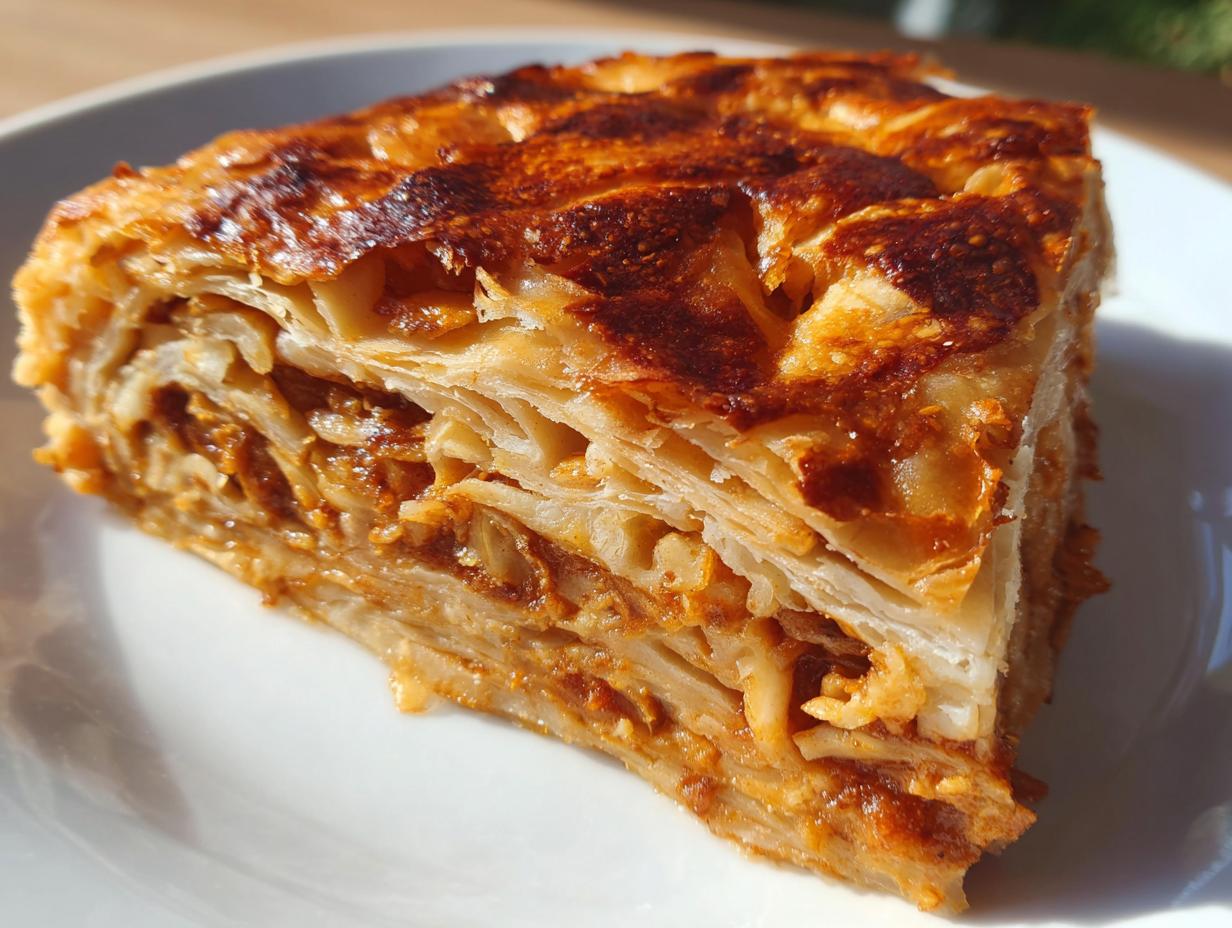
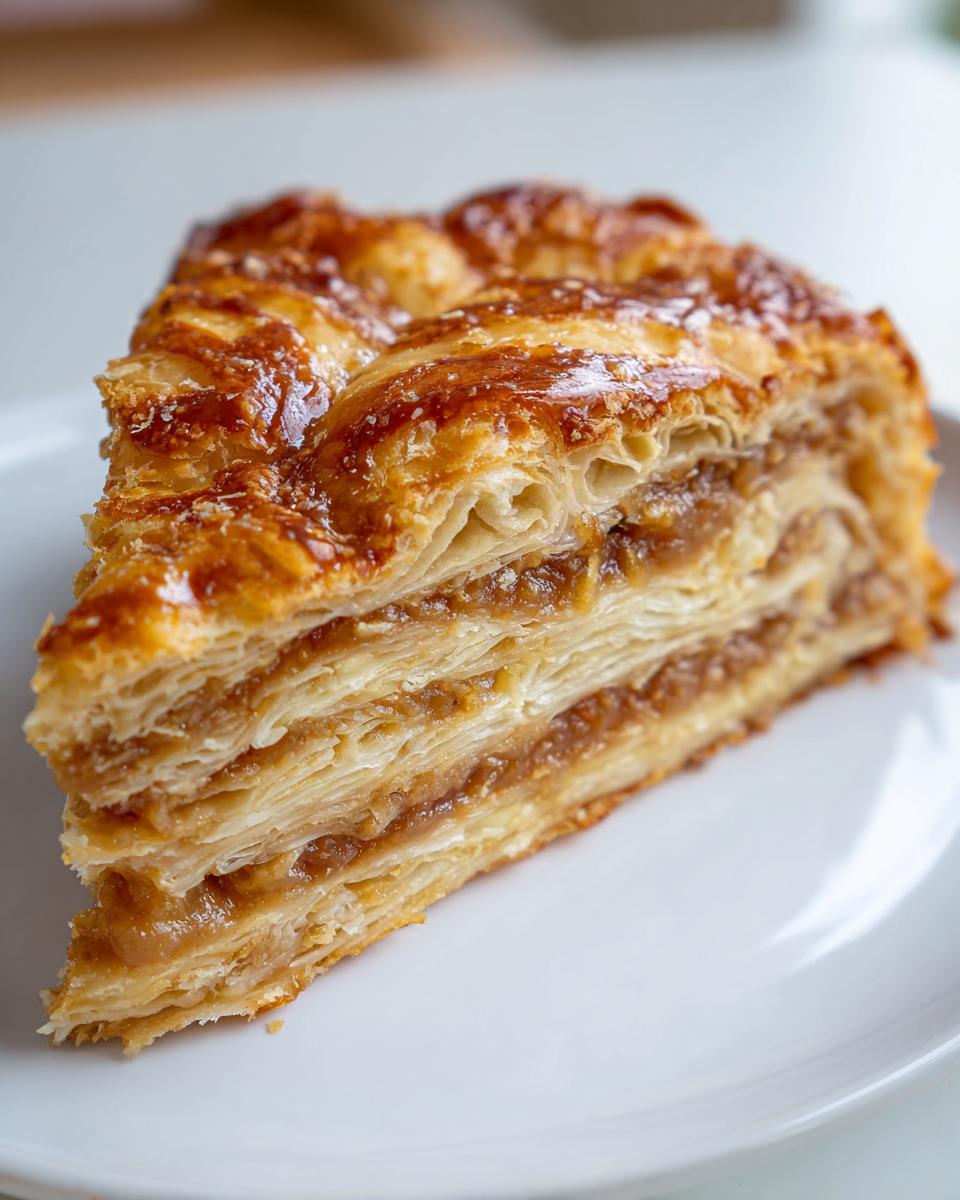
- That cajeta filling? Wow. It melts perfectly into the flaky layers, creating that signature sweet, gooey center.
- These are far better than anything store-bought. You’re getting authentic Mexican flavor, trust me on this one.
- They bake up beautifully golden and smell absolutely incredible while they’re in the oven.
Essential Ingredients for Perfect Carmelitas
I always keep my ingredient list short and sweet because that’s the beauty of real, traditional Mexican baked goods. For these pastries, quality really matters, especially when it comes to that filling!
- 2 cups all-purpose flour (all you need for structure!)
- 1/2 teaspoon salt
- 1 cup (that’s two full sticks) of cold unsalted butter, cubed. Keep it right out of the fridge!
- 1/2 cup ice water—seriously, it needs to be ice cold for the best flakiness.
- 1 1/2 cups of top-quality cajeta (dulce de leche). This is the star; I highly recommend trying to source a rich brand or making your own dulce de leche at home for the best flavor depth.
- 1/4 cup chopped pecans or walnuts (if you want that little crunch factor).
- 1 egg, beaten for the beautiful, glossy egg wash.
Getting these core components right is Sarah Miller’s secret to making sure your final batch of pastries tastes like they came straight from a favorite old-school bakery.
Buttery Layered Dough Recipe: The Key to Flaky Carmelitas
Listen up, because this is where the magic of truly great carmelitas happens. We’re using a simple pastry technique, but success relies entirely on temperature! You need that cold butter cut into the flour until it looks like rough crumbs—we’re talking pea-sized chunks, so don’t blend it into nothingness.
When you add the ice water, mix it just until that dough barely comes together. I mean it—stop mixing the second it looks shaggy. Overworking this dough activates gluten, and gluten means tough pastries, not the flaky, buttery layers we’re chasing. My biggest piece of advice, channeling my inner home-cook wisdom, is to keep everything cold. If your kitchen is warm, stick the butter in the freezer for ten minutes before you start! This commitment to cold ingredients is what prevents melting, ensuring those distinct layers separate beautifully when they bake.
Once formed into a disc, wrap it tight. If you’re looking for other easy yet delicious baked treats, check out my soft homemade raisin bread recipe for another simple dough technique.
Chilling Time Matters for Your Carmelitas Dough
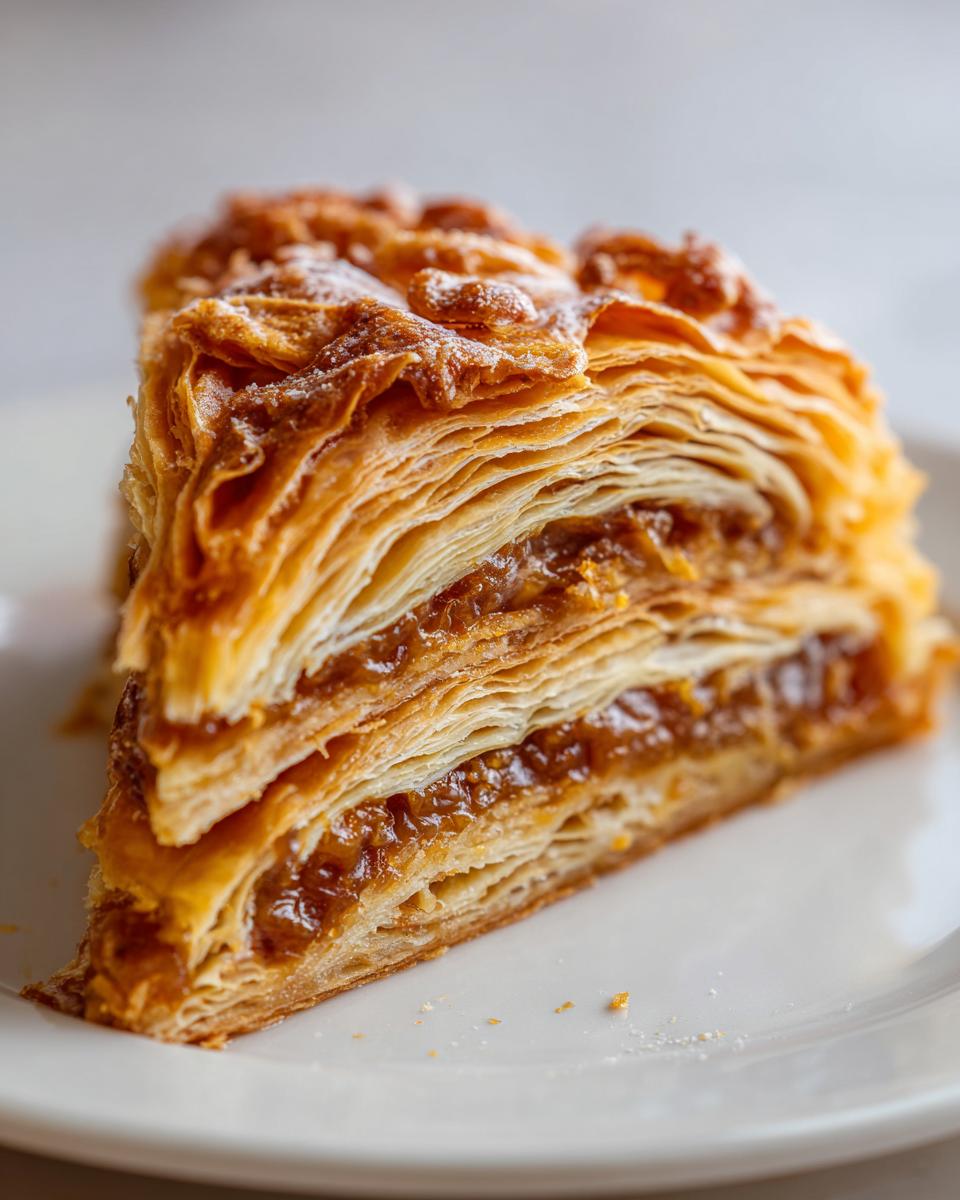
That minimum one-hour chill isn’t just a suggestion; it’s a requirement! Chilling lets the butter firm back up after you’ve handled it. This solid butter creates steam in the oven, which physically pushes the layers apart, giving you that fantastic lift and flakiness. Plus, it makes rolling the dough out into that large rectangle so much easier later on. Don’t rush this step!
Assembling Your Layered Caramel Dessert: Filling and Shaping
Now that your dough is perfectly chilled and feeling happy, it’s time to build these beautiful Mexican sweets! Dust your counter lightly—we don’t want any sticking now—and roll that disc out into a large, thin rectangle. Remember, we are aiming for that 1/8 inch thickness; think thin enough to see your hand shadow through it, but thick enough to hold its shape.
Next, take that rich cajeta and spread it everywhere! Be generous across the surface, but leave a solid 1-inch border clear around the edges. If you leave the edge too full, your filling will ooze out everywhere when you roll, and we want all that gooey goodness locked inside the pastry. After spreading, sprinkle those nuts lightly, if you’re using them. Now for the roll: starting from one long side, roll it up as tightly as you possibly can without tearing the dough. That tight roll is essential for getting those defined swirls we love in our carmelitas.
Pinch that final seam closed—really press it so it seals—and grab your sharpest knife. Slice the log into rounds about one inch thick. If you need help with other caramel delights, I’ve shared my thoughts on making easy caramel apples too!
Tips for Spreading Cajeta Evenly on Carmelitas
Cajeta can sometimes be really thick, which makes spreading a wrestling match! My little hack is to scoop the amount you need into a microwave-safe bowl and zap it for about 10 seconds. It doesn’t need to get hot, just warm enough to soften the texture slightly. Then, use a small offset spatula if you have one; it spreads so much flatter and more evenly than a regular spoon. This tiny bit of warmth ensures you get a beautiful, even layer of that sweet dulce de leche goodness across the whole sheet before you roll it up.
Baking Instructions for Golden Brown Carmelitas
Okay, we’ve built the perfect little caramel package, and now it’s time for the oven to do its magic! Get your oven preheated to 375°F (190°C) before you even start prepping the exterior. This recipe waits for no one!
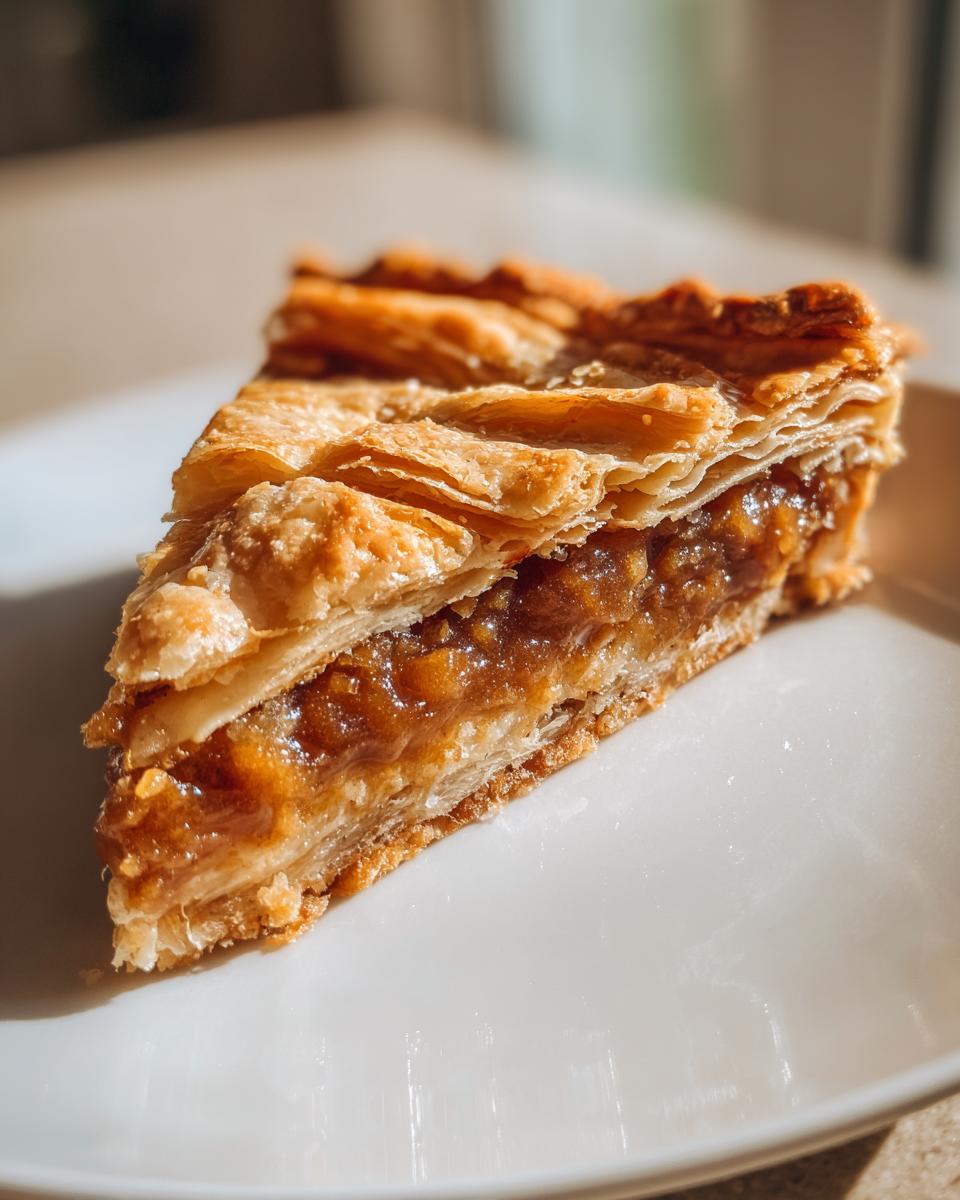
Before they go in, grab that beaten egg—this is your egg wash—and gently brush the tops of all your cut carmelitas. This step is what gives them that gorgeous, shiny, golden-brown finish that looks totally professional. Place them on parchment-lined sheets, and bake them for about 18 to 22 minutes.
Don’t just rely on the clock entirely! You are looking for that beautiful visual cue: the pastry edges should look deeply golden, and you should see the layers really start to puff up and separate slightly. When they smell impossibly sweet and look perfectly flaky, they are done. Let them rest for five minutes before moving them to a rack; patience pays off again!
Ingredient Notes and Substitutions for Traditional Mexican Pastries
When developing recipes here at Pure Plate Path, transparency about ingredients is my biggest commitment to you. Because sometimes you just can’t find that one specific item, or maybe you have an allergy, we need to be prepared! Knowing how to adjust without sacrificing that authentic taste is key to keeping these traditions alive in your own kitchen.
Let’s talk about the filling first, the amazing dulce de leche! If you absolutely cannot find premade cajeta, don’t panic. You can absolutely make your own traditional version by slowly simmering a can of sweetened condensed milk in a double boiler until it thickens and darkens significantly. It takes time, but trust me, the reward is worth the wait for that deep, rich flavor.
As for the nuts—pecans or walnuts—they are completely optional, just really nice for adding a textural surprise! If you dislike nuts or have someone who is allergic, just leave them out. The pastry is still fantastic on its own. If you want to swap them for something else, maybe some toasted shredded coconut could be a fun, slightly different twist on these homemade Mexican sweets. If you’re looking for other dinner ideas that keep flavors exciting, I recently shared a really bright easy orange chicken recipe that relies on simple, powerful flavors, much like these pastries!
Storage & Reheating Instructions for Homemade Mexican Sweets
The best part about these little bundles of joy is that they keep pretty well, which is perfect for making a big batch! To best maintain the flakiness of your carmelitas, store them in a single layer in an airtight container at room temperature—no need for the fridge, which can actually soften the crust.
They stay lovely for about three days just sitting on the counter. If they happen to lose a tiny bit of their crispness after a day or two, don’t worry! Just pop them back into a toaster oven or a regular oven heated to about 300°F for maybe three or four minutes. That quick heat blast is enough to wake up the butter and make the pastry crisp right up again!
Frequently Asked Questions About Making Carmelitas
I know when you try a new, traditional recipe, questions pop up! That’s totally normal when you’re working with classic methods. Here are a few things I get asked most often about making these delicious traditional Mexican pastries.
Can I use store-bought puff pastry instead of making the homemade dough?
Oh, I totally get the siren song of convenience! Yes, you absolutely *can* cheat and use good quality, all-butter puff pastry if you’re in a huge rush. It will save you so much time! However, Sarah’s rule is this: making that simple butter and flour dough yourself yields a superior, more tender flakiness that store-bought pastry just can’t quite match for these specific desserts. If you do use puff pastry, make sure it’s thawed correctly and handle it minimally.
What exactly is cajeta, and can I substitute it easily?
Cajeta is the heart and soul of this recipe! It’s essentially Mexican dulce de leche, traditionally made from goat’s milk, which gives it a slightly deeper, tangier flavor than standard cow’s milk dulce de leche. If you can find authentic cajeta, use it! If not, regular dulce de leche is the next best thing for this cajeta filling dessert. You could technically use regular caramel sauce, but you’ll lose that deep, traditional flavor unique to these homemade Mexican sweets.
Can I assemble and freeze these sweet treats before baking?
That is such a smart idea for holiday baking! Yes, you can freeze the sliced rounds before the egg wash. Just arrange them on a parchment-lined baking sheet, freeze until solid, and then transfer them to a freezer bag or container. When you’re ready to bake, place the frozen rounds on your baking sheet, let them sit on the counter for just 30 minutes while the oven preheats, brush with the egg wash, and add about 5-7 extra minutes to the baking time. They come out perfectly!
What’s the best way to serve these classic Mexican pan dulce?
These pastries are wonderful any time of day, but my family always defaults to serving them warm alongside something hot. They pair perfectly with a strong cup of coffee or, for a true cultural experience, a rich Mexican hot chocolate. It’s the perfect contrast to the sweetness. If you’re looking for savory inspiration after enjoying your batch, I highly recommend checking out my recipe for easy chicken piccata for a brighter dinner option!
Serving Suggestions for Classic Mexican Pan Dulce
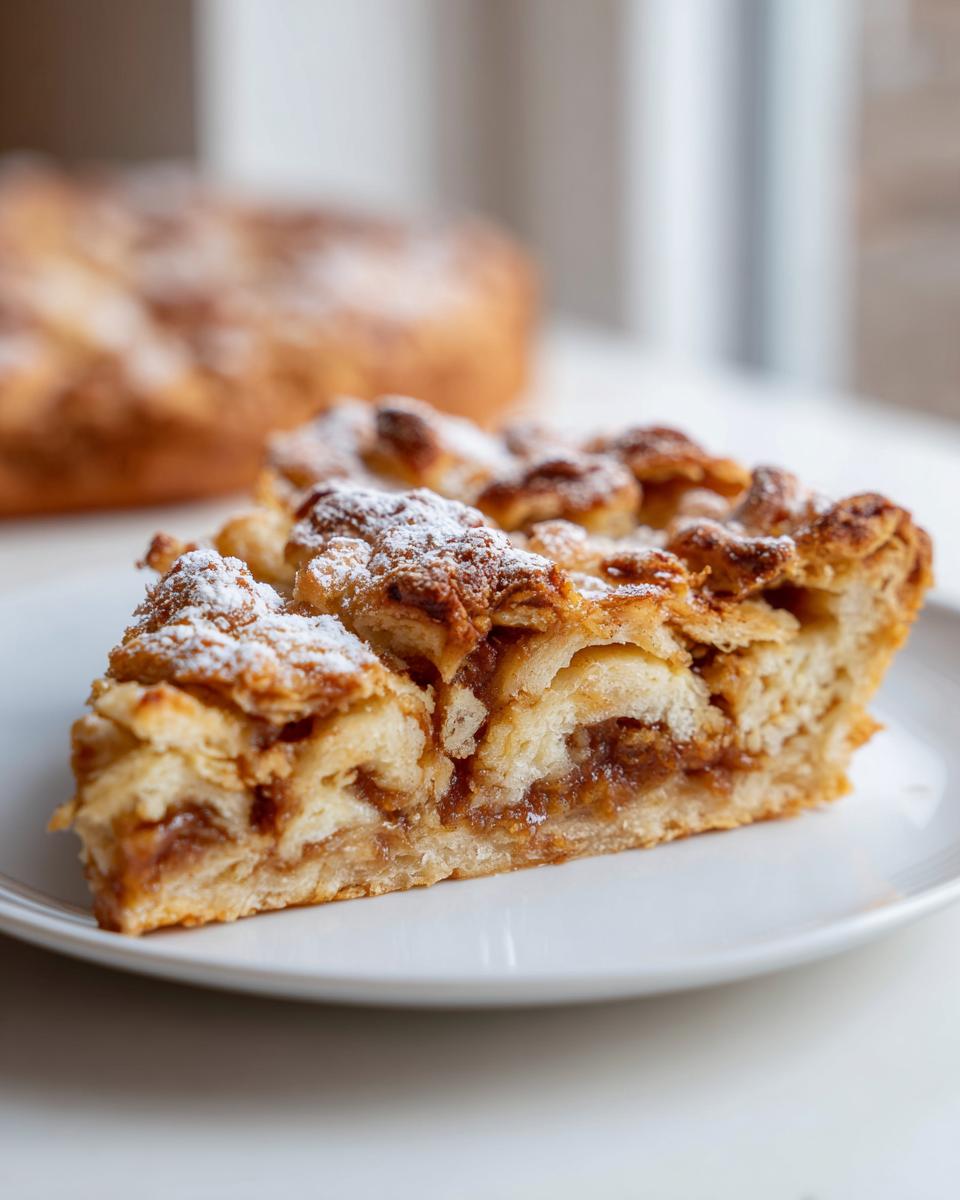
Honestly, the best time to eat these carmelitas is when they’re warm, but just cool enough that the cajeta isn’t actively dripping everywhere! They are magnificent alongside a strong cup of coffee—that slight bitterness really cuts through the buttery sweetness of the pastry. If you’re feeling festive, try them with a mug of rich Mexican hot chocolate; it’s pure heaven.
If you’re setting out a whole spread of Mexican baked goods, these look stunning next to something perhaps less sweet, like a concha without the topping, just for textural balance. Have you seen my recipe for the best homemade cheese pizza recipe? Okay, completely different, but sometimes you need savory after all that caramel!) Next time you want a cozy moment, grab your favorite mug and enjoy!
PrintAuthentic Mexican Carmelitas: Flaky Layered Caramel Pastries
Make traditional Mexican Carmelitas, a buttery, flaky pastry filled with rich cajeta (dulce de leche). This recipe provides straightforward steps for creating these classic Mexican baked goods at home.
- Prep Time: 30 min
- Cook Time: 22 min
- Total Time: 1 hour 52 min
- Yield: About 18 pastries 1x
- Category: Dessert
- Method: Baking
- Cuisine: Mexican
- Diet: Vegetarian
Ingredients
- 2 cups all-purpose flour
- 1/2 teaspoon salt
- 1 cup (2 sticks) cold unsalted butter, cubed
- 1/2 cup ice water
- 1 1/2 cups cajeta (dulce de leche)
- 1/4 cup chopped pecans or walnuts (optional)
- 1 egg, beaten (for egg wash)
Instructions
- Prepare the Dough: In a large bowl, whisk together the flour and salt. Cut in the cold butter using a pastry blender or your fingers until the mixture resembles coarse crumbs with some pea-sized pieces of butter remaining.
- Add Water: Gradually add the ice water, one tablespoon at a time, mixing until the dough just comes together. Do not overmix. Form the dough into a disk, wrap it in plastic wrap, and chill for at least 1 hour.
- Roll the Dough: On a lightly floured surface, roll the chilled dough into a large rectangle, about 1/8 inch thick.
- Fill the Pastries: Spread the cajeta evenly over the surface of the dough, leaving a 1-inch border on all sides. Sprinkle with chopped nuts, if using.
- Shape and Cut: Starting from one long side, tightly roll the dough into a log. Pinch the seam closed. Slice the log into 1-inch thick rounds.
- Bake: Preheat your oven to 375°F (190°C). Place the rounds cut-side up on a baking sheet lined with parchment paper. Brush the tops lightly with the beaten egg wash.
- Bake for 18 to 22 minutes, or until the pastry is golden brown and flaky.
- Cool: Let the Carmelitas cool on the baking sheet for 5 minutes before transferring them to a wire rack to cool completely.
Notes
- You can make your own cajeta by slowly simmering sweetened condensed milk until it thickens and darkens, or purchase ready-made dulce de leche.
- For extra flakiness, chill the rolled dough briefly between steps 3 and 4.
- These traditional Mexican pastries store well in an airtight container at room temperature for up to three days.
Nutrition
- Serving Size: 1 pastry
- Calories: 350
- Sugar: 25
- Sodium: 150
- Fat: 20
- Saturated Fat: 12
- Unsaturated Fat: 8
- Trans Fat: 0
- Carbohydrates: 38
- Fiber: 1
- Protein: 5
- Cholesterol: 55