

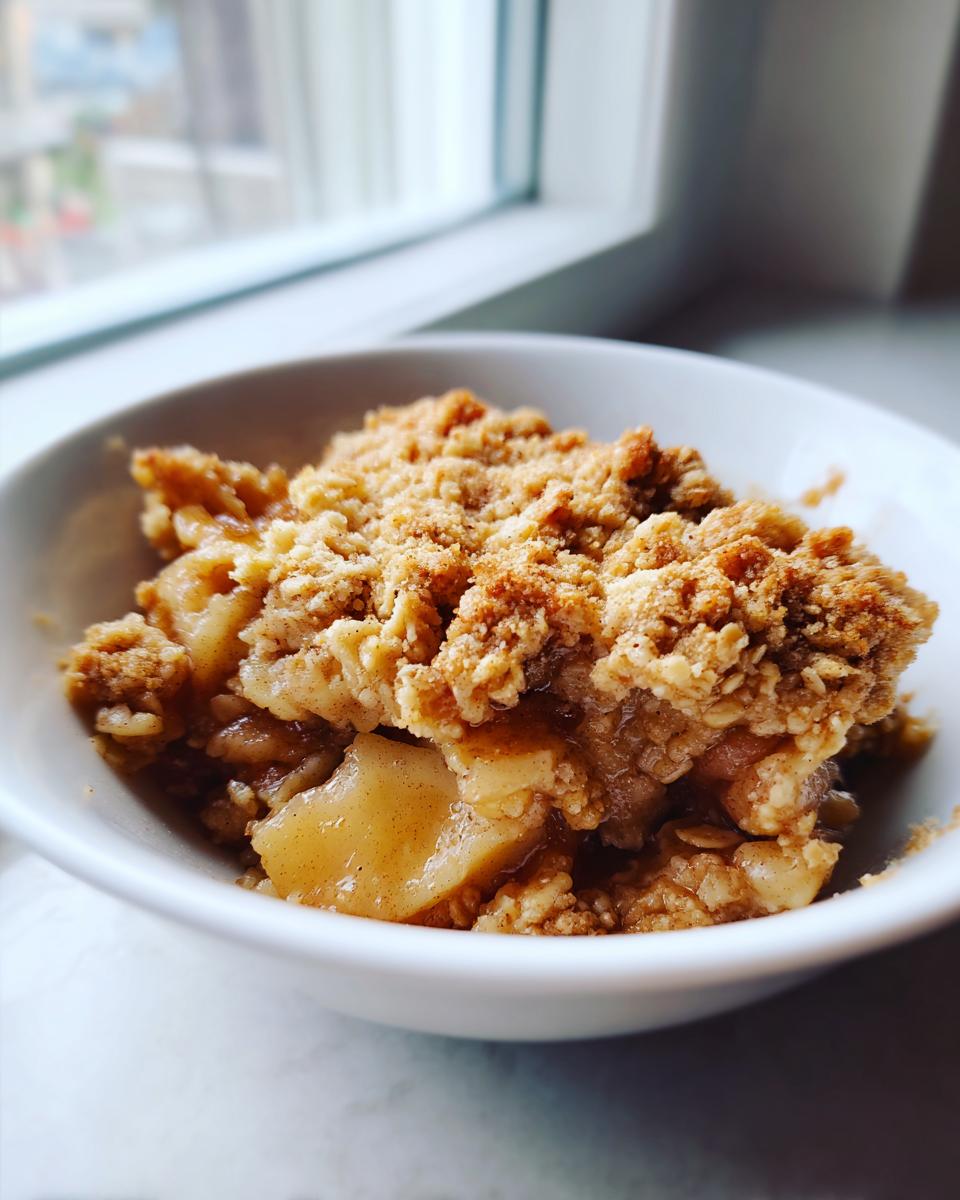
When the air gets crisp and the days get shorter, my heart instantly gravitates towards baking something warm and wonderfully nostalgic. Forget complicated layer cakes; for me, true comfort in a bowl is found in a bubbling fruit crisp. I spent years chasing that perfect balance—that moment when the baked apples were tender but not mushy, and the topping was utterly addictive. That’s why I’m so excited to share this apple crisp recipe with you. This is truly the Best Old Fashioned Apple Crisp Recipe, perfected on my path back to simple, reliable home cooking. It focuses entirely on tender apples coated in cinnamon and that glorious, buttery, golden oat topping.
- Why This Old Fashioned Apple Crisp Recipe Is Your New Go-To
- Gathering Ingredients for Your Apple Crisp Recipe
- Step-by-Step Instructions for the Best Apple Crisp Recipe
- Tips for a Foolproof Old Fashioned Apple Crisp
- Serving Suggestions for Your Apple Crisp Recipe
- Storage and Reheating Instructions for Leftover Apple Crisp
- Frequently Asked Questions About This Apple Crisp Recipe
- Nutritional Estimates for This Cozy Apple Dessert
- Share Your Experience with This Classic Apple Crumble
Why This Old Fashioned Apple Crisp Recipe Is Your New Go-To
When I was deep in the marketing trenches, the idea of baking felt impossible. That’s why, when I started Pure Plate Path, my main goal was making great food accessible. This Easy Apple Crisp Recipe is the absolute proof that comfort doesn’t require complexity. Seriously, you can’t mess this up! It’s designed as a Minimal Prep Dessert for those nights when you need that cozy feeling without spending an hour chopping and stirring. If you need inspiration for faster meals overall, check out my ideas for quick, easy weeknight dinners.
Quick Prep Time for a Cozy Apple Dessert
The clock almost backs up when you use this recipe! We’re talking 15 minutes max to get this into the oven. That makes it the perfect Dessert Recipe for Weeknight when you want something warm but don’t want to start baking until 8 PM. You prep the apples while the oven heats up, and then you mix the topping in the time it takes to wash your bowl—it’s that fast.
The Perfect Texture: Tender Apples Crunchy Topping
This is where we build trust. So many crisp recipes leave you with a soggy bottom or nuts that burn. Not here! We focus on that heavenly contrast: the slightly tart, perfectly spiced apples steaming away underneath a thick layer of buttery, golden crumbs. That Tender Apples Crunchy Topping is why people always ask for my technique. It works every single time, giving you that foolproof, comforting experience we all crave.
Gathering Ingredients for Your Apple Crisp Recipe
Okay, let’s get our mise en place sorted! The beauty of this apple crisp recipe is that it uses ingredients I always have stock of, meaning I can whip it up on a Tuesday just as easily as a Saturday. Grab your list—I’ve organized it loosely by what goes into the fruit and what goes into that incredible topping. Don’t feel bad if you don’t have exactly Honeycrisp apples; we’ll talk about substitutions in a bit, but for now, just ensure you have fresh, firm fruit.
- 6 large apples (like Granny Smith or Honeycrisp), peeled, cored, and sliced
- 1/4 cup all-purpose flour
- 1/2 cup granulated sugar
- 1 teaspoon ground cinnamon
- 1/4 teaspoon ground nutmeg
- 1 tablespoon lemon juice
- 1 cup old-fashioned rolled oats
- 1/2 cup packed light brown sugar
- 1/2 cup all-purpose flour
- 1/2 teaspoon ground cinnamon
- 1/4 teaspoon salt
- 1/2 cup (1 stick) cold unsalted butter, cut into small pieces
Step-by-Step Instructions for the Best Apple Crisp Recipe
Okay, this is where the magic happens! Seeing those ingredients come together is so rewarding, and trust me, this process is straightforward. We’re making sure to handle the fruit carefully so it holds its shape, and we’re treating that topping with respect so it stays crunchy. If you’re looking for other easy baked fruit recipes, my approach for my easy apple tart recipe follows a similar principle of keeping things simple but flavorful.
Preparing the Apple Filling for Your Cinnamon Apple Crisp
First things first: get your oven up to 375 degrees Fahrenheit and grease an 8×8 dish. Now, grab your biggest mixing bowl. We need to combine the sliced apples with everything that makes them delicious: the flour (which helps thicken the juices), the white sugar, that gorgeous ground cinnamon, nutmeg, and just a splash of lemon juice. That lemon juice is important; it keeps the apples bright and stops them from going brown while you mix up the rest! Toss it all gently until every slice is coated in those warm spices.
Creating the Buttery Crumble Oat Topping Recipe
Next, the star of the show—the topping! In a separate bowl, whisk together your rolled oats, brown sugar, the second batch of flour, a bit more cinnamon, and salt. Now, take your cold, cubed butter and drop it right in. You need to use your fingers or a pastry blender here to cut that butter into the dry mix. Stop when you have coarse crumbs, maybe some that look like peas. Do not keep stirring until it’s smooth! We want those little pockets of butter so they melt and turn golden brown—that’s how you get that perfect texture for a Best Fall Dessert.
Baking Times and Setting the Apple Crisp
Sprinkle that crumb topping evenly over your apples and press it down just a little bit. Pop the dish into the preheated oven for about 40 to 45 minutes. You know it’s ready when the apples are bubbling up around the edges and the topping is deeply golden. The absolute hardest step is waiting for this, but it’s crucial: let it cool on a wire rack for a full 15 minutes after it comes out. This short rest time lets those delicious juices set up, so you don’t have soup when you try to serve it!
Tips for a Foolproof Old Fashioned Apple Crisp
I’ve made this Classic Apple Crumble so many times that I can practically do it in my sleep, but a few small tricks ensure it’s perfect every single time. The first, pulled straight from my notes, is about the apples: skip using just one kind! For the best texture contrast—that balance between tartness and sweetness—I really recommend using a mix. I usually pair tart Granny Smiths with the sweeter, firmer Honeycrisp slices.
Now, here’s my personal trick to nail the bake: watch the topping! If you notice that beautiful oat layer is getting too dark, maybe around the 30-minute mark, but the apples underneath aren’t quite bubbling yet, don’t panic. Just loosely drape a piece of aluminum foil over the top. This protects the crumble while letting the center finish cooking. It’s a simple fix, but it prevents that disappointing look of a burnt top over under-done fruit. If you want to check out another highly-rated basic baking idea, you can look at this Pioneer Woman article for inspiration, but trust me, this method is solid!
Serving Suggestions for Your Apple Crisp Recipe
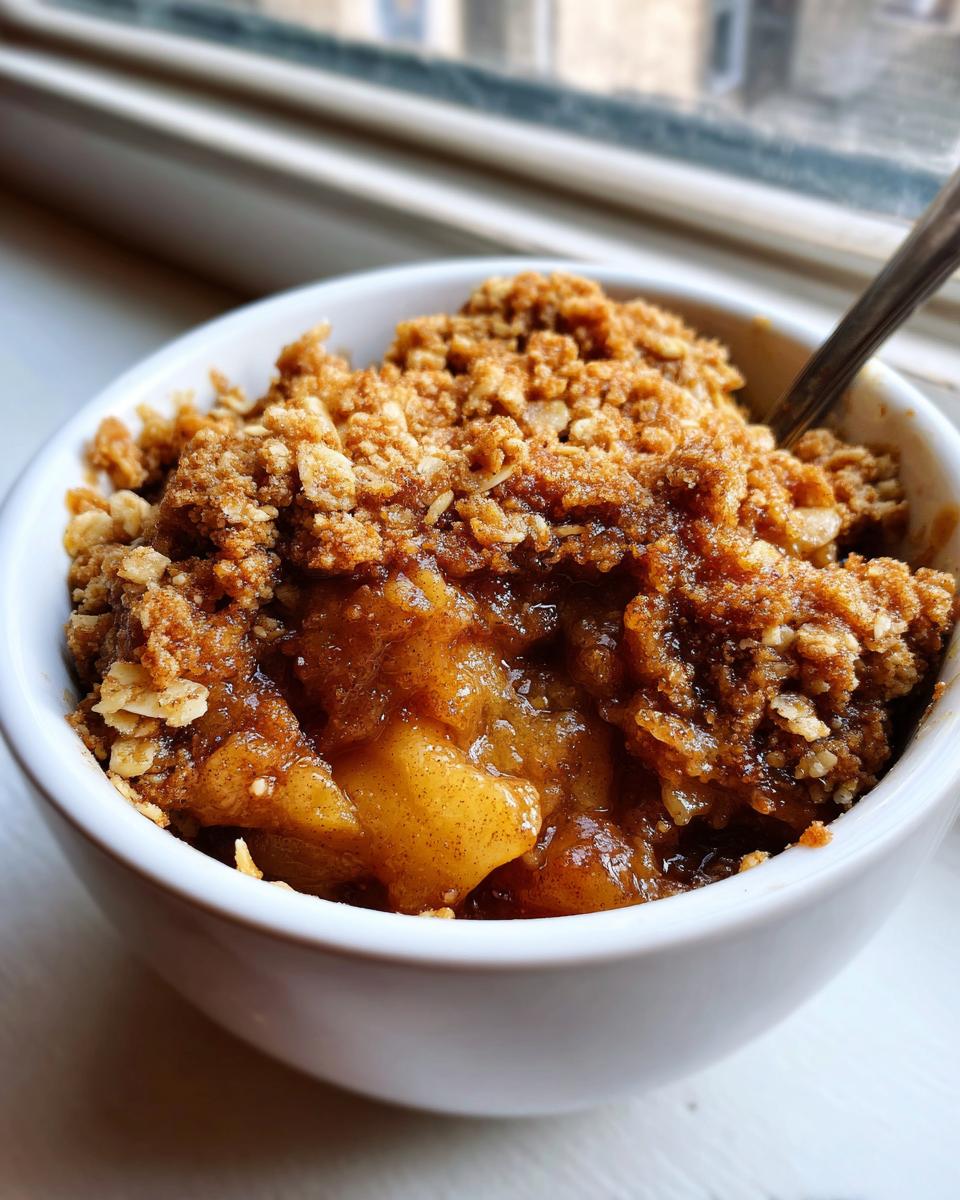
There is nothing quite like pulling this Comfort Food Baking masterpiece out of the oven. The smell alone is enough to stop a busy day in its tracks! While honestly, this amazing apple crisp recipe is fantastic all by itself, how you serve it truly elevates the experience from a simple snack to a spectacular dessert. It’s all about that contrast in temperature and texture.
You absolutely must try it warm, straight from that 15-minute cooling period, with a big, generous scoop of creamy vanilla ice cream. That cold shock against the hot, spiced apples? Perfection. It’s the classic pairing for a reason!
If you’re feeling a bit lighter or maybe serving it alongside coffee, I also love topping it with fresh, slightly sweetened whipped cream. Adding a tiny dash of maple syrup to the cream makes it heavenly. If you are looking for other ways to incorporate naturally sweet, fruit-based desserts into your routine, you might enjoy my thoughts on healthy desserts around here, but for pure, buttery comfort, you can’t beat this crisp!
Storage and Reheating Instructions for Leftover Apple Crisp
Listen, if you manage to have any of this left over—which is frankly a miracle in my house—you want to make sure it tastes just as amazing the next day. The main enemy here is a soggy topping, and we need to fight that soggy battle with smart storage!
For short-term storage, if you know you’ll eat the rest within a day or so, you can leave it covered tightly on the counter at room temperature. It’s sturdy because of the lower moisture content compared to, say, a pie. But honestly, I prefer the fridge if it needs to last longer than 24 hours. Just make sure it’s covered securely so it doesn’t absorb any weird kitchen smells!
Keeping the Topping Crunchy When Reheating
This is the pro tip! If you use the microwave, you’ll get lovely warm apples, but that topping will turn into soft oatmeal, bless its heart. To keep that crunchy texture we worked so hard for, you have to use the oven or an air fryer!
If you’re using the oven, just scoop out your portion—no need to reheat the whole dish—into an oven-safe ramekin or small dish. Pop it in a 350°F oven for about 8 to 10 minutes until it’s bubbling gently. If you’re super impatient (I get it!), an air fryer works wonders on a small portion, heating it fast and keeping that topping crisp.
Making It Ahead of Time
You asked if you can make this ahead since it’s such a great Easy Fall Baking Idea! Absolutely! I usually assemble the entire dish—apples mixed, topping sprinkled—but I cover it tightly with plastic wrap and refrigerate it for up to a day before baking. When you’re ready, just add about 10 to 15 minutes onto the original baking time, since you’re starting cold. Always check that the apples are tender before pulling it out!
Frequently Asked Questions About This Apple Crisp Recipe
I know when you’re looking for a reliable recipe, you always have a few little questions swirling around. Don’t worry, that’s totally normal, especially when trying a new Easy Fall Baking Idea! I gathered some of the questions I get most often about making the perfect crisp. My goal here is to make sure your experience is smooth, so you get that perfect crunchy topping over those wonderfully warm, soft apples every time.
What are the best apples for this apple crisp recipe?
This is probably the most popular question! For the absolute best result—the one that honors the Old Fashioned Apple Crisp tradition—you need apples that hold their shape and give you that nice balancing tartness. I use a mix. My go-to is half Granny Smith because they stay firm and tangy, and half Honeycrisp or Gala for a little sweetness. Avoid soft apples like Red Delicious; they tend to disintegrate into applesauce during the bake time. If you’re just looking for Simple Baked Apples that hold structure, stick to the firm, tart ones!
Can I prepare the apple crisp ahead of time?
Yes, you absolutely can assemble it ahead of time, which is great for entertaining! You have two choices, depending on how worried you are about that beautiful topping. If you assemble the whole thing—apples coated, topping sprinkled—cover it very tightly with plastic wrap and keep it refrigerated up to 24 hours. Just add 10 to 15 minutes to your bake time since it’s going in cold.
If you’re worried about the topping absorbing moisture in the fridge, keep the apples sliced and coated in one container, and mix the dry topping ingredients separately. Cover the topping and keep it in an airtight container on the counter. Then, just before baking, toss the cold butter into the topping mixture, finish mixing it, and sprinkle it over the apples just before going into the oven. That way, the topping stays as crisp as possible!
Can I make this recipe gluten-free?
It’s so easy to adapt this! Since the structure relies on the oats and flour in the topping and a little flour in the filling, you just need simple swaps. For the topping, swap the all-purpose flour for a good quality 1-to-1 gluten-free flour blend. For the oats, make sure you use certified gluten-free rolled oats, as regular oats can sometimes have cross-contamination issues. The apples are naturally GF, of course, so it’s a quick change!
What if I don’t have rolled oats? Can I use quick oats?
Oh, I’ve done that in a pinch! If you only have quick-cooking oats, they will work, but the texture of the topping will be different. Quick oats break down faster, so your topping will be more “crumble” than “crisp.” It’s still delicious and comforting, but it won’t have that satisfying, chunky bite that old-fashioned oats give you. If you want that classic texture, I highly recommend tracking down the rolled oats, but don’t let lacking them stop you from baking this lovely dessert!
Nutritional Estimates for This Cozy Apple Dessert
Now, I always tell people that when you’re baking true comfort food, you shouldn’t worry too much about the numbers. This is homemade, lovely food made with real ingredients, and that’s what counts for nourishment! However, for those of you who like to keep track, I pulled together the estimated nutrition for one serving of this delicious apple crisp recipe based on the ingredients listed. Please remember, these are just rough guesses based on standard measurements, as apple size and butter amounts can always vary slightly in a home kitchen!
- Serving Size: 1 serving
- Calories: 380
- Sugar: 35g
- Sodium: 150mg
- Fat: 18g
- Saturated Fat: 11g
- Unsaturated Fat: 7g
- Trans Fat: 0.5g
- Carbohydrates: 55g
- Fiber: 5g
- Protein: 5g
- Cholesterol: 45mg
See? It’s a perfect balance for a satisfying end to a meal, especially when you pile on that crunchy topping!
Share Your Experience with This Classic Apple Crumble
I truly hope you take the time to make this one soon, especially now that you have every tool and tip to make it the Best Fall Dessert imaginable. But my journey isn’t complete until I hear from YOU! When you try this Classic Apple Crumble, please don’t be shy!
The best part of sharing these recipes is seeing them live in your own kitchens. Did you use Granny Smiths or did you find another amazing apple combination? Did you dress it up with fresh cream or stick to the good old scoop of ice cream?
Head down to the comments section below and leave a rating—even if it’s just five stars because your whole family approved! I read every single one, and your feedback helps me know which simple, nourishing recipes to focus on next.
If you snap a picture of your golden-brown creation, tag me on social media! I adore seeing my recipes come to life on your tables. If you have any specific questions that popped up while you were baking, feel free to reach out to me directly via my contact page—I’m always here to help you stay on your wellness path, one delicious bite at a time.
PrintThe Best Old Fashioned Apple Crisp Recipe

Make this classic apple crisp with tender, cinnamon-spiced apples and a buttery, golden oat topping. This simple recipe is perfect for cozy nights and delivers comforting flavor with minimal prep time.
- Prep Time: 15 min
- Cook Time: 45 min
- Total Time: 60 min
- Yield: 6 servings 1x
- Category: Dessert
- Method: Baking
- Cuisine: American
- Diet: Vegetarian
Ingredients
- 6 large apples (like Granny Smith or Honeycrisp), peeled, cored, and sliced
- 1/4 cup all-purpose flour
- 1/2 cup granulated sugar
- 1 teaspoon ground cinnamon
- 1/4 teaspoon ground nutmeg
- 1 tablespoon lemon juice
- 1 cup old-fashioned rolled oats
- 1/2 cup packed light brown sugar
- 1/2 cup all-purpose flour
- 1/2 teaspoon ground cinnamon
- 1/4 teaspoon salt
- 1/2 cup (1 stick) cold unsalted butter, cut into small pieces
Instructions
- Preheat your oven to 375 degrees Fahrenheit. Lightly grease an 8×8 inch baking dish.
- In a large bowl, combine the sliced apples, 1/4 cup flour, 1/2 cup granulated sugar, 1 teaspoon cinnamon, nutmeg, and lemon juice. Toss gently until the apples are evenly coated.
- Spread the apple mixture evenly into the prepared baking dish.
- In a separate medium bowl, prepare the topping. Combine the rolled oats, brown sugar, 1/2 cup flour, 1/2 teaspoon cinnamon, and salt. Mix these dry ingredients together.
- Cut in the cold butter using a pastry blender or your fingertips until the mixture resembles coarse crumbs. Do not overmix; small pea-sized pieces of butter are fine.
- Sprinkle the oat topping evenly over the apple mixture in the baking dish. Press down lightly.
- Bake for 40 to 45 minutes, or until the topping is golden brown and the apple filling is bubbly and tender when pierced with a fork.
- Let the apple crisp cool on a wire rack for at least 15 minutes before serving. This allows the filling to set slightly.
Notes
- For the best texture contrast, use a mix of tart and sweet apples.
- Serve this warm apple crisp with a scoop of vanilla ice cream for a classic dessert experience.
- If the topping browns too quickly, loosely cover the dish with aluminum foil for the last 10 minutes of baking.
Nutrition
- Serving Size: 1 serving
- Calories: 380
- Sugar: 35g
- Sodium: 150mg
- Fat: 18g
- Saturated Fat: 11g
- Unsaturated Fat: 7g
- Trans Fat: 0.5g
- Carbohydrates: 55g
- Fiber: 5g
- Protein: 5g
- Cholesterol: 45mg