
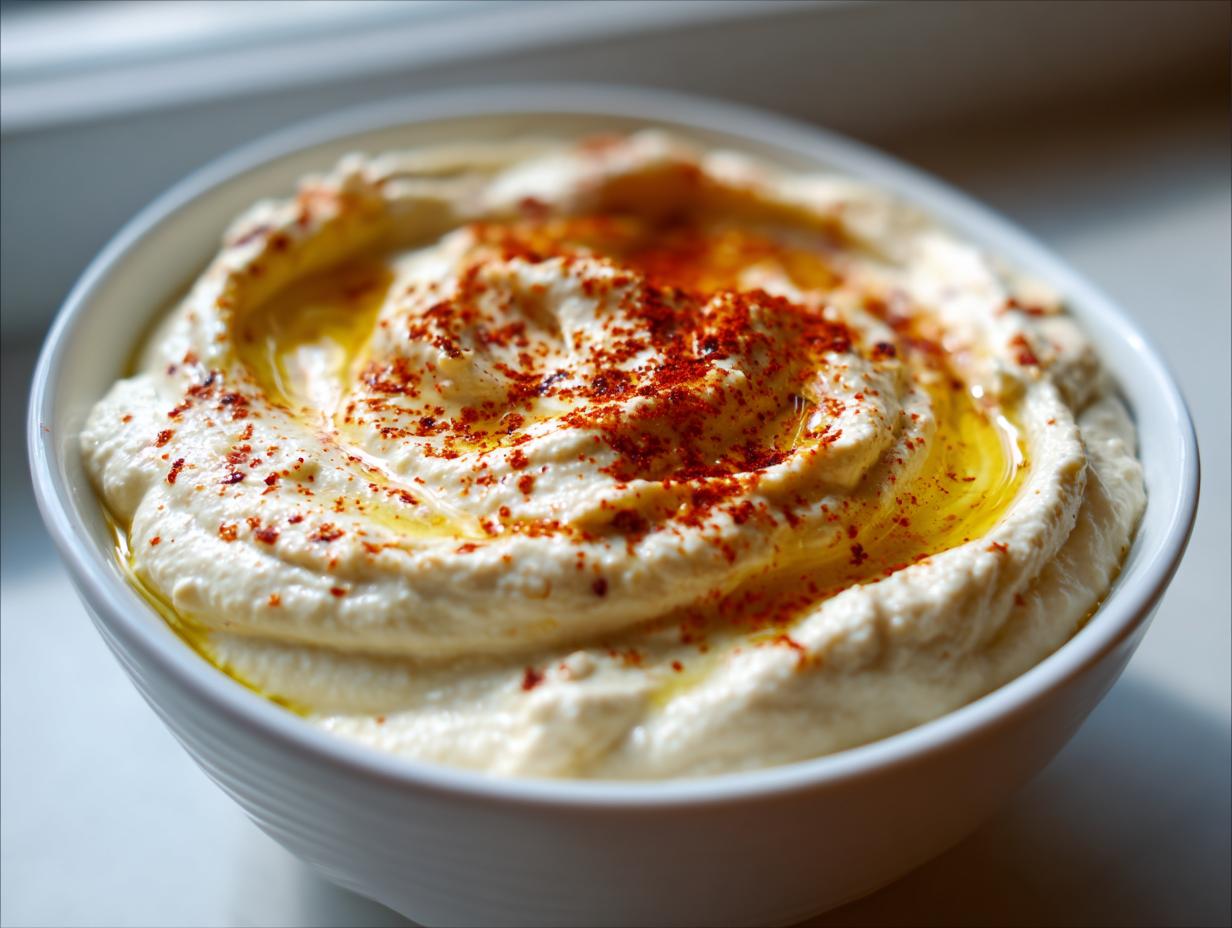
Oh, honestly, are we still buying that gritty, thin stuff in plastic tubs? I just can’t do it anymore. For me, the dip that anchors *any* gathering isn’t guacamole, it’s perfect hummus. When I started Pure Plate Path, it was because I was tired of letting convenience dictate my kitchen, and nothing shows that commitment to simple, authentic food more than turning out a bowl of truly special **Traditional hummus**.
Forget everything you think you know about that store-bought texture. We aren’t messing around with anything less than silky-smooth. This recipe delivers that luxurious, velvet body you crave, rich with high-quality tahini, making it the must-have centerpiece for your next grazing board. Trust me, once you make this at home, grab the pita and put it down, you won’t go back!
- Why This Is the Best Homemade Hummus Recipe
- Gathering Ingredients for Authentic Traditional Hummus
- Step-by-Step Instructions for Silky Smooth Hummus
- Expert Tips for Perfect Traditional Hummus Texture
- Serving Suggestions for Your Traditional Hummus Anchor Dip
- Make-Ahead and Storage for the Smoothest Hummus
- Troubleshooting Common Traditional Hummus Issues
- Frequently Asked Questions About Traditional Hummus
- Nutrition Snapshot for Traditional Hummus
Why This Is the Best Homemade Hummus Recipe
When people taste this, they always ask how it’s so incredibly smooth. That’s the difference between homemade and jarred, plain and simple. This isn’t just dip; it’s an experience. If you want truly restaurant-quality results, this is your go-to. We’re aiming for pure Mediterranean joy here, not a gritty disappointment!
- It delivers that deep, satisfying, tahini-forward flavor that store brands forget.
- The final product is light, airy, and absolutely velvety, not dense or pasty.
- You feel great serving the **best homemade hummus** knowing exactly what went into it.
If you are getting ready for a party and need something quick and impressive alongside your bread dip, you’ve found it. Check out my recipe for easy 5-minute bread dip for another fast appetizer win!
Achieving Velvet Texture: The Secret to Smooth Hummus
The magic ingredient that brings everything together isn’t chickpeas—it’s the ice water! Don’t skip that step, even if it sounds strange. Adding very cold water slowly while the processor runs actually aerates the mixture, making it light instead of heavy. Also, the quality of your tahini matters so much here. If your tahini is thick and creamy to start with, your final dip will be ultra-smooth.
Gathering Ingredients for Authentic Traditional Hummus
For this recipe, we’re using the simplest ingredients because the technique does most of the heavy lifting. Don’t try to get fancy here; we want authenticity! Grab one 15-ounce can of chickpeas, but make sure you rinse and drain them super well first. The heart of the flavor is that beautiful, high-quality tahini—we need a whole half a cup of it.
Next, you’ll need about two cloves of garlic, minced up fine, and a generous quarter cup of fresh lemon juice. Don’t forget the secret weapon for texture: 1/4 cup ice water, plus a little extra just in case. Round it out with cumin and salt, and you are ready to blend!
- 1 (15-ounce) can chickpeas, rinsed and drained
- 1/2 cup tahini
- 1/4 cup fresh lemon juice
- 2 cloves garlic, minced
- 1/4 cup ice water, plus more as needed
- 1/2 teaspoon ground cumin
- 1/2 teaspoon salt
- 2 tablespoons olive oil, for serving
- Pinch of paprika, for garnish
Step-by-Step Instructions for Silky Smooth Hummus
Okay, time to work some magic! We are skipping any cooking because we want this done in minutes, which is why I adore this **smooth hummus recipe** for busy days. First things first, put all your solids right into the food processor bowl. That means your rinsed chickpeas, the tahini, your fresh lemon juice, the minced garlic, cumin, and salt all go in together straight away.
Hit the pulse button and run the machine for a full minute. You’ll need to stop it once to scrape down the sides—this keeps everything moving evenly. Next, this is critical: with the machine still running, slowly drizzle in that cold, ice water. I know, it looks weird! I remember the first time I did this, I thought I was ruining it because the mixture went stiff for a second. Don’t panic! That initial thickening is normal.

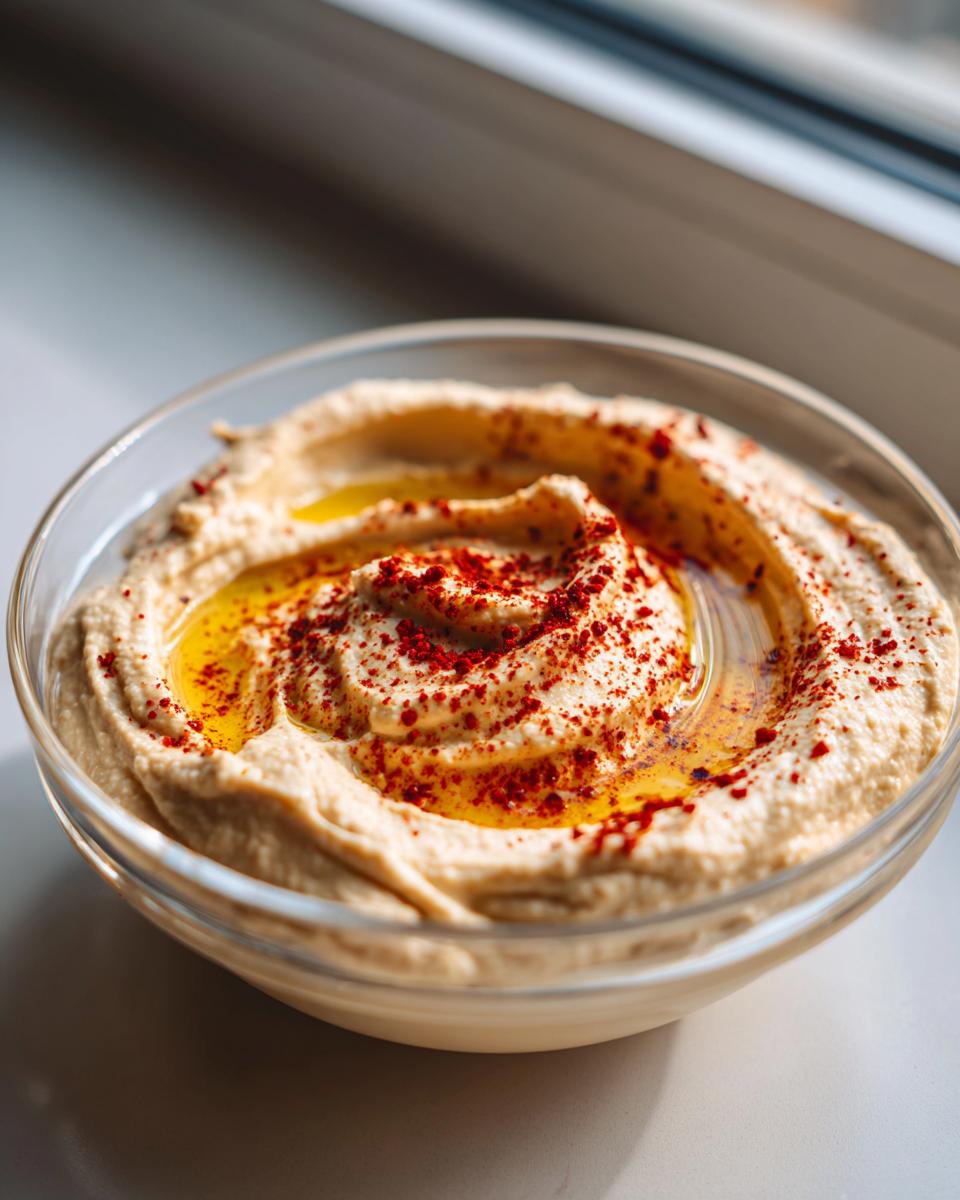
But stick with it! You need to process this mixture for a good three to five minutes total, scraping every minute. That long blending time is what liquefies the chickpeas and creates that signature velvet nap. If you feel it’s just too thick to swirl, add water a tablespoon at a time until it gets gorgeous. Once it looks airy and pale, taste it! Adjust salt or lemon if you need to make it sing. Then, transfer it to your prettiest shallow bowl. I like carving out a little well in the center before drizzling the olive oil over top, maybe a dusting of paprika, and you’re done! If you need another quick appetizer idea, you have to try my olive oil bread dip recipe next.
The Crucial Blending Phase for Traditional Hummus
Listen, the absolute make-or-break moment is when you’re adding that ice water and letting it process for those extra minutes. Seriously, don’t cheat the clock! That long run time is what breaks down the chickpea proteins enough to create that airy cloud texture we are aiming for. If you stop early, you get grainy hummus. If you go the full time, you get the smoothest dip you’ve ever made at home. Keep scraping those sides down so the thick parts near the bowl bottom get tossed back into the blades! You want every single bit of your dip to be perfect.
Expert Tips for Perfect Traditional Hummus Texture
Getting this amazing **tahini dip recipe** right comes down to a couple of small steps that make a huge visible difference. I’ve learned over the years that the texture police are harsh, so we’re taking preemptive action! My top secret for serious velvetiness? Peeling the chickpeas. Yes, I know it sounds fussy, but if you have the time, rubbing them between two clean kitchen towels after rinsing removes those papery skins, and WOW, does it make a difference in creaminess.
Also, and this is crucial for flavor development, don’t serve it straight from the food processor. Even though it’s ready in minutes, this dip needs a little chill time to truly meld. Let your perfectly smooth hummus rest on the counter or in the fridge for about 30 minutes before you serve it. It firms up just slightly and the flavors deepen beautifully. If you love creamy dips, you absolutely must check out my recipe for creamy party appetizer olive dip next!
Serving Suggestions for Your Traditional Hummus Anchor Dip
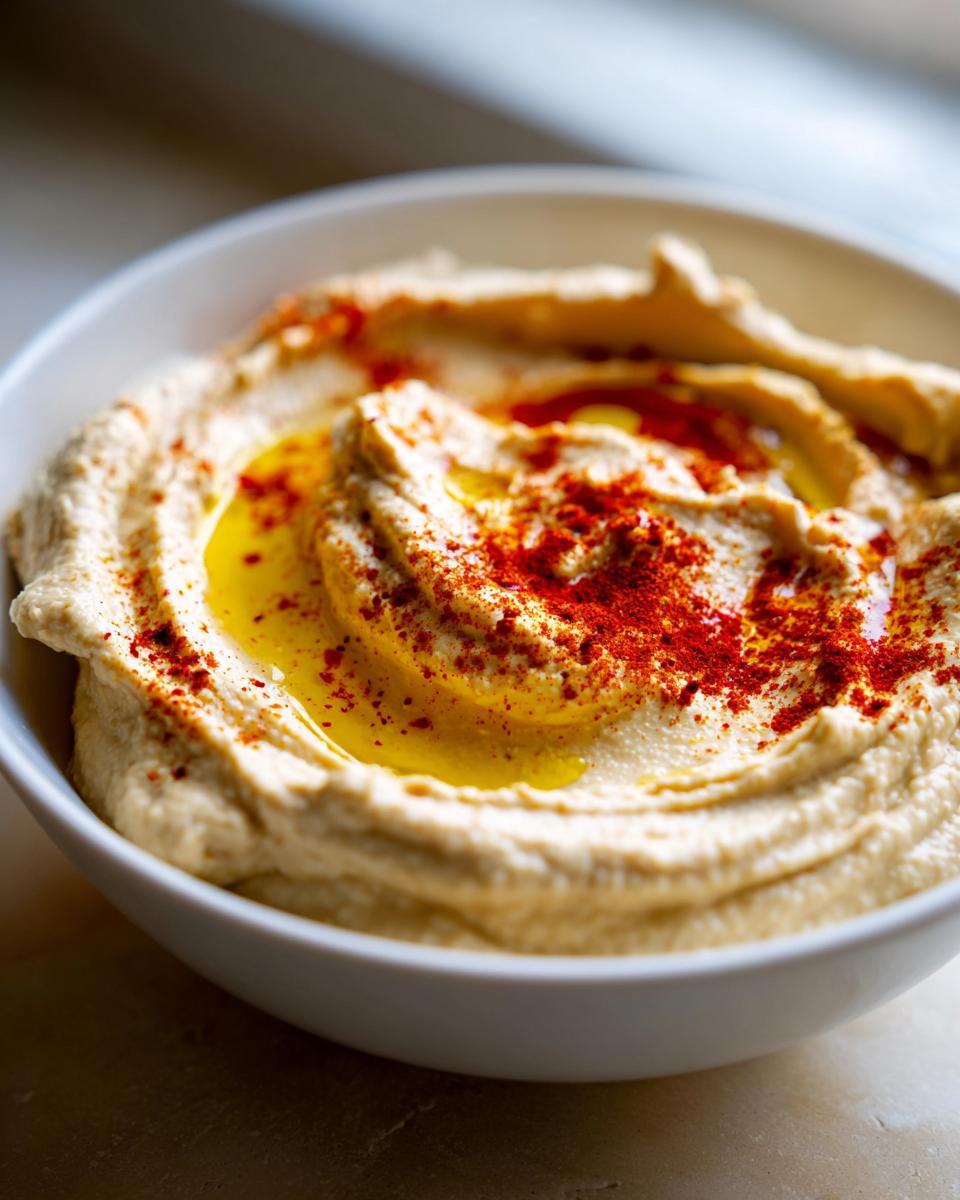
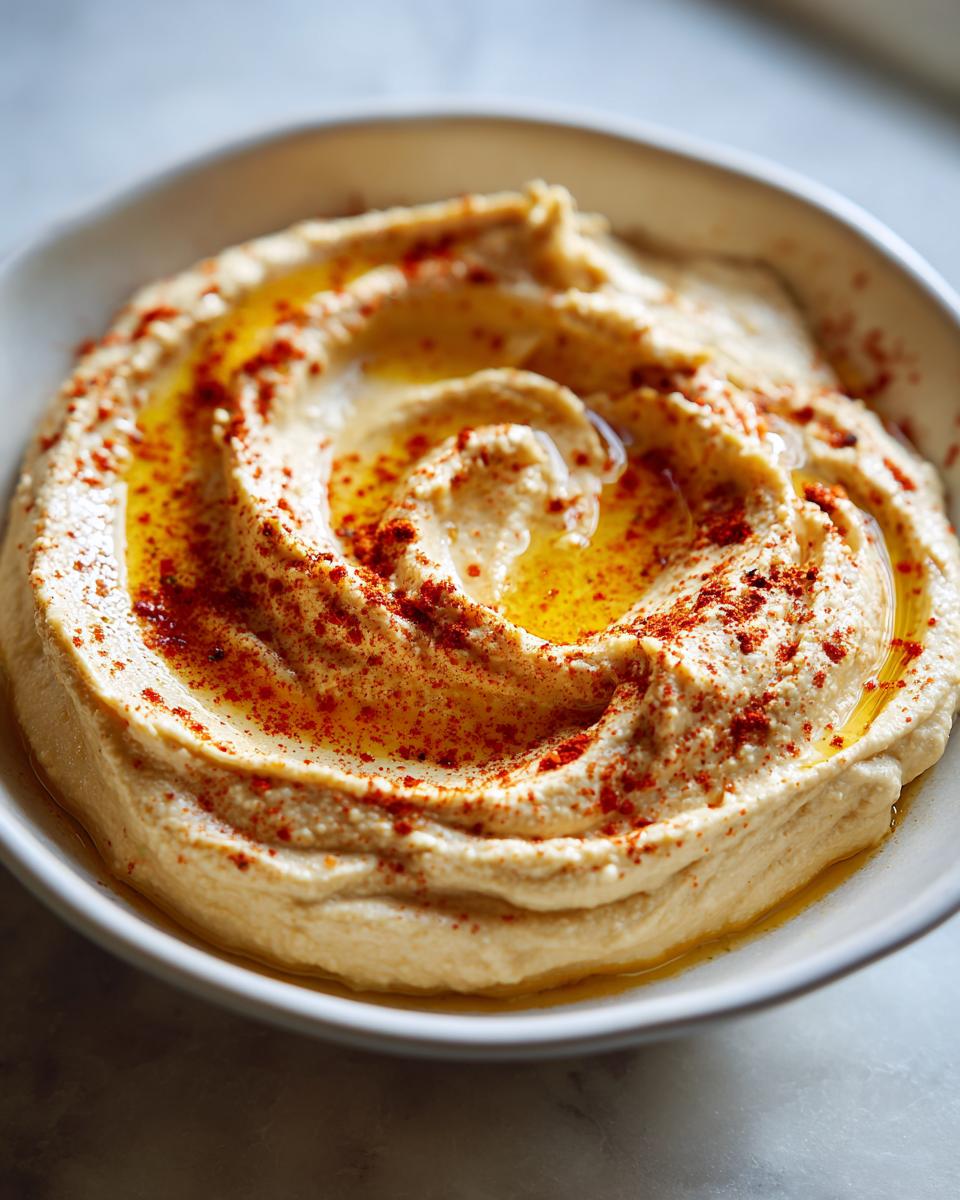
This luxurious hummus isn’t just a side dish; it’s the foundation of your entire spread! Think of it as the anchor dip for your grazing board—everything else revolves around that creamy, lush base. When serving, really take the time to make it look beautiful. Create wide, sweeping swirls across the surface with the back of a spoon; it catches the olive oil drizzle perfectly.
Now for the dippers! To keep things aligned with that fresh flavor profile, skip the boring crackers sometimes. I love surrounding the bowl with crisp cucumber slices, colorful bell pepper strips, and warm, lightly toasted pita triangles. It makes for truly satisfying **Mediterranean diet snacks**. For other fresh ideas to round out your meal, you can always find incredible inspiration in my collection of recipes. It’s all about fresh and simple!
Make-Ahead and Storage for the Smoothest Hummus
One of the best parts about making this incredible dip is that it holds up *so* well. While I always say it tastes best made fresh—especially right after that long blend—you absolutely don’t have to serve it immediately. It’s perfect for making the day before, which is a huge win for entertaining, right?
When storing, make sure you transfer the hummus to an airtight container. You don’t want anything drying out the surface! If you’ve already swirled and oiled the top, that olive oil layer helps protect it beautifully in the fridge. It stays wonderfully smooth for three to four days. If you’re planning a big party for International Hummus Day celebrations, you can easily double the recipe!
If you’ve made a huge batch and need it to last longer, you can freeze it, though I prefer using it fresh. If you do freeze it, let it thaw in the fridge overnight. When you’re ready to serve it again, give it a good stir with a spoon, and if it seems a little stiff, just mix in a teaspoon of cold water to bring that velvet texture right back.
Troubleshooting Common Traditional Hummus Issues
I promise this recipe rarely fails, but sometimes the food processor gremlins get involved! If your dip comes out too thick, don’t stress; that’s an easy fix. Just stream in a little more ice water, tablespoon by tablespoon, while running the machine until it loosens up to a creamy consistency. Easy peasy!
Now, if it seems too thin—maybe you added too much water initially—that’s trickier, but solvable. Just add a tablespoon of extra rinsed chickpeas or a spoonful of extra tahini to the processor and blend again. That helps bulk it up. Remember, patience during the long blend time is your best defense against graininess in this **smooth hummus recipe**!
Frequently Asked Questions About Traditional Hummus
I get so many messages asking about the little details. It’s nice to know people are committed to getting this right! People often ask me about speed versus authenticity, especially when they are trying to nail the **best homemade hummus** for a last-minute snack situation. We want the best of both worlds here—speed and that incredible texture. If you need a quick fix, using canned chickpeas is absolutely fine, just be sure to rinse them really well!
Is soaking the chickpeas overnight necessary for traditional hummus?
For this specific recipe, no, it’s not strictly necessary because we are focused on speed using canned beans. That said, if you really want to push for that airy, fluffy texture—the kind that makes people swoon—soaking dried chickpeas overnight and then simmering them until super tender before blending will give you the fluffiest result imaginable. It takes longer, obviously, but it’s a beautiful technique if you aren’t rushed.
How do I celebrate International Hummus Day with this recipe?
Oh, **International Hummus Day** deserves a feast! The best way to celebrate is to make a triple batch of this recipe and really go wild with the presentation. Get creative with the toppings—smoked paprika, toasted pine nuts, loads of fresh parsley, or maybe even a swirl of spicy chili oil! Then, invite everyone over. Hummus is meant to be shared as part of those wonderful **Mediterranean diet snacks**!
I’ve got another faster recipe for you if you ever need a different flavor profile—you can check out my easy hummus recipe when you need something slightly different but just as simple!
Nutrition Snapshot for Traditional Hummus
I always believe in transparency, especially when we’re talking about nourishing food like this. It’s so important to know what you’re putting on your plate, and this homemade recipe is far superior to the heavily processed stuff you find in the grocery aisle, even though it uses simple ingredients.
Based on the combination of chickpeas, tahini, and olive oil in this batch, here’s a general look at the numbers per quarter-cup serving. Please remember that these are estimates, since the exact nutritional value depends on the brand of tahini and the size of your garlic cloves!
- Calories: Around 180
- Fat: 14 grams (mostly healthy fats from the tahini and olive oil!)
- Carbohydrates: 11 grams
- Protein: 6 grams
This is what real, wholesome snacking looks like! It’s packed with fiber from the chickpeas, which keeps you feeling full and satisfied while you’re grazing before the main meal.
PrintSilky-Smooth Traditional Hummus: The Anchor Dip

Make the best homemade hummus with this recipe for a tahini-rich, velvet-textured dip perfect for your grazing board. Reject gritty store-bought alternatives for this authentic Mediterranean diet snack.
- Prep Time: 10 min
- Cook Time: 0 min
- Total Time: 10 min
- Yield: About 1.5 cups 1x
- Category: Appetizer
- Method: Food Processing
- Cuisine: Mediterranean
- Diet: Vegetarian
Ingredients
- 1 (15-ounce) can chickpeas, rinsed and drained
- 1/2 cup tahini
- 1/4 cup fresh lemon juice
- 2 cloves garlic, minced
- 1/4 cup ice water, plus more as needed
- 1/2 teaspoon ground cumin
- 1/2 teaspoon salt
- 2 tablespoons olive oil, for serving
- Pinch of paprika, for garnish
Instructions
- Place the rinsed chickpeas, tahini, lemon juice, minced garlic, cumin, and salt into a food processor.
- Process the mixture for 1 minute, scraping down the sides as needed.
- With the food processor running, slowly stream in the 1/4 cup of ice water. The mixture will thicken initially.
- Continue processing for 3 to 5 minutes, stopping to scrape down the sides every minute, until the hummus becomes very smooth and light. Add a tablespoon of additional ice water if the mixture seems too thick.
- Taste and adjust salt or lemon juice as necessary.
- Transfer the smooth hummus to a shallow serving bowl. Use the back of a spoon to create a swirl pattern on the surface.
- Drizzle with olive oil and sprinkle with paprika before serving.
Notes
- For the smoothest texture, remove the skins from the chickpeas before processing.
- Using ice water helps create a lighter, fluffier hummus texture.
- This tahini dip recipe tastes best when allowed to sit for 30 minutes before serving.
Nutrition
- Serving Size: 1/4 cup
- Calories: 180
- Sugar: 2
- Sodium: 250
- Fat: 14
- Saturated Fat: 2
- Unsaturated Fat: 12
- Trans Fat: 0
- Carbohydrates: 11
- Fiber: 5
- Protein: 6
- Cholesterol: 0