
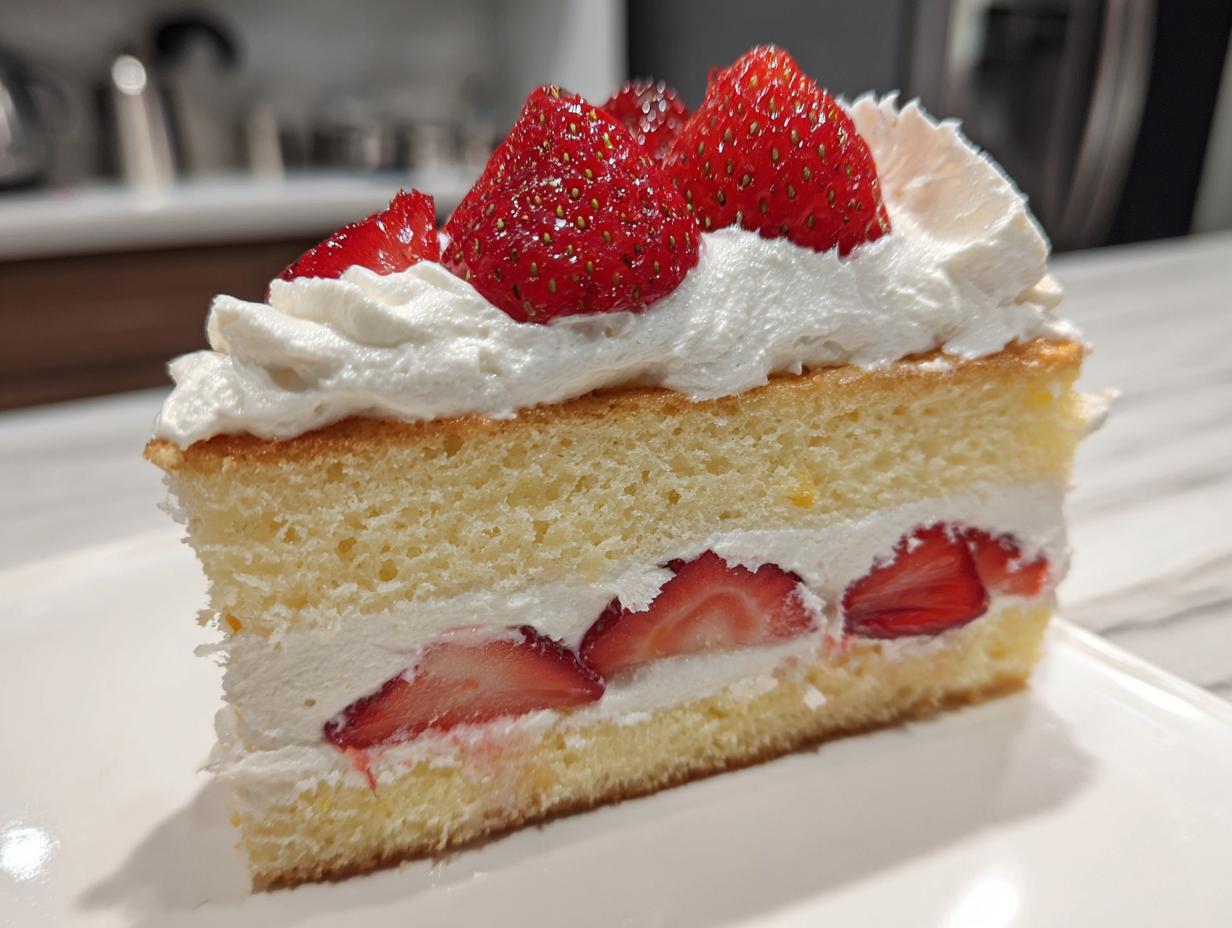
There is something truly magical about the desserts found in those beautiful Japanese bakeries—they have this ethereal lightness that Western cakes often miss. I used to think mastering that delicate texture at home was impossible, reserved only for skilled pastry chefs. But here at Pure Plate Path, we know that nourishment and joy shouldn’t require a culinary degree, right? That’s why I’m thrilled to share my most reliable, straightforward recipe for the authentic japanese strawberry shortcake, or Ichigo Shortcake. Trust me, we’re simplifying the steps to bring that incredibly airy, cloud-like experience right to your kitchen without all the fuss.
- Why This japanese strawberry shortcake Recipe is Different (The Secret to Airy Layers)
- Assembling the Ingredients for your japanese strawberry shortcake Recipe
- Soft Genoise Cake Instructions for the japanese strawberry shortcake Base
- Creating the Homemade strawberry whipped cream for your japanese strawberry shortcake
- Perfect strawberry shortcake assembly: The japanese bakery style cake Method
- Tips for Success with your Authentic Japanese Dessert
- Storage and Reheating Instructions for japanese strawberry shortcake
- Frequently Asked Questions about Ichigo Shortcake Tutorial
- Share Your japanese strawberry shortcake Creations
Why This japanese strawberry shortcake Recipe is Different (The Secret to Airy Layers)
If you’ve ever bitten into one of those breathtaking Japanese bakery cakes, you know the texture is everything. It’s not your typical dense, buttery Western shortcake biscuit; we’re aiming for something lighter than air! This recipe delivers the lightest sponge cake recipe you’ll ever make, thanks to treating our eggs almost like a chiffon batter. We’re using careful mixing methods to create unbelievably airy Japanese cake layers that practically melt when they hit your tongue. It’s shockingly simple, yet totally transformative!
Key Ingredients for Authentic japanese strawberry shortcake
The magic starts before you even turn on the oven, it’s about choosing the right foundation. We need precision here, so grab your kitchen scale if you can; it makes all the difference in getting those delicate ratios right. For this cake, the flour choice is non-negotiable—we must use soft, low-protein cake flour. That’s the real secret weapon, besides the perfectly whipped egg whites, ensuring our sponge stays tender and airy instead of developing tough gluten. Don’t even think about substituting it with all-purpose, not if you want that authentic bakery result!
Assembling the Ingredients for your japanese strawberry shortcake Recipe
Okay, now that you know *why* this cake is so special—it’s all about the air—let’s gather our troops! In the pursuit of that true, authentic Japanese bakery style cake, precision matters, but don’t let the measurements scare you. I’ve broken everything down component by component. We need the perfect ratios for the sponge, a simple syrup to keep it kissing-soft, and the right kind of cream that won’t deflate before you can serve it. Remember my philosophy: simple, whole ingredients made intentionally lead to the best results!
If you are using the gelatin stabilizer for the cream, make sure you have your cold water ready to bloom it before you start whipping. If you’re opting for Xanthan Gum—which I love for a total no-fuss approach—just have that ready nearby too. It’s all about being prepared so we can move quickly when that delicate sponge comes out of the oven!
- For the Airy Sponge Cake:
- 100g Cake Flour (Sifted twice, please!)
- 100g Granulated Sugar (Split this up, you’ll see why soon.)
- 4 large Eggs, separated (Make sure those whites are at room temp!)
- 30ml Milk
- 30g Unsalted Butter
- 1 tsp Vanilla Extract
- For the Simple Syrup Soak:
- 50ml Water
- 20g Granulated Sugar
- For the Stabilized Whipped Cream:
- 500ml Heavy Whipping Cream (Needs to be at least 35% fat or higher for structure!)
- 30g Powdered Sugar (For sweetness)
- 1 tsp Gelatin powder OR 1/2 tsp Xanthan Gum (Your choice of stabilizer!)
- 50ml Cold Water (Only if using gelatin)
- For the Filling and Topping:
- 400g Fresh Strawberries (The ripest, reddest ones you can find!)
Soft Genoise Cake Instructions for the japanese strawberry shortcake Base
This is where the magic happens—we are building those incredible airy Japanese cake layers! Remember, we are aiming for the lightest sponge cake possible, so put that mixer on pause for a minute and listen up. Preheat your oven to 340°F (170°C) and make sure your 8-inch pan is perfectly greased and lined. This cake hates sticking!
First, we need to whip the egg whites into a frenzy. In a completely clean, grease-free bowl—seriously, wipe it down with a little vinegar if you’re worried—beat those whites until they form soft peaks. Then, slowly sprinkle in half of that granulated sugar, just a teaspoon at a time, until you hit *stiff, glossy peaks*. They should stand straight up when you pull the whisk out!
In a separate bowl, you’ll whisk your yolks and the other half of the sugar until they’re pale yellow and ribbony. Then, gently mix in the melted butter/milk mixture and vanilla. Now comes the part that requires the most love: folding! I always tell people this: “When folding the meringue into the yolk base, treat it like you’re wrapping a delicate blanket around it.” Fold gently, working from the bottom up, until *just* barely combined. Sift the cake flour over the top and fold a couple more times until you see no streaks of flour left. Do not overmix, or you’ll deflate all that gorgeous air! Bake this beauty for about 25 to 30 minutes. It should spring back lightly when touched.
Preparing the Simple Syrup Soak
Since this sponge is so light, it loves to drink up moisture, which is exactly what we want! To make the syrup, just combine the 20g sugar with 50ml water in a tiny saucepan. Heat it just until the sugar dissolves completely—don’t boil it hard! Once it’s clear, take it off the heat and let it cool completely before the cake is ready. This simple syrup is crucial; it keeps the inside of your soft genoise cake instructions deliciously moist long after baking.
Creating the Homemade strawberry whipped cream for your japanese strawberry shortcake
Now that our cake base is cooling down, let’s talk about the cloud that holds everything together: the homemade strawberry whipped cream! For this authentic Japanese dessert, we need that cream to be light, fluffy, and most importantly, stable. It can’t melt into a puddle on you, especially when you’re going for that beautiful Japanese bakery look.
The key here is stabilization. If you’re using gelatin, sprinkle it over the tiny bit of cold water and let it sit for five minutes till it looks spongy—then gently warm it until clear and let it cool slightly. If you’re using Xanthan Gum, you’re lucky; it’s even easier! Before you even start whipping, make sure your bowl and whisk attachment are ice cold. Pour in that heavy cream and powdered sugar, and start whipping slowly. Once you get soft peaks, stream in your cooled, liquid gelatin or, if you chose the gum, sprinkle it in during the last minute of whipping until you get stiff peaks that hold their shape perfectly!
Selecting and Slicing the Best Strawberries
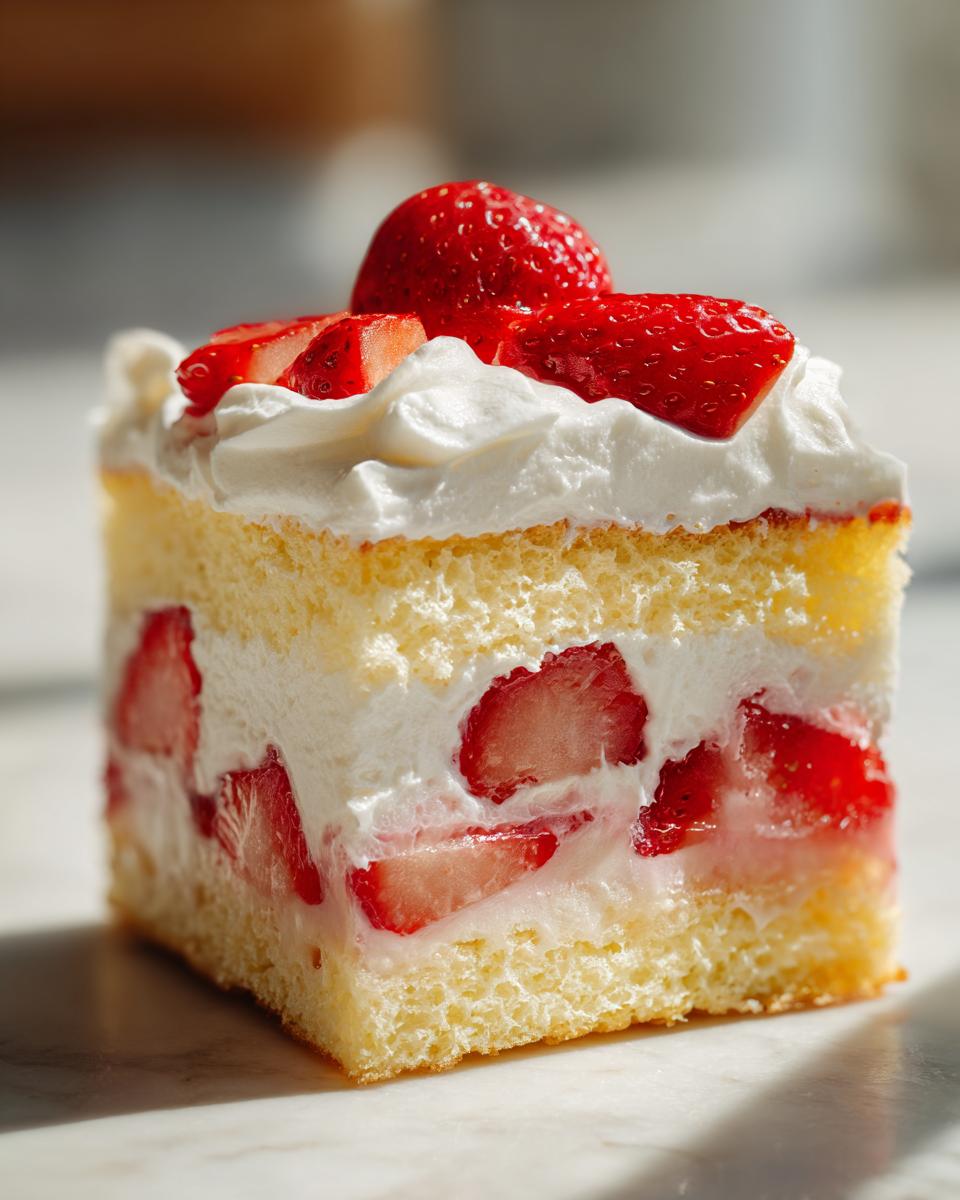
You can’t skimp on the star fruit here! Finding the best strawberries for shortcake means going for visual appeal as much as taste. You want bright red, sweet-smelling berries—if they aren’t sweet on their own, soaking them won’t fix it! Hull all of them first. For the inside layer, you need to slice about two-thirds of them thinly. This allows them to line up nicely and stack without making the cake lopsided.
For the beautiful decoration on top, leave the prettiest ones whole or slice them perfectly in half vertically. Just remember to clean them gently; we don’t want any water left on them when they meet that pristine white cream!
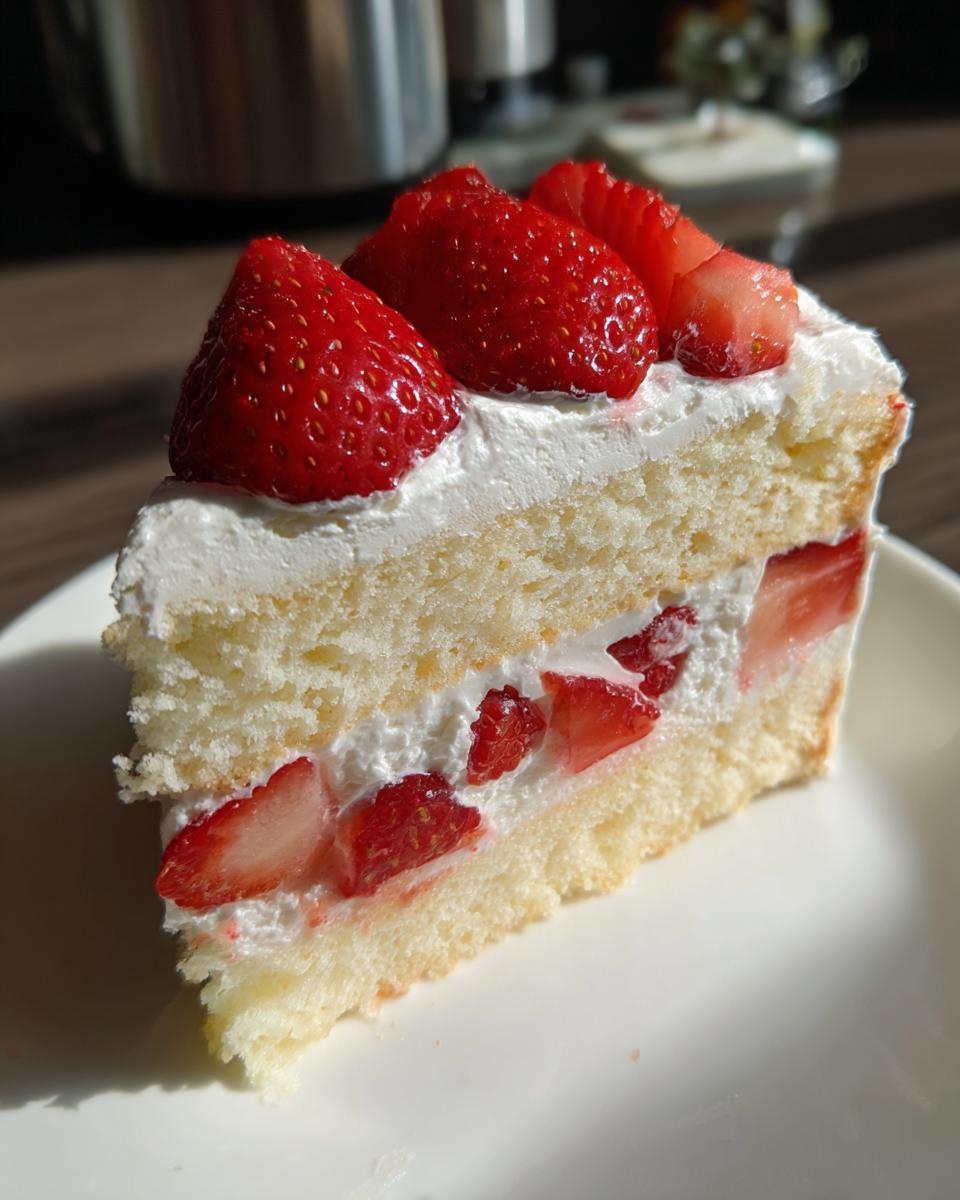
Perfect strawberry shortcake assembly: The japanese bakery style cake Method
Okay, take a deep breath! This is the moment we bring everything together to achieve that gorgeous japanese bakery style cake look. First thing’s first: make sure that sponge cake is totally, completely cool. Seriously, even warm spots will melt your precious cream!
Slice your cooled cake evenly into two layers. Place the bottom layer on your final serving plate—this is your base for the perfect strawberry shortcake assembly. Now, take that cooled sugar syrup we made and brush it generously across the entire cut surface of the bottom layer. It soaks right in! Next, spread a thin, even layer of your stabilized whipped cream on top of the syrup. Don’t go too thick here; we need room for layers!
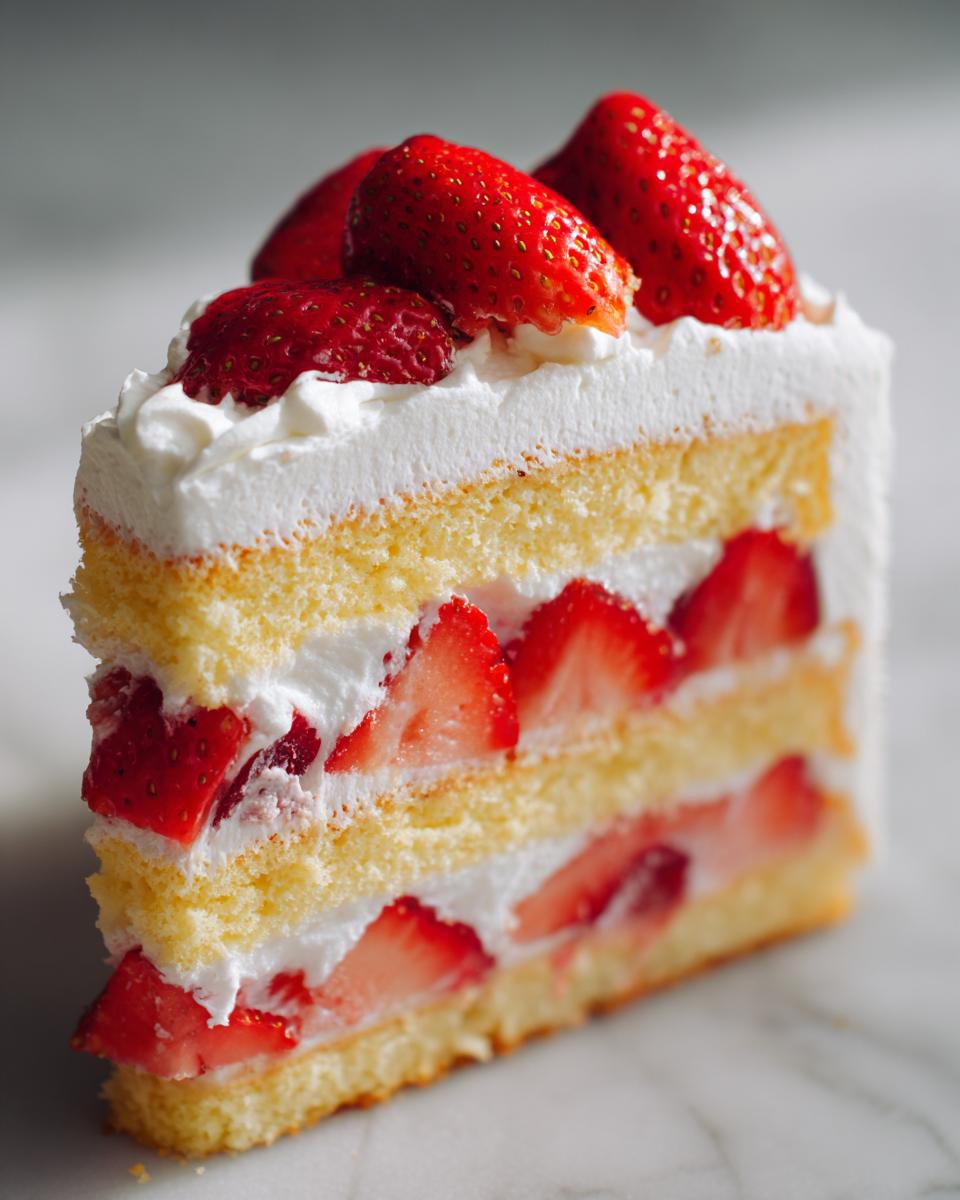
Arrange your sliced strawberries neatly over the cream. Place the second cake layer on top, and give its surface a good soak with the remaining syrup. Now, we frost! Cover the entire cake, top and sides, with the rest of your fluffy cream. Use an offset spatula to smooth it out—that clean look is classic. Decorate the top with those reserved, pretty strawberries. Once it’s styled, you absolutely must chill it. A minimum of one hour in the fridge allows the cream to set up firmly against the layers. Trust me, chilling is the final step for structural integrity!
Tips for Success with your Authentic Japanese Dessert
Making a showstopper like this authentic Japanese dessert is certainly achievable, but since we’re working with so much air—both in the cake and the cream—a few gentle reminders will make sure you nail it every time. Think of these as little pieces of kitchen wisdom I’ve picked up over the years so you don’t have to troubleshoot!
First, let’s talk about that folding process for the sponge. When you’re incorporating the flour and the meringue, use a wide, rubber spatula, and cut straight down the middle, pulling the batter up and over from the bottom. It sounds simple, but watch what you’re doing! If you see a streak of white flour, fold only a couple more times until it disappears. Stop immediately! Over-folding is the quickest way to turn your fluffy cake into a dense disc, and we worked too hard to get all that air in there to lose it now.
My second piece of advice centers on the cream. If you are in a humid environment, or if you are using the gelatin stabilizer, make sure you really beat that cream past the stiff peak stage—I mean really give it a run. You want it firm enough that you can hold the bowl upside down over your head without it moving (if you’re feeling brave, that is!). If the cream feels sloppy at all while frosting, pop the whole bowl back into the freezer for about 10 minutes before continuing. Sometimes, the environment fights against us, but cold equipment is our best defense!
Finally, when you are slicing the layers, use a long, thin serrated knife, like a bread knife, and don’t push down. Instead, think of it like gently sawing through the cake horizontally. This prevents squishing down the delicate crumb you’ve spent so much time building. Once you’ve got that perfect slice, you can look into making other delightful baked goods—if you ever want something rich after all this lightness, my recipe for molten chocolate lava cake is the perfect contrast!
Storage and Reheating Instructions for japanese strawberry shortcake
Now, I won’t lie to you—this fluffy strawberry cream cake is at its absolute peak perfection on the day you assemble it. That light sponge, the fresh berries, the cloud-like cream… it’s a fleeting moment of glory, and you should absolutely savor it! But if you have leftovers (which, honestly, is rare in my house!), we need to treat them right.
Because we are dealing with fresh fruit and stabilized dairy cream, this isn’t something you want to leave on the counter. Get that beautiful japanese strawberry shortcake sliced, cover the cut edges tightly with plastic wrap or place the entire cake dish under a dome, and pop it into the coldest part of your refrigerator. I’d say you can safely enjoy it for up to two days max. After that, the cream starts to weep a little, and the moisture from the berries can actually start to break down the delicate sponge structure too much.
And don’t even think about reheating this! If you try to microwave or warm up a whipped cream cake, you’ll end up with a runny, sad disaster. This dessert is meant to be served cool and fresh—it’s the essence of a refreshing healthy dessert experience!
Frequently Asked Questions about Ichigo Shortcake Tutorial
It’s totally normal to have questions when diving into a new technique, especially aiming for that classic Ichigo shortcake tutorial perfection! I always try to keep things straightforward here, but sometimes the details matter when you’re trying to achieve that bakery-quality texture. Here are some of the things I hear most often when people are making this fluffy strawberry cream cake.
Can I make the sponge cake ahead of time for my japanese strawberry shortcake?
Yes, you absolutely can, and I often recommend it! Baking the cake layers a day ahead actually gives you more time to focus on the strawberries and the cream filling assembly the next day. Once the sponge cake is completely cool, wrap it tightly in plastic wrap—like, really wrap it well—and leave it out on the counter at room temperature overnight. Do NOT refrigerate it yet! Refrigeration tends to dry out sponge cakes quickly. When you’re ready to assemble, just give it a generous brush with that simple syrup to refresh it, and you’re good to go!
What if I don’t have cake flour for this Asian cake recipe?
I know cake flour isn’t always sitting in everyone’s pantry, and that’s okay! For this specific Asian cake recipe, the lower protein content of cake flour is what keeps the crumb so incredibly tender. If you must substitute, you can make your own ‘DIY cake flour’ using all-purpose flour. For every cup of cake flour you need, measure out one cup of all-purpose flour, scoop out two level tablespoons of that all-purpose flour, and replace those two tablespoons with two level tablespoons of cornstarch. Whisk it together really well before sifting and using it! This lowers the protein enough to mimic that soft texture.
Why does my whipped cream keep collapsing, even with stabilizer?
Oh, the woes of airy cream! This is usually down to two things. First, check your cream’s fat content; it needs to be 35% (or higher, like heavy whipping cream) to hold its shape. Second, temperature! If your bowl wasn’t chilled sufficiently, or if your kitchen is warm, the fat molecules melt too fast for the stabilizer to grab onto. If it starts looking slushy while you are mixing, stop immediately, scrape the bowl down, and put the bowl and whisk back into the freezer for 10 minutes. Then try whipping again. A firm cream is essential for that polished final look!
Share Your japanese strawberry shortcake Creations
Well, my sweet friends, that’s it! You’ve navigated the delicate folding of the sponge, mastered the stabilization of the cream, and assembled what I truly believe is the closest you can get to a professional authentic Japanese dessert right in your own home. I’m sending you all the mental high-fives right now!
Creating beautiful food is only half the fun; the other half is sharing the joy and seeing what you’ve accomplished. I get such a thrill tracking your baking journeys. Did the layers turn out perfectly symmetrical? Did you choose the prettiest strawberries for the top rosette? Or perhaps you added a little twist I didn’t think of!
Please, please tell me how it went! Drop a rating down below—maybe five stars if it tasted like pure sunshine, or four if you had a little wobble with the folding technique and want to try again. Leave me a comment detailing your experience. I read every single one, and your feedback helps me make sure this recipe stays intuitive and simple for everyone who follows.
If you took a photo of your incredibly light, fluffy creation, I would absolutely love to see it! Feel free to reach out through my contact page and share a picture. Seeing your successes is truly what fuels Pure Plate Path. Happy baking, and enjoy every single, melt-in-your-mouth bite!
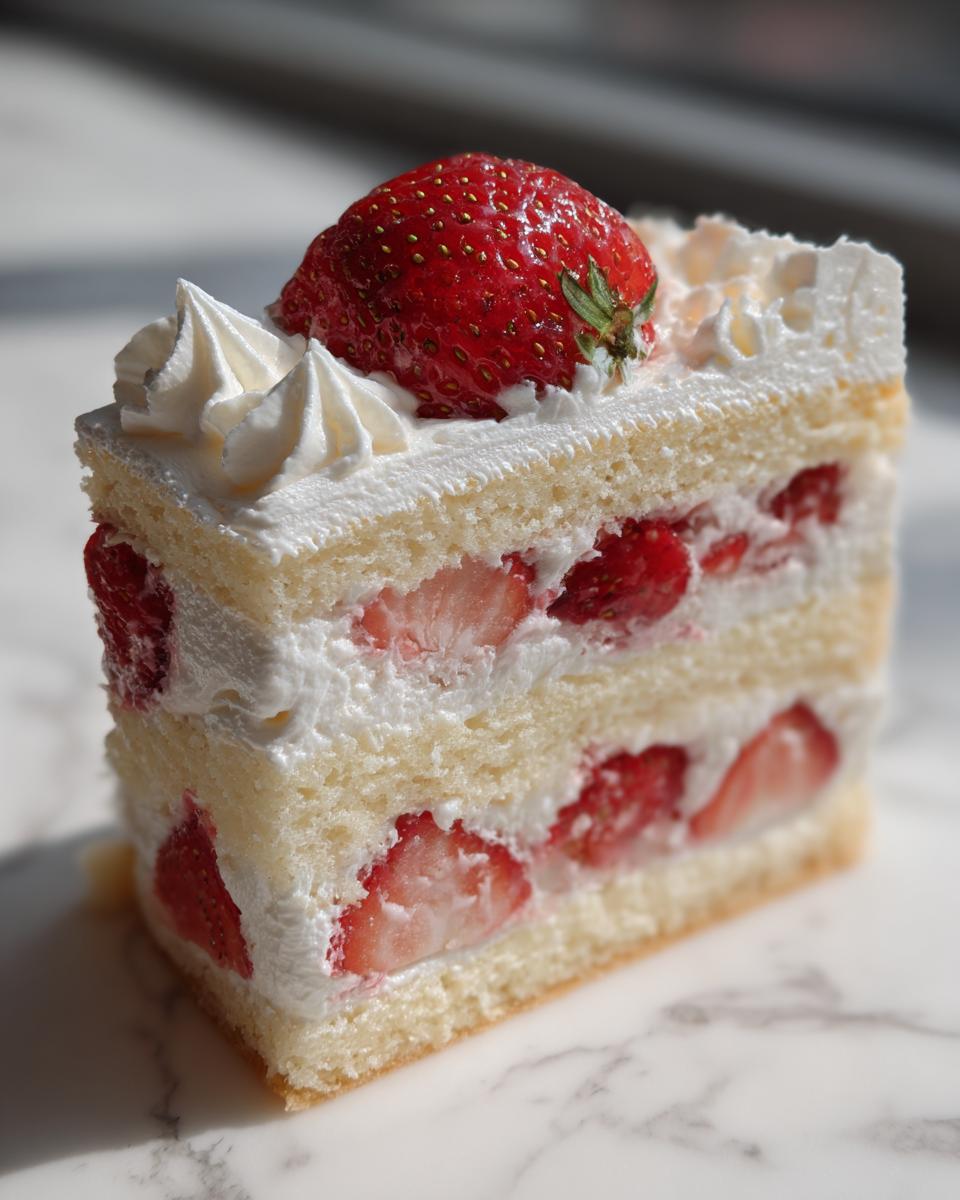
PrintAuthentic Japanese Strawberry Shortcake (Ichigo Shortcake)

Make a light, airy Japanese sponge cake layered with fresh strawberries and stabilized whipped cream for a bakery-quality dessert.
- Prep Time: 45 min
- Cook Time: 30 min
- Total Time: 75 min
- Yield: 8 servings 1x
- Category: Dessert
- Method: Baking
- Cuisine: Japanese
- Diet: Vegetarian
Ingredients
- 100g Cake Flour
- 100g Granulated Sugar (divided)
- 4 large Eggs, separated
- 30ml Milk
- 30g Unsalted Butter
- 1 tsp Vanilla Extract
- 500ml Heavy Whipping Cream (35% fat or higher)
- 30g Powdered Sugar (for cream)
- 1 tsp Gelatin powder (or 1/2 tsp Xanthan Gum for stabilizer)
- 50ml Cold Water (for gelatin)
- 400g Fresh Strawberries
Instructions
- Prepare the Syrup: Combine 50ml water and 20g granulated sugar in a small saucepan. Heat until sugar dissolves. Set aside to cool.
- Prepare the Sponge Cake Batter: Preheat your oven to 340°F (170°C). Grease and line an 8-inch round cake pan. Sift the cake flour.
- Whip Egg Yolks: In a bowl, whisk the 4 egg yolks with the remaining 50g granulated sugar until pale and thick. Whisk in the vanilla extract.
- Combine Wet Ingredients: Gently warm the milk and butter together until the butter melts. Whisk this mixture into the yolk mixture.
- Whip Egg Whites: In a clean, grease-free bowl, beat the 4 egg whites until soft peaks form. Gradually add the 30g of remaining granulated sugar and continue beating until stiff, glossy peaks form.
- Fold Together: Gently fold one-third of the meringue into the yolk mixture to lighten it. Sift the flour over the batter and gently fold until just combined. Fold in the remaining meringue in two additions, being careful not to deflate the air.
- Bake: Pour the batter into the prepared pan. Bake for 25-30 minutes, or until a toothpick inserted comes out clean. Cool in the pan for 5 minutes, then invert onto a wire rack to cool completely.
- Prepare Stabilizer: If using gelatin, sprinkle it over the 50ml cold water and let it bloom for 5 minutes. Gently heat the bloomed gelatin until fully dissolved, then let it cool slightly. If using Xanthan Gum, skip this step.
- Make Whipped Cream: Chill your mixing bowl and whisk attachment. Pour the heavy cream into the bowl. Begin whipping on medium speed. Once soft peaks form, gradually add the powdered sugar. If using gelatin, slowly drizzle the cooled, dissolved gelatin into the cream while whipping until stiff peaks form. If using Xanthan Gum, sprinkle it in during the last minute of whipping.
- Prepare Strawberries: Wash and hull the strawberries. Slice about two-thirds of them thinly for layering. Leave the remaining berries whole or halved for decoration.
- Assemble the Cake: Once the cake is completely cool, slice it horizontally into two even layers. Place the bottom layer on your serving plate. Brush the cut surface generously with the cooled sugar syrup.
- Layer: Spread a thin layer of whipped cream over the syrup. Arrange the sliced strawberries evenly over the cream. Top with the second cake layer. Brush the top layer with syrup.
- Frost and Decorate: Cover the entire cake (top and sides) with the remaining whipped cream. Use an offset spatula for a smooth finish or a piping bag for decorative swirls. Arrange the reserved whole or halved strawberries on top. Chill for at least 1 hour before slicing and serving this fluffy strawberry cream cake.
Notes
- For the lightest sponge cake, sift your cake flour twice before measuring and folding it into the batter gently.
- If you prefer a less sweet flavor profile, reduce the powdered sugar in the cream to 20g.
- For a perfect bakery look, use a turntable when frosting the sides of the cake.
Nutrition
- Serving Size: 1 slice
- Calories: 350
- Sugar: 30
- Sodium: 80
- Fat: 20
- Saturated Fat: 12
- Unsaturated Fat: 8
- Trans Fat: 0
- Carbohydrates: 38
- Fiber: 2
- Protein: 6
- Cholesterol: 150