
Oh my gosh, is it still truly autumn until you’ve made a batch of sticky, perfect caramel apples? For me, the smell of melting sugar and warm apples instantly takes me back to those bustling Midwestern fall festivals. I used to think making them from scratch was some big production, but trust me, it’s not! I’m Sarah Miller, and I created this recipe because I believe our comfort foods should be simple and joyous, not stressful. That’s why this is, hands down, the best and easiest method for making that classic, gooey, dipped apple treat right on your stovetop.
- Why This is the Best Homemade Caramel Apples Recipe
- Gathering Your Ingredients for Perfect Caramel Apples
- How to Make Caramel Apples: Step-by-Step Instructions
- Tips for Perfect Caramel Apples Every Time
- Creative Caramel Apple Toppings and Variations
- Serving Suggestions for Your Caramel Apples
- Storage and Reheating Instructions for Caramel Apples
- Frequently Asked Questions About Making Caramel Apples
- Estimating the Nutritional Value of These Caramel Apples
Why This is the Best Homemade Caramel Apples Recipe
When I first started making these, my biggest frustration was the caramel sliding right off onto the parchment paper. That absolutely won’t happen here! This recipe focuses on foolproof results, which is exactly what busy people like us need during the fall rush. We want the magic of the fair, not the mess of frustration. Plus, learning how to make these easy caramel apples makes you feel like a total kitchen champion.
Here’s why you can trust these instructions for your next batch of caramel apples:
- It uses meltable soft caramels, cutting out the tricky candy thermometer stage entirely.
- The result is a perfect balance—gooey, but not so runny that it pulls off the apple entirely.
- Everything happens quickly, making these a perfect last-minute halloween treat.
Achieving Perfect Caramel Adhesion
The absolute secret weapon for keeping that gorgeous caramel exactly where you put it is cooling the sauce slightly before you start dipping. We take the melted caramel off the heat and let it sit for about 5 to 10 minutes. It thickens up just enough so that when you dip your apple, the coating has something to grab onto. If you dip into piping hot caramel, it’s too liquid and just runs right off. Don’t skip that cool-down time!
Simple Ingredients for Classic Caramel Apples
There are no fancy extras here that you need to hunt down online. We keep it super simple because the fruit itself should shine! By relying on basic soft caramels, milk, and vanilla, we get that authentic, chewy coating that everyone expects. If you mess up the sauce, the whole batch of caramel apples is spoiled, so keeping the ingredient list short keeps your success rate high!
Gathering Your Ingredients for Perfect Caramel Apples
Okay, before we dip anything, we need to make sure we have *everything* ready to go, because once that caramel is made, you’ve got to work fast! For these caramel apples, we keep the core list short and sweet, focusing on quality where it counts. You’ll need about six tart apples—Granny Smith are my absolute must-have because that tartness balances the sugar perfectly. Then, grab that bag of soft caramels, along with just a tiny splash of milk or cream to make it smooth, and some vanilla for flavor depth. Don’t forget those sticks!
Remember: If you’re adding texture, like chopped nuts, set them out on plates *before* you start melting the caramel. We don’t want any rushing once we hit the stovetop!
How to Make Caramel Apples: Step-by-Step Instructions
Alright, let’s get down to business. Making caramel apples isn’t rocket science, but it requires a little focus during the cooking phase. Follow these steps exactly, and you’ll have carnival-worthy apples without any panic! It all starts before the heat even comes on.
Prep Work: Readying the Apples and Toppings
This first part is non-negotiable if you want your caramel to stick! You have to wash those apples, of course, but the crucial thing is drying them until they are bone dry. Seriously, wipe them down with a paper towel until you think they are dry, and then wipe them one more time. Any moisture means the caramel crawls right off. Once they are dry, pop those sticks firmly into the core—you want them in there tight! Then, get your toppings (crushed nuts, cookies—whatever you picked!) spread out on plates so they are ready for their close-up.
Creating the Gooey From Scratch Caramel Sauce
Now for the stovetop magic. Get your soft caramels and milk or cream into a saucepan over medium-low heat. I cannot stress this enough: keep the heat low! You want to stir constantly until everything is smooth and melted. If you let it boil too hard, the caramel gets brittle later on. Once it’s perfectly smooth, yank it off the burner! You absolutely must let this sauce cool for five to ten minutes. It needs to thicken up just a little bit so it clings to the apples instead of running straight to the bottom of the pan.
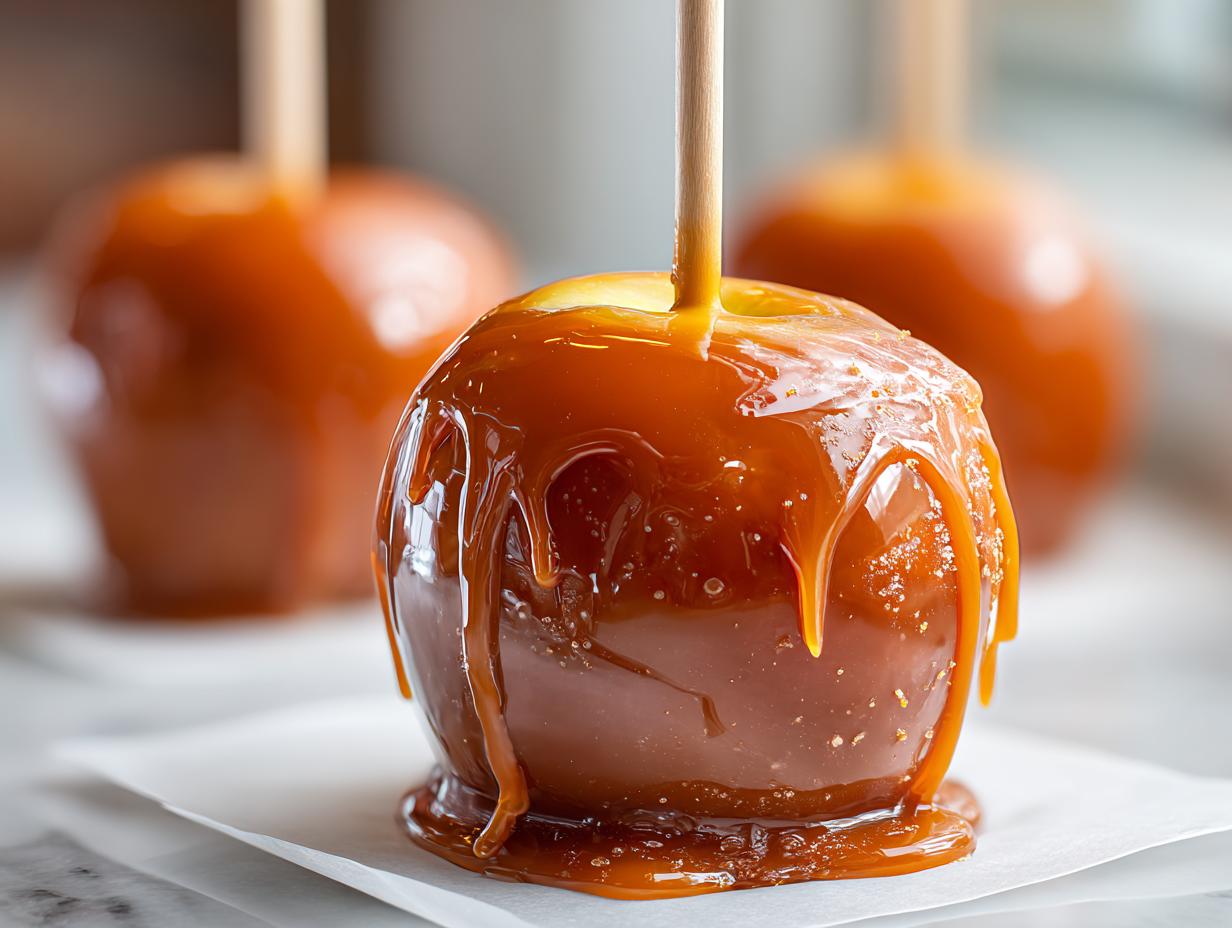
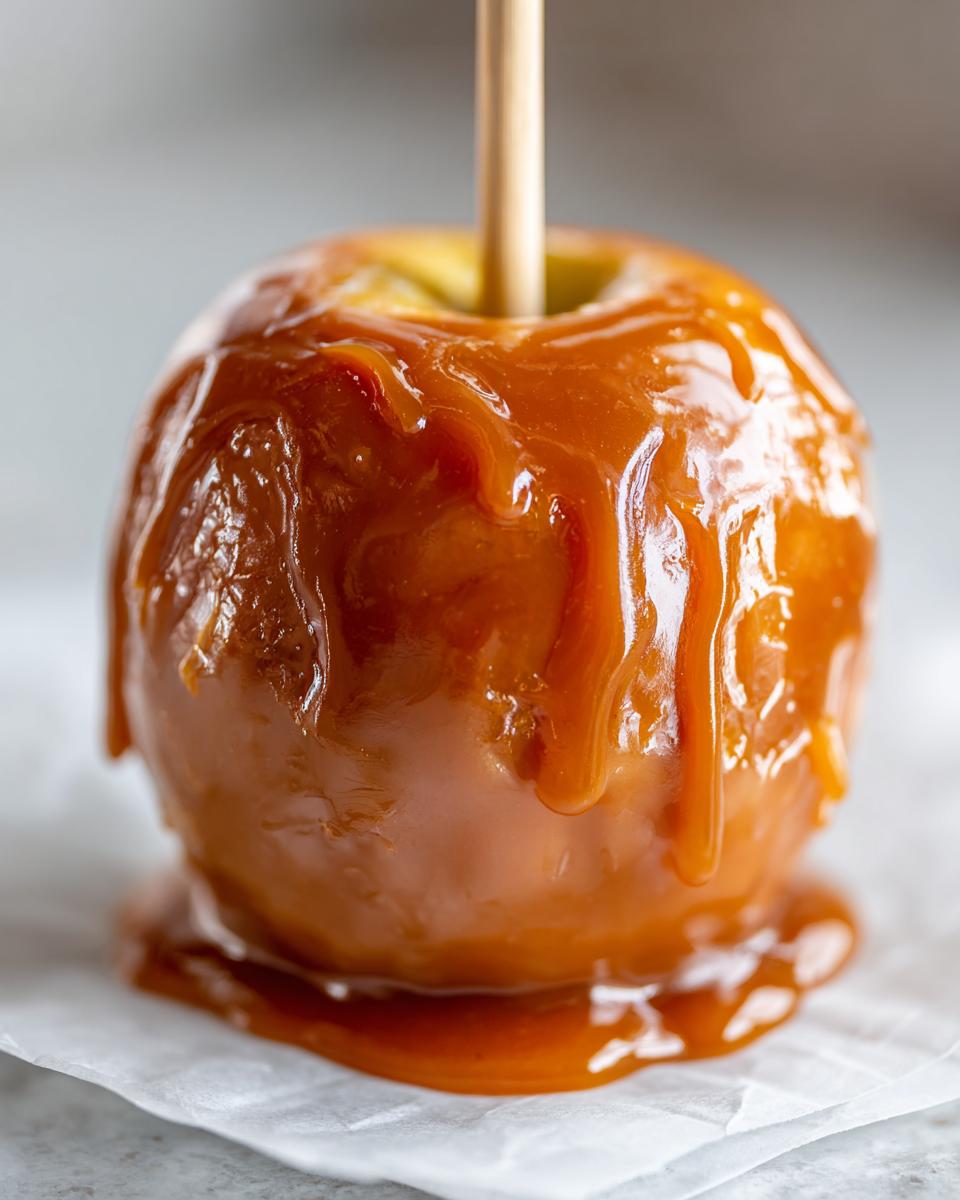
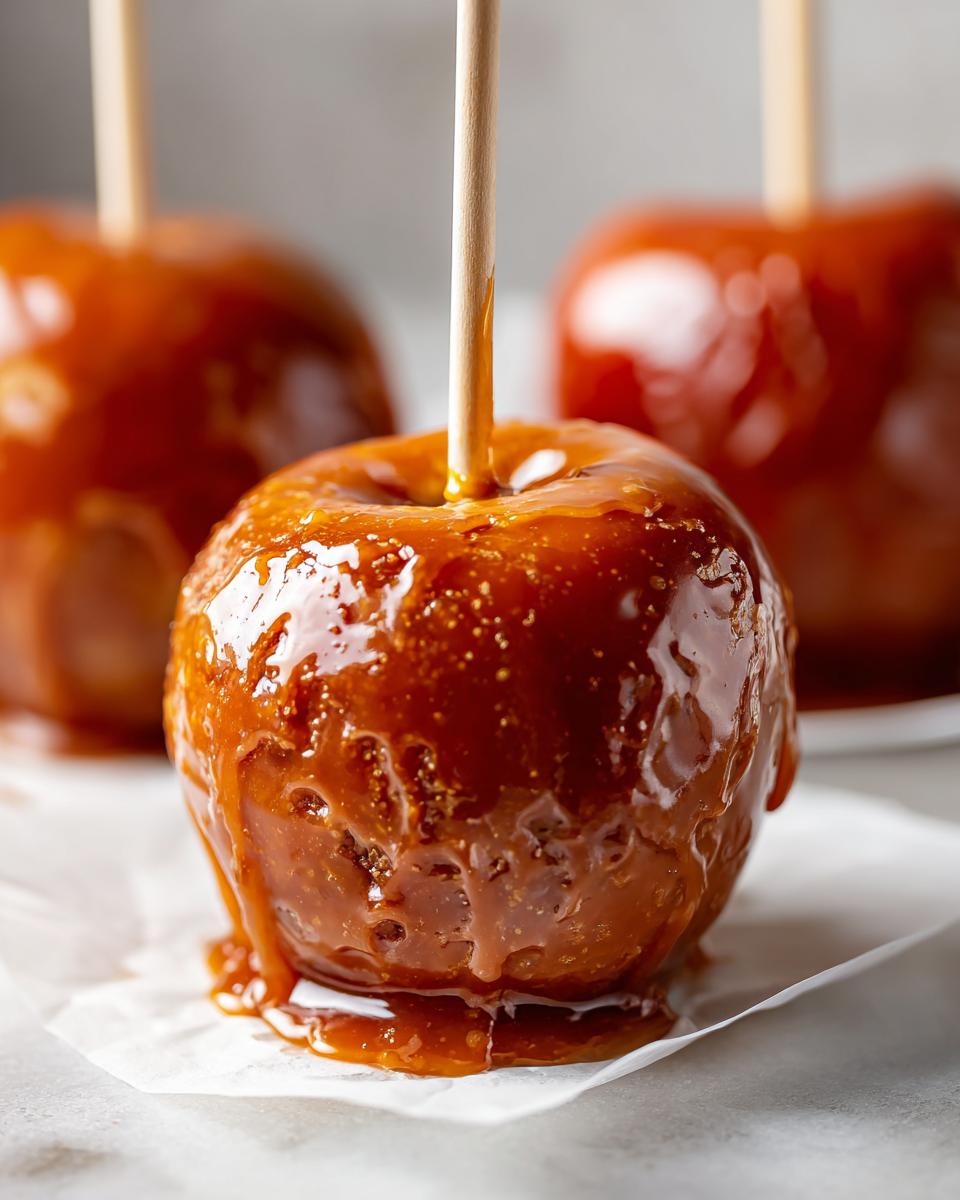
Dipping and Decorating Your Caramel Apples
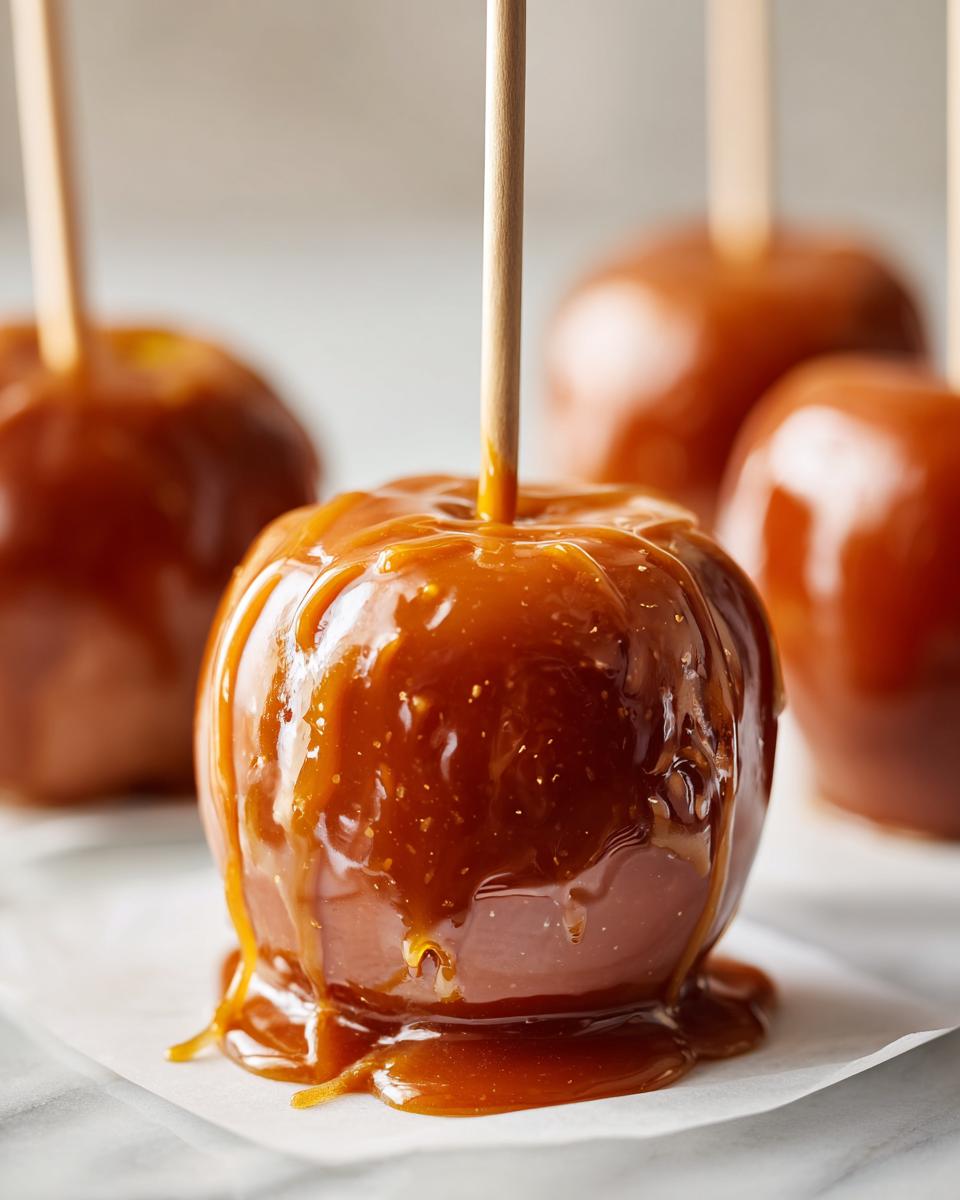
This is the fun, fast part! Prepare a baking sheet with parchment paper—this is how you get them off without sticking later. Now, grab your stick, tilt that saucepan slightly—which helps deepen the caramel pool—and dip the apple! Rotate it around so it gets a nice, even coat. Lift it out and let the extra drip back in. Before that coating sets, immediately roll it or sprinkle it with your toppings. They look gorgeous all stacked up on that prepared sheet. Let them sit for about 30 minutes at room temperature or stick them in the fridge for 15 minutes to firm up completely. You’ll be so proud of your beautiful caramel apples!
If you want to see my favorite technique for making a silky, smooth sauce even when you don’t have time to mess around, check out my guide on easy homemade caramel sauce!
Tips for Perfect Caramel Apples Every Time
Making amazing caramel apples comes down to a few small details that separate a good treat from an absolute showstopper. I’ve tweaked this recipe over the years based on what really works versus what the older recipes suggest, and these tips are the ones I promise you should stick to. They are small changes, but they make a huge difference in the final gooey situation you end up with!
Choosing the Best Apples for Caramel Apples
Listen, you can have the best caramel sauce in the world, but if your apple is mealy or mushy, you’ve lost half the battle. My number one rule is using a very firm, tart apple. Granny Smith apples are my go-to because they hold up beautifully to the thick caramel coating and that sharp tartness cuts through the sweetness perfectly. If you choose a sweet, soft apple, it can turn mushy by the time the caramel has fully set. Keep it crisp, keep it tart!
Caramel Apple Hacks for Thickness Control
Sometimes, especially if you are dipping a big batch, the caramel in the pot starts to look thick and sad before you’re done. Don’t panic! If the sauce gets too stiff to dip easily, just put it back on the lowest heat setting for about 30 seconds, stirring constantly, until it’s flowing nicely again. That’s one of my favorite caramel apple hacks because it saves the whole batch. If you need even more inspiration after you master the basic dip, you should check out some of the fun ideas found over at Adventures of a DIY Mom!
Don’t forget that after you’ve mastered these classics, you can move on to things like my hearty morning glory muffins for another dose of fall flavor!
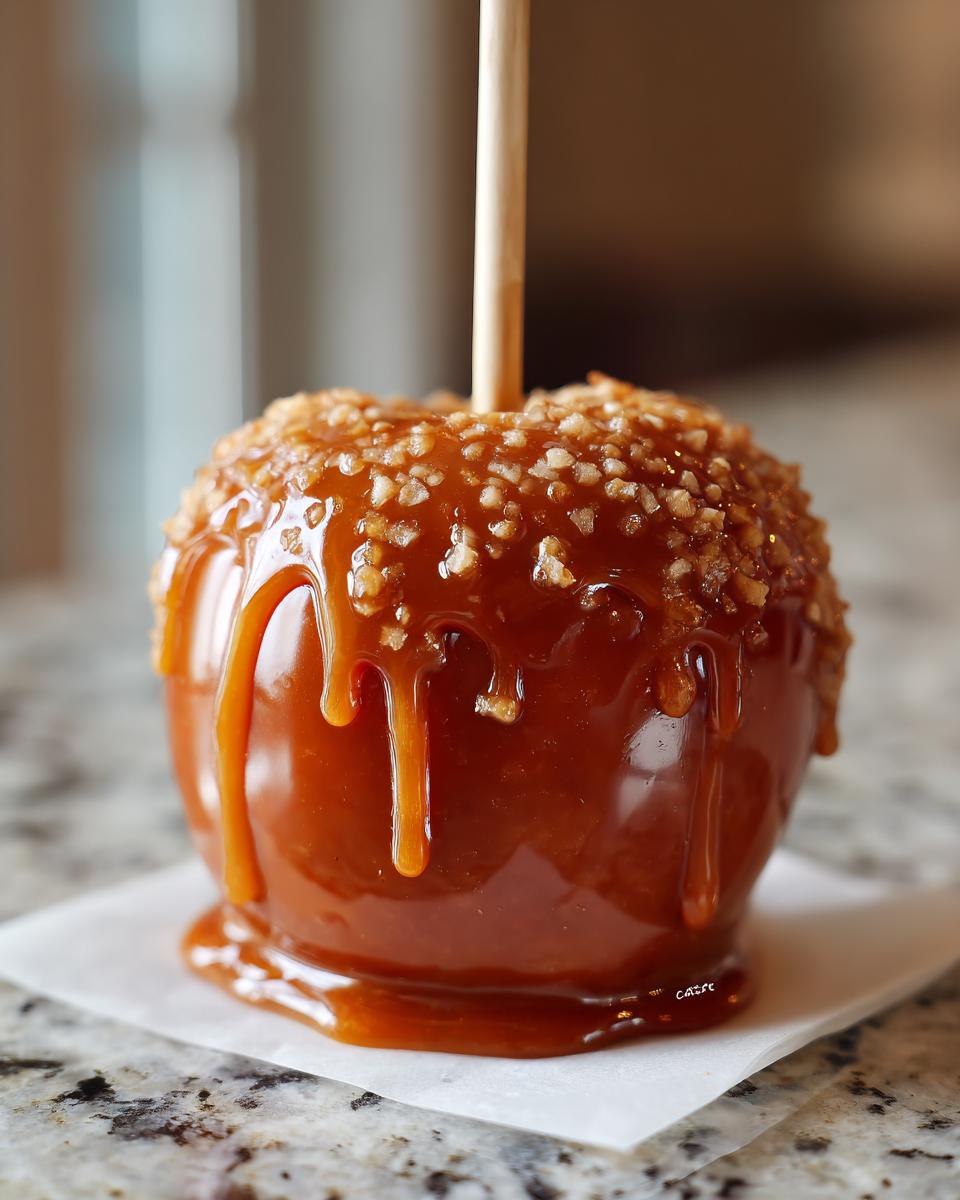
Creative Caramel Apple Toppings and Variations
Once you’ve mastered the perfect dipping process for your caramel apples, the real fun begins—the customization! This is where you can really let your personality shine, and it makes setting up a party spread so much easier. Forget just sticking to plain nuts; we’re going gourmet! Having a big platter of assorted caramel apple toppings makes the whole display look incredible. I love offering a mix of textures and flavors so everyone can build their dream treat.
If you’re looking for great inspiration for making a whole spread, definitely take a peek at the ideas from Savory Experiments; they have dozens of fantastic suggestions.
Of course, if you want to take the flavor in a totally different direction, you could try baking them into something like my super moist chocolate cupcakes for a completely different, but equally delightful, autumn flavor experience! But for the apples themselves, stick to the dips.
Great topping ideas include finely crushed pretzels for saltiness, colorful sprinkles for a festive look, or even crushed up Oreos or toffee bits. The key is applying the topping right away while the caramel is still tacky!
Serving Suggestions for Your Caramel Apples
Once you’ve gone through the work of making these gorgeous, gooey caramel apples, you don’t want to just stick them awkwardly on a paper plate, right? Presentation is everything, especially when you’re hosting friends or family for a fall get-together. These aren’t just desserts; they’re edible decorations!
My favorite way to serve them is to set up a little ‘bar’ situation. You already have all your extra toppings mixed and ready from the earlier step, so why not put them on display? You can use cute baskets or little bowls to hold everything.
For a really impressive spread, I love setting up a simple cheese and cracker station nearby for contrast. People can grab a savory bite and then move on to the sweet apple. Or, if you want to keep the focus purely on the apples, stand them upright in a block of Styrofoam covered nicely in festive fabric, or even just use a deep, sturdy vessel filled with rock salt to keep them standing straight up so you can admire your handiwork without them melting into each other.
They look so good propped up like that, ready for everyone to grab one!
Storage and Reheating Instructions for Caramel Apples
Now that you’ve made these beautiful, sticky treats, the next question is always: how long do they actually last? Because we made this caramel sauce from scratch using real milk and butter, they don’t have the indefinite shelf life of the store-bought kind, but honestly, they rarely last long enough to worry about it!
If you have leftovers—which I highly doubt, but we can hope—they are best stored in the refrigerator. Pop those beauties into an airtight container. I always put a layer of parchment paper between them if I’m stacking them, just so they don’t merge into one giant caramel blob overnight. They should stay perfectly fine for about four to five days tucked away in the fridge.
When you’re ready to eat a refrigerated one, you’ll notice the caramel has gotten quite firm. Don’t try to bite into it straight from the cold! That’s a recipe for a dental emergency. Just let the caramel apples sit out on the counter for 20 to 30 minutes before serving. That little bit of time will bring it back to that perfect, soft, gooey texture we worked so hard to achieve on dipping day.
If you’re looking for other easy ways to elevate your snack game without a lot of fuss, you might enjoy my recipe for easy creamy garlic aioli—it’s amazing on everything!
Frequently Asked Questions About Making Caramel Apples
I always get so many questions after posting this recipe, so let’s clear up any lingering confusion about making the absolute best caramel apples! Believe me, I’ve made every mistake possible over the years, so I’m happy to save you the time and sticky mess. Here are the burning questions folks always ask about mastering this classic fall dessert.
Can I use store-bought caramel sauce instead of making caramel apples from scratch?
You totally can, and it’s certainly faster! However, if you are aiming for the absolute best homemade result, I really push you to make the sauce yourself, even with this simple recipe. Store-bought sauces often have stabilizers that make them too thin or too stiff when they cool off the apple. Once you taste the richness of a sauce made just with soft caramels, cream, and vanilla, you probably won’t go back to the jarred stuff!
What is the difference between candy apples and caramel apples?
This is a fun one! The main difference is in the coating texture. A traditional candy apple gets that hard, glassy, almost brittle shell made from cooked sugar syrup. It cracks when you bite it! Our recipe focuses on caramel apples, which use softened caramels melted down. That gives you that signature gooey, chewy texture that stretches beautifully when you take a bite. We’re all about the stretch, not the shatter!
Do I need to peel the apples before making caramel apples?
Oh goodness, absolutely not! Please, do not be tempted to peel those apples. The peel is your best friend here because it provides a slightly waxy surface that actually helps the caramel grab on and adhere firmly during that crucial 5-minute cooling period. If you peel them, the caramel tends to slip right off the slightly rough apple flesh, and you’ll end up with a puddle of caramel on the tray later.
Estimating the Nutritional Value of These Caramel Apples
I always like to give you a heads-up on what you’re getting into with these rich caramel apples! Now, remember, since we’re using real ingredients and the toppings can vary, these numbers are just an estimate based on the core recipe before any extra nuts or chocolate are added. Think of this as a helpful guide, not a strict dietary law. You can always sneak in some extra goodness knowing you made these treats with love! For more healthy ideas, check out my high-protein chia pudding base.
Per serving (1 apple, estimated):
- Calories: 350
- Sugar: 55g (Yes, it’s a treat!)
- Fat: 14g
- Protein: 2g
The Best, Easiest Homemade Caramel Apples Recipe

Follow this straightforward guide to make classic, gooey caramel apples from scratch. This recipe focuses on simplicity for a perfect fall dessert.
- Prep Time: 15 min
- Cook Time: 10 min
- Total Time: 25 min
- Yield: 6 servings 1x
- Category: Dessert
- Method: Stovetop Dipping
- Cuisine: American
- Diet: Vegetarian
Ingredients
- 6 medium tart apples (Granny Smith recommended)
- 1 (14-ounce) package soft caramels, unwrapped
- 2 tablespoons milk or heavy cream
- 1 teaspoon vanilla extract
- 1/2 cup chopped nuts, crushed cookies, or sprinkles (for topping)
- 6 wooden or paper sticks
Instructions
- Prepare the apples: Wash and thoroughly dry each apple. Remove the stem and insert a wooden stick firmly into the core of each apple.
- Prepare the toppings: Spread your chosen toppings (nuts, cookies, etc.) onto separate plates or shallow bowls.
- Make the caramel sauce: In a medium saucepan over medium-low heat, combine the unwrapped caramels and milk or cream. Stir constantly until the caramels are completely melted and smooth. Do not let the mixture boil rapidly.
- Remove the caramel from the heat and stir in the vanilla extract. Let the caramel cool for 5 to 10 minutes to thicken slightly. This step helps prevent the caramel from dripping off the apples too easily.
- Dip the apples: Hold an apple by the stick and tilt the saucepan slightly. Dip the apple into the caramel, rotating it to coat evenly. Lift the apple out and allow excess caramel to drip back into the pan.
- Add toppings: Immediately roll or sprinkle the coated apple in your prepared toppings before the caramel sets.
- Set the apples: Place the finished caramel apples on a baking sheet lined with parchment paper or a silicone mat.
- Chill: Allow the caramel apples to set completely at room temperature for about 30 minutes, or place them in the refrigerator for 15 minutes until the caramel is firm.
Notes
- Use firm, tart apples like Granny Smith; their tartness balances the sweet caramel.
- For the smoothest caramel, ensure the apples are completely dry before dipping; moisture prevents the caramel from sticking.
- If the caramel becomes too thick while working, return it to very low heat for a few seconds, stirring constantly.
Nutrition
- Serving Size: 1 apple
- Calories: 350
- Sugar: 55g
- Sodium: 150mg
- Fat: 14g
- Saturated Fat: 8g
- Unsaturated Fat: 6g
- Trans Fat: 0g
- Carbohydrates: 58g
- Fiber: 2g
- Protein: 2g
- Cholesterol: 30mg