
When life gets hectic—and let’s be honest, most days it is—I still crave that moment of pure, rich indulgence. You know the feeling. You want something deeply satisfying, something that tastes like you spent hours whisking, but you really only have about 15 minutes before you need to jump on the next call. That’s exactly where this chocolate mousse comes in. It’s my emergency luxury dessert! Forget spending days trying to perfect a classic French style that relies on raw eggs and complicated folding techniques. Here at Pure Plate Path, my goal is always simplicity blended with nourishment. This recipe skips all the stress; it’s an incredibly simple, no-bake mousse that delivers that melt-in-your-mouth, silky texture we all dream about. It proves you don’t need a complicated culinary degree to treat yourself well.
- Why This 3-Ingredient Chocolate Mousse Recipe Works
- Gathering Ingredients for Your Silky Chocolate Mousse
- How to Prepare Easy Chocolate Mousse Step-by-Step
- Tips for Perfect Chocolate Mousse Success
- Variations on This Easy Chocolate Mousse Recipe
- Using Chocolate Mousse as a Layer or Filling
- Storage and Make Ahead Tips for Your Chocolate Mousse
- Frequently Asked Questions About Making Chocolate Mousse
- Nutritional Estimates for This Chocolate Mousse
- Share Your Homemade Chocolate Mousse Experience
Why This 3-Ingredient Chocolate Mousse Recipe Works
Honestly, this recipe is my secret weapon for when company drops by unexpectedly or when I just need a quick dose of chocolate perfection without a sugar crash later. The beauty here is in what we leave out! We skip the fussy egg whites and temperamental double boilers. This method absolutely nails that light and airy texture without any drama.
- It’s a truly no bake mousse, meaning zero oven time needed.
- It delivers a luscious, silky chocolate mousse consistency that feels super indulgent.
Achieving a Light and Airy Mousse Texture
See, instead of relying on egg whites for that classic lift, we’re using heavy cream, whipped up to stiff peaks. When you gently fold that aerated cream into the melted chocolate base, you’re essentially injecting lightness right into the dense chocolate. It’s just physics, but it tastes like magic, trust me! It dissolves beautifully on your tongue.
The Secret to the Best Chocolate Mousse with Minimal Ingredients
It all boils down to three things: chocolate, cream, and patience while you chill! Since we are using so few components, the quality really shines through. Make sure you invest in a chocolate you actually love to eat by itself. That really is the key to the chocolate mousse tasting incredible. If you’re curious about other satisfying sweet dishes that don’t take hours, check out some of my other simple dessert ideas. They keep life easy!
Gathering Ingredients for Your Silky Chocolate Mousse
Okay, gathering supplies is the most straightforward part of this recipe, which is why I love it so much when I need a chocolate mousse fast! Since we only need three things, make sure they’re good quality, especially the chocolate. You’ll need 8 ounces of semi-sweet chocolate—I prefer using good dark chocolate for a richer taste. Then, you need a full cup of heavy whipping cream; this absolutely has to be cold for it to whip up right. Finally, we have the optional tablespoon of powdered sugar, just to bump up the sweetness a little if your chocolate is on the bitter side.
Ingredient Clarity and Preparation Notes
Let’s talk details here, because that’s how we build trust in the kitchen. When I say semi-sweet chocolate, I mean bars or good quality chocolate chips that you chop up; please don’t try to use chocolate syrup! The cream must be straight out of the fridge—ideally, I’ll chill my mixing bowl and whisk attachment in the freezer for ten minutes first. That extra chill makes all the difference when whipping. And remember, the powdered sugar is totally up to you. If you taste your melted chocolate base and think, “Yep, that’s sweet enough,” then skip the sugar entirely. It’s your dessert, after all!
How to Prepare Easy Chocolate Mousse Step-by-Step
Alright, let’s get to the fun part! Even though this is a super straightforward recipe, the technique for folding is what keeps our mousse light instead of dense. Pay close attention to the temperatures and timing here, and you’ll have the most beautiful chocolate mousse ready for the fridge. It really is the perfect make ahead dessert for when you’re planning ahead!
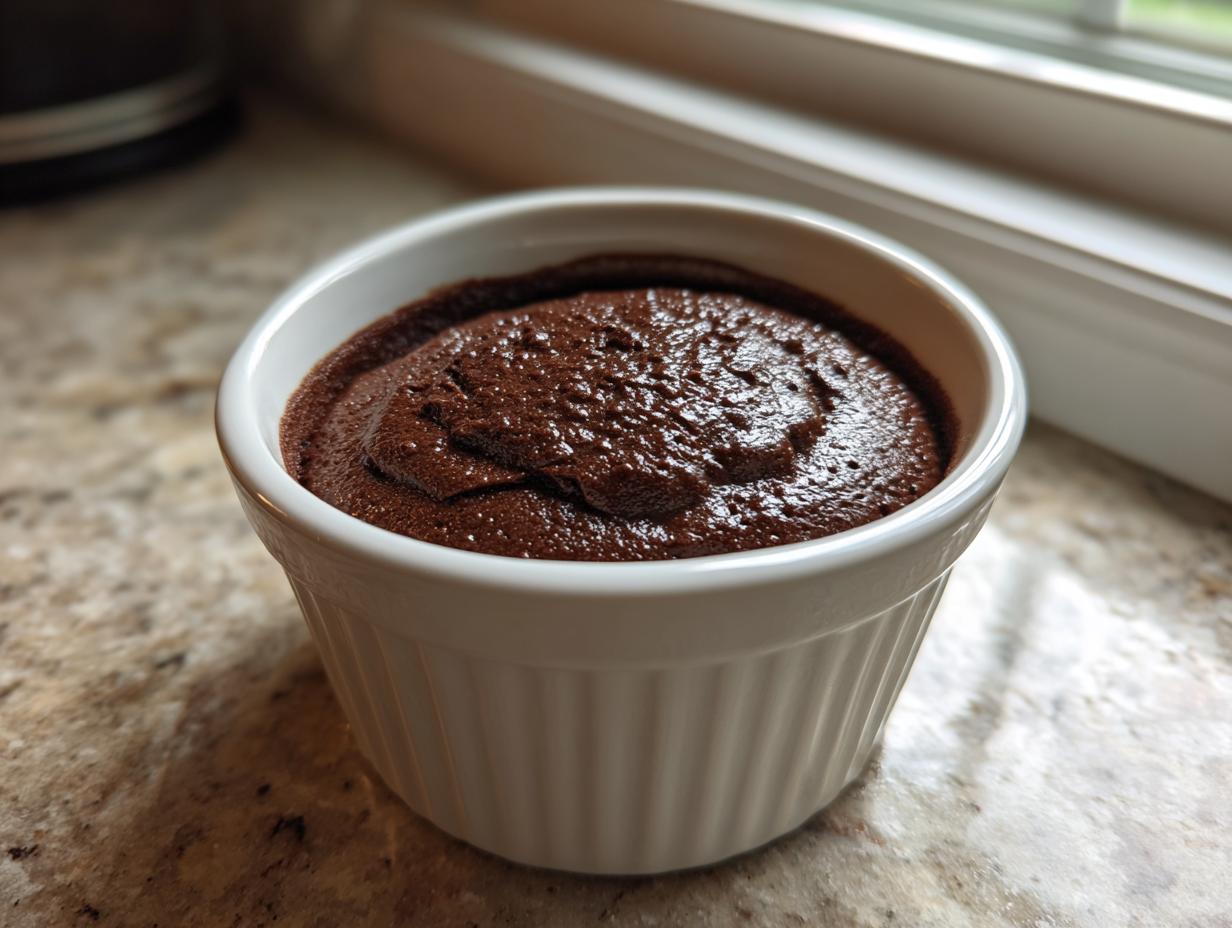
Melting the Chocolate Base
First things first, chop up your chocolate finely—the smaller the pieces, the quicker they melt evenly. Pop that into a good, sturdy bowl. Now, we gently heat up exactly half of that cold cream in a small saucepan. You are watching for just a little simmer right around the edges; don’t let it boil over! Carefully pour that hot cream right over the chocolate, and here’s the absolute most important thing: walk away. Seriously, let it sit for five full minutes before you even think about touching it. This lets the residual heat do the heavy lifting. After those five minutes, whisk it gently until it’s glossy smooth. Then, just leave that mixture alone on the counter until it is totally cooled down to room temperature. If you mix hot chocolate into cold whipped cream, you’ll deflate everything!
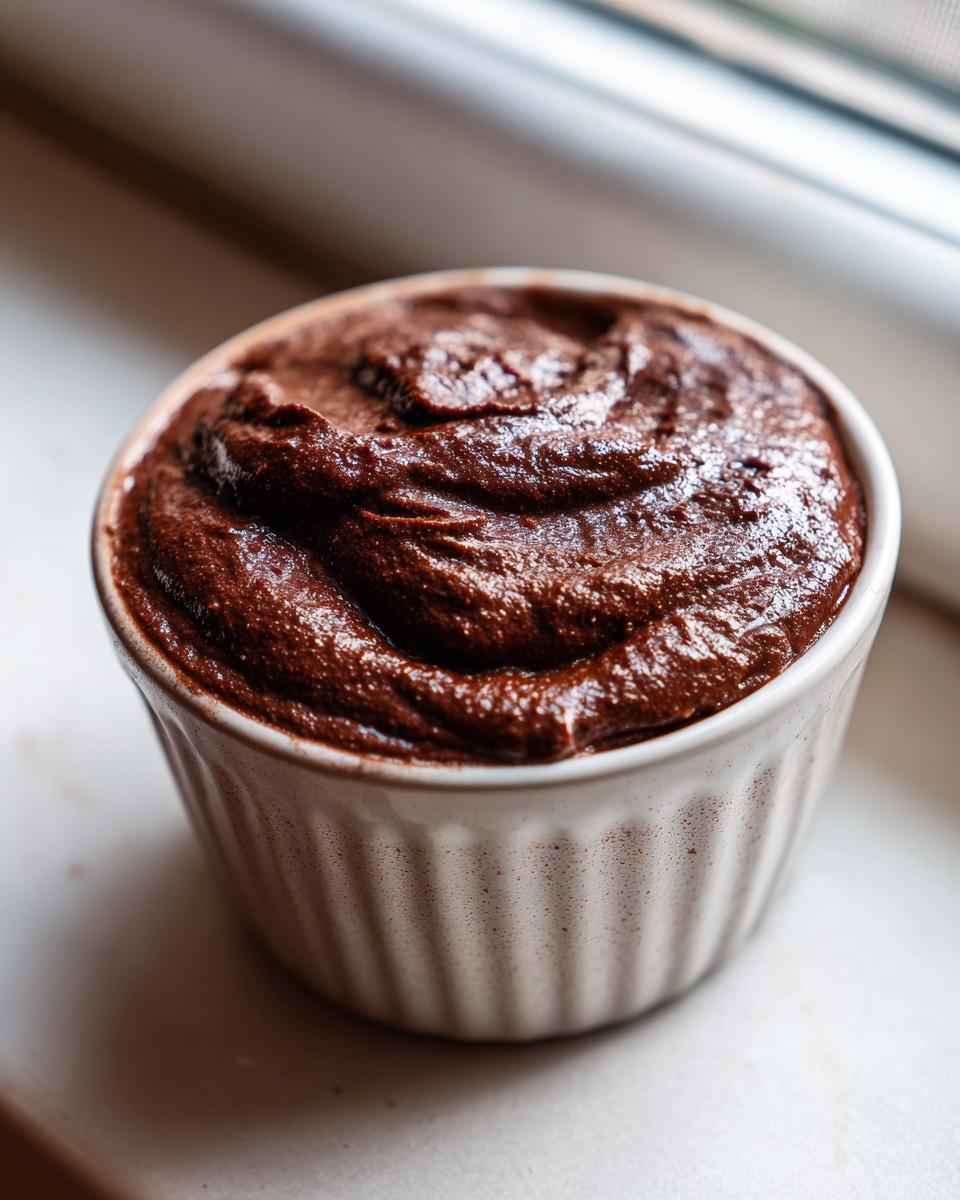
Whipping the Cream and Folding Technique
While the chocolate is cooling, we tackle the aeration! Take that remaining cold heavy cream, add your optional powdered sugar if you’re using it, and whip it up. I use my electric mixer here because my arm gets tired! You want thick, beautiful stiff peaks—you should be able to turn the whisk upside down and the cream just stays put. Now for the folding: take about a third of those stiff peaks and stir them vigorously into your cooled chocolate base. This first addition is called ‘sacrificing’ the cream; it lightens up the heavy chocolate so it’s closer in consistency to the rest. Then, gently, I mean gently, fold in the rest of that whipped cream in two more additions. You’re just looking to combine them; stop the second you don’t see white streaks anymore. Overmixing here is how you crush all those lovely air bubbles you just worked hard to create for that light and airy mousse!
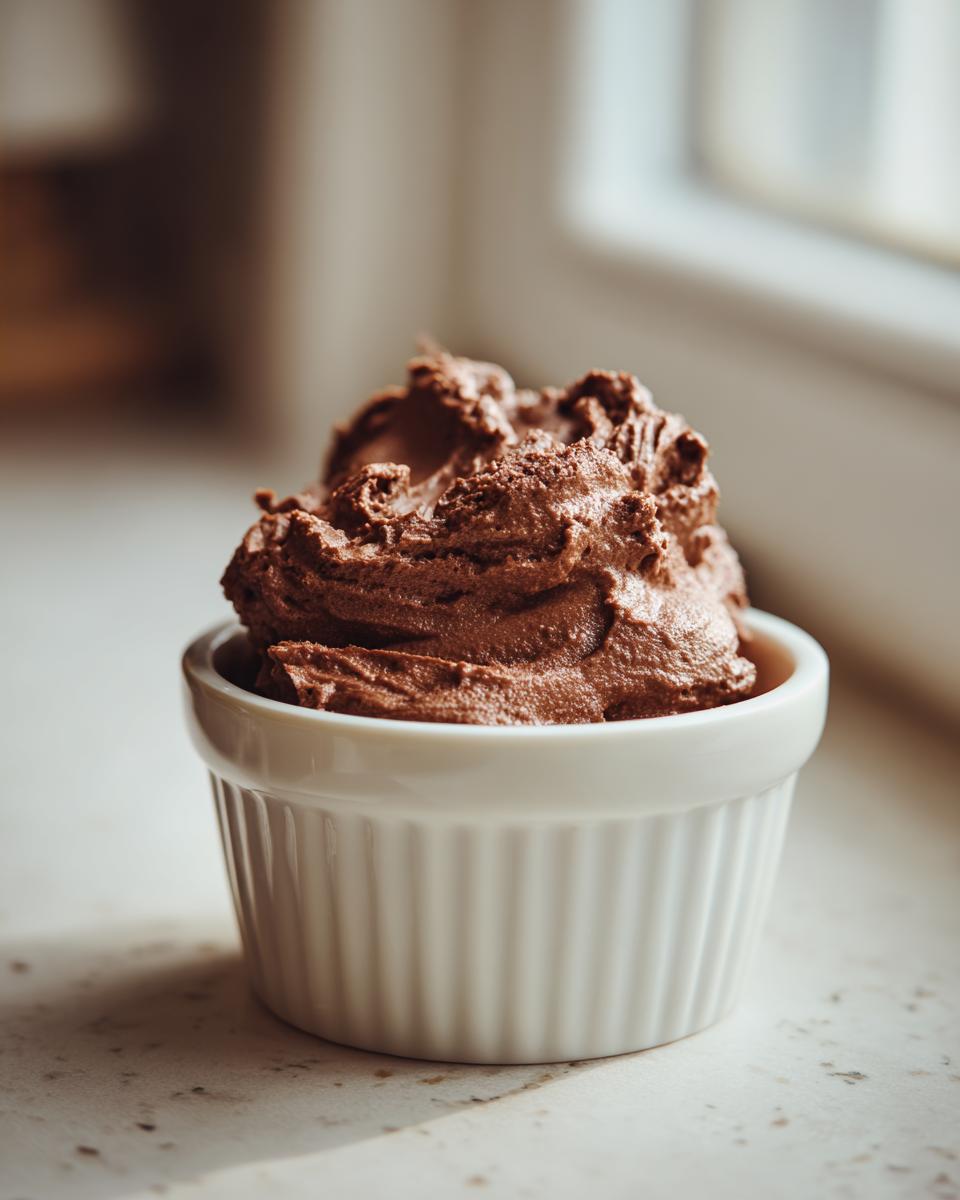
Setting and Serving Your Creamy Dessert Cups
Now that your batter looks like heaven, spoon or pipe it carefully into whatever little cups, ramekins, or bowls you’re using. This is where patience pays off! You absolutely must chill this for at least two hours. That chilling time is what allows the chocolate to firm up and hold the air structure we built, turning it into set mousse. If you’re serving them immediately after chilling, they are ready for a dusting of cocoa or maybe a fresh raspberry. If you’re planning ahead, wrap them well and keep them tucked away. And if you’re interested in making a dipping sauce for these later, I have a fantastic easy chocolate sauce recipe you can whip up while your mousse is setting!

Tips for Perfect Chocolate Mousse Success
Even though this easy chocolate mousse recipe is designed to be wonderfully forgiving—especially since we skipped those tricky raw eggs—there are a couple of hiccups we can easily avoid if we know what to look for. I’ve learned through trial and error that paying attention to *temperature* is everything when dealing with melted chocolate and whipped cream, which are basically our two main guys here.
Troubleshooting Common Chocolate Mousse Issues
The biggest disaster in a mousse recipe is usually the chocolate seizing up or your final product weeping too much later. If your melted chocolate mixture looks grainy, dull, or stiff instead of glossy right after you whisk it with the cream (Step 4), chances are it seized. This usually happens if the cream wasn’t hot enough, or if you tried to whisk it before the five-minute resting period was up. If it happens, don’t panic! Carefully set that bowl over a tiny saucepan of barely simmering water—not touching the water, just hovering above it—and whisk very gently until it smooths back out. Then, you absolutely MUST let it cool completely before folding in the whipped cream.
The second issue is deflation. If you stir the whipped cream into the chocolate too aggressively, it’ll lose volume and you end up with something more like dense pudding cups. Remember that gentle folding technique I mentioned? Use a spatula and cut down the middle, then scoop up the side and fold it over. Repeat slowly! If you’re making this ahead for a party, you can avoid weepiness by making sure the chocolate base is *fully* cooled before you introduce the whipped cream. A slightly warmer chocolate base can cause the tiny fat/water droplets to separate as it chills. For my non-mousse making days when I need something creamy but easy on the cleanup, I always rely on the steps in my creamy cold clam dip recipe! It’s another one of those simple, satisfying dishes.
Variations on This Easy Chocolate Mousse Recipe
The beauty of this three-ingredient base is that it’s just waiting for you to play dress-up with it! If you want to turn this simple chocolate mousse into something truly special for a holiday or a weekend treat, you have so many options. I love spiking mine, just a tiny splash of something good goes a long way. Think about adding a teaspoon of espresso powder to the chocolate mixture—it makes the chocolate taste richer and darker, giving you that deep, sophisticated flavor profile. Or maybe some mint extract for a classic peppermint twist!
If you want to lean into that truly impressive, decadent chocolate dessert feel, consider folding in a tablespoon or two of your favorite liqueur right before the final fold of cream. A splash of Kahlua or maybe even some raspberry liqueur works wonders with dark chocolate. Just make sure you fold it in gently along with that first third of the whipped cream so it incorporates without deflating the whole batch. It’s all about adding big flavor with minimal extra steps!
Using Chocolate Mousse as a Layer or Filling
People often ask me if this light, airy chocolate mousse can hold up as something more than just a dessert cup. The answer is a resounding yes! This structure is actually fantastic for layering because it sets up surprisingly firm in the fridge thanks to all that stable whipped cream.
If you are planning to use this as a chocolate cake filling—maybe between layers of a rich chocolate cake or inside a tart shell—you just need to speed up your timeline a tiny bit. Instead of the full two hours of chilling, aim for just an hour and a half. You want it firm enough to spread and hold its shape when you stack the next layer, but not rock solid. Trust me, slicing into a cake layered with this creamy goodness is incredibly satisfying. If you’re looking for other ways to use chocolate inspiration, you have to try my gooey chocolate cinnamon rolls!
Storage and Make Ahead Tips for Your Chocolate Mousse
One of the biggest blessings of this particular recipe is how wonderfully it plays with planning ahead! Since this is a no-bake dessert, we actually want it to chill and set up, so making it early is perfect.
You should definitely cover your individual mousse cups or the larger dish you put the mousse in. Use plastic wrap, but try not to let the wrap touch the surface of the mousse if you can help it. If you worry about condensation making the top wet, you can gently press a small square of plastic wrap directly onto the surface before adding a looser cover over the top of the container. This keeps that beautiful, silky texture intact.
How long does it last? Honestly, it’s best within the first 48 hours. It will safely keep in the refrigerator for up to four days, but I find that after day three, the airiness starts to settle just a little, making it slightly denser, like a wonderful homemade chocolate pudding. But hey, leftovers are leftovers, right?
This is absolutely my go-to dessert for parties. You can easily mix the chocolate base one day, keeping it covered in the fridge. Then, the next day, when your guests are about to arrive, whip the cream and fold everything together. It only needs about an hour to firm up after that final mix. Honestly, being able to knock out a decadent dessert the day before is a lifesaver for me!
Frequently Asked Questions About Making Chocolate Mousse
I always get so many questions once people see how easy this recipe is! It’s natural to wonder how we get that amazing texture without the traditional labor, so let’s clear up any confusion about keeping this simple yet impressive.
Can I use milk chocolate instead of semi-sweet?
Yes, you absolutely can! If you swap to milk chocolate, remember that it already contains more sugar and milk fats. If you use milk chocolate, I would strongly recommend skipping the optional tablespoon of powdered sugar entirely, or maybe even reducing it by half. Milk chocolate will also result in a slightly softer, sweeter, and less intense final product, whereas semi-sweet gives you that deep hit of chocolate flavor!
How do I make this taste more like a classic French chocolate mousse?
That rich, traditional French chocolate mousse gets its deep flavor and structure from egg yolks and sometimes even uses melted butter along with the chocolate. To mimic that richness in our recipe, your best bet is to use a very high-quality dark chocolate, like 70% cacao or higher. Also, try adding just a tiny splash of vanilla extract or a pinch of instant espresso powder to the melted chocolate base. That extra depth really fools the palate into thinking it’s more complicated!
Can I use a substitute for heavy whipping cream?
This is the tricky one. The heavy cream is doing double duty here—it’s providing the fat for richness *and* the structure through whipping. If you’re looking for a healthy chocolate mousse option using Greek yogurt or cottage cheese, that’s actually a totally different recipe that requires blending, not whipping cream. For this specific preparation to stay light and airy, you really need heavy cream (at least 35% milk fat). Don’t try this with milk or half-and-half; it just won’t whip into those stiff peaks!
Is this considered a two ingredient dessert if I skip the sugar?
Haha, I love that! If you skip the optional powdered sugar, then yes, you technically only use two ingredients—chocolate and heavy cream—to create the whole base! Who doesn’t love a fantastic two ingredient dessert that looks this gorgeous? It’s perfect for those nights when the pantry is looking a little sparse but the craving hits hard. If you end up with any leftovers, save them using the tips I shared in my section on canning and storage for later!
Nutritional Estimates for This Chocolate Mousse
Listen, I always hate when recipes promise “healthy” but then load up on tons of sugar. Since this easy chocolate mousse relies mostly on high-quality chocolate and heavy cream, it’s certainly decadent, but it’s also a luxurious treat worth enjoying mindfully. Remember, these numbers are just estimates based on the base recipe, so your actual counts might vary slightly depending on the exact brand of chocolate you use!
For a single serving (about 1 cup of mousse), here are the approximate values we calculated:
- Serving Size: 1 cup
- Calories: 350
- Sugar: 18g
- Fat: 28g (with 17g being saturated fat—it’s cream, after all!)
- Protein: 5g
- Carbohydrates: 22g
It’s definitely a treat, not a calorie-free snack, but because it sets up so well and is so rich, a small serving really hits the spot. I find that when a dessert tastes this good, one small, beautiful creamy dessert cup is usually plenty to satisfy that chocolate craving, which is better than eating half a tray of brownies! These estimates are based on the recipe yields and ingredients, so keep that in mind when tracking nutrition.
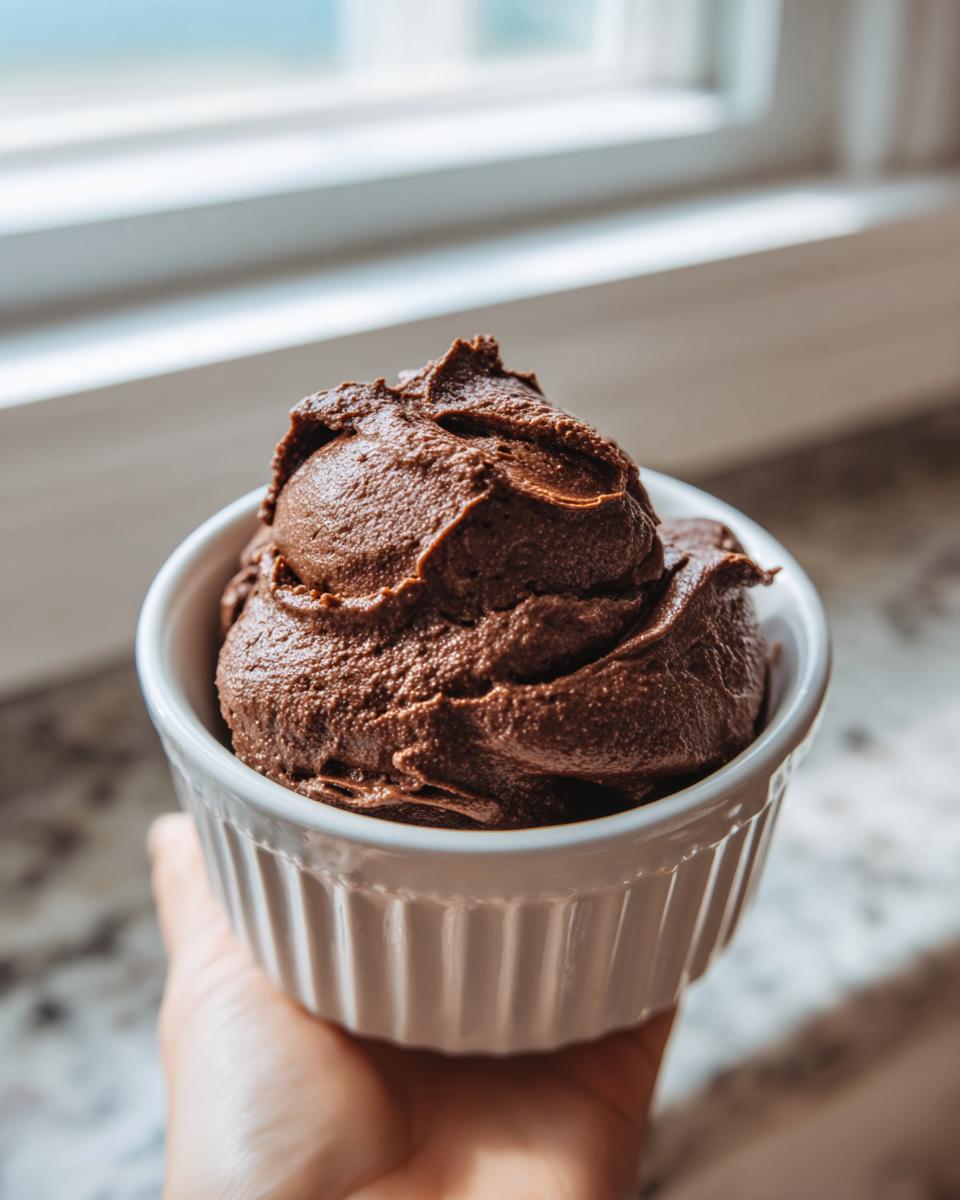
Share Your Homemade Chocolate Mousse Experience
Now that you have whipped up this ridiculously simple yet elegant dessert, I would absolutely love to hear how they turned out for you! Cooking is a shared journey, and seeing your results helps me fine-tune these recipes even more for everyone else navigating the busy path of home cooking.
Did you serve yours in classic little ramekins, or did you spoon them into fancy glasses? More importantly, how was that texture? Did you nail that perfectly silky chocolate mousse consistency, or did it end up leaning a little more towards a rich pudding? Tell me everything in the comments below—I read every single one!
If you snapped a picture of your beautiful finished dessert cups, please share it! Tag me on social media; seeing your homemade treats totally makes my day and reminds me why I started Pure Plate Path in the first place. Connecting over simple, delicious food is what it’s all about. If you have any other quick ideas or twists you added to the recipe, don’t keep them secret—share the love! And if you ever need to reach out directly with a question or feedback, you can always find me over on the Contact page.
PrintEasy 3-Ingredient Silky Chocolate Mousse (No Egg)

Prepare this incredibly simple, no-bake chocolate mousse using only three ingredients. It yields a rich, silky texture that feels decadent but requires minimal effort, making it perfect for busy schedules.
- Prep Time: 15 min
- Cook Time: 0 min
- Total Time: 2 hours 15 min
- Yield: 4 servings 1x
- Category: Dessert
- Method: No Bake
- Cuisine: American
- Diet: Vegetarian
Ingredients
- 8 ounces semi-sweet chocolate, chopped
- 1 cup heavy whipping cream, cold
- 1 tablespoon powdered sugar (optional, for sweetness)
Instructions
- Place the chopped chocolate in a medium, heatproof bowl.
- In a small saucepan over medium heat, warm half (1/2 cup) of the heavy whipping cream until it just begins to simmer around the edges. Do not let it boil.
- Pour the hot cream over the chopped chocolate. Let it sit undisturbed for 5 minutes to melt the chocolate completely.
- Whisk the chocolate and cream mixture gently until it is completely smooth and glossy. Set this mixture aside to cool to room temperature.
- In a separate, chilled bowl, pour the remaining 1/2 cup of cold heavy whipping cream and the optional powdered sugar. Beat with an electric mixer until stiff peaks form.
- Gently fold about one-third of the whipped cream into the cooled chocolate mixture to lighten it.
- Carefully fold in the remaining whipped cream until no white streaks remain. Avoid overmixing to keep the mousse light and airy.
- Spoon the chocolate mousse into individual serving cups or ramekins.
- Chill the mousse in the refrigerator for at least 2 hours before serving to allow it to set properly.
Notes
- For a richer flavor, use high-quality dark chocolate.
- If you prefer a lighter texture, you can substitute the egg whites often found in classic mousse recipes with the whipped cream method used here.
- This recipe works well as a quick chocolate cake filling if you reduce the chilling time slightly before spreading.
Nutrition
- Serving Size: 1 cup
- Calories: 350
- Sugar: 18g
- Sodium: 35mg
- Fat: 28g
- Saturated Fat: 17g
- Unsaturated Fat: 11g
- Trans Fat: 0.5g
- Carbohydrates: 22g
- Fiber: 2g
- Protein: 5g
- Cholesterol: 90mg