
There is a secret magic that happens when you pull a loaf of truly rustic, tangy bread from your own oven. That crackle, that smell—it’s unmatched! I’m Sarah, and when my life got totally hectic a few years back, I nearly gave up on making that kind of bread altogether. I thought it required complicated science, but what I learned is that it just requires patience and a simple process. That’s why I created this guide. We’re going to create your very own sourdough starter from scratch, starting right now! Forget the intimidating stuff; this is a super simple, day-by-day plan that anyone who just wants delicious homemade bread can follow. It’s about reclaiming that connection to real food, one bubbly jar at a time.
- Why You Need a Homemade Sourdough Starter From Scratch
- Essential Ingredients for Your Sourdough Starter
- The 7-Day Sourdough Starter From Scratch: A Day by Day Sourdough Guide
- Sourdough Starter Maintenance: Keeping Your Wild Yeast Culture Alive
- Sourdough Starter Troubleshooting for Beginners
- Preparing Your Sourdough Starter for Baking Day
- What to Do With Sourdough Discard
- Estimated Nutritional Data for Your Sourdough Starter Culture
- Continue Your Simple Sourdough Instructions Journey
Why You Need a Homemade Sourdough Starter From Scratch
I know what you’re thinking: Why bother making a sourdough starter when I can just grab dry yeast at the store? Trust me, once you taste bread made with your own living culture, you’ll never look back! Cultivating this at home gives you total control over what goes into your food. We are talking about pure, flavorful bread made with just flour and water—nothing complicated. Think of it like starting a tiny, bubbly pet for your kitchen!
- Unbeatable depth of flavor that commercial yeast just can’t touch.
- Complete knowledge of your ingredients—no strange additives here!
- The sheer joy of nurturing your own **wild yeast culture**! It’s more rewarding than you can imagine.
If you’re looking for that rustic, open crumb structure you see online, you need to get comfortable with this natural process. It truly is the secret sauce, and while you wait for your starter to mature, you can always whip up some quick recipes like my EASY Air Fryer Salmon Tacos while you wait!
The Appeal of Natural Leaven for Artisan Bread Baking
When we talk about **natural leaven**, we are just talking about letting the wild yeast and bacteria that live naturally on the flour and in our kitchens do the hard work of rising the bread. It’s slow fermentation, folks! This gentle process breaks down the flour differently, which is why your final loaf of **artisan bread baking** has that lovely, toothsome chew and that incredible, tangy flavor. It feels like a huge accomplishment to manage it, and I promise you, it’s simpler than you think to get started!
Essential Ingredients for Your Sourdough Starter
This is the part where I want you to breathe deeply and relax! This whole venture, making your own **sourdough starter from scratch**, starts with just two incredibly simple items: flour and water. That’s it! We aren’t bringing in any fancy stuff, no commercial yeast, nothing that will make your head spin. Seriously, this **flour and water starter** is the purest way to begin cultivating your own homemade bread yeast.
We do need to be specific about the flour, though. For the very beginning—Days 1 and 2—I ask you to use a whole grain flour, like rye or whole wheat. Why? Because those whole grain options carry lots more raw nutrients and wild microbes on them, which helps kickstart the whole process! Once things are bubbling happily, we switch to all-purpose flour for consistency.
The other non-negotiable item is the water. If you can, please, please use unchlorinated water. Chlorine is designed to kill germs, including the good ones we are trying to encourage in your jar! Tap running for a few hours or filtered pitcher water works wonderfully. Just make sure it’s room temperature, too. Nothing shocking for our little newcomers!
Ingredient Notes and Substitution Guidance
Let’s talk about technique when mixing these core items. Remember what I said about the initial whole grain flour versus the switch to all-purpose? Your whole grain flour is fantastic for building the initial foundation because it’s got all those bits and pieces that harbor the natural yeast we want. But after Day 2, we transition to regular, unbleached all-purpose flour for the regular sourdough starter feeding schedule.
Now, about the water temperature—room temperature is key! If your kitchen is chilly, the whole process slows down to a crawl. Aim for about 70–75°F (21–24°C). Think slightly warmer than cool tap water, but definitely not warm enough to feel like you’re washing dishes.
A huge piece of advice for building trust in your new culture: Avoid bleached flour if you can find it. Bleaching strips away the natural organisms we rely on to create the **wild yeast culture**. Highly refined, bleached flour just doesn’t offer the right environment for robust growth in the early days. Keep it simple and wholesome, and your starter will reward you with great results!
The 7-Day Sourdough Starter From Scratch: A Day by Day Sourdough Guide
Okay, deep breath! This is where the exciting part happens. If you are ready to follow a simple, straightforward routine, I promise you that in about a week, you’ll have a robust **sourdough starter** ready to go for your first loaf. Consistency is my magic word here, so stick with the plan. Remember to use clean jars for everything.
Days 1 & 2: Starting Your Sourdough Starter
For Day 1, grab your whole grain flour—that’s your rye or whole wheat—and mix 50g of it with 50g of room temperature water right in your clear glass jar. You want to stir it until it looks like thick pancake batter. Don’t seal the lid tight; just loosely place it on top. This needs air! Then, just leave it alone for 24 hours in a spot that stays warm, ideally between 70 and 75°F. That’s it for Day 1.
Now, for Day 2, you might look in your jar and think, “Oops, nothing happened.” That is totally normal! Don’t panic or feed it. It’s just waking up. Leave it exactly as it is for another full 24 hours. We need that initial slow soak time to let those first bacteria start working their little hearts out.
Days 3 & 4: Introducing the First Sourdough Starter Feeding Schedule
Today is action day! Day 3 is when we start throwing some stuff away because, well, we need to make room for the good stuff. Measure out about half of what you have (around 50g) and toss it out—yes, throwing some away feels drastic, but it keeps the culture strong! Add 50g of your all-purpose flour and 50g of fresh water to what remains. Mix it like crazy until you see no dry patches. By Day 4, you should start seeing maybe a few tiny, shy bubbles forming. If your starter looks a little more active, that’s fantastic!
We repeat the exact same feeding for Day 4: discard half (about 50g), then feed the rest with 50g AP flour and 50g water. This consistent sourdough starter feeding schedule is building strength. If you’re already craving bread, you can look at my Soft Sourdough Sandwich Bread Recipe for inspiration!
Days 5, 6, & 7: Achieving an Active Sourdough Starter
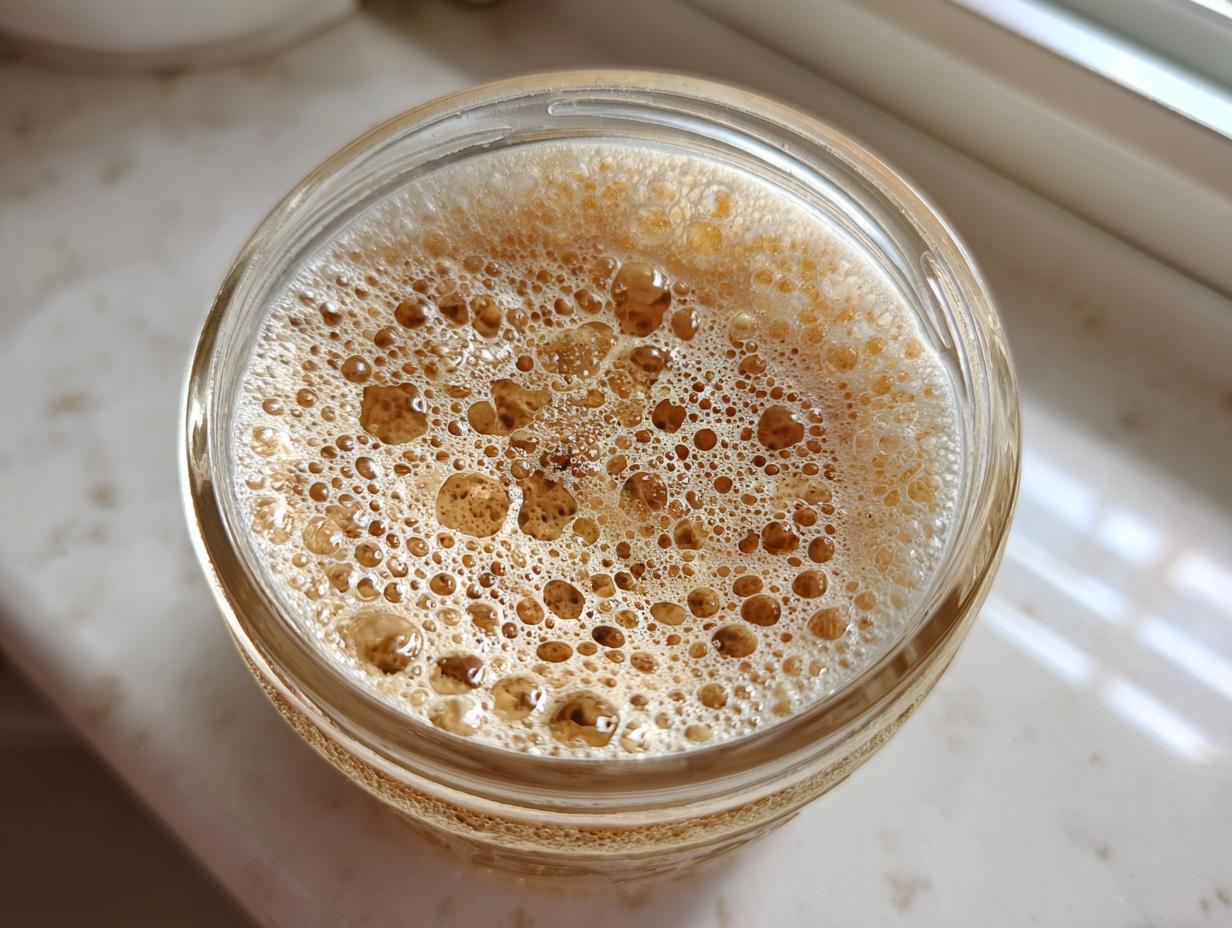
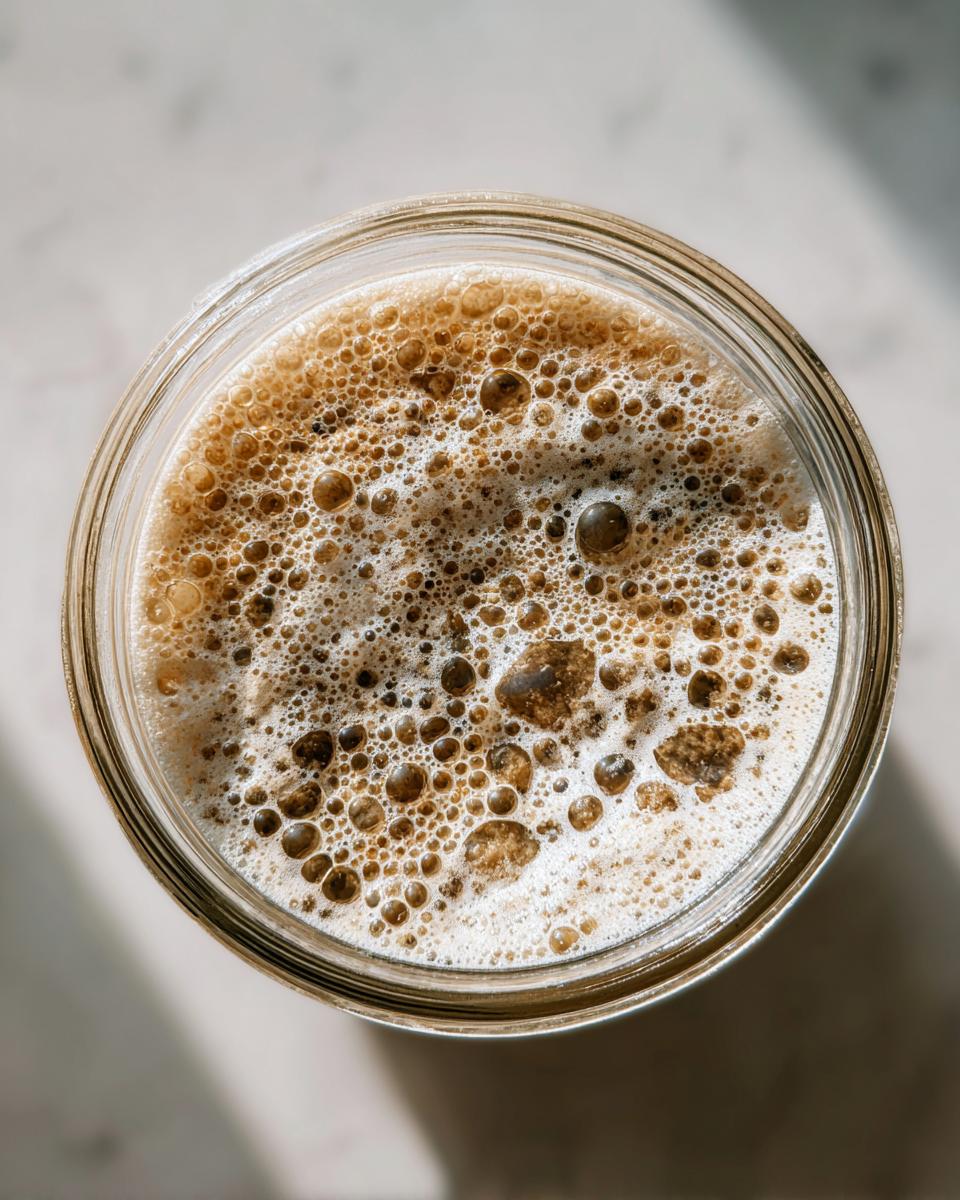
Get ready for an upgrade! Starting on Day 5, we are feeding twice a day, every 12 hours, to really ramp up the yeast activity. The process stays the same: for every feeding, discard half, then feed the remainder with 50g flour and 50g water. You should see double the activity now—maybe the starter is looking puffy and reaching towards the lid!
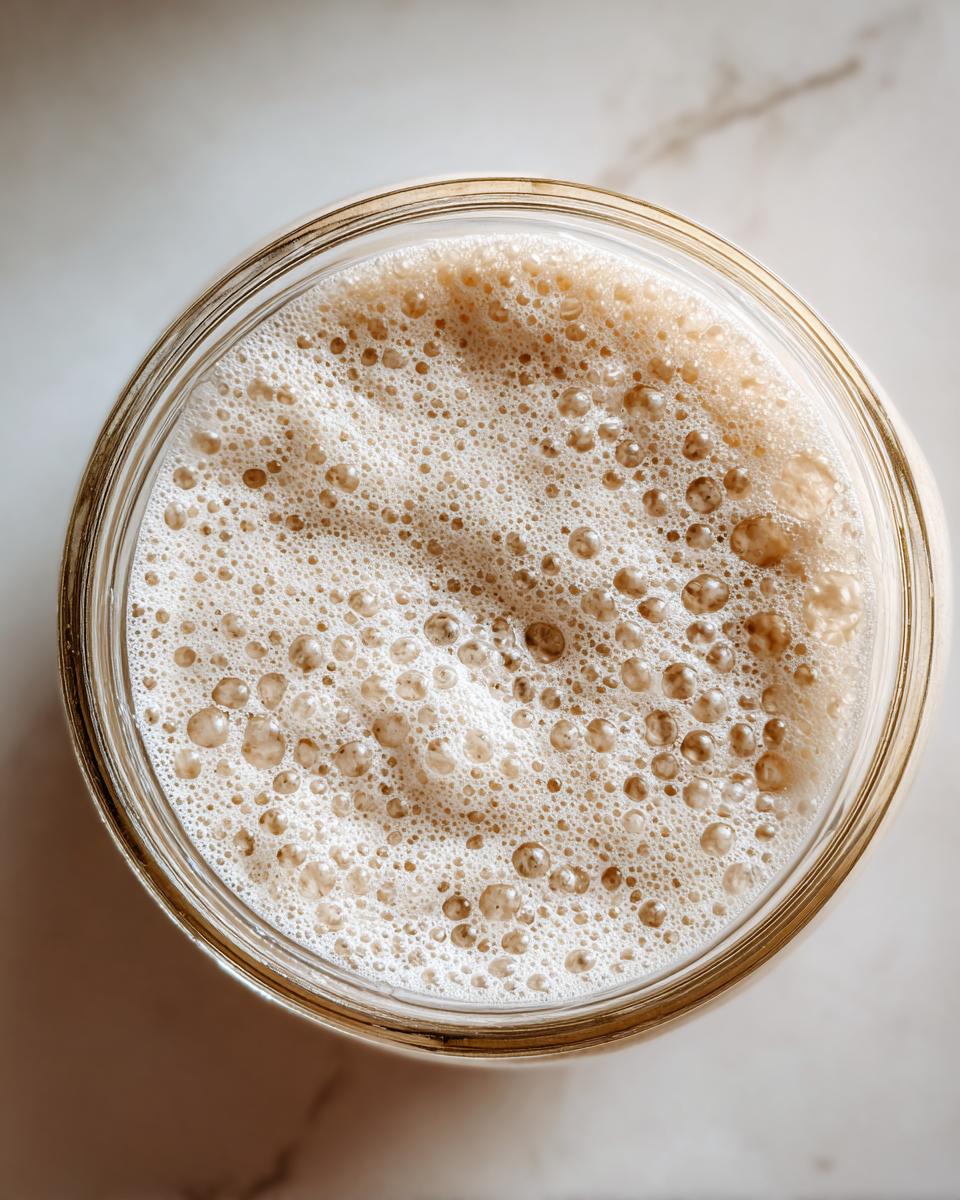
For Days 6 and 7, keep up that twice-daily feed. By Day 7, you are looking for maturity. Your goal is an **active sourdough starter** that reliably doubles in volume—that means it gets twice as tall as it was after feeding—all by itself in about 4 to 8 hours. If it’s reliably doubling and smells sweet and tangy (not like cleaning fluid), congratulations! You’ve successfully cultivated your own **natural leaven**! If you want the science behind other methods like the one found over at this resource, you can check that out later. For now, focus on hitting that doubling consistency.
Sourdough Starter Maintenance: Keeping Your Wild Yeast Culture Alive
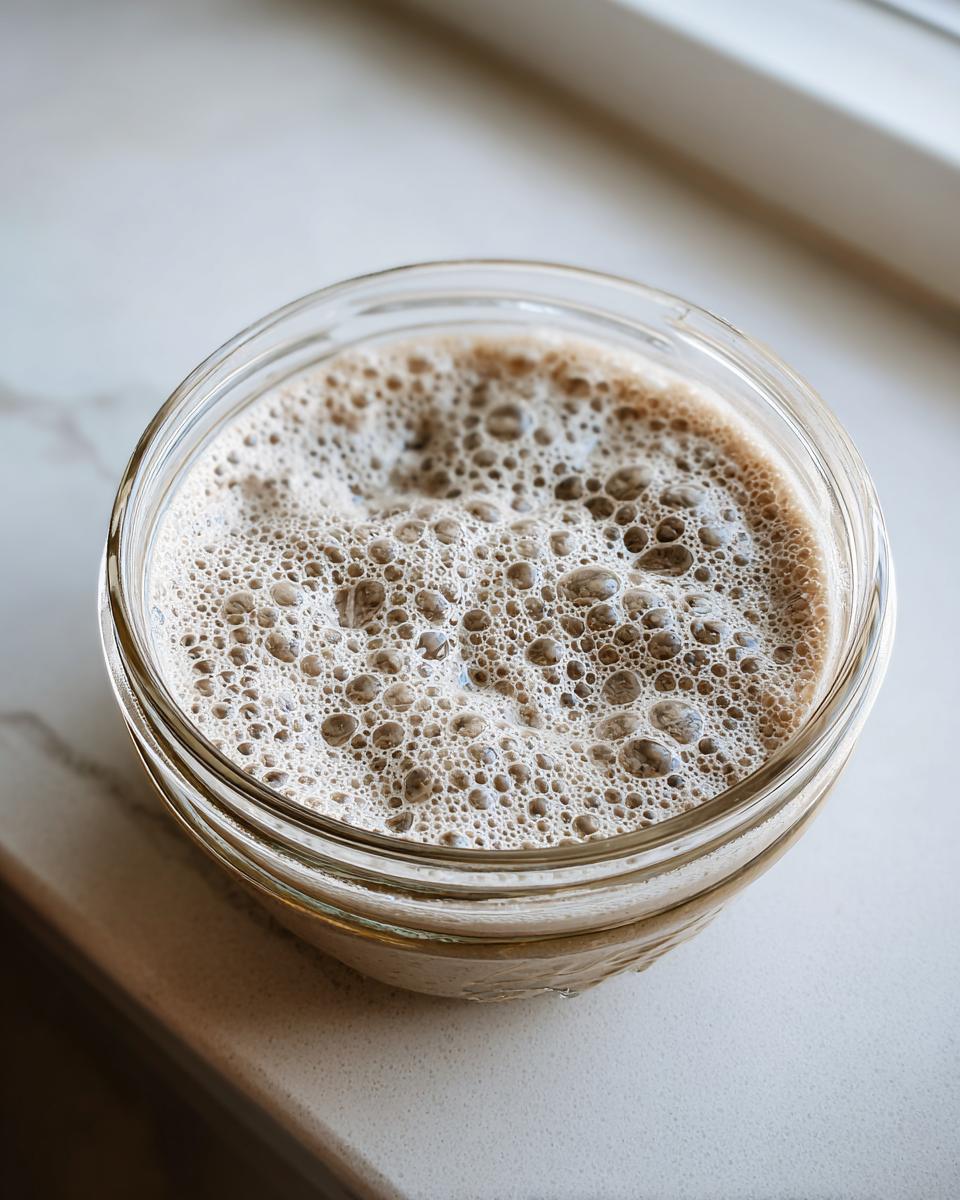
See? You did it! You have a beautiful, bubbly **wild yeast culture**! But now comes the real commitment: keeping this amazing thing alive when you aren’t baking every single day. Don’t worry, your ongoing sourdough starter maintenance isn’t difficult, it just requires a routine. You basically have two choices depending on how often you plan to bake your artisan bread.
If you plan on baking every day or every other day, you can keep your starter right on the counter. It will need feeding every 12 to 24 hours—just the regular discard and feed routine we talked about! But if your life gets busy again, chilling is the answer. It’s a lifesaver for my schedule, and I often rely on the fridge when things get hectic.
If you need a break, you can transition it to the refrigerator. Throwing it in there tells the yeast to take a long nap! Before you go out and buy ingredients for my Easy Creamy Dill Dip, make sure you take care of your starter first!
How to Store Sourdough Starter When Not Baking
Storing your **sourdough starter** in the fridge means it only needs feeding about once a week. That’s right, just once! After you feed it (discard half, feed 50g flour/50g water), let it sit at room temperature for an hour or two to wake up a bit, then seal that jar up and pop it in the cold.
When you suddenly decide you want to make a loaf for the weekend? You need to wake your culture up! Take it out of the fridge about one to two days before you plan to bake. Then, start feeding it on that 12-hour room temperature schedule again. It usually takes 2 or 3 feedings at room temperature to get it back to full strength, where it doubles reliably again. You can find some great tips on getting that peak activity from people who know their stuff, like the advice over at this guide!
Sourdough Starter Troubleshooting for Beginners
If you’ve followed the day-by-day steps, things should be looking great, but what happens when they don’t? Don’t panic! This is where a little informal **sourdough starter troubleshooting** comes in handy. Remember, this is just flour and water catching wild yeast; it’s not perfect science, and sometimes it needs a nudge. I’ve seen everything from zero bubbles to weird colors, so you’re certainly not alone in having a moment where you think you’ve killed your new pet!
The most common issue I see people worry about besides a slow rise is that dark layer forming on top—it’s called ‘hooch.’ If you see it, don’t freak out! Hooch is just natural alcohol created by the yeast telling you, “Hey, Sarah, I’m hungry!” You can simply stir it back in for a slightly tangier loaf, or pour it off if you don’t want that extra kick. Either way, it means you need to stick rigidly to your sourdough starter feeding schedule.
If things just seem sluggish—maybe Day 6 looks like Day 3—try putting your jar in a warmer spot, like near the oven after it’s been used, or on top of the fridge. Warmer temps really boost yeast activity. If you’re needing a break from feeding while you figure things out, remember you can always move it to the fridge! If you want an idea of what to bake once you conquer this, my Easy Sushi Bake Casserole is always a winner.
What If My Sourdough Starter Smells Like Acetone?
Oh, that potent, nail polish remover smell! That sharp, vinegary scent is the classic ‘acetone’ smell, and it absolutely means your starter is starving! It’s eaten all the food you gave it and is now running on fumes. When I smell that sharp chemical odor, I know I need to feed it faster.
This typically happens when the ambient temperature in your kitchen is a little high, or if you missed a feeding. The solution is simple: discard a bit more than usual and give it a healthy feed with fresh flour and water at your normal 1:1:1 ratio. If you are struggling with timing, checking out a more detailed guide like the one from Carla’s guide might help you visualize the timing perfectly!
Preparing Your Sourdough Starter for Baking Day
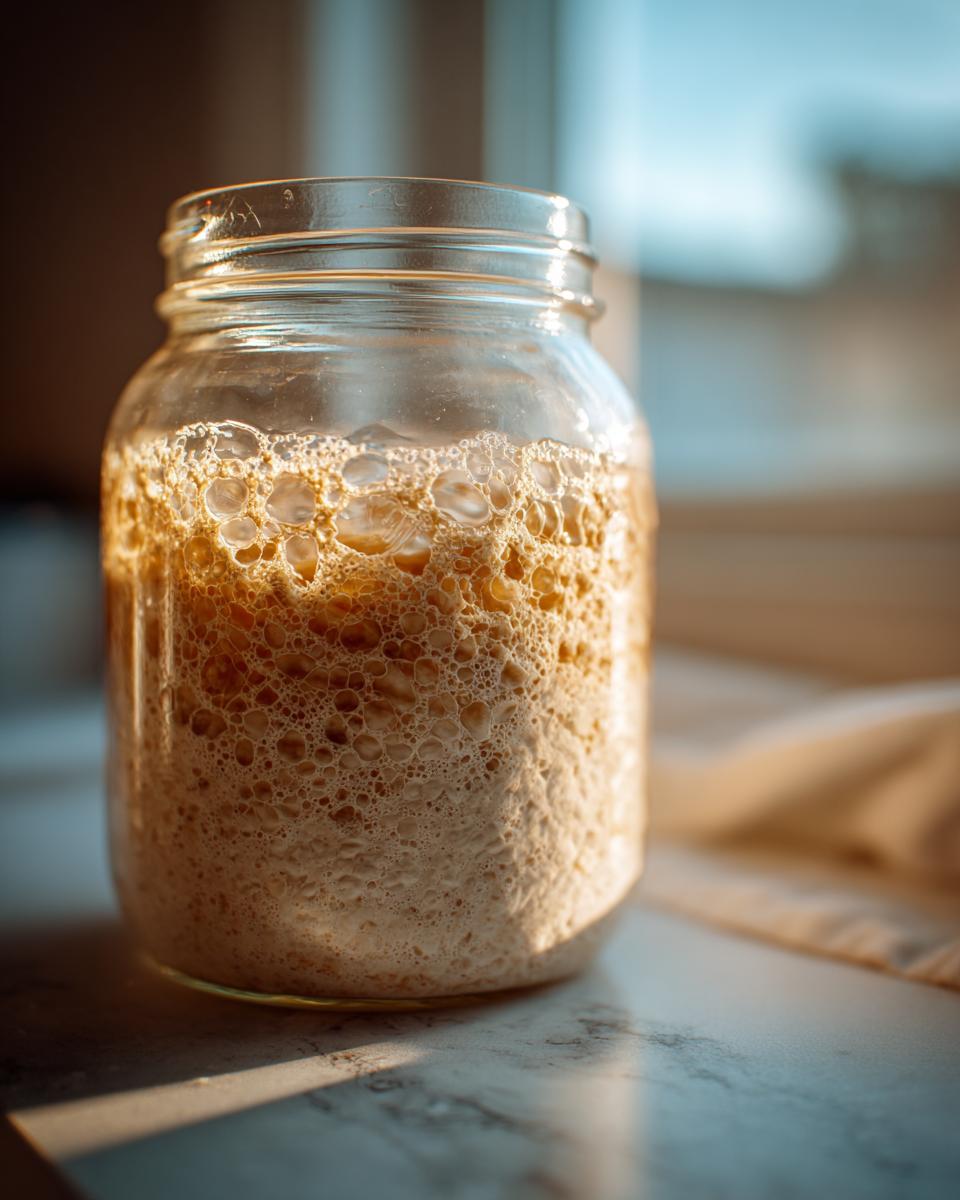
You’ve kept up the routine—discarding, feeding, watching it rise and fall—and now the big day is almost here! Before you mix up your dough for that glorious **artisan bread baking**, you need to make sure your **sourdough starter** is at its absolute peak of power. We want maximum bubble action! A starter that just barely doubles might work, but one that is lively and vigorous is what gives you that truly incredible oven spring.
Think about it: you want a starter that is ready to aggressively push air into your dough right when you need it. If you’ve been following the twice-daily feeding leading up to this, you should be seeing that reliable doubling. If you want that picture-perfect appearance that makes people ask, “What bubbly starter recipe do you use?”, timing that feeding just right is key.
My favorite simple check is what many bakers call the “float test.” It’s a quick way to see if enough carbon dioxide is trapped inside the culture. You take just a tiny spoonful of starter—when it’s at its highest point, right after it peaks—and gently drop it into a glass of room temperature water. If it floats, it means it’s light and gassy enough to lift a whole loaf of bread! If it sinks, give it another hour or maybe one more small feed before you start mixing your dough.
If you’re waiting for that perfect float, you have time for something else delicious! I highly recommend whipping up a batch of my Levain Bakery-Style Chocolate Chip Cookies. It helps pass the time while waiting for activation!
What to Do With Sourdough Discard
So, we’ve talked a lot about feeding your **sourdough starter**, but what about all that leftover stuff you discard every day? That fermented flour mixture—the discard—used to feel like waste to me, but it’s actually a treasure trove of flavor! You absolutely do not need to panic about tossing it out if you just want to prioritize building a strong culture.
However, if you hate waste like I do, that discard is fantastic for quick, no-rise baking projects. Think pancakes, waffles, or even savory crackers. They don’t require a super active, lofty starter, so that slightly weaker discard works perfectly! It adds a lovely tanginess to things. It’s a perfect excuse to use up what’s left before you continue your maintenance routine.
I often make delicious savory things with mine while patiently waiting for my main jar to peak, like my Bruschetta Dip appetizer. It’s a great way to keep your kitchen active without stressing over your main **sourdough starter**!
Estimated Nutritional Data for Your Sourdough Starter Culture
This part is a little bit of a formality, because let’s be honestly clear: you aren’t sitting down to eat a bowl of starter culture! We are making **sourdough starter from scratch** here—this is the living base for your bread, not the finished product destined for your plate. However, since we are using specific measures of flour and water in our daily feeding routines, I wanted to include the theoretical numbers for completeness, just so you know what’s in the jar while you wait for that beautiful **artisan bread baking**!
Please keep this in mind: these numbers are based purely on the feeding ratio (flour and water), not on the nutritional profile of a truly baked loaf. This culture is a powerful thing, full of living microbes, and these stats won’t carry over identically once it’s baked!
- Serving Size: N/A (Culture)
- Calories: 0
- Sugar: 0
- Sodium: 0
- Fat: 0
- Carbohydrates: 0
- Protein: 0
See? Almost nothing there! It’s just flour and water doing their magical work. Once that **wild yeast culture** is actually incorporated into your dough and baked, those numbers change completely when yeast activity creates new compounds. Don’t worry about the nutrition of the starter itself; worry about the happy bubbles and the amazing tang it will add to your bread!
Continue Your Simple Sourdough Instructions Journey
Seriously, I am so excited for you! You’ve walked through the entire process of creating your very own **sourdough starter**—from just flour and water to a completely active, hungry little ecosystem living on your counter. That’s huge! It takes patience, yes, but you stuck with the **day by day sourdough** plan, and now you have the foundation for incredible loaves ahead.
Now that you’ve mastered the creation part, I really want to know how it went for you! Did you get those huge bubbles on Day 6? Which flour seemed to wake yours up the fastest? Don’t keep those victories to yourself! Head over to the contact page and let me know your experience. I love hearing success stories from fellow home bakers!
And if you followed these **simple sourdough instructions** and found them helpful, please tell a friend or bookmark this page! We are building a path here toward simpler, more nourishing food, one bubbly starter at a time. Happy baking, friends!
PrintThe Ultimate Beginner’s Guide: How to Make and Maintain a Sourdough Starter from Scratch (7-Day Plan)
Learn the complete, simple process for creating your own active wild yeast culture, or sourdough starter, using only flour and water over seven days. This guide provides the step-by-step instructions necessary for beginners to achieve a bubbly starter for artisan bread baking.
- Prep Time: 5 min per day
- Cook Time: 0 min
- Total Time: 7 days active time
- Yield: One active starter culture
- Category: Baking Foundation
- Method: No-Cook Fermentation
- Cuisine: General
- Diet: Vegetarian
Ingredients
- 100g Whole Grain Flour (Rye or Whole Wheat recommended for starting)
- 100g Unbleached All-Purpose Flour
- 100g Unchlorinated Water (room temperature)
Instructions
- Day 1: Initial Mix. In a clean glass jar, combine 50g of whole grain flour and 50g of room temperature water. Stir well until no dry flour remains. Cover loosely (do not seal tightly) and leave at room temperature (ideally 70-75°F or 21-24°C) for 24 hours.
- Day 2: Rest. You may see little to no activity. Leave the mixture covered loosely for another 24 hours. Do not feed today.
- Day 3: First Feeding. Discard half of the starter (about 50g). To the remaining starter, add 50g of all-purpose flour and 50g of water. Mix thoroughly. Cover loosely and let sit for 24 hours. You should start seeing small bubbles.
- Day 4: Second Feeding. Discard half of the starter. Feed the remainder with 50g of all-purpose flour and 50g of water. Mix well. Activity should increase.
- Day 5: Twice-Daily Feeding Begins. Discard half of the starter. Feed the remainder with 50g all-purpose flour and 50g water. Mix. After 12 hours, repeat this discard and feed process again. Look for the starter to double in volume between feedings.
- Day 6: Consistent Feeding. Continue the twice-daily feeding schedule (discard half, feed 50g flour/50g water). The starter should become noticeably bubbly and smell pleasantly sour, not like acetone.
- Day 7: Assessing Activity. If your sourdough starter consistently doubles in size within 4 to 8 hours after feeding, it is considered an active sourdough starter and is ready to use for baking artisan bread. If it is sluggish, continue the twice-daily feeding for a few more days.
Notes
- Use a clear jar so you can easily monitor the rise and fall of your wild yeast culture.
- If your starter develops a layer of dark liquid (hooch) on top, stir it in or pour it off before feeding. This means it is hungry.
- For long-term storage, place your active starter in the refrigerator after feeding. Feed it once per week to keep it healthy.
- When you plan to bake, take the starter out of the fridge 1-2 days before and feed it every 12 hours at room temperature to bring it back to peak activity.
Nutrition
- Serving Size: N/A (Culture)
- Calories: 0
- Sugar: 0
- Sodium: 0
- Fat: 0
- Saturated Fat: 0
- Unsaturated Fat: 0
- Trans Fat: 0
- Carbohydrates: 0
- Fiber: 0
- Protein: 0
- Cholesterol: 0