
Oh, darling, if you’re anything like I was when I started Pure Plate Path, you desperately crave a truly decadent chocolate fix but just can’t stomach the refined sugar crash anymore. It felt impossible finding a treat that was rich, satisfying, and still quick enough for my chaotic schedule!
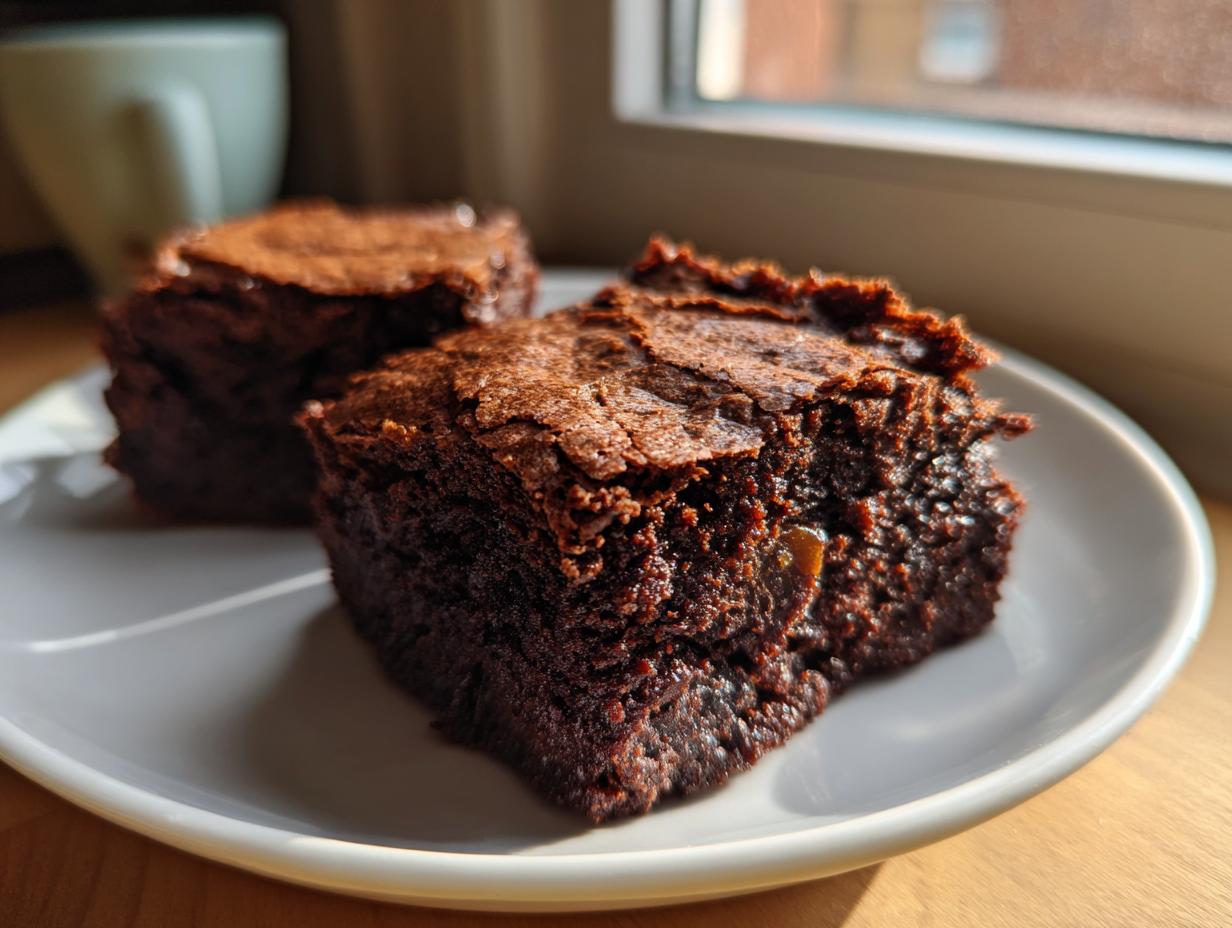
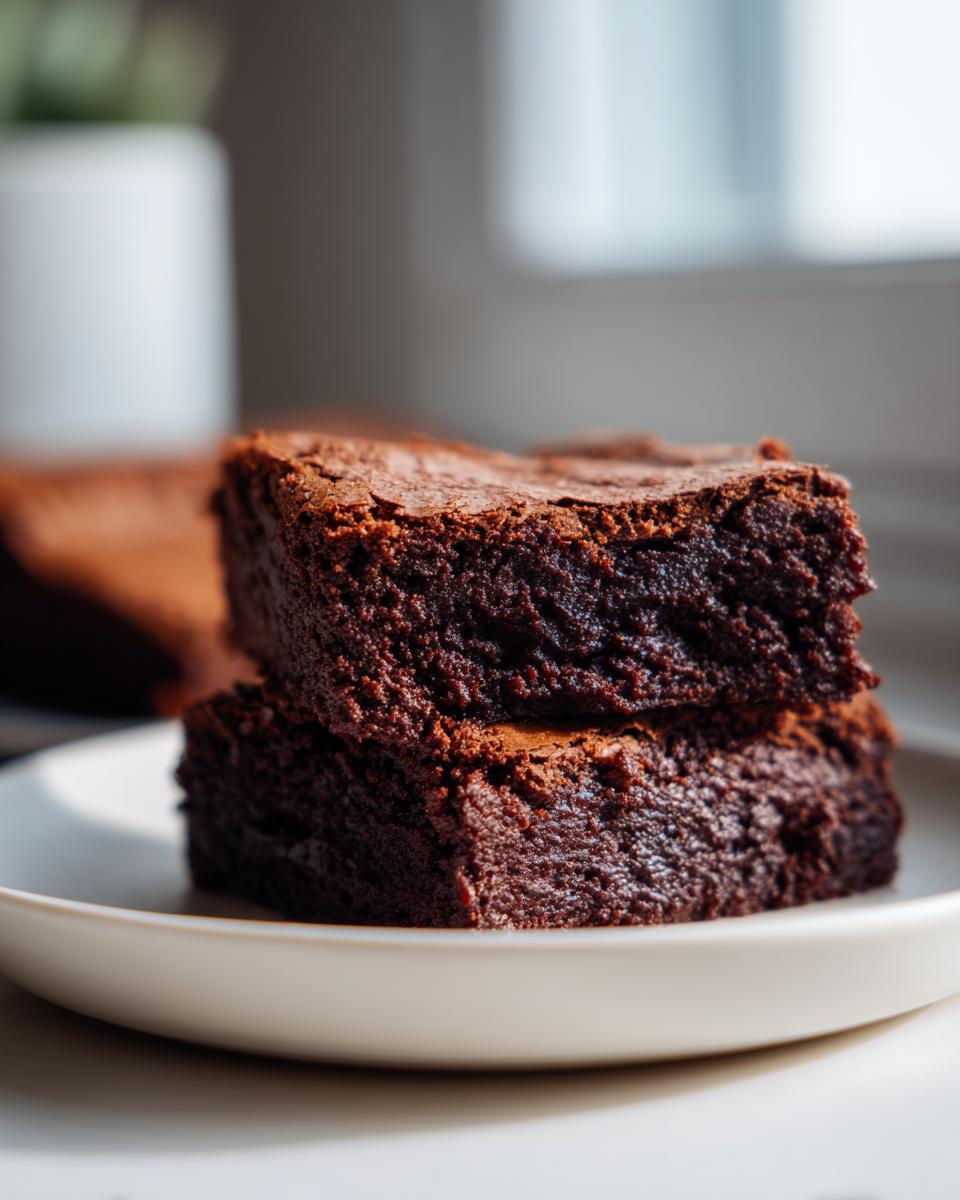
Well, stop searching! I finally nailed the absolute best healthy chocolate desserts that actually taste like they came from a fancy bakery: my fudgy, naturally sweetened date brownies. These aren’t those dry, crumbly things everyone struggles with; we’re talking deep, glorious chocolate flavor, thanks to the magic of Medjool dates doing all the heavy lifting for sweetness. Trust me, once you see how easy it is to replace sugar with whole fruit in a dessert this good, you won’t look back!
- Why These Are the Best Date Brownies Recipe You Will Make
- Gathering Ingredients for Your Naturally Sweetened Brownies
- Step-by-Step Instructions for Fudgy Date Brownies
- Tips for Success with Date Brownies
- Ingredient Notes and Substitutions for Date Brownies
- Storage and Reheating Instructions for Moist Brownies
- Serving Suggestions for Your Rich Fudgy Chocolate Treat
- Frequently Asked Questions About Date Brownies
- Sharing Your Wholesome Brownie Recipe Experience
Why These Are the Best Date Brownies Recipe You Will Make
Listen, I know you’ve tried those “healthy” brownies that taste like cardboard, but I promise you, these are different. When people ask why my date brownies are better, I tell them it’s because they hit every single mark we busy home cooks look for in a perfect chocolate moment.
What makes this recipe the winner? It’s the trifecta of indulgence, simplicity, and real nutrition. We ditch the garbage and keep the gooey goodness.
- They are intensely fudgy—no more cakey disappointments here!
- They use Medjool dates, so you get rich, caramel-like sweetness naturally.
- Seriously, it’s basically a dump-and-blend situation, which I love.
- They are free from refined sugar and use simple flours!
If you’re looking for incredibly satisfying desserts that fit right into a busy, wellness-focused lifestyle, you’ve found your recipe. If you enjoyed the simplicity here, you might also love my approach to sugar-free banana bread.
Achieving the Perfect Fudgy Texture with Dates
The secret sauce, literally, is that date paste. When you blend those soft dates with a little hot water, they turn into this thick, incredibly smooth caramel. That paste replaces granulated sugar beautifully and, more importantly, it brings the moisture required for that dense, chewy bite. It locks in the wetness so you never have a dry brownie on your hands. It’s heavy lifting done by fruit!
Gathering Ingredients for Your Naturally Sweetened Brownies
Okay, now that you’re convinced these are going to be the best chocolate treats you’ve made all year, let’s get organized. When you’re baking something this wholesome, the quality of your core ingredients really shines through. Since we are relying on real food for sweetness, we need the best players on the field. My top priority here is always using those gorgeous, soft Medjool dates. They are pure caramel magic, and they make all the difference in achieving that rich, deep flavor we’re after in these naturally sweetened brownies.
Don’t worry, the list is short and sweet—we’re not pulling out fifty specialty items for this one!
Ingredient Clarity for Perfect Date Brownies
- 1 cup packed Medjool dates, pitted
- 1/2 cup hot water
- 1/2 cup unsweetened cocoa powder
- 1/4 cup coconut oil, melted
- 1/4 cup almond flour
- 1 teaspoon vanilla extract
- 1/2 teaspoon baking powder
- 1/4 teaspoon salt
- 1/4 cup dark chocolate chips (optional)
Step-by-Step Instructions for Fudgy Date Brownies
Okay, buckle up because this process is so much faster than traditional baking—honestly, it’s almost suspicious! We’re going to rely on our trusty food processor to do the mixing heavy lifting. The first thing you absolutely must do is get your oven warmed up! You want that temperature steady—350°F (175°C) is the sweet spot. And please, line that 8×8 pan with parchment paper with an overhang. It makes getting these rich, sticky **date brownies** out in one piece so much easier. Trust me on the overhang; it saves tears later!
We are basically building this dessert in layers, blending the sweet part first, then folding in the chocolate goodness. If you need another quick, sweet fix while these bake, check out my easy recipe for maple fudge.
Preparing the Date Paste Base
This is where the magic starts! Toss those pitted dates right into your food processor—I mean *right* in. Add that required hot water. Now, you need to blend this until it’s completely smooth. Don’t rush this part! You’ll need to stop, scrape down the sides a few times to make sure there are zero chunks remaining. We want a thick, uniform paste, not a chunky mess. Once that’s done, you’ll add your dry stuff—cocoa, flour, salt, baking powder—and the melted coconut oil and vanilla, and just pulse until it’s barely combined into a thick batter. Remember to check out this other great recipe for fudgy date brownies while your processor is running!
Baking and Cooling Your Date Brownies
Carefully spoon that thick batter into your prepared pan and spread it nice and even. Now, you pop these into the oven for about 20 to 25 minutes. How do you know they’re done? Look for the edges to start looking set, but the very middle should still look deeply fudgy—almost wet. We are aiming for chewy, not cakey! The biggest, most important final step? You have to let them cool completely on a wire rack before you even think about cutting them. Patience here is what guarantees that amazing, chewy texture you’re craving. Seriously, wait until they’re totally cool, then dig in!
Tips for Success with Date Brownies
When you move away from standard sugar, sometimes you need a few little nudges to keep things moving smoothly in the kitchen. I learned these tricks the hard way—often ending up with a sticky mess instead of fudgy squares! These tips are what I rely on every single time I make these treats, ensuring they come out perfectly moist and chewy, just like you want them.
Don’t be scared by the process; just follow these little pointers, and you’ll be fine. You can check out my chocolate chip cheesecake cookies next if you want another fun, slightly different textural experience!
- Date Softness is Non-Negotiable: If your Medjool dates feel dry and hard, don’t skip soaking them in the hot water! If they are already soft, you can use warm tap water instead of hot, but make sure they can easily mush when you press them. Dry dates lead to a grainy paste.
- The Coconut Oil Temperature: Make sure your coconut oil is truly melted, but don’t let it get hot! If it’s too hot when you add it to the date mixture, it can mess with the consistency of the paste and make the final batter too loose. Room temperature melted is what we are aiming for.
- Mind the Overmixing: This recipe is incredibly forgiving because we aren’t using wheat flour, but you still want to stop mixing the moment everything comes together. Overmixing flour substitutes, like almond flour, can sometimes make them a little tougher, and we want soft and tender here!
- Don’t Overbake: I repeat: do not walk away from the oven! If you bake these until a toothpick comes out completely clean, you’ve gone too far. We want moist crumbs attached, not wet batter, but definitely slightly underdone by traditional brownie standards.
Ingredient Notes and Substitutions for Date Brownies
I get so many questions about swapping ingredients, especially when folks are trying to keep their baking completely clean or adapting for allergies. That’s the beauty of basing a treat around wholesome foods like Medjool dates—it lends itself well to modifications!
Since we used almond flour in the main recipe to keep things GF, you might be wondering about alternatives. If you need to switch that up, you can absolutely swap in oat flour cup-for-cup for a slightly different, perhaps chewier, texture in your **date brownies**. Also, since we are using coconut oil instead of butter, this recipe naturally leans toward being dairy-free, which is a huge win for so many of us!
If you’re diving into making these, checking out how others made their healthy versions, like these great treats, is always helpful too: Healthy Date Brownies.
If you’re looking for even more ways to use whole ingredients in quick meals, my shredded chicken taco recipe shows how I streamline dinnertime, too! You can find that here: easy chicken tacos recipe.
Making Vegan Date Brownies Variations
Here’s the thing: because we are relying on naturally occurring fats like coconut oil, these brownies are already set up perfectly to be vegan date brownies! As long as you ensure your optional chocolate chips are dairy-free (most dark chocolate chips nowadays are, but always double-check the label!), you are good to go. No weird flax eggs or commercial binders needed here!
It’s so satisfying when a recipe just works perfectly for those specific needs without needing a ton of extra fuss. Dates handle the moisture, oil handles the richness, and cocoa brings the deep flavor. Easy peasy, dairy-free, and totally vegan!
Storage and Reheating Instructions for Moist Brownies
Listen, these are so good you’ll want to make a batch right away, but I completely understand needing to save some for later. Because we use so much moisture from the dates and coconut oil, these brownies stay incredibly soft, but we need to store them correctly to keep that texture locked in. I’ve found that if you just leave them out on the counter, they can get a little sticky if your kitchen is warm.
My preferred way to keep these moist brownies tasting like they just came out of the oven is to cool them completely first—and I mean *completely* cool! If you try to wrap them while they are even slightly warm, they steam and get mushy on the outside.
Here’s the simple system I use:
- Room Temperature Storage: If you’re planning to eat them within two days, wrap individual squares tightly in plastic wrap or place them in an airtight container layered with parchment paper. They are fine stored on the counter away from any direct sunlight or heat.
- Refrigeration for Longevity: If you want them to last up to a week, definitely pop them into an airtight container in the fridge. They will firm up a bit more, but don’t worry! They soften up quickly once they come out.
- To Reheat That Fudgy Center: If they are cold from the fridge, just zap one square for about 10 to 15 seconds in the microwave. That little bit of heat just wakes up the cocoa and makes them gooey again. It’s the perfect quick snack when you need a boost!
If you’re ever struggling with keeping baked goods fresh, remember that parchment paper is your best friend for separating layers! It stops sticky things from fusing together.
Serving Suggestions for Your Rich Fudgy Chocolate Treat
Now that you have these intensely fudgy squares, the real fun begins: how do you serve them? Because these brownies are naturally sweetened and pack such a deep chocolate punch, they feel incredibly indulgent all on their own. But hey, sometimes you want to lean into that richness a little bit more, right?
I always think about texture when pairing with something this dense. You need something cool and creamy to cut through that satisfying chew. If you’re making these for a cozy night in, I highly suggest serving them slightly warm—just a quick zap in the microwave, as I mentioned earlier—with a big scoop of vanilla bean ice cream nearby. The temperature contrast is just heavenly.
If you like a little contrast in flavor, a tiny sprinkle of flaky sea salt right on top before serving really wakes up that deep cocoa taste. It’s such a simple trick, but it makes them taste premium!
Obviously, these are incredible with coffee, but have you ever thought about hot cocoa? We make my secret French hot chocolate recipe, and instead of dipping a marshmallow, we dip the whole brownie corner! It’s over the top, but totally worth it.
- The Classic Pairing: A scoop of high-quality vanilla bean ice cream for that hot/cold, creamy/fudgy contrast.
- The Flavor Pop: A light dusting of flaky sea salt to enhance the rich fudgy chocolate notes.
- The Afternoon Pick-Me-Up: Serve alongside a strong, black coffee or an espresso—the bitterness balances the date sweetness perfectly.
- The Ultimate Indulgence: A drizzle of thinned natural peanut butter or almond butter across the top while the brownie is still slightly warm.
No matter how you serve them, the key is letting that deep chocolate flavor shine through. Enjoy every single bite!
Frequently Asked Questions About Date Brownies
I always get so many great questions after people try these, and that tells me you’re really paying attention to what you’re putting into your body! It’s fantastic that we are moving toward no refined sugar baking, but sometimes getting the texture just right takes a little tweaking. Here are the biggest questions I hear about making these chewy brownies with dates for the first time.
Don’t forget, if you end up having leftovers, you can check out my super simple pizza pinwheels recipe for a completely different kind of easy snack!
Can I make these Date Brownies without a food processor?
That food processor is really the MVP here because it makes that smooth paste that gives us that incredible texture. But if you don’t have one, don’t panic! You should soak the pitted dates in that hot water for about 15 minutes—maybe even longer—to make them super soft. Then, you’ll need a serious hand-mashing tool, like a sturdy potato masher or a heavy whisk, and you’ll have to work hard on them until they are as smooth as possible. You might end up with a slightly less perfectly moist brownie, but they will still taste amazing!
Are these brownies truly gluten free?
Yes, absolutely! In the main recipe, we call for almond flour, which keeps these treats naturally gluten free. This is great news if you’re looking for gluten free brownies dates options! As long as you ensure your cocoa powder and chocolate chips are certified gluten-free (they usually are, but reading labels is key!), you’re good to go. If you were to substitute the almond flour with a different flour, you have to check that alternative flour’s certification to keep them safe for Celiac friends.
For even more amazing naturally sweetened ideas, I love seeing what others are doing, like these fantastic treats found here: Fudgy Chocolate Date Brownies.
Sharing Your Wholesome Brownie Recipe Experience
Now, here’s the part I genuinely love—hearing from you! Knowing that these date brownies are making it from my kitchen to yours is the whole reason I put these recipes out there. I poured my heart into making them fudgy and practically guilt-free, but I need to know how they turned out on your end!
Did you achieve that perfect chewiness I insisted on? Did the natural sweetness from the Medjools hit just right for your crew? Please don’t be shy!
Drop a comment below and let me know your rating out of five stars. Seriously, every piece of feedback helps me keep refining these recipes for all of us busy people trying to eat well. If you snapped a gorgeous picture of your rich, dark squares, tag me on social media! I absolutely love seeing your creations. If you have any lingering questions or want to chat more about clean eating desserts, feel free to reach out via my contact page. Happy baking, friends!
PrintFudgy, Naturally Sweetened Date Brownies
Make rich, fudgy date brownies that satisfy your chocolate cravings without refined sugar. This simple recipe uses Medjool dates for natural sweetness and results in a moist, chewy texture perfect for a guilt-free dessert.
- Prep Time: 10 min
- Cook Time: 25 min
- Total Time: 35 min
- Yield: 9 servings 1x
- Category: Dessert
- Method: Baking
- Cuisine: American
- Diet: Vegetarian
Ingredients
- 1 cup packed Medjool dates, pitted
- 1/2 cup hot water
- 1/2 cup unsweetened cocoa powder
- 1/4 cup coconut oil, melted
- 1/4 cup almond flour
- 1 teaspoon vanilla extract
- 1/2 teaspoon baking powder
- 1/4 teaspoon salt
- 1/4 cup dark chocolate chips (optional)
Instructions
- Preheat your oven to 350°F (175°C). Line an 8×8 inch baking pan with parchment paper, leaving an overhang for easy removal.
- Place the pitted dates and hot water in a food processor or high-speed blender. Process until a smooth, thick paste forms. Scrape down the sides as needed.
- Add the cocoa powder, melted coconut oil, almond flour, vanilla extract, baking powder, and salt to the date paste. Pulse until just combined into a thick batter. Do not overmix.
- If using, gently fold in the chocolate chips.
- Spread the batter evenly into the prepared baking pan.
- Bake for 20 to 25 minutes. The edges should look set, but the center will remain very fudgy.
- Let the brownies cool completely in the pan on a wire rack before cutting. Cooling fully helps achieve the best chewy texture.
- Cut into squares and serve.
Notes
- For an even richer flavor, use high-quality cocoa powder.
- If you prefer a denser, no-bake option, chill the batter in the refrigerator for at least 2 hours instead of baking.
- You can substitute almond flour with oat flour for a different texture.
Nutrition
- Serving Size: 1 brownie square
- Calories: 185
- Sugar: 15
- Sodium: 55
- Fat: 10
- Saturated Fat: 6
- Unsaturated Fat: 4
- Trans Fat: 0
- Carbohydrates: 24
- Fiber: 3
- Protein: 3
- Cholesterol: 0