
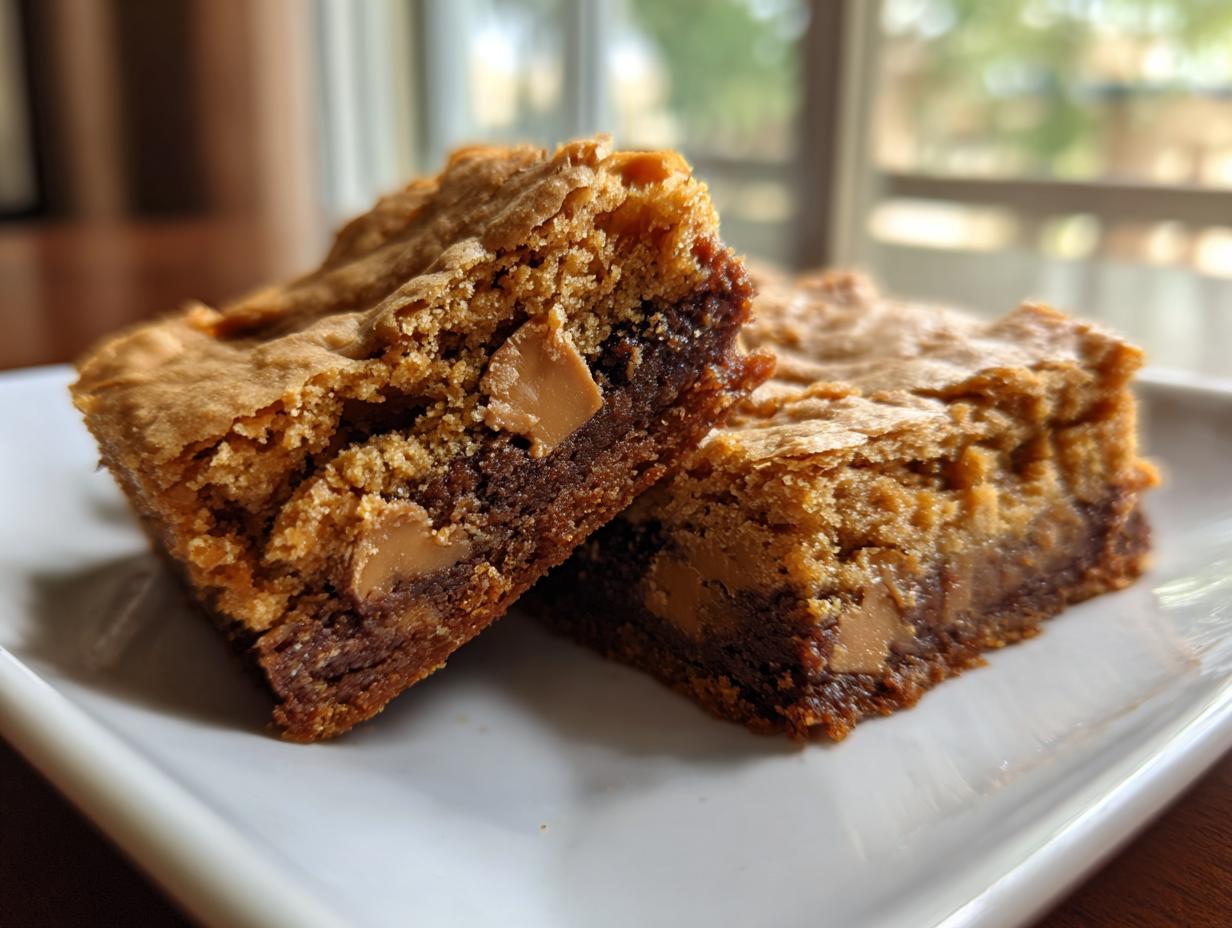
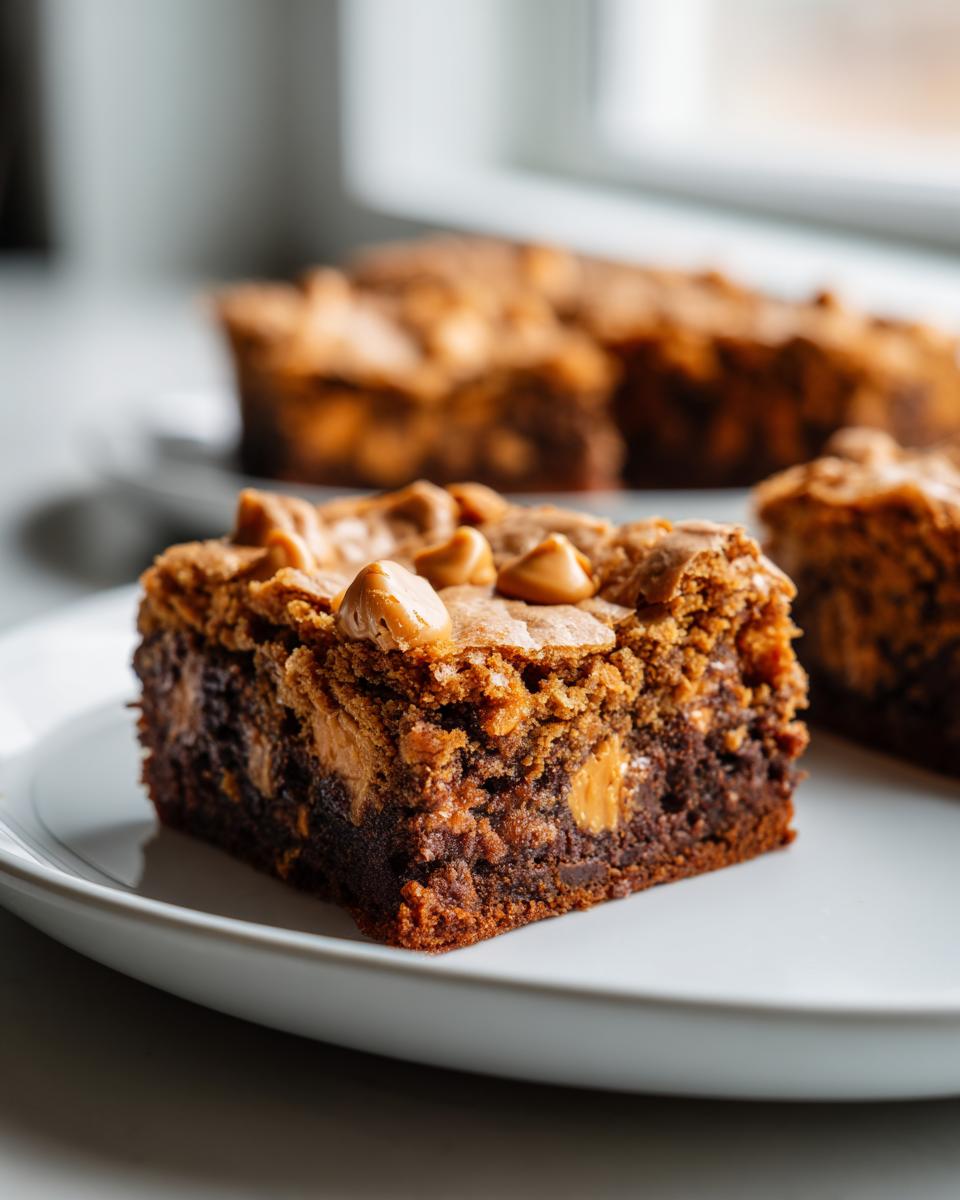
When the stress of holiday weekend planning starts creeping in—you know, the logistics of getting everything right for Mother’s Day—I always tell myself: slow down. Reclaiming that peaceful moment in the kitchen is non-negotiable for me, and that’s exactly what these rich, chewy butterscotch brownies offer. Forget fussiness; we’re leaning into pure, comforting nostalgia here. Think of them as the perfect alternative to heavy chocolate, delivering that wonderful, gooey texture we all crave. They bake up beautifully with zero fuss, making them the ideal make ahead dessert so you can actually enjoy the company.
- Why You Need These Chewy Butterscotch Brownies This Year
- Gathering Ingredients for Perfect Butterscotch Brownies
- Foolproof Steps to Make Your Butterscotch Brownies
- Achieving the Perfect Brownie Bar Aesthetic
- Make Ahead Desserts: Preparing Your Butterscotch Brownies Early
- Tips for Success: Making Easy Butterscotch Blondies
- Storage and Reheating Instructions for Butterscotch Brownies
- Frequently Asked Questions About Butterscotch Brownies
- Share Your Mother's Day Baking Success
Why You Need These Chewy Butterscotch Brownies This Year
I get it—planning a perfect Mother’s Day spread while keeping stress low is hard work! But that’s why I designed this chewy brownie recipe to be ridiculously straightforward. It’s a total winner for any gathering, no matter how busy your weekend gets. They’re practically begging to be the star dessert for National Butterscotch Brownie Day, too!
Here’s why these truly belong on your bake list:
- They are the ultimate make ahead desserts. You can bake them Friday, and they taste even better Saturday!
- You get that coveted chewy center every single time; these just aren’t cakey!
- The golden butterscotch flavor is lighter and more unique for spring gatherings than a heavy chocolate dessert.
- They are completely hands-off during baking time. You mix, pour, and walk away—no tricky layers or fussy steps.
- The required parchment paper sling makes lifting them out clean, which is exactly what you need when hosting.
- Seriously, everyone loves a good old-fashioned bar cookie. It’s pure, comforting nostalgia baked into a single square; that’s the magic of a great butterscotch brownies recipe.
If you love that rich, comforting vibe but need something quicker than, say, a molten cake (you can check out my take on those here if you decide to go the chocolate route!), these bars are your answer. They deliver high reward for minimal effort, which is my whole cooking philosophy!
Gathering Ingredients for Perfect Butterscotch Brownies
Keeping things simple is the Pure Plate Path promise, and that starts right here with the ingredient list for these amazing butterscotch brownies. You probably have most of these basics tucked away already! We’re focusing on pantry staples that create the best texture—we just need butter, sugar, eggs, flour, salt, vanilla, and those heavenly butterscotch chips. Remember, quality ingredients lead to less fuss later on.
Before you even start mixing, give your pan some love. Preheat that oven to 350°F (175°C) and get that 9×13 inch baking pan lined completely with parchment paper. That parchment hanging over the sides? That’s your leverage system for pulling these babies out stress-free later. Trust me, mastering the pan prep is 90% of the battle!
Ingredient Clarity and Preparation Notes
Let’s talk specifics, because these little details truly make the difference between good and *amazing*. You need one full cup of those wonderful butterscotch chips—don’t skimp! Also, we are using two full cups of good old granulated sugar here because we want that crispy edge that only straight white sugar can give us in a bar cookie structure.
Now, here’s a little secret from the recipe notes: If you have them on hand and want an even deeper, chewier result—especially since we are aiming for that ultimate **chewy brownie recipe** feel—swap out half of that granulated sugar for dark brown sugar. I love doing this! The molasses in the brown sugar adds this gorgeous, slightly caramel complexity that just sings next to the chips. If you want to see how I use brown sugar in other chewy recipes, check out my tips for oatmeal cookies; the principle of adding that molasses really pays off here too.
Foolproof Steps to Make Your Butterscotch Brownies
Okay, we have our ingredients ready in their little bowls—that’s half the battle won! Making these butterscotch brownies is really just about following the flow and resisting the urge to rush the mixing. Since we want that wonderfully chewy texture that defines a great bar, we have to treat the batter gently once the flour comes in. Get your 9×13 pan ready with that parchment sling we talked about; it’s lifesaver for clean removal later when you box them up for gifting!
We start by whisking together the melted butter and sugar until they look smooth, almost shimmering. Then, we beat in the eggs one by one, really incorporating each one before the next one goes in. That vanilla goes next. This is the base—rich, sweet, and ready for the structure we add next.
Mixing the Batter: Avoiding Overmixing for the Best Butterscotch Brownies
This is where the ‘chewy’ part gets locked in! In a separate bowl, quickly whisk your flour and salt. Now, add the dry stuff to the wet ingredients in stages, mixing just until you see no more white streaks. Seriously, *just* combined. If you beat this batter too long once the flour hits, you’re activating too much gluten, and that leads straight to cakey bars instead of the chewy brownie recipe we are aiming for. After that final gentle fold to bring in the butterscotch chips, stop immediately! We’re not making bread here!
Baking Times and Testing for Moist Crumbs
Spread that batter evenly in your prepared pan and slide it into the 350°F oven. Set your timer for 25 minutes, but always keep an eye on it around the 28-minute mark. We aren’t looking for a clean toothpick in these bars! We need moist crumbs clinging to it when you pull it out. If the toothpick comes out totally dry, you’ve gone too far and you’ll lose that gooey center. If it drips wet batter, it needs five more minutes. Moist crumbs means perfection for these rich bars. You can even look at my process for making flavorful raisin bread; the testing principle is similar—you want softness, not stiff dryness!
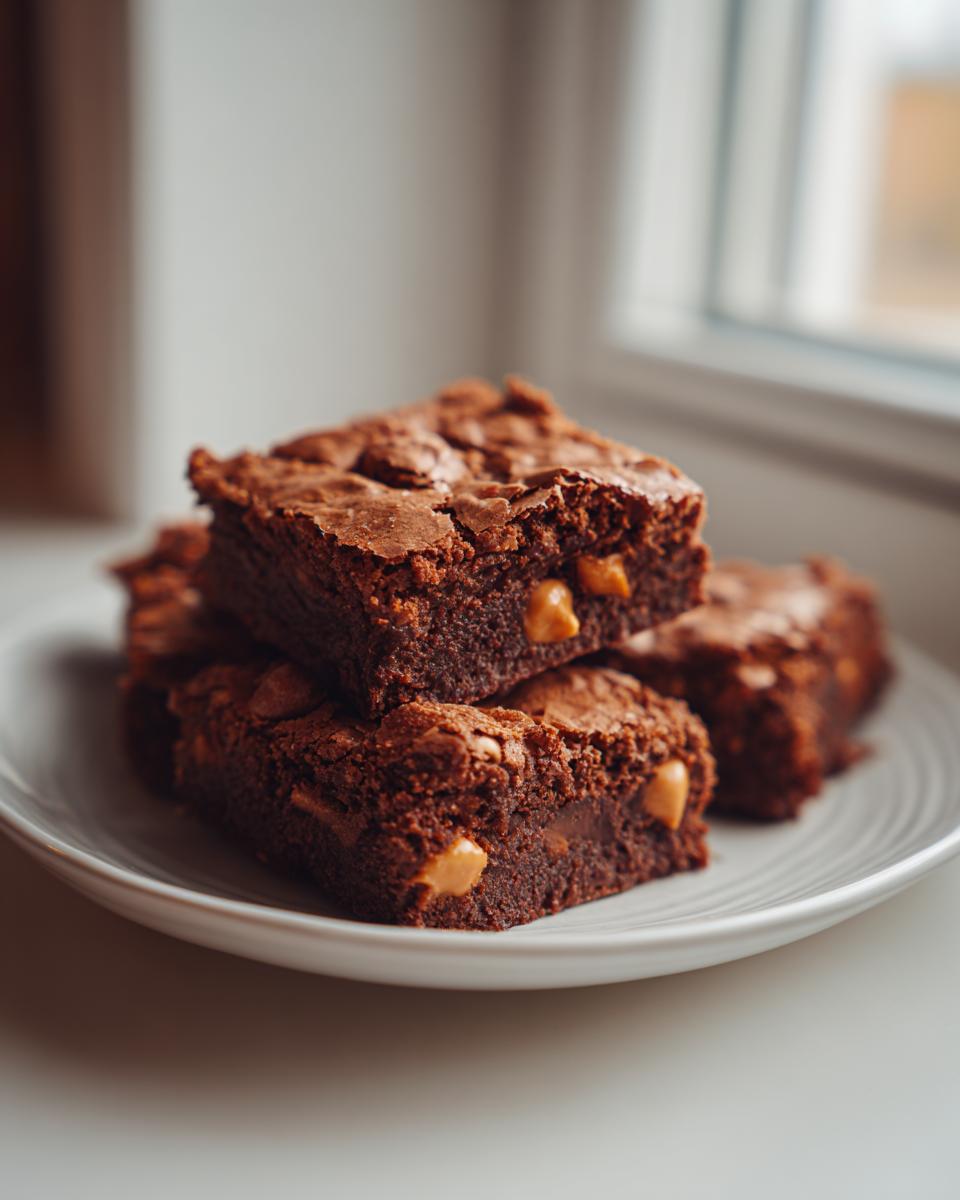
Achieving the Perfect Brownie Bar Aesthetic
I know we talk a lot about flavor and chewiness, but honestly, presentation matters, especially when you’re bringing these to a Mother’s Day brunch or gifting them! We are aiming for that coveted brownie bar aesthetic—neat, substantial squares that look like they came from a fancy bakery, not just scooped onto a plate. Achieving this polish with rich, gooey butterscotch brownies is all about patience after the oven dings.
Resist the urge to cut them hot! I know it’s torture watching them cool, but if you try to slice them warm, the melted butterscotch chips will ooze everywhere, and you’ll end up with a messy pile instead of beautiful bars. Let them cool completely in the pan on that wire rack. This lets the structure firm up just enough.
Here’s the pro move, which I mentioned in the notes: if you want those truly pristine, sharp edges that look amazing lined up in a gift box, pop the cooled pan into the fridge for about 30 minutes. Chilling them makes slicing unbelievably clean. Use that parchment overhang to lift the whole slab out of the pan first, place it on a cutting board, and then use a long, sharp knife to cut your squares. See? Easy elegance! For more decadent bar inspiration, you have to check out my recipe for brookies; presentation is everything there too!
Make Ahead Desserts: Preparing Your Butterscotch Brownies Early
If you’re anything like me, planning for Mother’s Day weekend means maximizing enjoyment and minimizing last-minute kitchen rushes. That’s why thinking of these butterscotch brownies as the ultimate make ahead desserts is such a game-changer! Baking them a day early isn’t just better for your timeline; honestly, it often makes them taste richer because those flavors have time to meld together overnight. It’s perfect for wrapping up as little host gifts or just having ready to go for that Saturday brunch spread.
When you pull them out of the oven and let them cool completely—and I mean *completely*—you should use the parchment sling to gently lift the entire square out of the pan. You can store the whole uncut slab wrapped tightly in plastic wrap on the counter, or you can cut them into squares first if you know you’ll be gifting a few right away. This approach takes all the pressure off trying to bake something right before everyone arrives. I have a fantastic no-bake cheesecake tutorial if you need another stress-free option, but I truly think these bars simplify everything for you.
Having these wonderful butterscotch brownies tucked away means you can focus on your guests instead of scrubbing flour off your counters when company arrives. Just remember to wrap them well if storing them uncut; we’ll talk about how long they stay perfectly fresh in the next section!
Tips for Success: Making Easy Butterscotch Blondies
Even though we are making these bars rich and decadent, the process should still feel easy, right? That aligns perfectly with my goal over at Pure Plate Path—simple steps leading to rewarding results. If you are looking for something that borders on an easy butterscotch blondies experience, here are a few things I always double-check before I even grab the whisk. These small adjustments ensure you get that perfect dense chewiness that keeps people coming back for more.
First things first: ingredient temperature matters! While this isn’t a fluffy cake, you don’t want ice-cold eggs plopping into that warm, melted butter mixture. Try to let your four large eggs sit out on the counter for about 15 minutes while you tackle the pan prep. This helps them incorporate more smoothly, preventing that slightly curdled look that can sometimes happen when cold eggs meet warm fat. It just makes everything blend better!
My second big tip revolves around the chips themselves. If you happen to only have butterscotch morsels instead of the baking chips, I sometimes toss the morsels in a little bit of flour (about a teaspoon) before folding them in. This light coating helps keep them from sinking straight to the bottom of the pan. Nobody wants a chip-free bottom layer!
Finally, baking time is variable, truly. Since we are aiming for that moist center that defines a great bar, don’t stick too rigidly to the 30-minute mark. Start checking at 25 minutes. You are looking for that corner structure to look set, but the absolute middle should still look slightly glossy and soft. For other recipes where I need that slight gooey tenderness, like my caramel apples, I rely purely on visual cues over the timer.
Storage and Reheating Instructions for Butterscotch Brownies
The best part about these spectacular butterscotch brownies is that they genuinely improve the longer they sit! Since they are fantastic make ahead desserts, we need to know how to keep them perfect until you serve them up for Mother’s Day. These bars are quite sturdy because of the high sugar and fat content, which is one of the reasons I love them so much.
If you cut them right away (which you shouldn’t, remember the chilling tip!), they might get a bit sticky when you try to store them stacked. My suggestion is always to store them uncut for the first 24 to 48 hours. Wrap the whole block tightly, first in plastic wrap and then in a layer of aluminum foil, just to lock in all that gorgeous moisture. You can keep them right on your counter at room temperature for up to three days, and they will stay beautifully chewy.
If you baked these early for gifting or you simply have too many leftovers (is that even possible?), the refrigerator is your friend for longer storage. Wrapped tightly, they keep perfectly well in the cold for about a week. They become firmer when chilled, though, so if you slide them straight from the fridge to a plate, they might be a little too hard to bite into comfortably. What I do is pull out the serving squares about 30 minutes before I plan to offer them. That little bit of time on the counter mellows them right back out to that ideal gooey texture.
If you’re prepping for a big event like Mother’s Day and need them to last longer than a week, you can absolutely freeze them! Cut them into individual squares first, place a small square of wax paper between each one to keep them from sticking together, and then place them all into a freezer-safe zip-top bag. They hold up great in the freezer for up to three months. I often pull a couple out the night before I need them, let them thaw on the counter, and they taste like they were just baked. It’s just one less thing to worry about later! Now, if you’re looking for other things that keep well in the fridge, I’ve got a great take on canned salmon salad that’s perfect for healthy lunches post-holiday!
Frequently Asked Questions About Butterscotch Brownies
I know when you are trying to nail down that perfect bar for a celebration, a few little questions always pop up. That’s totally normal! I want you to feel completely confident baking these butterscotch brownies, especially if you’re planning them as part of your special Mother’s Day menu. So, let’s clear up some of the most common things folks ask me about this gloriously chewy recipe!
How do I prevent my butterscotch brownies from turning out cakey?
This is the million-dollar question when you are aiming for that classic bar texture! Cakey happens when you develop too much gluten, usually by overmixing the flour. Remember what I said? Mix those dry ingredients in only until the streaks disappear. Don’t whip it! Also, using melted butter helps keep them dense and fudgy, not light and fluffy like a cake. We want chew, not crumb, with these babies!
Can I use dark brown sugar for a deeper flavor?
Oh, absolutely! In fact, I highly recommend trying it, especially if you want the absolute richest flavor profile. You can easily substitute half of the granulated sugar with dark brown sugar. The molasses content in the dark brown sugar adds moisture and that beautiful, deep caramel note that pairs so well with the butterscotch. It really elevates this recipe from a simple treat to something really memorable. It’s a great way to beef up the flavor profile if you’re worried about serving something plain!
When is National Butterscotch Brownie Day anyway?
That’s a fun one! If you need an excuse to bake these anytime other than Mother’s Day (though they certainly deserve to be celebrated then!), National Butterscotch Brownie Day is celebrated on June 2nd. Perfect timing if you decide to stash some away for a summer treat after all that springtime hosting! These are the kind of easy butterscotch blondies that deserve their own holiday, honestly.
Can I substitute the butterscotch chips in these butterscotch brownies?
You certainly can be flexible here, which is what home cooking is all about! The recipe calls for butterscotch chips, but if you only have butterscotch morsels, use them—just make sure you dust them lightly in flour before mixing them in so they don’t sink to the bottom. If you want to switch up the flavor completely, white chocolate chips work beautifully as a substitute for the chips, giving you a sweeter bar that still has that signature chewiness from the base recipe. If you’re looking for other satisfying soup recipes for a lighter side dish, you can check out my chickpea soup!
Share Your Mother’s Day Baking Success
Now that you have these gorgeous, chewy butterscotch brownies tucked away, or maybe you’re already slicing them up for a brunch treat, I really, really want to hear about it! Cooking is all about that shared joy, isn’t it? That’s why achieving a stress-free Mother’s Day weekend using a recipe that just *works* is such a huge win.
If you made these and they solved your dessert dilemma, please hop back here and leave me a star rating. Knowing that this recipe helped lighten your load while still delivering on that rich, nostalgic flavor means the world to me! It helps the next busy person who lands on this page trust that it’s foolproof.
And please, tag me on social media when you show off your beautiful squares! Seeing your photos of these perfectly cut bars achieving that great brownie bar aesthetic next to flowers or coffee cups is just the best. It makes all the testing and perfecting worthwhile. If you want to learn more about the philosophy behind why I focus on these simple, life-enhancing recipes—recipes that build wellness into your busy schedule—you can always swing by my About Page! Happy baking, and I hope you have the most wonderful, delicious weekend!
PrintChewy Butterscotch Brownie Bars for Mother’s Day
Make these rich, chewy butterscotch brownies for your Mother’s Day gathering. This foolproof recipe delivers a comforting, nostalgic dessert that is simple to prepare ahead of time.
- Prep Time: 15 min
- Cook Time: 30 min
- Total Time: 45 min
- Yield: 24 servings 1x
- Category: Dessert
- Method: Baking
- Cuisine: American
- Diet: Vegetarian
Ingredients
- 1 cup (2 sticks) unsalted butter, melted
- 2 cups granulated sugar
- 4 large eggs
- 1 teaspoon vanilla extract
- 1 1/4 cups all-purpose flour
- 1/2 teaspoon salt
- 1 cup butterscotch chips
Instructions
- Preheat your oven to 350°F (175°C). Line a 9×13 inch baking pan with parchment paper, leaving an overhang for easy removal.
- In a large bowl, whisk together the melted butter and granulated sugar until fully combined.
- Beat in the eggs one at a time, mixing well after each addition. Stir in the vanilla extract.
- In a separate bowl, whisk together the flour and salt. Gradually add the dry ingredients to the wet ingredients, mixing only until just combined. Do not overmix.
- Fold in the butterscotch chips.
- Spread the batter evenly into the prepared baking pan.
- Bake for 25 to 30 minutes, or until a toothpick inserted near the center comes out with moist crumbs attached.
- Let the brownies cool completely in the pan on a wire rack before lifting them out using the parchment overhang.
- Cut into squares for serving. This is a great make ahead dessert.
Notes
- For extra richness, use half brown sugar and half granulated sugar in the recipe.
- If you want a cleaner slice, chill the cooled brownies for 30 minutes before cutting.
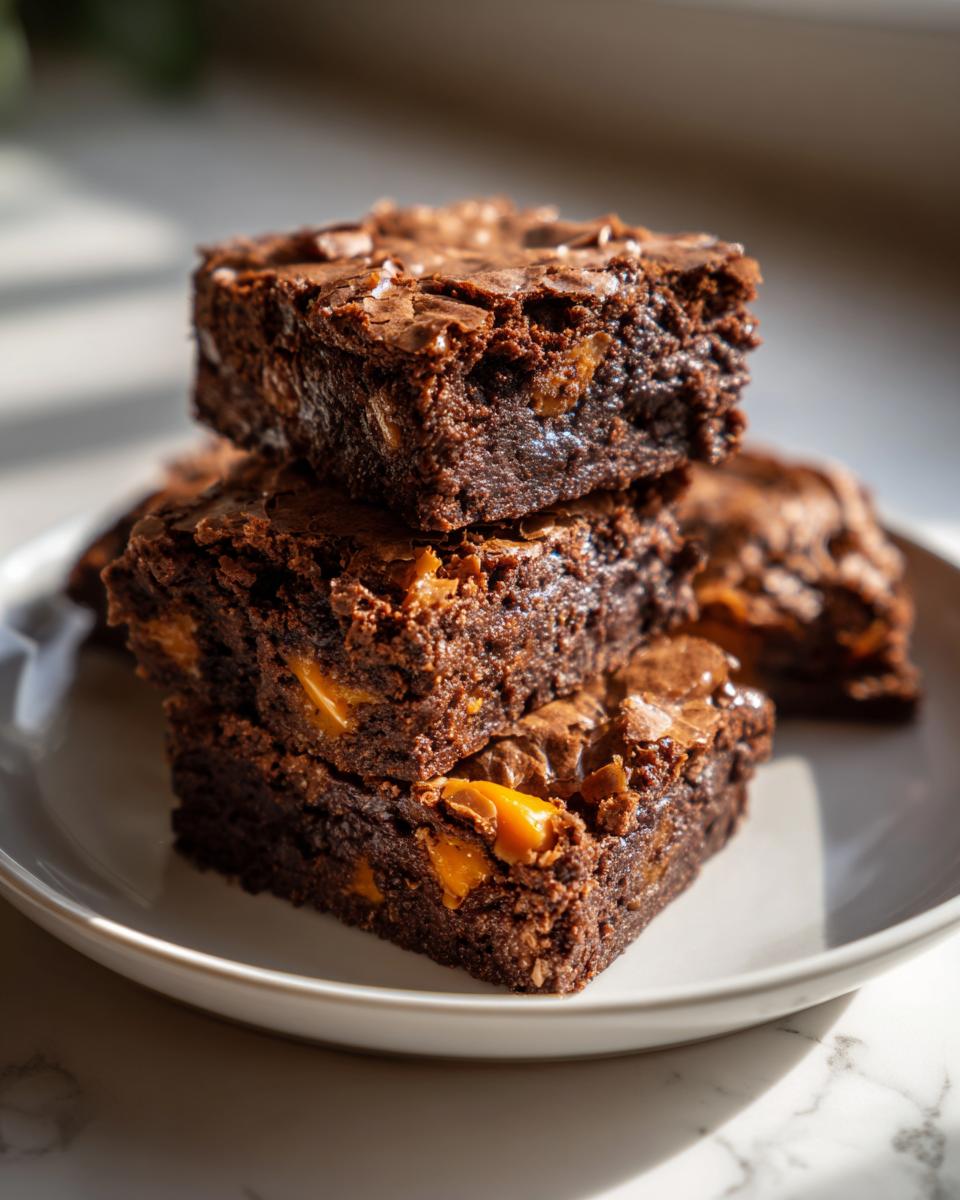
- These bars have a great brownie bar aesthetic when cut into neat squares for gifting.
Nutrition
- Serving Size: 1 square
- Calories: 210
- Sugar: 25g
- Sodium: 80mg
- Fat: 11g
- Saturated Fat: 7g
- Unsaturated Fat: 4g
- Trans Fat: 0g
- Carbohydrates: 28g
- Fiber: 0g
- Protein: 2g
- Cholesterol: 45mg