
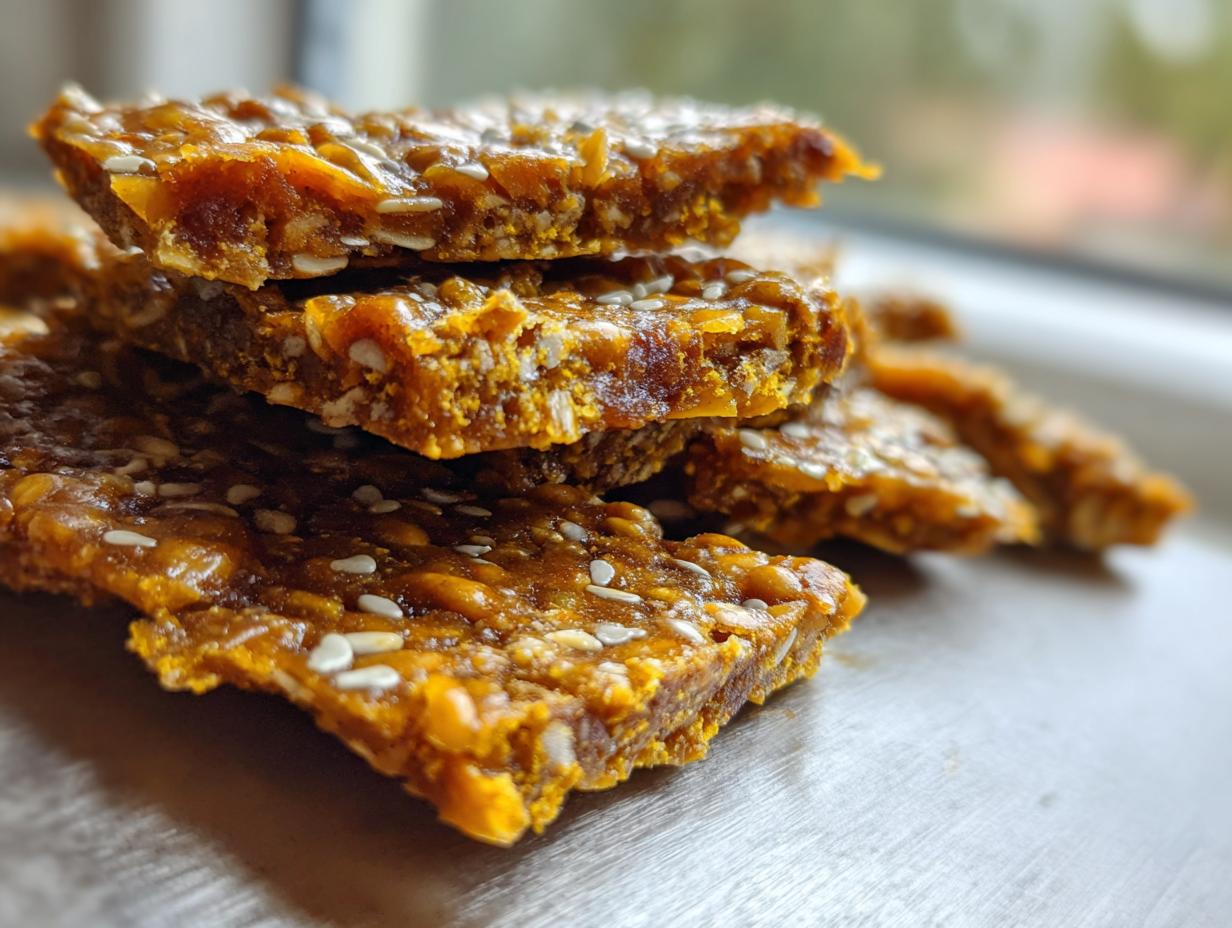
Listen, there is nothing quite like the sound a perfectly made piece of homemade candy makes when you snap it. That loud, satisfying crack! It just screams ‘I made this myself,’ and honestly, that’s a tiny, delicious moment of self-care we all deserve, even when life is moving at a million miles an hour. Forget those complicated chocolates; today, we’re transforming simple pantry staples into something truly special. I’m sharing my ultimate guide to making **seed brittle**.
This isn’t just another sweet treat; it’s a testament to the Pure Plate Path philosophy. As I talk about in our mission statement over at Pure Plate Path, wellness comes from simple, joyful steps. This recipe is incredibly straightforward, gluten free, and results in the crunchiest, most addictive crystallized seed candy squares you’ve ever tasted. We’re going to guide you through every crucial temperature point so that your brittle sets up perfectly, every single time. Trust me, by the end of this, you’ll feel like a candy-making whiz!
- Why This Easy Seed Brittle Recipe Works for Everyone
- Ingredients for Your Homemade Seed Brittle
- Step-by-Step Roasted Seed Brittle Instructions
- Tips for Success Making Your Seed Brittle
- Serving Suggestions for This Crunchy Seed Bark Recipe
- Storage and Keeping Your Brittle Fresh
- Understanding Candy Making Science
- Frequently Asked Questions About Seed Candy
- Share Your Homemade Creations
Why This Easy Seed Brittle Recipe Works for Everyone
When I started navigating my busy schedule, I thought candy making was completely off the table—too finicky, too much watching the clock! But this recipe changed that. It’s dependable, which is why I call it the Easy Seed Brittle Recipe I always trust. It’s perfect for anyone just starting out with homemade candy making for beginners.
- This recipe relies on whole ingredients and precise heat, not complicated techniques.
- It offers that satisfying snap you expect from a high-end confection.
- It’s incredibly versatile for different seed mixes.
Gluten Free Seed Snack Perfection
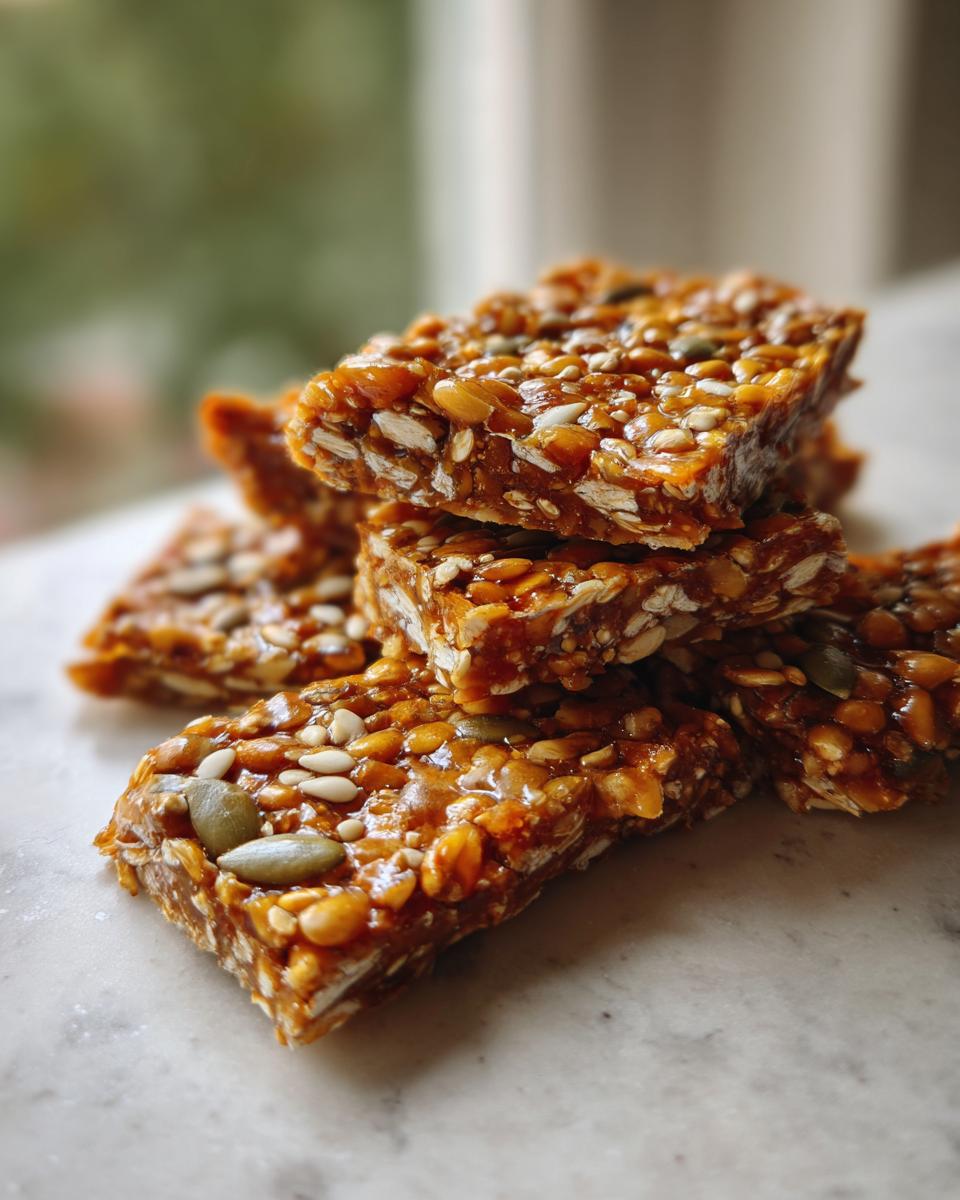
Because we’re skipping flour entirely and focusing on those hearty seeds, this automatically becomes a wonderful Gluten Free Seed Snack. You can slice it into squares or snap it into shards; it works beautifully as a crunchy seed bark recipe for lunchboxes or simple holiday treats.
Achieving Perfect Hard Crack with Our Seed Brittle Instructions
Candies get sticky if the temperature isn’t right, but don’t let that scare you off! My detailed Roasted Seed Brittle Instructions focus entirely on hitting that 300°F mark. Follow the thermometer instructions closely, and I promise, you’ll feel like you mastered the ‘No Fail Seed Brittle’ on your very first try!
Ingredients for Your Homemade Seed Brittle
Okay, let’s get everything measured out before we even touch the stovetop. Candy making moves fast once you start boiling, so having everything ready is my number one rule! You’ll need bulk seeds—I love a good mix of pumpkin and sunflower—along with our sugar base for that perfect crystallization. Grab your heavy-bottomed saucepan, because we need reliable heat distribution for this simple syrup candy recipe.
- 2 cups mixed seeds (pumpkin seeds, sunflower seeds, sesame seeds)
- 1 cup granulated sugar
- 1/2 cup light corn syrup
- 1/4 cup water
- 1 tablespoon unsalted butter
- 1 teaspoon baking soda
- 1/2 teaspoon vanilla extract
Ingredient Notes and Substitutions for Seed Brittle
For this to truly be a fantastic, safe treat, pay attention to your sourcing. If you need a true Homemade Nut Free Brittle, you must confirm with your seed supplier that there’s no cross-contamination. Also, I almost always gently roast my seeds for about eight minutes beforehand; it pulls out such a deeper flavor, making it a much richer Glazed Seed Snack Recipe!
Step-by-Step Roasted Seed Brittle Instructions
Now we enter the fun, fast-paced part! This is where we turn those measured ingredients into gorgeous, glossy, **seed brittle**. You need to have everything ready to go—your greased sheet pan beside the stove, your butter softened, and your whisk ready for the final mix. Don’t walk away from the stove for a second once this gets hot! When planning your week, remember that timing this candy step is much easier when you aren’t rushing dinner, which is why I keep my quick easy weeknight dinners organized.
Preparing the Pan and Combining Initial Seed Brittle Ingredients
First things first: get that baking sheet ready. I use parchment paper because it guarantees zero sticking, which means perfect squares later. Now, grab that heavy saucepan. Toss in your seeds, sugar, corn syrup, and water. Set the heat to medium and stir constantly, but gently. You are just trying to dissolve that sugar. The moment it starts bubbling, stop stirring! You can’t stir after that, or you’ll get grainy **seed brittle**, trust me on this one.
Cooking to Hard Crack Stage for Crispy Seed Dessert
Once that mixture is boiling, clip on your candy thermometer. This is non-negotiable for a Crispy Seed Dessert that shatters just right! We need to cook this mixture slowly and patiently until that thermometer screams ‘300 degrees F.’ This is the hard crack stage, and it takes about 15 to 20 minutes. Watch it like a hawk in those last few degrees—it jumps fast! Three hundred degrees means success; anything less is sticky disappointment.
The Critical Final Mix for Perfect Seed Brittle
The second that thermometer hits 300°F, pull that pan off the heat immediately. Seriously, move it! Now, you work quickly: dump in the butter, vanilla, and that teaspoon of baking soda. It will foam up like crazy—it’s supposed to! Stir just enough to incorporate everything before pouring it all out onto your prepared sheet. Don’t overmix this final stage! Just pour it, let it spread naturally, and then stand back and let it cool completely, about 30 minutes. You’ll have the prettiest, crunchiest candy!
Tips for Success Making Your Seed Brittle
If you’re making candy for the first time, you might be worried about achieving that perfect, shatteringly crisp texture. But honestly, the biggest enemy we face isn’t texture—it’s stickiness! The number one reason your **Crystallized Seed Candy** might end up chewy is that the temperature simply didn’t reach the hard crack stage. If it feels tacky or soft after it completely cools, that means you stopped cooking too soon. It’s heartbreaking, I know.
I’ll never forget the first batch I tried to turn into Homemade Gift Edibles Seed treats. I got distracted checking emails, and my brittle never made it past 285°F. It looked beautiful coming out of the pan, but once it cooled, it was just a gooey mess stuck to my countertop! Seriously, that entire batch ended up in the bin. That was the day I learned that candy making requires fierce focus but that my recipe outline helps prevent that!
If you are worried about runny syrup, my best practical advice is simple: trust the thermometer, not the clock. Take that extra five minutes to let the temperature climb to 300°F. That small window of heat transforms that sugar syrup into glass, which is exactly what we want for perfect, crunchy results. It’s worth the wait, I promise!
Serving Suggestions for This Crunchy Seed Bark Recipe
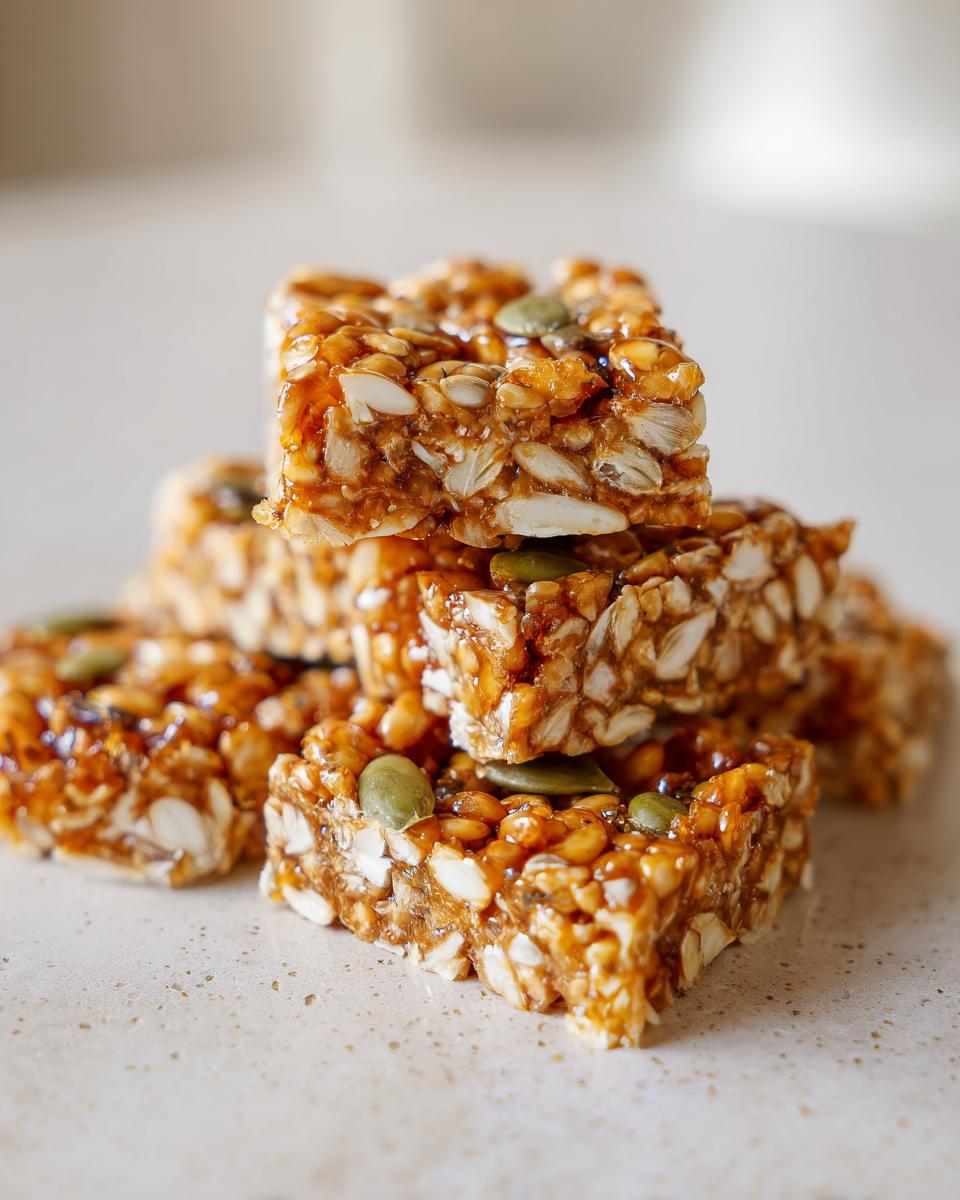
Once your beautiful **seed brittle** has set—and you’ve enjoyed chipping off a few practice pieces because, well, you have to taste-test—the fun really starts: the presentation! This candy is so vibrant, especially with the mix of greens from pumpkin seeds against the lighter sesame and sunflower seeds, that it truly shines when styled nicely. It’s almost too pretty to eat, almost!
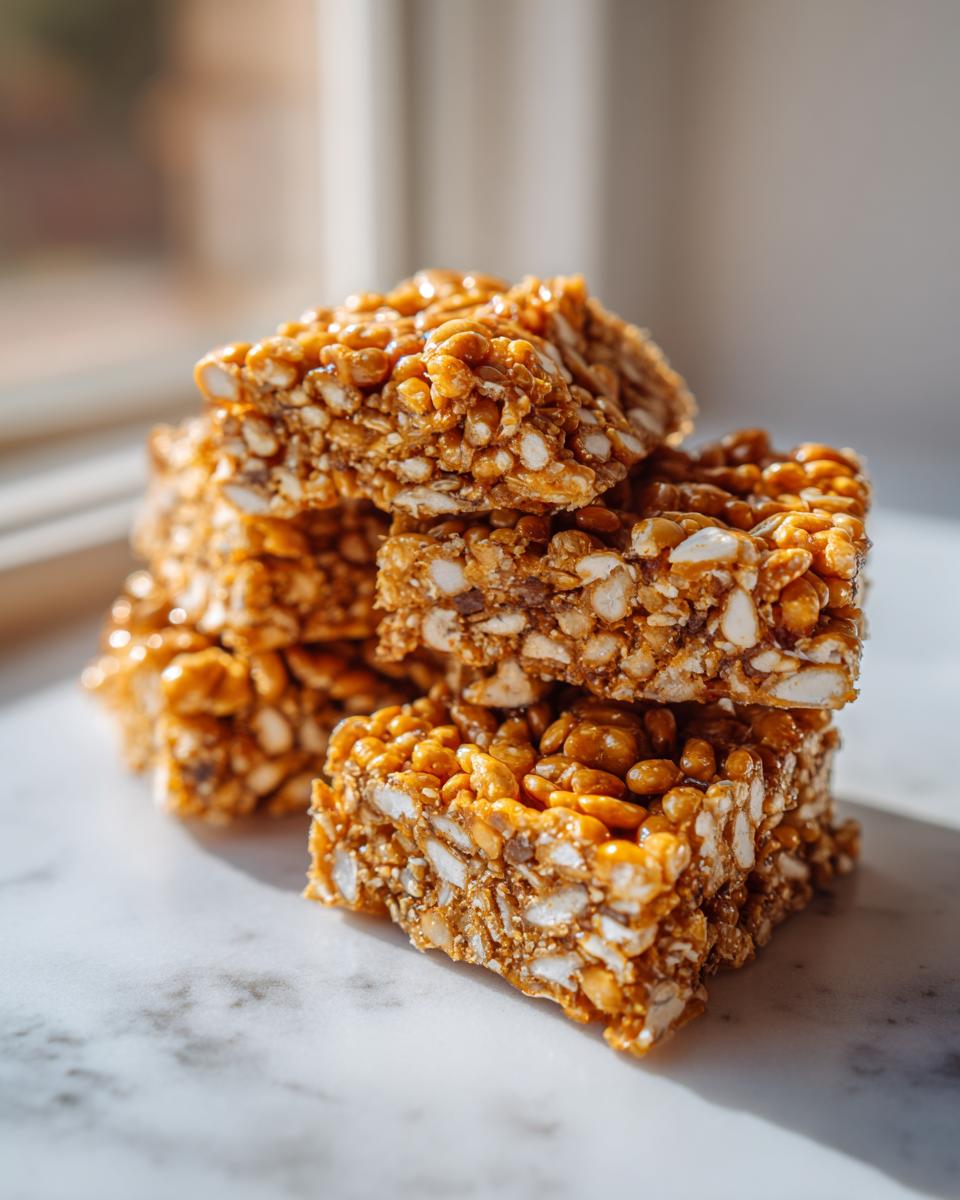
If you’re turning these into something special for friends or neighbors, presenting them well makes all the difference. They look fantastic broken up somewhat haphazardly, but you can also aim for neat **Sunflower Seed Candy Squares** if you managed to spread the mixture thinly and evenly. I always think of this as a perfect bake for the cooler months, especially since I have that whole guide on Holiday Seed Bark ideas that this brittle fits right into.
Making Homemade Gift Edibles Seed Treats
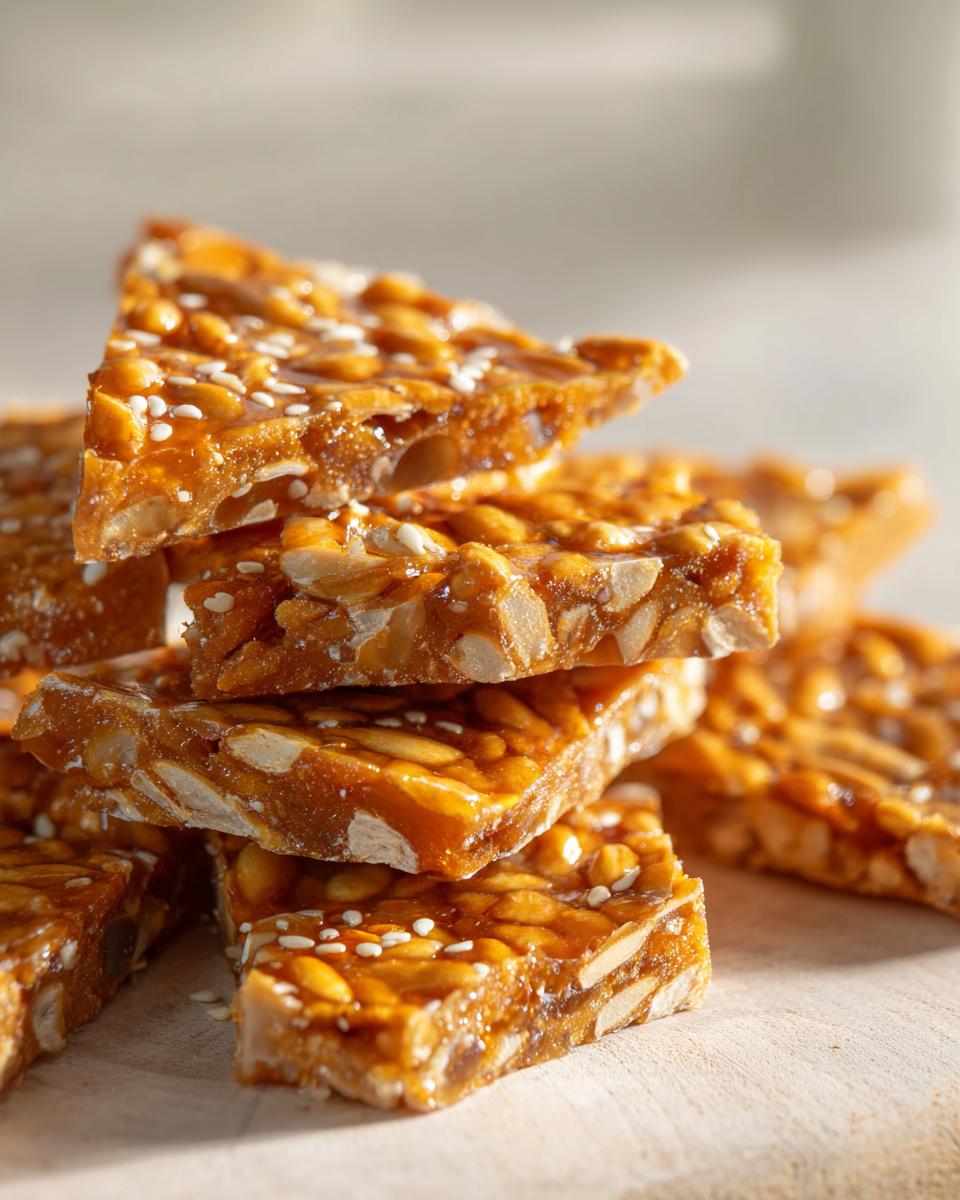
Packaging is where you can really impress people with how little effort this actually took! I usually break the brittle into large, dramatic shards. You can layer them carefully in cellophane bags and tie them with some rustic twine. It makes for such a thoughtful, personal gift. For the very best results, treat each piece like a little jewel.
If you are making a **Gluten Free Seed Snack** basket, layering the brittle between squares of parchment paper in a decorative tin keeps it from sticking together and protects those gorgeous sharp edges. It really elevates them from a simple snack to truly high-quality, artisan confection—and the best part is, you made it all yourself!
Storage and Keeping Your Brittle Fresh
Okay, you worked hard to hit that perfect 300 degrees! Don’t let humidity undo your masterpiece. Hard candy absolutely hates moisture. You need an airtight container, and make sure you separate the brittle pieces.
I always separate layers with small squares of parchment paper or wax paper. This stops the pieces from sticking together into one giant, caramelized brick. Keep the container in a cool, dry spot—not the fridge! Humidity in the fridge is your enemy. If you store it right, this **crispy seed dessert** will stay perfectly crunchy for at least a week. If you’re taking some to a friend, pack it right before you head out if the weather is super damp, like after a big rainstorm! For more great tips on keeping your food fresh, check out my ideas on simple lunch recipes, because freshness applies everywhere!
Understanding Candy Making Science
I know you followed the steps, but sometimes knowing *why* we do things makes us feel even more confident next time, right? That’s the science part of the Pure Plate Path philosophy! Reaching 300°F is critical because that’s the temperature where the sugar syrup enters what we call the “hard crack stage.” Below that, you get too much water content left in the syrup, ending up with that sticky candy I mentioned earlier.
Once we pull it off the heat, we hit it with baking soda. This part is amazing! The heat activates the baking soda, which releases carbon dioxide gas. Think of it like a chemical instant yeast reaction, but for candy! Those little bubbles get trapped by the cooling sugar, making that beautiful airy, light structure. It’s what transforms dense syrup into a snap-able confection! For more deep dives into food science—like how to care for your wild starter—take a look at my guide on sourdough starter guide from scratch.
Frequently Asked Questions About Seed Candy
I know when I started learning to make treats, I had a million questions buzzing in my head! Candy making is all about precision, so it’s smart to ask ahead of time. Here are a few things people ask me all the time about turning this into the best brittle possible. You can always reach out via my contact page if you have more!
Can I make this a Vegan Seed Candy?
Absolutely! That’s one of the beauties of this recipe. Since we rely on sugar and corn syrup for the structure, the only animal product is the butter. You can easily swap that tablespoon of butter for a tablespoon of high-quality vegan butter or even coconut oil. It works beautifully and keeps your **Vegan Seed Candy** totally ethical and delicious.
What if my brittle turns out sticky instead of hard?
Oh, this is the heartbreak of candy making! If your brittle is sticky after it has cooled completely and sat out for a few hours, it means the temperature did not get high enough before you pulled it off the heat. You must hit 300°F. Buy yourself a decent candy thermometer and trust it over the timer. If it’s sticky, you have to remelt it and cook it another five minutes until it truly hits that hard crack stage. No shortcuts there!
Can I use different seeds or nuts in this recipe?
Yes, you can get creative! This method is perfect for a **Pumpkin Seed Brittle Tutorial** or a simple sunflower seed candy. The recipe calls for 2 cups of seeds, so for the best structure, try to keep that volume total the same. If you decide to switch entirely to nuts, you might find you need to cook the mixture just a touch longer, as nuts absorb heat differently than smaller seeds.
Share Your Homemade Creations
Seriously, seeing your creations is the best part of my day! When you take the time to slow down and make something nourishing like this **seed brittle**, you’re participating in that self-care I talk about over at Pure Plate Path. I want to see what you ended up with!
Snap a picture of your glass-like shards or those neat little **Sunflower Seed Candy Squares**, and tag me on social media. If you have any final thoughts or tweaks that made this Artisan Seed Confection even better for your family, please share them in the comments below. Your feedback helps everyone learn!
And if you’re looking for more simple, wholesome recipes that fit into your busy life, don’t forget you can always send me a note through the contact page. Happy snapping!
PrintEasy Seed Brittle Recipe: Crunchy Homemade Candy Squares
Make this simple seed brittle recipe for a crunchy, gluten free snack. This guide provides straightforward instructions for creating crystallized seed candy perfect for gifting or snacking.
- Prep Time: 10 min
- Cook Time: 20 min
- Total Time: 30 min
- Yield: About 1 pound 1x
- Category: Dessert
- Method: Stovetop Candy Making
- Cuisine: American
- Diet: Gluten Free
Ingredients
- 2 cups mixed seeds (pumpkin seeds, sunflower seeds, sesame seeds)
- 1 cup granulated sugar
- 1/2 cup light corn syrup
- 1/4 cup water
- 1 tablespoon unsalted butter
- 1 teaspoon baking soda
- 1/2 teaspoon vanilla extract
Instructions
- Lightly grease a large baking sheet or line it with parchment paper. Set aside.
- Combine the seeds, sugar, corn syrup, and water in a heavy-bottomed saucepan. Stir gently over medium heat until the sugar dissolves.
- Stop stirring once the mixture boils. Insert a candy thermometer.
- Cook the mixture without stirring until it reaches 300 degrees Fahrenheit (hard crack stage). This usually takes 15 to 20 minutes. Watch the temperature closely.
- Remove the saucepan from the heat immediately when it reaches 300 degrees Fahrenheit.
- Quickly stir in the butter, vanilla extract, and baking soda. The mixture will foam up rapidly. Stir only until just combined.
- Immediately pour the hot mixture onto the prepared baking sheet. Do not spread it with a spatula; let it flow naturally.
- Allow the brittle to cool completely, about 30 minutes, until hard.
- Break the cooled brittle into irregular pieces. Store in an airtight container.
Notes
- For a nut free brittle, ensure your seed sources are not cross-contaminated with nuts.
- If the brittle feels sticky after cooling, the temperature did not reach 300 degrees Fahrenheit. Reheat and cook longer next time.
- You can roast the seeds lightly before starting to deepen their flavor.
- This recipe works well as a vegan seed candy if you use plant-based butter.
Nutrition
- Serving Size: 1 ounce
- Calories: 150
- Sugar: 18g
- Sodium: 5mg
- Fat: 8g
- Saturated Fat: 2g
- Unsaturated Fat: 6g
- Trans Fat: 0g
- Carbohydrates: 19g
- Fiber: 1g
- Protein: 3g
- Cholesterol: 0mg