
Do you ever look at those pale, sharp pickles swimming in vinegar and wonder what they’re missing? I used to! When I, Sarah Miller, started Pure Plate Path, I realized so many of us were disconnected from truly nourishing food. That’s why I jumped headfirst into the world of traditional methods, especially for making fantastic fermented pickles. Forget harsh vinegar—we’re talking about natural bubbling, gut-health boosters, and snacks that taste vibrant and alive. This process might sound intimidating, but trust me, it’s one of the simplest, most rewarding ways to preserve food right in your own kitchen.
When I was navigating those stressful corporate years, I needed food that actively supported my energy, not drained it. Reclaiming simple techniques like making these cultured vegetables brought me back to the joy of cooking. You can read more about my mission at Pure Plate Path. This guide is packed with everything you need to confidently start making your own homemade fermented pickles today, ensuring every crunch is packed with flavor and good bacteria.
We’re going back to basics here. This isn’t complicated science; it’s just allowing nature to do its wonderful work using salt and water. Ready to transform a simple cucumber into a probiotic powerhouse?
- Why You Will Love These Homemade Fermented Pickles
- Essential Equipment for Making Fermented Pickles
- Ingredients for Classic Dill Fermented Pickles
- How to Ferment Cucumbers: Easy Fermented Pickle Instructions
- Achieving the Best Crunchy Fermented Pickles
- Flavor Variations for Your Fermented Pickles
- Troubleshooting Common Issues with Fermented Pickles
- Storing and Serving Your Probiotic Rich Pickles
- Understanding Safe Vegetable Fermentation
Why You Will Love These Homemade Fermented Pickles
Honestly, switching from regular canned pickles to these cultured ones changed the game for me. Once you try them, you won’t go back, and they’re so easy to manage even when you’re rushed. Here’s the rundown on why this recipe is going straight into your regular routine:
- Incredible Flavor Depth: Because we skip vinegar, the cucumber flavor really shines through, enhanced by the dill and garlic. They taste so much fresher!
- Maximized Crunch Factor: I’ll show you the trick to keep them snappy. These are truly the best crunchy fermented pickles you’ll ever eat at home.
- Gut Health Superstar: These are completely probiotic rich pickles! The live cultures support digestion, which is something vinegar pickles just can’t offer.
- No Mysterious Additives: You control everything that goes in. It’s just cucumbers, water, salt, and spices—pure, simple ingredients.
- They Are True Dill Pickles Without Vinegar: If you’ve been searching for that traditional, naturally soured flavor without all that bottled acidity, this recipe is your answer.
- They Become Better Over Time: While you can eat them early, these long term fermented pickles develop an incredible complexity the longer they sit in the fridge.
Essential Equipment for Making Fermented Pickles
When you’re starting out, the setup can seem a little scary, but really, it’s just about using the right stuff so nothing interferes with the good bacteria. Trust me, using non-reactive containers is the most important first step for success and safety!
Key Tools for Safe Vegetable Fermentation
You don’t need fancy gadgets, but you do need to be intentional about your containers. We want to keep this process clean and undisturbed.
- Glass Jars: Quart-sized or half-gallon jars work perfectly. Glass is non-reactive, so it won’t leach chemicals into your brine while the vegetables are working their magic. Steer clear of metal pots for long fermentation periods!
- Fermentation Weights: This is a game-changer! Once the vegetables are submerged, you need to keep them *under* the brine surface. Glass fermentation weights are ideal; they sit right on top of the cucumbers and keep everything submerged so surface mold can’t form.
- Airlock Lids (Optional but Recommended): These specialized lids let the carbon dioxide gases created during fermentation escape without letting any outside air or contaminants in. If you don’t have these, just remember to loosen your regular lids daily—we don’t want a glass explosion!
- Non-Reactive Bowl: You need a bowl made of glass, ceramic, or stainless steel to mix up your initial salt brine. Keep that regular aluminum bowl away from this step.
Ingredients for Classic Dill Fermented Pickles
Okay, the ingredients list for naturally fermented pickles is wonderfully short. That’s the beauty of letting salt and time do the heavy lifting! We aren’t messing around with vinegar here, so we need pure inputs. Here is what you’ll need to gather for two tight quart jars.
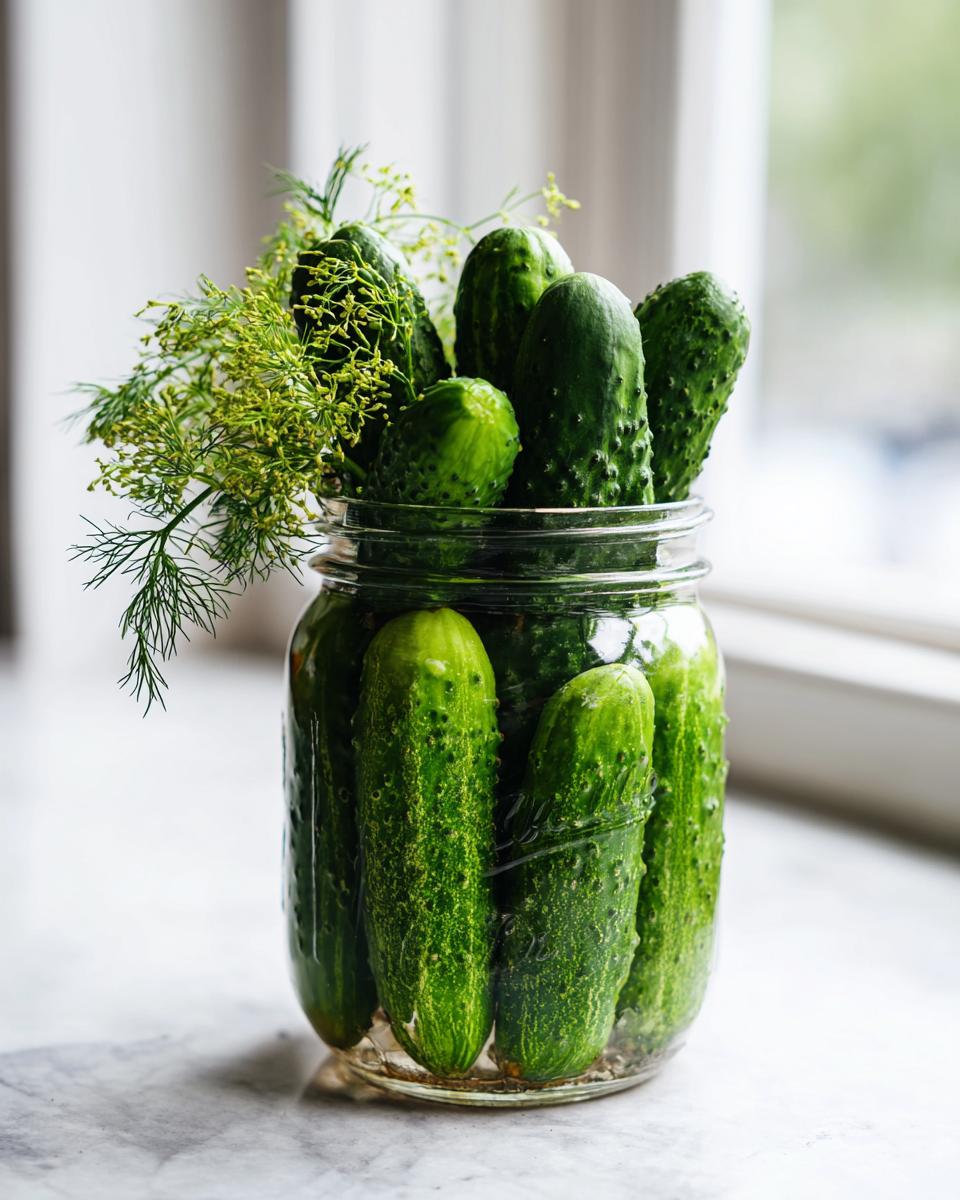
- 3 lbs pickling cucumbers (Kirby or similar firm variety)
- 6 cups filtered water
- 3 tablespoons non-iodized salt (sea salt or pickling salt)
- 1 head fresh dill, divided
- 6 cloves garlic, smashed
- 1 teaspoon black peppercorns
- 1/2 teaspoon mustard seeds
Ingredient Notes and Substitutions for Fermented Pickles
The quality of these base items makes a huge difference in the final flavor and crunch factor. First, the cucumbers—they absolutely must be firm. Old, floppy cucumbers equal soft pickles, no matter how perfectly you brine them. Next up: the salt! You *must* use non-iodized salt. Iodine prevents those beneficial bacteria from getting the party started in your brine, so stick to pickling salt or plain sea salt.
For the spices, fresh dill is critical for that authentic pickle taste. If you want to jazz things up and try some Spicy fermented pickles later on, this is where you add them. Toss in a couple of dried chili flakes or a small fresh jalapeño sliced thin along with the garlic.
How to Ferment Cucumbers: Easy Fermented Pickle Instructions
Alright, let’s put those high-quality ingredients to work! This process for making naturally fermented pickles is so straightforward, you’ll wonder why you didn’t start sooner. Remember, we are aiming for that sweet spot where everything is submerged and the natural bacteria takes over.
Preparing the Brine and Packing the Jars
First things first: the cucumber prep! You absolutely must wash them well and then trim off the little nub at the blossom end of every cucumber. Seriously, don’t skip this part! That blossom end has enzymes that sabotage your crunch. Once trimmed, get your brine ready by dissolving the 3 tablespoons of salt completely into your 6 cups of filtered water in a large, clean glass bowl. You want it totally clear—that’s your salt brine pickle recipe done!
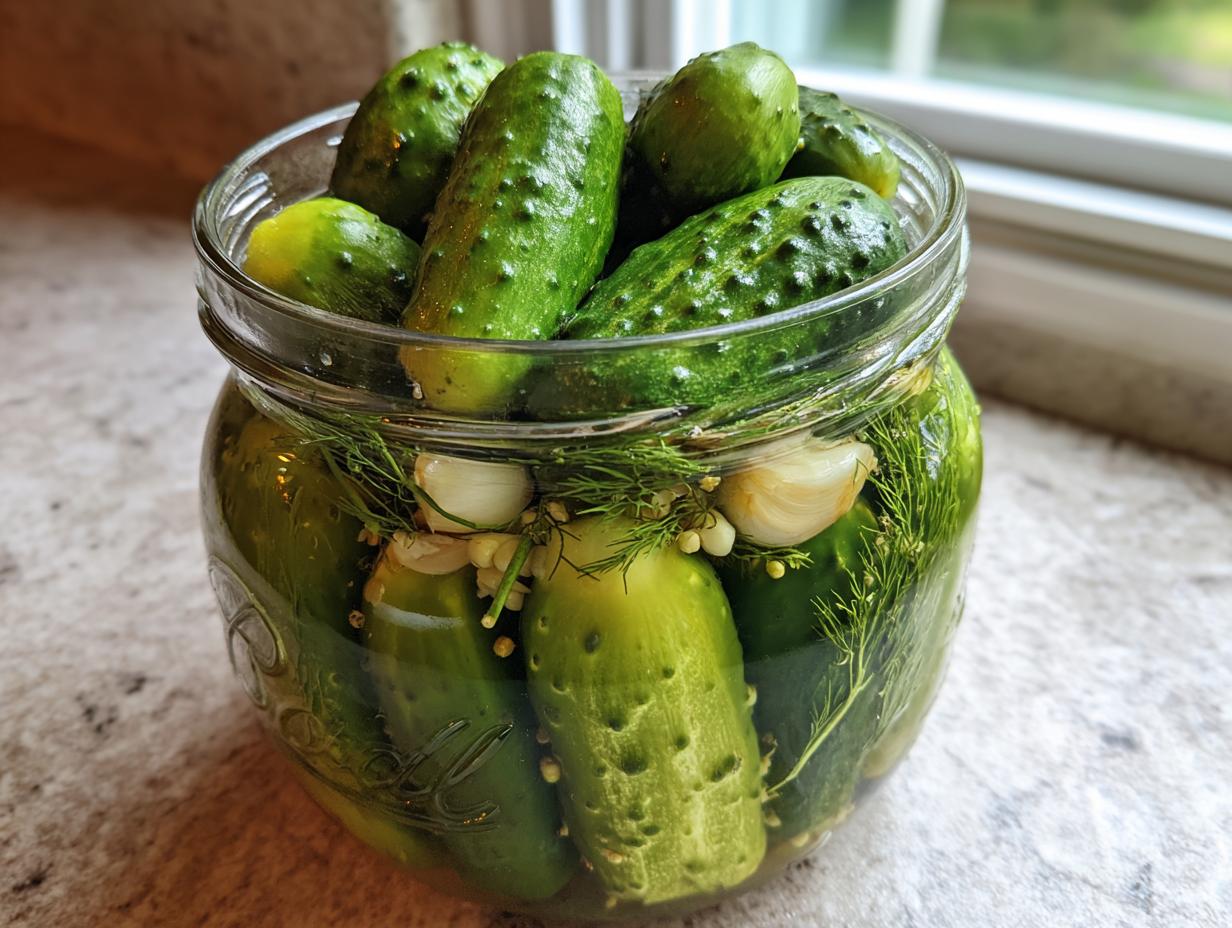
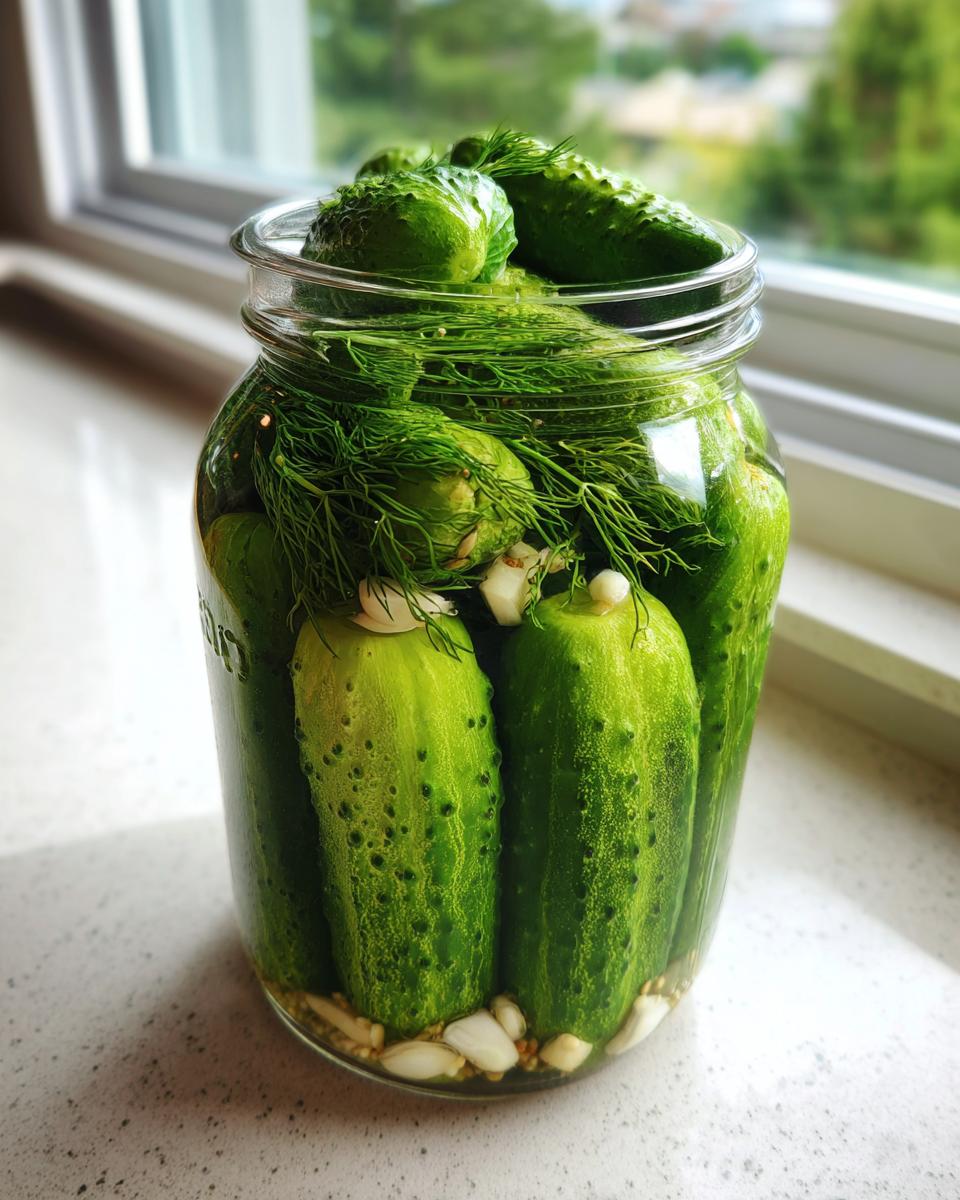
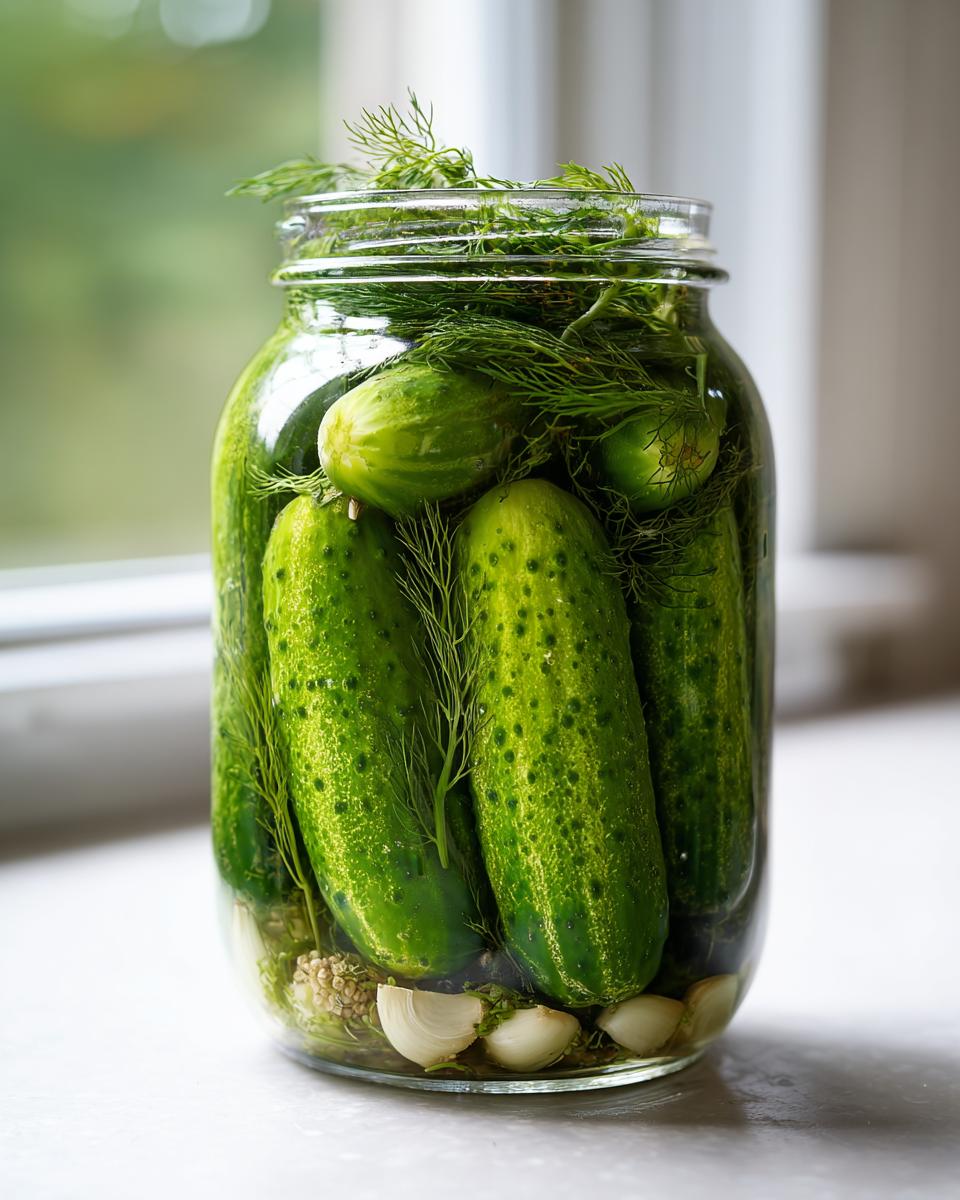
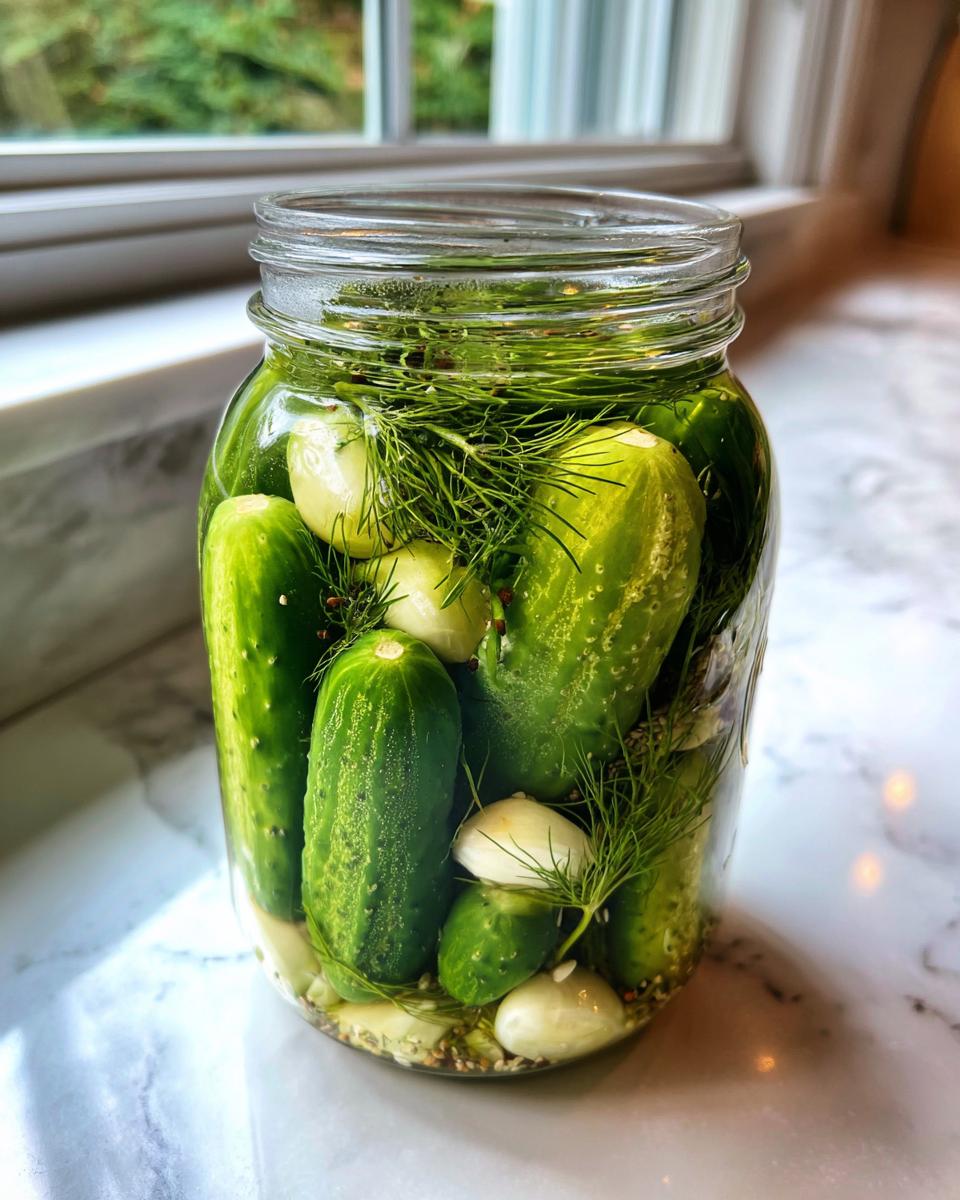
Next, pack your jars tightly. Distribute half the dill, smashed garlic, peppercorns, and mustard seeds in the bottom of your two quart jars. Pack those cucumbers in like Tetris pieces, all vertical, then top with the rest of your flavor agents. Pour that prepared brine in until those beautiful vegetables are completely covered. I always make sure I leave at least one full inch of space right at the top—that’s your headspace, and it’s crucial for safety and expansion!
The Fermentation Process for Long Term Fermented Pickles
Now for the easiest part: waiting! Place your jars on a small plate or tray—just in case things get a little bubbly over! If you aren’t using airlock lids, screw the regular lids on loosely so gases can escape. They need to sit out on the counter, away from direct sun, at a consistent room temperature (around 70°F is perfect). You’ll notice bubbling within a day or two; that’s the good bacteria working hard!
I usually check them once a day just to make sure everything is still staying submerged. If you’re making these for your meal prep, like I often do before diving into a busy week of quick dinners, keep an eye on the clock. After about four days, start tasting them. We’re creating true flavor here, not just sourness!
Achieving the Best Crunchy Fermented Pickles
If there’s one thing that ruins a batch of homemade sour pickles, it’s them turning limp! Nobody wants a floppy pickle, right? This is why I preach about two specific steps when aiming for the best crunchy fermented pickles. The most important step, which I mentioned before but can’t stress enough, is slicing off the blossom end of the cucumber.
That little floral end contains natural enzymes that actively break down the pectin in the cucumber walls, making them soft. Get rid of it, and you stop that softening process dead in its tracks! Also, use the firmest, freshest cucumbers you can possibly find. If they look dull or feel slightly soft at the store, leave them there! Freshness gives us the foundational structure needed to create those perfectly snappy, naturally fermented spears.
Flavor Variations for Your Fermented Pickles
While the classic dill profile is what I turn to most often—it’s so balanced and wonderful alongside almost anything—this base recipe is just begging for customization! Since we aren’t using harsh vinegar, the spices really get a chance to infuse deeply into the cucumbers, creating amazing depth.
If you want that intense, savory hit, focus on the garlic. I’ll often double the garlic cloves listed in the main recipe when I’m making batches specifically for sandwiches. Those Garlic fermented pickles end up being pungent, deeply flavored, and absolutely addicting. Just make sure you smash the cloves a bit so they release their oils into the brine!
For those of you who like a little heat (and I know you’re out there!), experimenting with heat sources is so much fun. You can make magnificent Spicy fermented pickles easily. Next time you make a batch, toss in one or two whole dried arbol chilies or even a few flakes of crushed red pepper along with your peppercorns. The gentle sourness of the brine, combined with a slow-building heat, is just spectacular. It completely changes the profile!
I love having a jar of spicy ones handy for when I need something punchy to go along with a hearty soup, like my easy chickpea soup. It’s all about making food that excites your palate using simple adjustments!
Troubleshooting Common Issues with Fermented Pickles
Even when you follow every single step for safe vegetable fermentation, things can sometimes look a little weird in the jar. Don’t panic! A lot of what seems alarming is actually completely normal in a live food system. This is where knowing the difference between harmless yeast and actual danger comes in handy.
If you notice a thin, white, often wrinkly film forming on the very top of your brine, this is Kahm yeast. It’s super common, especially if your jars weren’t completely sealed or if a tiny bit of air got trapped. Don’t worry about it messing up the flavor deep down—just take a clean spoon and gently skim it right off the top. Wipe down the inside rim of the jar if you can, reseal, and keep watching. This is a key part of troubleshooting sour pickles; Kahm yeast is more of a cosmetic issue than a safety one.
Now, for the real safety check: mold. If you see anything fuzzy, multi-colored—like black, bright green, or pink spots—that is bad mold. That means your cucumbers weren’t submerged, or something else went wrong contaminates the batch. If you see that, unfortunately, you have to toss the whole jar. Always err on the side of caution!
The scariest question I always get is, “Why are my fermented pickles soft?” Usually, if they’re soft but the brine smells fine, it circles back to the blossom end enzyme issue we talked about earlier, or maybe the temperature was too warm during the initial set-up phase. If they taste good but lack crunch, it’s a texture fail, not a safety fail. Just try again next time with firmer cukes and that blossom-end trim!
Storing and Serving Your Probiotic Rich Pickles
Okay, your fermented pickles have reached that perfect level of sourness—they smell tangy, they taste crisp, and you’re ready to enjoy them. The next crucial step is hitting the pause button on the fermentation process! As soon as you love the flavor, you need to seal those lids tight and move the jars straight into the refrigerator. That cold temperature drastically slows down the activity of those good bacteria, so they don’t keep getting more sour!
When refrigerated, these pickles become fantastic for long term fermented pickles storage. Honestly, if you keep them cold, they will last for months—sometimes even over six months! They just evolve slowly. I always keep a couple of jars tucked away in the back of the fridge so I have a steady supply of these probiotic rich pickles year-round.
Serving them is the best part! They are obviously incredible straight out of the jar, but they really shine when used as a bright component in other meals. They cut through rich flavors beautifully. I toss the chopped pickles into egg salad, add them to wraps, or just serve a big spear next to a healthy main dish. Honestly, they make any simple leftover instantly more exciting. They are amazing chopped up small and added into my favorite fresh salads too, just giving the whole thing that perfect vinegary *zing* without actual vinegar!
Understanding Safe Vegetable Fermentation
I know the word “fermentation” sounds intense, but when we talk about making these delicious fermented pickles, it’s just controlled, natural decay! The salt does the heavy lifting here by drawing the water out of the cucumbers. This creates a brine where only the good guys—the lactic acid bacteria—can thrive. That salty, slightly acidic environment stops spoilage bacteria in its tracks. It’s brilliant, natural science leading to incredible gut health benefits! That’s why learning the steps for safe vegetable fermentation is so rewarding; you are creating something truly nourishing for your body, not just a crunchy snack. You can even use this basic technique when getting started with other vegetables, too!
PrintBeginner’s Guide to Classic Dill Fermented Pickles Without Vinegar
Learn how to make probiotic rich pickles using a simple salt brine method. This guide provides easy fermented pickle instructions for making the best crunchy fermented pickles at home.
- Prep Time: 20 min
- Cook Time: 0 min
- Total Time: 20 min plus 4-14 days fermentation
- Yield: 2 quarts 1x
- Category: Preserves
- Method: Lacto-fermentation
- Cuisine: American
- Diet: Vegan
Ingredients
- 3 lbs pickling cucumbers (Kirby or similar firm variety)
- 6 cups filtered water
- 3 tablespoons non-iodized salt (sea salt or pickling salt)
- 1 head fresh dill, divided
- 6 cloves garlic, smashed
- 1 teaspoon black peppercorns
- 1/2 teaspoon mustard seeds
Instructions
- Wash the cucumbers thoroughly. Trim off the blossom end of each cucumber; this end contains enzymes that can cause softening.
- Prepare the brine: Dissolve the salt completely in the filtered water in a non-reactive bowl. Stir until the water is clear. This is your salt brine pickle recipe base.
- Pack the jars: Place half of the dill, garlic, peppercorns, and mustard seeds into two clean, quart-sized glass jars. Pack the cucumbers tightly into the jars vertically. Top the cucumbers with the remaining dill and garlic.
- Pour the brine over the cucumbers, ensuring the vegetables are completely submerged. Leave at least 1 inch of headspace at the top of each jar.
- Seal the jars: Place fermentation weights on top of the cucumbers if necessary to keep them under the brine. Seal the jars loosely with lids, allowing gases to escape (or use airlock lids).
- Ferment at room temperature: Place the jars on a tray to catch any overflow and keep them out of direct sunlight at room temperature (65-75°F or 18-24°C).
- Monitor daily: Check the pickles daily for the first week. You will see bubbles forming; this indicates active lacto-fermentation. Skim off any white film (kahm yeast) that forms on the surface; this is normal and harmless, but remove it.
- Taste test: After 4 days, begin tasting. The pickles are ready when they reach your desired level of sourness. For a milder flavor, ferment for 5-7 days. For a stronger sour pickle flavor, ferment for 10-14 days.
- Refrigerate to stop fermentation: Once the flavor is right, seal the jars tightly and move them to the refrigerator. This slows the process significantly. Your long term fermented pickles will keep for several months refrigerated.
Notes
- For the best crunchy fermented pickles, use very fresh, firm cucumbers. Avoid older or waxed cucumbers.
- If you prefer a spicy fermented pickles flavor, add 1-2 dried chili peppers or a few slices of fresh jalapeño to each jar.
- If your brine becomes cloudy early on, this is usually normal during safe vegetable fermentation. If you see fuzzy, colored mold (green, black, or pink), discard the batch.
Nutrition
- Serving Size: 1 pickle spear
- Calories: 5
- Sugar: 0.2
- Sodium: 290
- Fat: 0.1
- Saturated Fat: 0
- Unsaturated Fat: 0
- Trans Fat: 0
- Carbohydrates: 1.1
- Fiber: 0.3
- Protein: 0.3
- Cholesterol: 0