
Oh, forget everything you think you know about wrestling with crimped pie crusts! If you love the comforting, sweet-tart flavor of cherry pie but need something that fits seamlessly into a busy life, you are going to adore these cherry pie bars. Seriously, these are hands-down the Best Cherry Bar Recipe because we’re leaning into simple shortcuts—like using canned cherry pie filling—to give you that amazing flavor without taking up your whole afternoon. When I started Pure Plate Path, it was because I constantly needed comforting food that didn’t require hours of attention. These bars capture that exact spirit. They feature the richest, most buttery shortbread crust you can imagine, perfectly balancing that sweet filling. It’s the nurturing meal component I wished for during those demanding marketing days! If you want to know more about why simplicity is my core philosophy, check out my story here.
- Why These Easy Cherry Pie Bars Are Your New Favorite Simple Cherry Dessert
- Gathering Ingredients for Your Buttery Shortbread Crust Dessert
- Step-by-Step Instructions for Perfect Cherry Pie Bars
- Expert Tips for the Best Cherry Bar Recipe Success
- Storage and Serving Suggestions for Your Cherry Pie Bars
- Frequently Asked Questions About Making Cherry Pie Bars
- Nutritional Estimates for These Easy Cherry Pie Bars
- Share Your Homemade Cherry Pie Bars Experience
Why These Easy Cherry Pie Bars Are Your New Favorite Simple Cherry Dessert
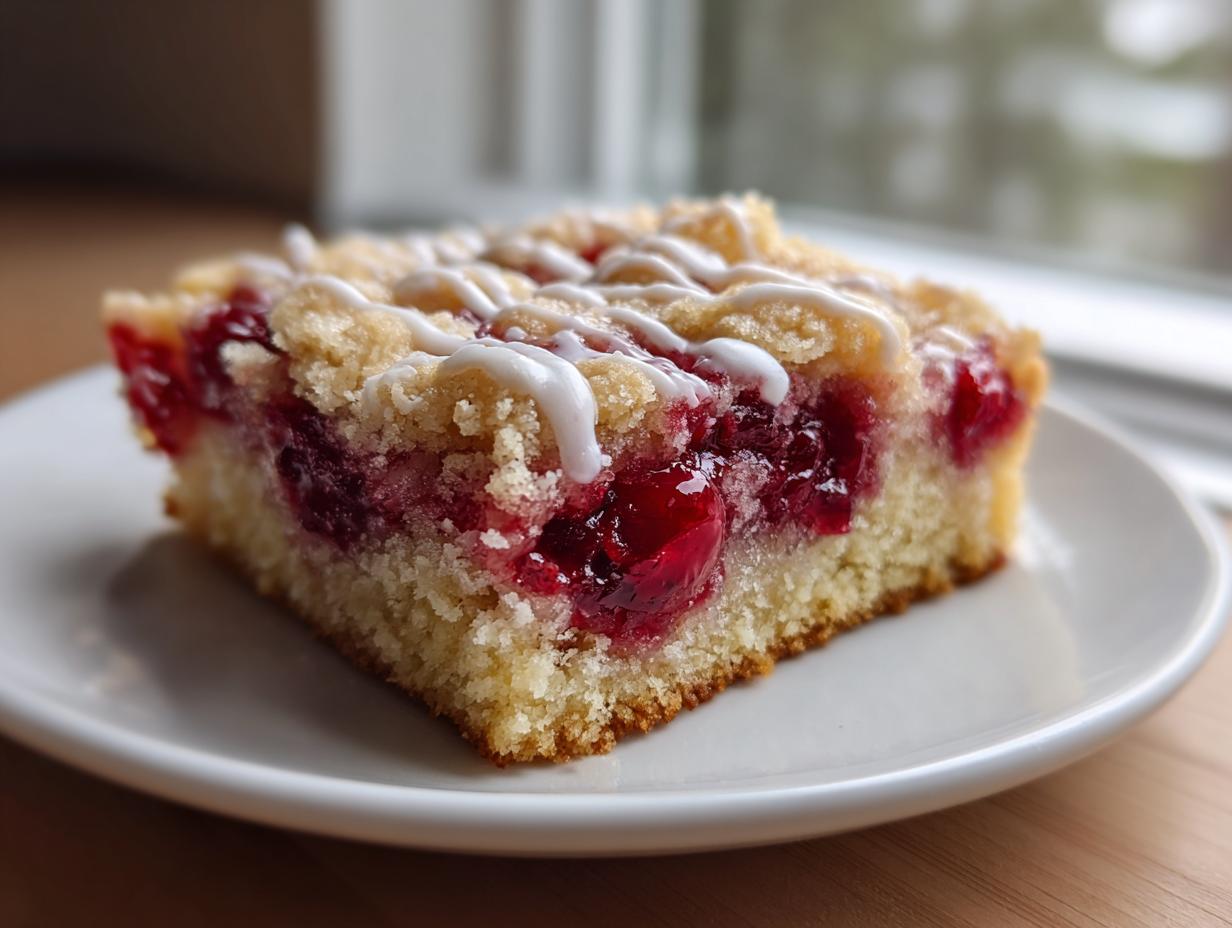
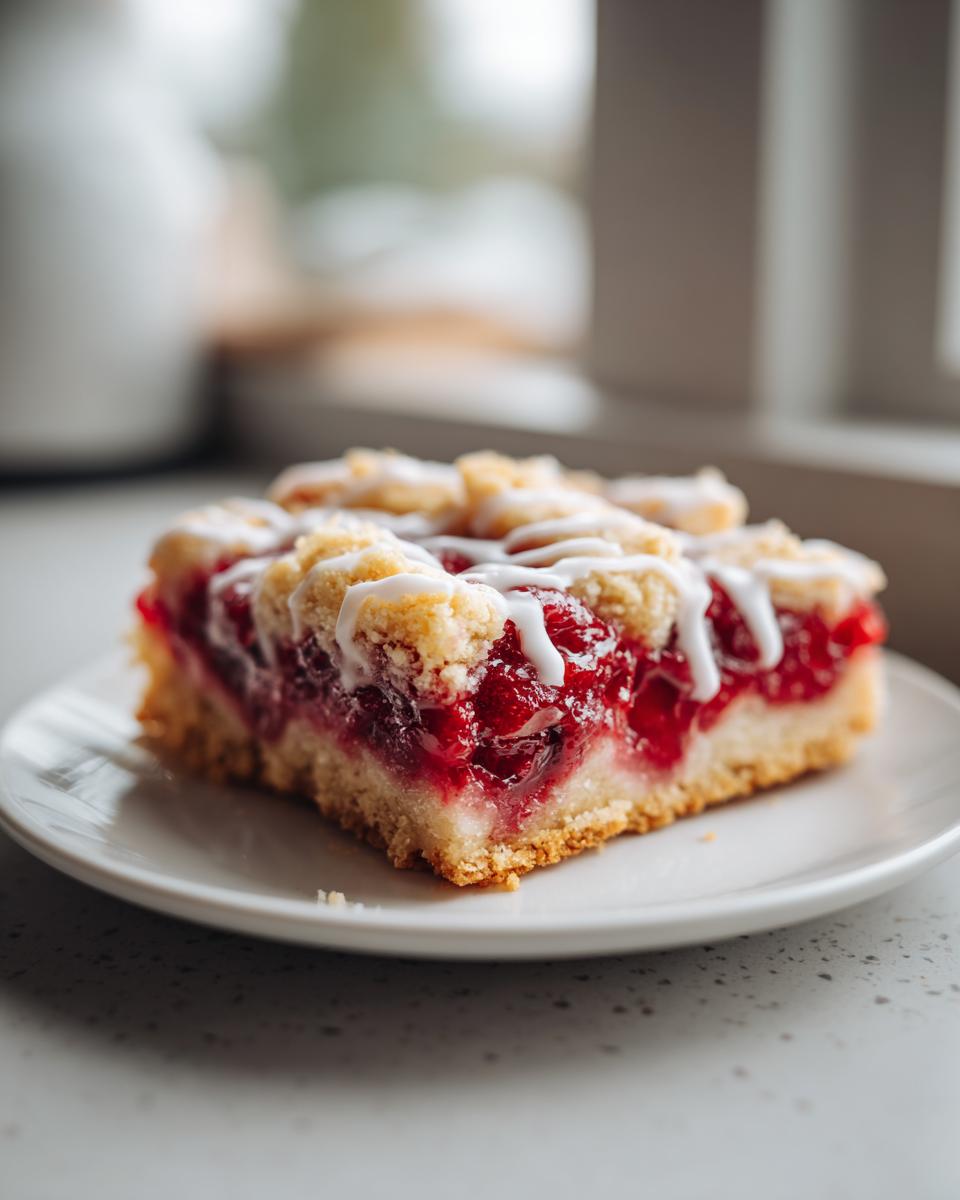
I understand that sometimes you just need delicious food on the table fast. That’s the beauty of these Easy Cherry Pie Bars sitting right here! They deliver all the nostalgic flavor of cherry pie but without the hassle. Honestly, they’re my go-to when I need a Quick Cherry Dessert that still feels special.
- The buttery shortbread base is sturdy enough for travel, yet melts in your mouth—it’s seriously addictive!
- They use store-bought filling, eliminating the most time-consuming part of baking pie from scratch.
- They bake up beautifully golden and hold their shape perfectly once cooled.
You get amazing results with minimal fuss, which is why these are fantastic for stressful evenings or when you’re planning meals all week long, like in my quick dinner guide.
Perfect for Any Gathering: Dessert Bars for a Crowd
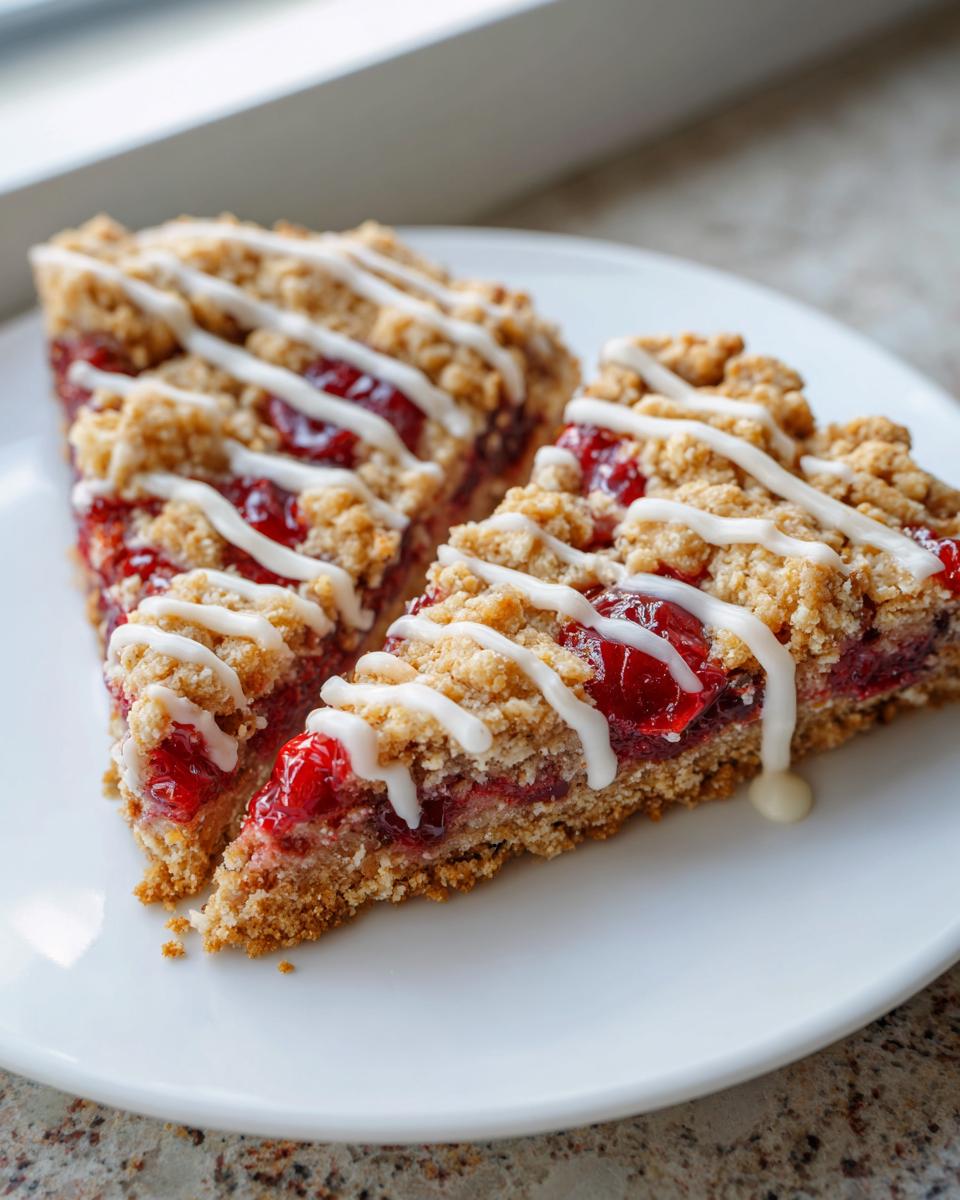
If you’re heading out to a party, these are lifesavers. Unlike cake slices, these bars stack neatly and don’t require fancy serving utensils. They are definitely one of the best Potluck Dessert Bars because they travel so well and almost always disappear first! They are also wonderful Bake Sale Desserts because they are easy to box up and look great in cellophane bags alongside cookies.
Gathering Ingredients for Your Buttery Shortbread Crust Dessert
Okay, let’s get our ingredients lined up! This recipe is all about simplicity, and using the right components ensures our Buttery Shortbread Crust Dessert turns out heavenly. Since we aren’t making anything complicated from scratch here, precision matters in the mixing ratios. Having everything ready to go makes the process flow smoothly!
For the Buttery Shortbread Crust and Topping
The heart of these bars is that buttery base. Please remember, the butter absolutely must be softened—room temperature, that lovely soft consistency where you can press a finger in slightly. That’s the secret to the crust holding together beautifully.
- 1 cup unsalted butter, softened
- 1 cup granulated sugar
- 1/4 teaspoon salt
- 2 large eggs
- 1 teaspoon vanilla extract
- 1/2 teaspoon almond extract
- 2 1/2 cups all-purpose flour
- 1 (21-ounce) can cherry pie filling
For the Vanilla Glazed Dessert Bars Topping
This glaze is optional, but honestly, the little touch of vanilla just makes these Glazed Cherry Bars pop! We mix this up once the bars have cooled, and remember to add the milk in slowly until it looks exactly how you want it—not too thin, please!
- 1 cup powdered sugar
- 1-2 tablespoons milk
- 1/2 teaspoon vanilla extract
Step-by-Step Instructions for Perfect Cherry Pie Bars
Now for the fun part! You’ll see how fast this actually comes together. We aren’t messing around with complicated pastry here; we’re making incredibly buttery, tender shortbread that acts as both the base and the topping for these amazing cherry pie bars. Seriously, just follow my leads—it comes together so fast you’ll be wondering where the hassle was! It’s truly one of those recipes I turn to when I need something comforting fast, much like my easy creamy dill dip recipe when I need a quick appetizer that always pleases a crowd.
Preparing the Pan and Buttery Crust Base
First things first: get that oven warming up to 350°F (175°C). I always line my 9×13 inch pan with parchment paper, letting those edges hang over the sides. Trust me, that overhang is your handle for lifting the whole thing out later! Now, cream your softened butter, sugar, and salt until it’s fluffy—this builds that nice texture. Next, beat in your eggs one by one, followed by the vanilla and almond extracts. Finally, gently mix in the flour until it *just* comes together. We only want that dough combined, not worked hard. Take exactly two-thirds of that dough and press it firmly into the bottom of your lined pan. That’s your crust foundation ready!
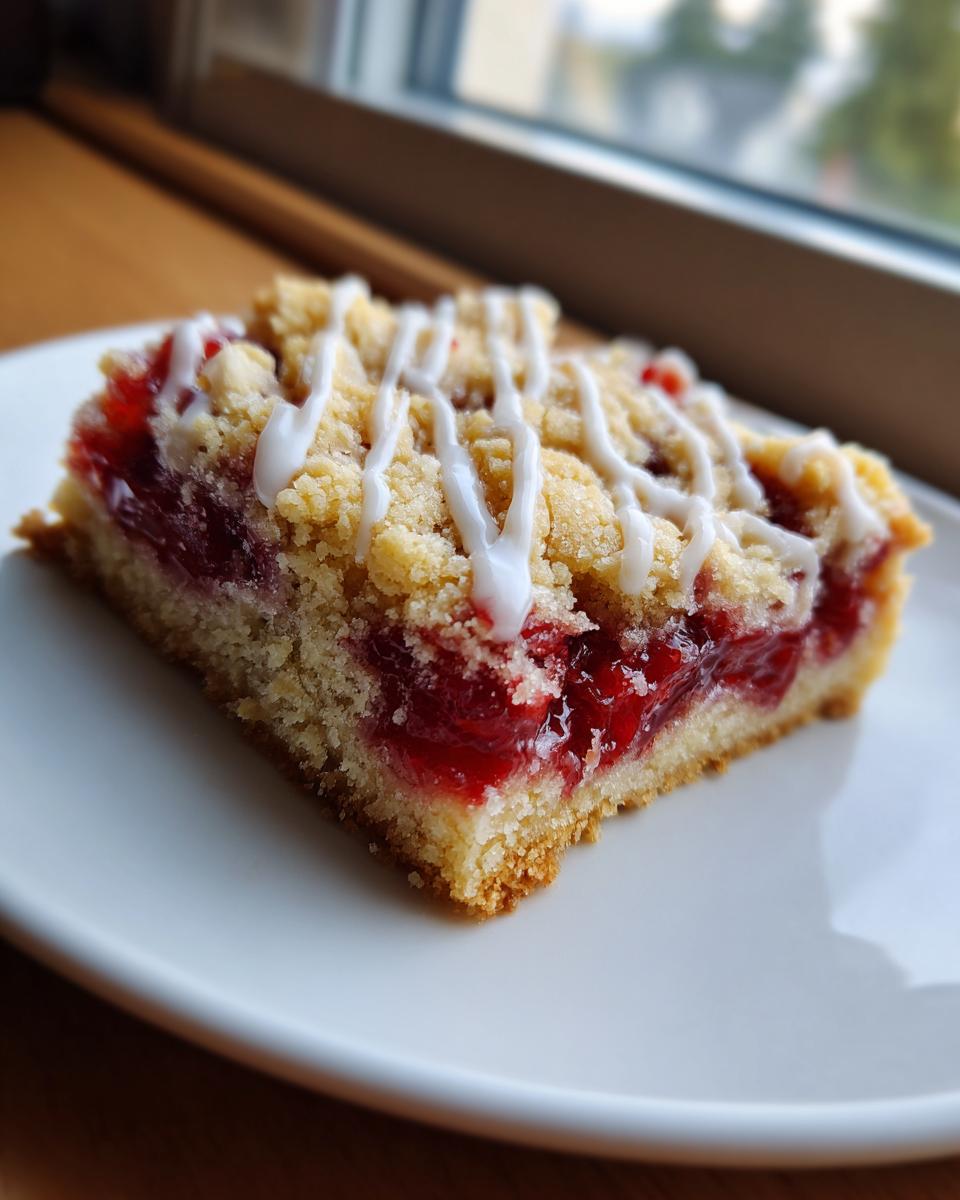
Assembling and Baking the Cherry Pie Bars
This is where the ‘pie’ part comes in! Open up that can of cherry pie filling and spread all of that gorgeous, bright cherry goodness right over the crust base. Make sure you get it evenly distributed so every square is perfectly loaded. Now, take the remaining one-third of the dough you set aside—this is what creates that wonderful crumbly top. Crumble it as evenly as you can over the cherry layer; don’t worry about making it look store-bought perfect! Pop this pan into the oven and bake it for about 35 to 40 minutes, or until that topping looks beautifully light golden brown. Resist cutting into it right away—you must let it cool down completely on a rack before adding that glaze.
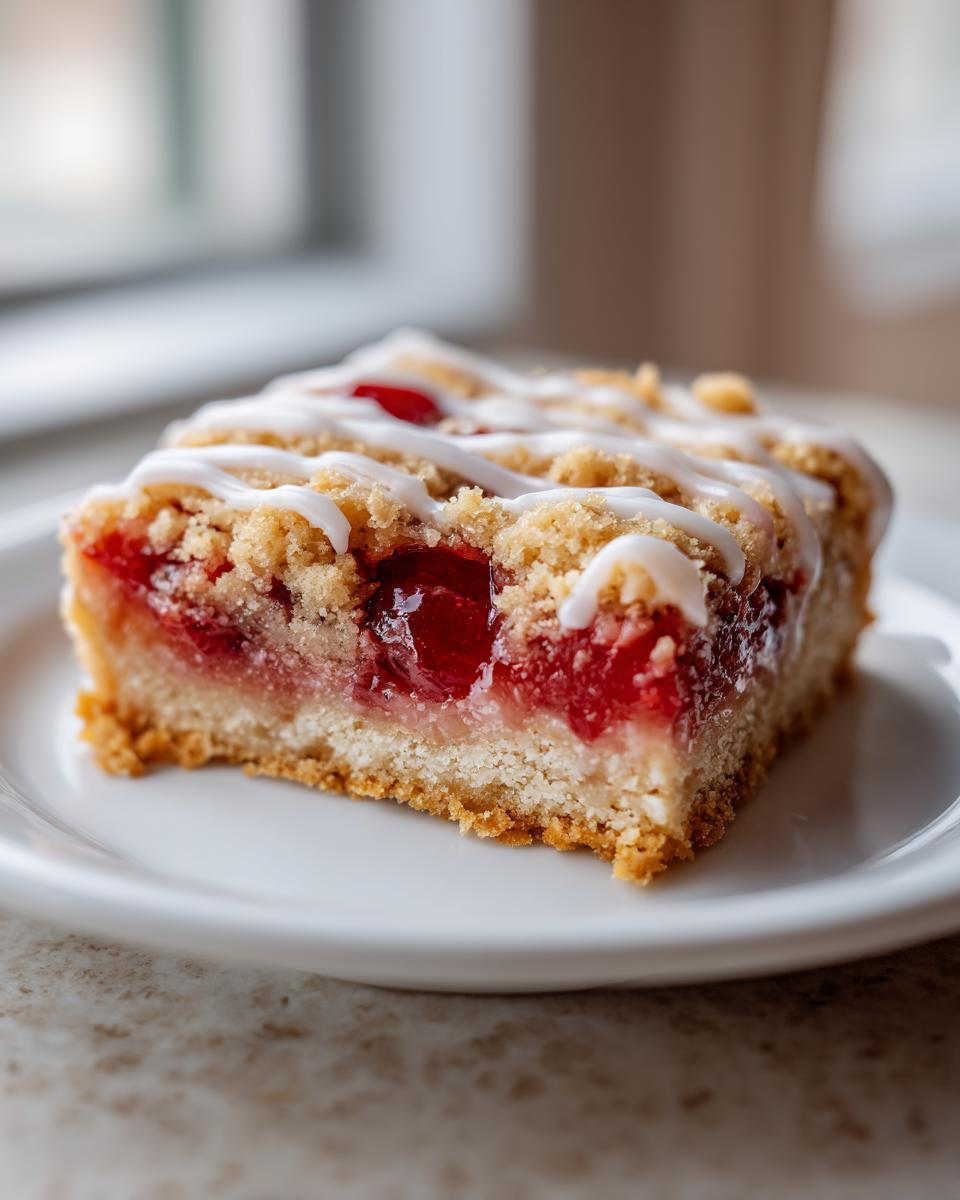
Glazing and Finishing Your Simple Cherry Dessert Bars
Once everything is totally cool—and I mean cool, not even warm!—we make that professional final flourish. To make the glaze, just whisk your powdered sugar, vanilla, and milk together. The real trick here is adding the milk very slowly. You are looking for a consistency that’s thick enough to stay put on the bars but thin enough to drizzle nicely across the top. If it looks way too thick, you just add a drop more milk for flow. Drizzle that vanilla glaze artfully all over the top of your cooled bars. Wait another 15 minutes for that glaze to set up firm, then use your parchment paper handles to lift the whole delicious slab out. Then you just cut them up into perfect squares—you’ve officially made incredible Simple Cherry Dessert Bars!
Expert Tips for the Best Cherry Bar Recipe Success
Even though these are designed to be easy, a tiny bit of insider knowledge goes a long way toward making these the absolute best! A little attention to detail ensures our Simple Cherry Dessert Bars come out perfect every single time, whether they are for a quiet family snack or for that big summer picnic.
Ingredient Notes and Simple Cherry Dessert Variations
I always get questions about substitutions, and while sticking to the recipe is usually best for reliability, sometimes a little tweak lets you customize things. Remember how I mentioned adding lemon zest to the crust? That is a neat trick if you find your canned filling a bit too sweet—that brightness really cuts through the richness of the buttery crust.
For those who like a crunchier texture on top—and I totally get wanting that textural contrast—you have options! My notes mention you can turn that leftover dough into a fantastic crumb topping. Instead of crumbling the dough plain, just mix that last third in a bowl with about 1/2 cup of rolled oats before sprinkling it over the cherries. It gives you that lovely crumble feel instead of just little chunks of crust. If you love streusel toppings in general, you might even enjoy tweaking this based on some of the ratios I use in my apple crumb cake recipe, but keep the oats minimal here to let that cherry shine through!
Also, be mindful of your filling. If the filling seems really thick straight out of the can, you might gently stir in just a tiny splash of water or a drop of lemon juice to loosen it slightly before spreading. This stops it from buckling the crust while baking.
Storage and Serving Suggestions for Your Cherry Pie Bars
These cherry pie bars are fantastic because they don’t dry out fast once they are baked! Since the glaze is slightly sugary, it actually helps seal in the moisture. I generally keep mine stored in an airtight container right on the counter. They are perfect for picnics or summer gatherings because they hold up so well at room temperature.
When you’re packing these up for a Picnic Dessert Idea, just make sure they are completely cooled and the glaze is set before stacking them. They taste just as bright and wonderful the next day! If you’re looking for another simple snack recipe to serve alongside these, check out my guide on easy toffee pretzels for a different texture.
Frequently Asked Questions About Making Cherry Pie Bars
It’s normal to have questions when you try a new recipe, especially when you’re aiming for reliability and speed! Readers often ask me about speeding things up, or what happens if they want to deviate from using the canned filling. I’ve gathered a few of the most common inquiries about these Easy Fruit Bars Recipe so you feel totally confident before you even preheat the oven. If you’re looking for more simple, reliable bar recipes, check out my guide on easy fruit bars!
Can I use fresh cherries instead of canned filling for these cherry pie bars?
That’s a great question if you have a bounty of fresh fruit! You absolutely *can*, but I have to give you a little warning: it really takes away from the “easy” factor we are building here. When you use fresh cherries, you have to pit them, hull them, and then create your own thickened sauce by adding sugar and cornstarch or flour. If you don’t thicken it enough, you’ll end up with a runny mess instead of nice, set squares. Sticking to the canned filling is my recommendation for keeping this recipe fast and ensuring those lovely bar shapes!
How long do these Glazed Cherry Bars stay fresh?
Because of that wonderful, rich shortbread base, these keep remarkably well! Once they are completely cooled and the glaze is set, pop them into an airtight container. I find that they stay perfectly fresh and delicious for about three to four days at room temperature. They still taste great on day five, but you might notice the shortbread loses just a tiny bit of its crispness. If you need them to last longer, you can store them in the fridge, but let them come to room temperature for about 20 minutes before serving so that buttery crust softens up again!
Nutritional Estimates for These Easy Cherry Pie Bars
We all want treats that taste amazing, but it’s also good to have a general idea of what you’re serving, right? When I developed this recipe, my goal was real food that fits into real life, not something overly restrictive. So, here is a general breakdown of the nutrition for one of these bars. Remember, this recipe is a fabulous Simple Cherry Dessert, but because we’re using canned filling and lots of butter for that incredible crust, the sugar and fat content reflects that delicious richness!
Please remember this disclaimer, because it’s super important for my commitment to trustworthiness here at Pure Plate Path: these figures are just estimates! The exact brand of cherry pie filling you grab (some are sweeter than others) or even the size of your eggs can throw these numbers off a little. If counting specific macros is crucial for your lifestyle, you might want to check out my general guide on making everyday desserts healthier and adjusting your ingredients accordingly.
- Serving Size: 1 bar (Yields 16)
- Calories: 320
- Sugar: 28g
- Sodium: 110mg
- Fat: 17g (10g Saturated Fat)
- Carbohydrates: 40g
- Protein: 3g
- Cholesterol: 55mg
Enjoy them guilt-free as a treat! Life is too short to skip dessert, especially when it’s as easy as these fantastic Easy Cherry Pie Bars.
Share Your Homemade Cherry Pie Bars Experience
Now that you’ve whipped up a batch of these ridiculously easy and totally satisfying cherry pie bars, I truly want to hear all about it! Did that buttery shortbread crust turn out just the way you hoped? Did your family devour them instantly?
Please come back, leave a star rating right here on the recipe page, and drop a comment below telling me how they went. Your feedback helps other busy folks see how simple and delicious this recipe is. Sharing pictures always makes my day too—I love seeing your beautiful bakes!
PrintEasy Cherry Pie Bars with Buttery Shortbread Crust
Make these simple cherry pie bars featuring a rich, buttery shortbread crust and sweet cherry pie filling. This recipe provides a crowd-pleasing dessert format, perfect for potlucks or quick treats.
- Prep Time: 15 min
- Cook Time: 40 min
- Total Time: 55 min
- Yield: 16 servings 1x
- Category: Dessert
- Method: Baking
- Cuisine: American
- Diet: Vegetarian
Ingredients
- 1 cup unsalted butter, softened
- 1 cup granulated sugar
- 1/4 teaspoon salt
- 2 large eggs
- 1 teaspoon vanilla extract
- 1/2 teaspoon almond extract
- 2 1/2 cups all-purpose flour
- 1 (21-ounce) can cherry pie filling
- 1 cup powdered sugar (for glaze)
- 1–2 tablespoons milk (for glaze)
- 1/2 teaspoon vanilla extract (for glaze)
Instructions
- Preheat your oven to 350°F (175°C). Line a 9×13 inch baking pan with parchment paper, leaving an overhang for easy removal.
- In a large bowl, cream together the softened butter, granulated sugar, and salt until light and fluffy.
- Beat in the eggs one at a time, mixing well after each addition. Stir in the vanilla extract and almond extract.
- Gradually mix in the all-purpose flour until just combined. Do not overmix the dough.
- Press two-thirds of the dough evenly into the bottom of the prepared baking pan to form the crust.
- Spread the entire can of cherry pie filling evenly over the crust layer.
- Crumble or evenly distribute the remaining one-third of the dough over the cherry filling.
- Bake for 35 to 40 minutes, or until the topping is lightly golden brown.
- Let the bars cool completely in the pan on a wire rack.
- Prepare the glaze: Whisk together the powdered sugar, milk, and vanilla extract until smooth. Add milk slowly until you reach a thick but pourable consistency.
- Drizzle the vanilla glaze over the cooled bars.
- Once the glaze sets, lift the bars out of the pan using the parchment paper overhang and cut into squares.
Notes
- Using canned cherry pie filling keeps this recipe quick and simple for busy schedules.
- For a slightly tart flavor, you can add 1/4 teaspoon of lemon zest to the crust mixture.
- If you prefer a crumb topping instead of crumbled dough, mix the remaining dough with 1/2 cup of rolled oats before sprinkling over the filling.
Nutrition
- Serving Size: 1 bar
- Calories: 320
- Sugar: 28
- Sodium: 110
- Fat: 17
- Saturated Fat: 10
- Unsaturated Fat: 7
- Trans Fat: 0
- Carbohydrates: 40
- Fiber: 1
- Protein: 3
- Cholesterol: 55