
Sometimes, you just crave that perfect bite of nostalgia, don’t you? In our busy lives, convenience often wins, but it doesn’t have to mean sacrificing real, delicious food. That’s why I absolutely adore recipes that bring a comforting, classic feel back to the table without demanding all day in the kitchen. The 7 layer salad is truly one of those superstars. It’s colorful, it’s packed with texture, and honestly, it’s the ultimate showstopper when you need an easy side dish for any big crowd. Here at Pure Plate Path, we focus on making wellness simple, and this salad proves you can feed a whole gathering beautifully, just like I learned when I first started balancing my career with my need for nourishing meals. You can read more about our mission to simplify wellness on our About Page.
- Why This Classic 7 Layer Salad Recipe Works for Any Event
- Essential Ingredients for the Best 7 Layer Salad
- Assembling Your Perfect 7 Layer Salad Step-by-Step
- Tips for Success When Making a Make Ahead 7 Layer Salad
- Serving Suggestions for Your Layered Vegetable Salad
- Storing Leftover 7 Layer Salad
- Frequently Asked Questions About the 7 Layer Salad
- Nutritional Snapshot of the Classic 7 Layer Salad
- Share Your Experience with This Retro Salad Recipe
Why This Classic 7 Layer Salad Recipe Works for Any Event
If you’re anything like me, you want a side dish that looks impressive but doesn’t create extra stress right before guests arrive. This Classic 7 Layer Salad hits that sweet spot perfectly. It’s the kind of hearty, satisfying dish that disappears first at any event, which is why I keep it filed under my best Classic Salad Recipes.
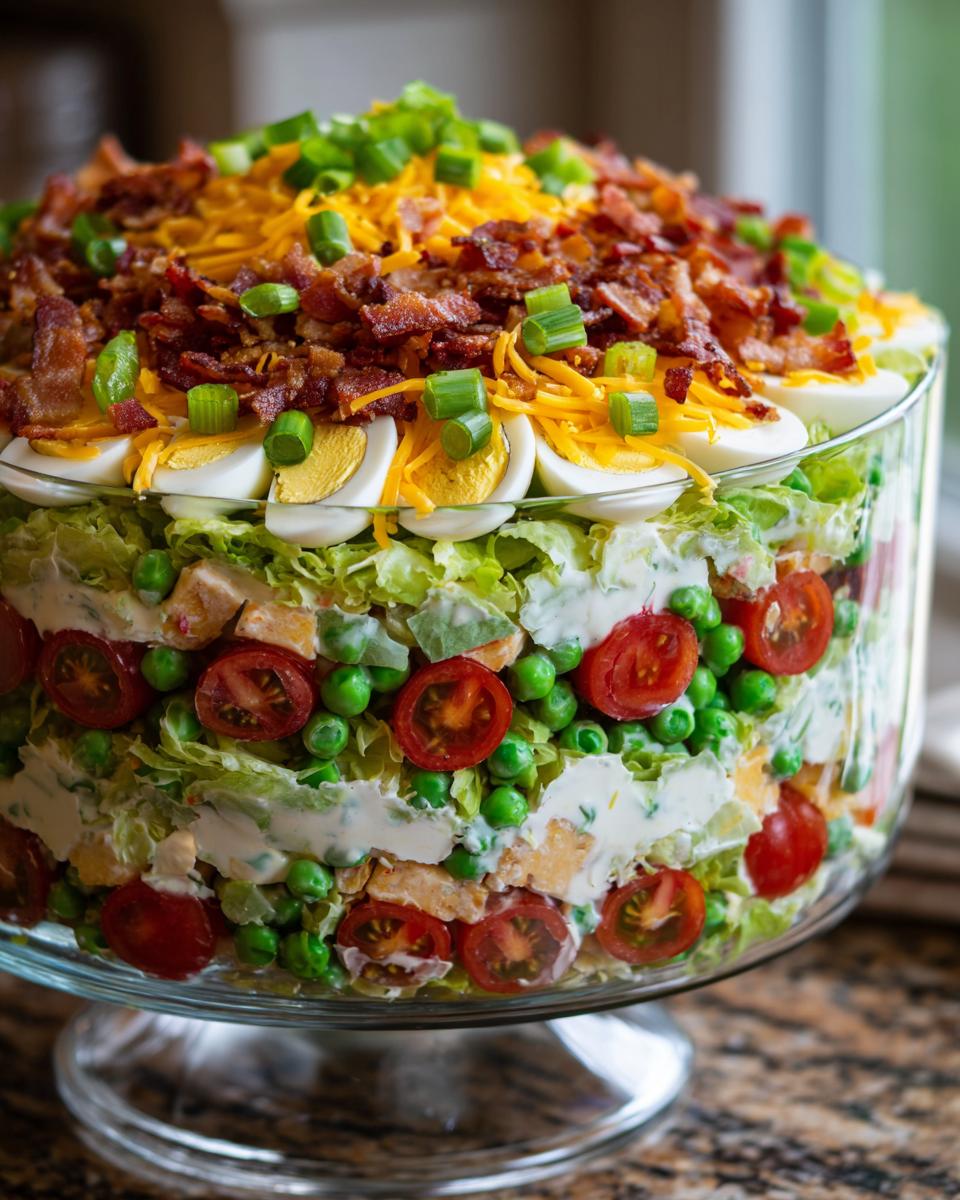
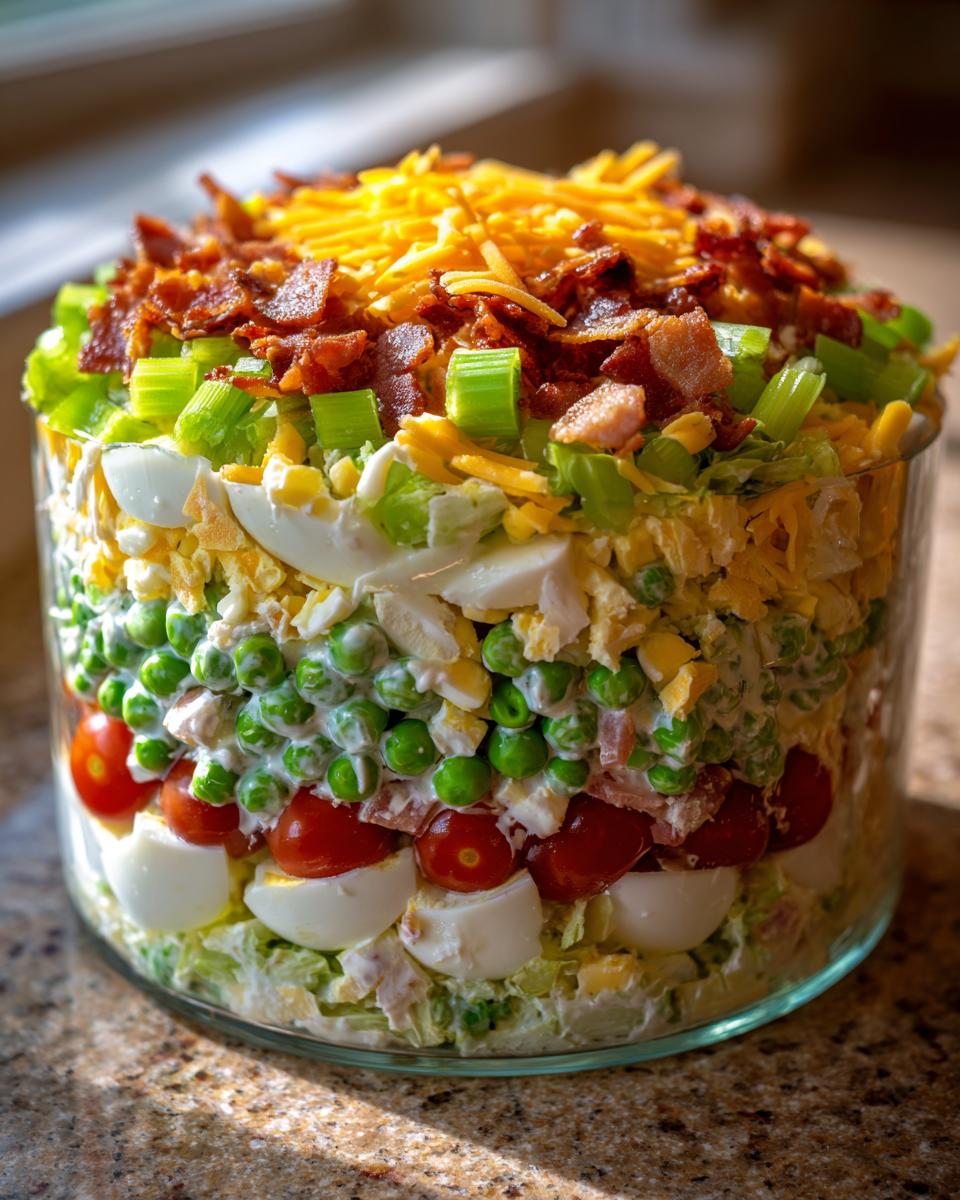
- It’s visually stunning—hello, clear glass bowl!
- It travels incredibly well, making it one of my go-to Picnic Food Ideas.
- It’s hearty enough to anchor any spread of Potluck Side Dishes.
I remember making this for the first time for a neighborhood summer kickoff party. Everyone kept asking for the recipe immediately! It was such a huge hit because it felt indulgent but was secretly so simple to pull together.
The Appeal of Make Ahead Salads
This is where the 7 Layer Salad really shines, friends. You absolutely have to make this ahead of time! That chilling period isn’t just for convenience; it actually allows the dressing to permeate slightly into those middle layers. That’s what makes this 7 layer salad so deliciously cohesive instead of just seven separate piles of veggies.
Essential Ingredients for the Best 7 Layer Salad
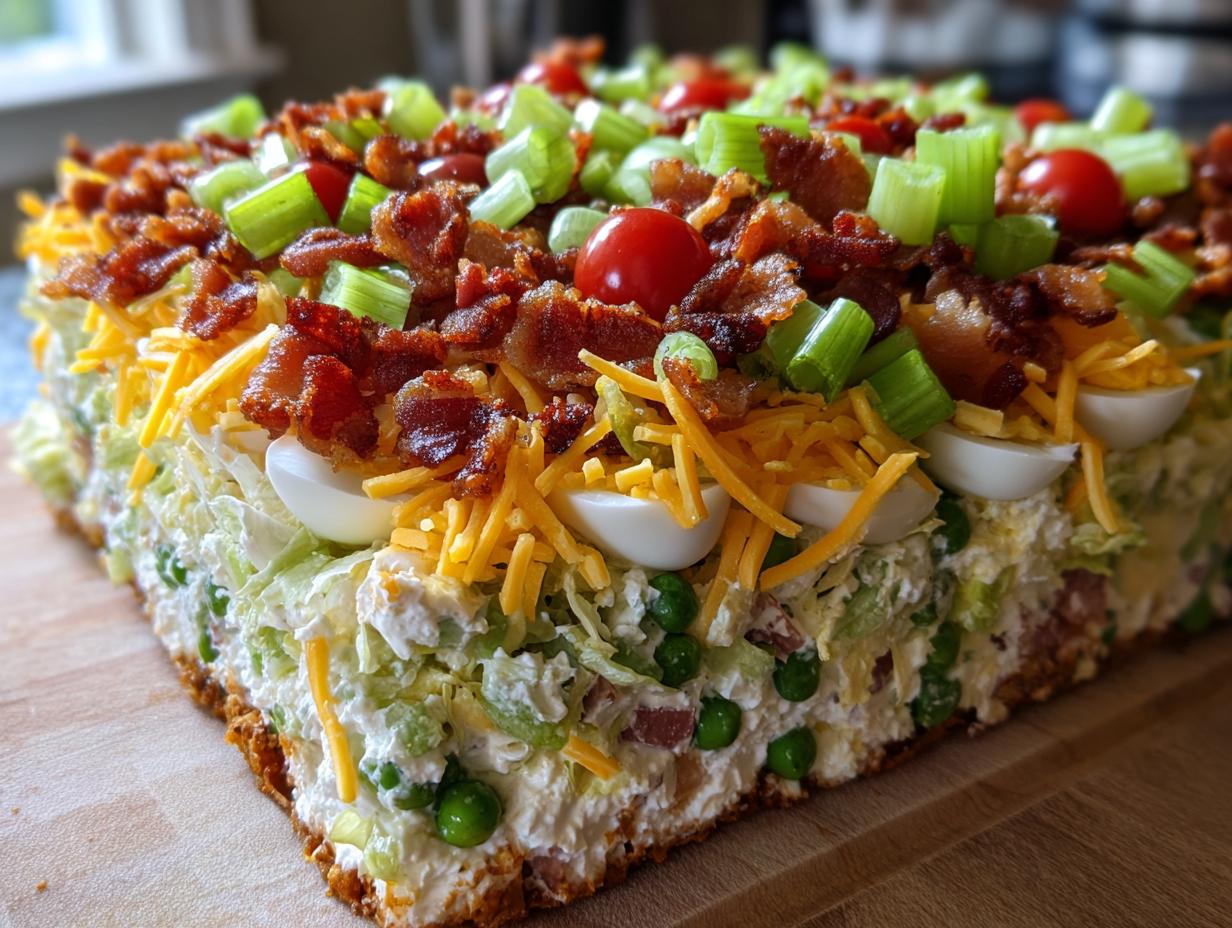
When we talk about the *best 7 layer salad*, we are talking about respecting the layers! This isn’t the time to get too experimental if you’re aiming for that classic, comforting flavor everyone expects. We stick to the tried-and-true elements that give this salad its signature texture and appeal. We need crispy lettuce, those sweet peas, creamy eggs, savory bacon, and that sharp cheddar. Seriously, these seven components work together in perfect harmony.
Make sure you check your prep notes before you start layering, as having everything ready is the real secret sauce here. If you’re following along with the recipe card, you’ll see I list exactly what needs chopping, what needs thawing, and what needs to be crumbled. Preparation is everything!
Ingredient Notes and Substitutions
Let’s talk quality here. For the cheese, please don’t skimp! Sharp cheddar provides that necessary bite to cut through the creamy dressing—it’s not the time for mild cheese, trust me. Also, when you handle the peas, make sure they are fully thawed and, this is key, drained completely. Nobody wants a soggy layer sitting on top of their crisp lettuce base!
If you want a little flair, I sometimes toss a layer of toasted pecans in right before the tomatoes go on, addressing that desire for variations. They add a nice little crunch, tying into those great retro salad recipes we all love.
Assembling Your Perfect 7 Layer Salad Step-by-Step
Okay, now for the fun part: building this tower of deliciousness! Remember, presentation absolutely matters when you make a **7 layer salad**, so grab that big, clear glass bowl. Seriously, seeing those distinct colors—that’s what makes people stop and stare at the potluck table. We’re going to work from the heaviest, sturdiest layers up to the lightest top coat. When you’re done, this gorgeous side dish will look amazing right next to something hearty, like my Ultimate Creamy Baked Mac and Cheese for dinner.
Crafting the Creamy Salad Dressing
Before we start stacking, we need the glue! This is where we create that wonderful, tangy finish that defines these **Creamy Salad Dressing** recipes. Just whisk your mayonnaise base together with the white vinegar, a touch of sugar to balance the tang, and your salt and pepper. Keep whisking until it’s perfectly smooth and creamy. Don’t worry about the texture; the chilling time will help marry everything together beautifully.
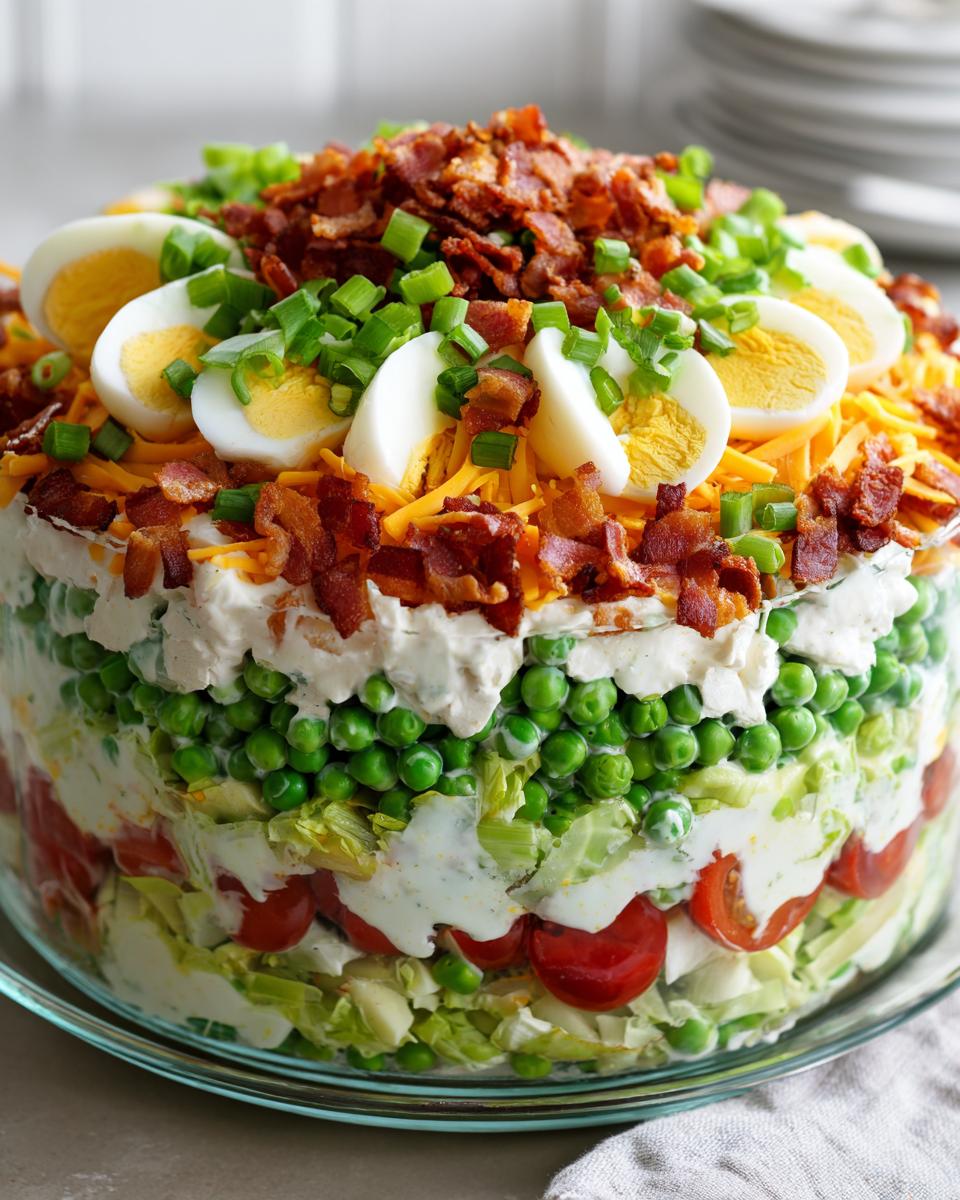
Layering Technique for the 7 Layer Salad
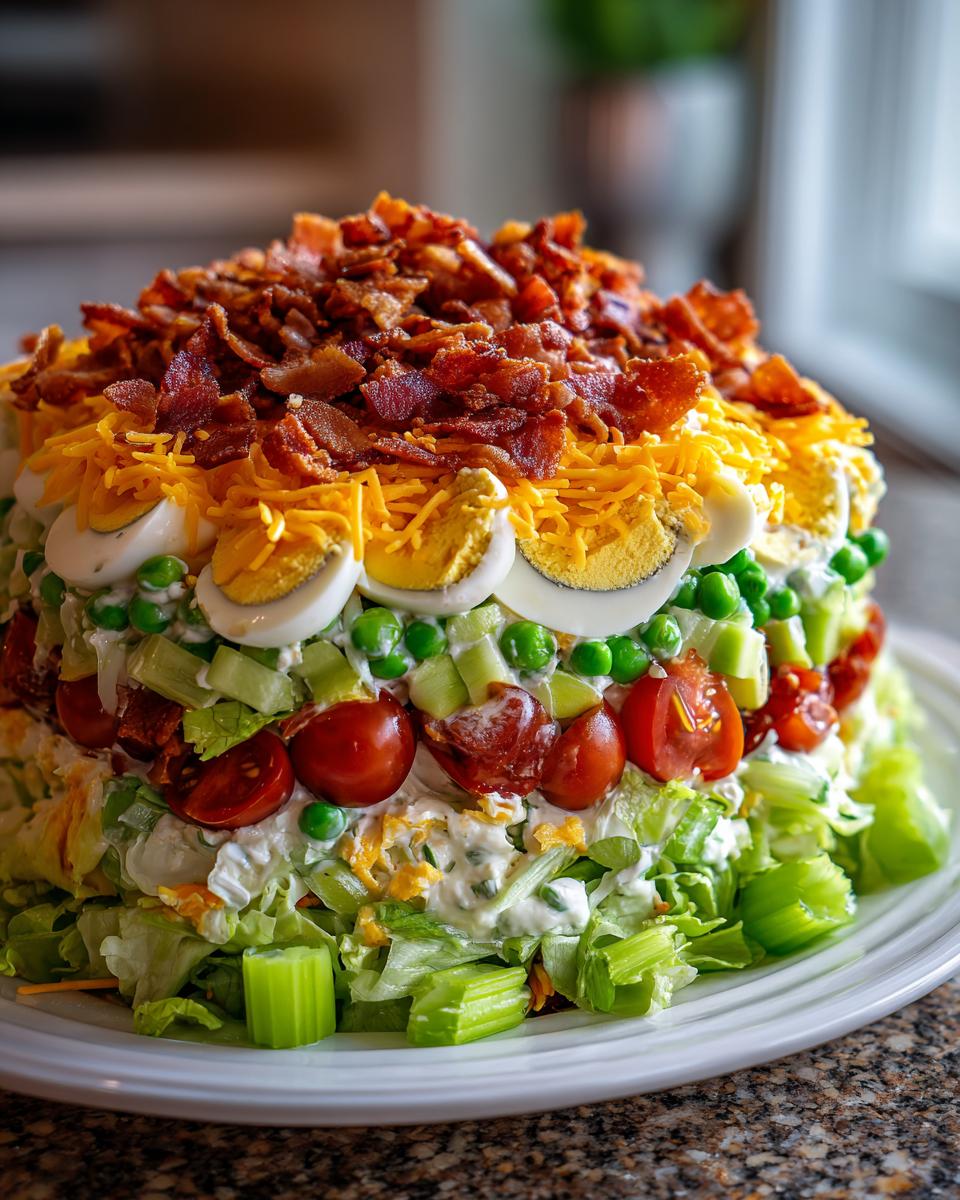
Listen close, because the order is everything here to keep those layers totally separate until serving time. Start with your chopped iceberg lettuce at the very bottom. Next, gently spread out your thawed green peas. Then comes the chopped hard-boiled eggs, followed by that sharp shredded cheddar. We sprinkle the crumbled bacon next—don’t skip this smoky goodness! After that, we add the celery, and finally, those beautiful halved cherry tomatoes go right on top. This seals it all in before you gently spread that dressing across the top tomato layer. Remember step 10: you absolutely must cover this tightly and chill it for at least four hours!
Tips for Success When Making a Make Ahead 7 Layer Salad
I get asked all the time, “Sarah, how do you get it to look so perfect by the time you get to Grandma’s cookout?” The secret is treating this assembly process like you’re prepping for something important—because you are! The key to a successful Make Ahead Salad is that mandatory chill time. You need a minimum of four hours, but honestly, chilling it overnight is when the magic truly happens and the flavors start getting friendly with each other.
When it’s time to pack this stunning creation up, treat that glass bowl like fine crystal. Make sure the plastic wrap is sealed tightly right over the dressing layer to lock in freshness and stop any drips. If you are worried about transport for those long drives to your next event, sometimes I actually just carry the dressing separately and spread it on right when I get to the venue—that way, nothing shifts! This is a great trick for keeping things pristine alongside my other Easy Party Salads.
These simple steps ensure that when you unveil your creation, it looks exactly like you intended. It’s all about planning ahead so you can actually enjoy the party!
Serving Suggestions for Your Layered Vegetable Salad
Because this Layered Vegetable Salad comes packed with bacon, eggs, and cheese, it’s wonderfully rich! That means it acts as more than just a light side; honestly, it can anchor an entire summer meal. When I serve this beauty, I usually pair it with something light and citrusy on the protein side so the whole meal feels fresh, not heavy.
If you’re serving it up for a BBQ, think grilled chicken breasts marinated in lemon and herbs, or even some pulled pork that isn’t too heavy on the sauce. For something a little unexpected that still feels like a wonderful picnic food idea, I love throwing this next to my Easy Air Fryer Salmon Tacos with Slaw. The tanginess of the tacos really complements the creamy dressing here. It just works so well for feeding a crowd!
Storing Leftover 7 Layer Salad
If you managed to have any leftovers—which is rare at my house when this salad shows up—storage is super simple. You must keep it covered tightly and chilled, of course! Because the dressing seals the ingredients, the lettuce usually stays surprisingly crisp for a couple of days. Just don’t try to warm this one up; it’s truly a cold salad through and through. I find it tastes almost better the next day, as the flavors have settled in nicely. That sturdy iceberg base really holds up well in the fridge!
Frequently Asked Questions About the 7 Layer Salad
Can I skip the bacon in this classic salad recipe?
You totally can skip the bacon, especially if you are needing some vegetarian Potluck Side Dishes! But I have to warn you, that salty smokiness the bacon adds is really important for balancing the creamy dressing and the sharpness of the cheese. If you leave it out, you might want to add a third cup of cheese or maybe sprinkle on some really deeply toasted walnuts or pecans right over the top layer for that salty crunch payoff.
What is the best way to keep the lettuce crisp in the 7 layer salad?
This is where I channel my inner Martha Stewart! Crispness comes down to two things. First, your iceberg lettuce must be bone dry. I mean wash it, spin it, and then let it air dry for 20 minutes—I’m serious! Second, you need to create that dressing seal quickly. Once the last vegetable layer is down, get that creamy dressing on top right away and seal the bowl up. That dressing acts like a protective bubble, keeping the air out and the crunch in for your Layered Vegetable Salad.
Can I use different kinds of cheese in this layered vegetable salad?
Yes! While I swear by sharp cheddar for that necessary flavor punch, this is a great spot to customize your Easy Party Salads. If you like a little more color, Monterey Jack is nice, or even a colby blend works. What you want to avoid are super soft cheeses, like fresh mozzarella or feta, layered in the middle. They tend to weep moisture and can mess up your beautiful structure before it’s time to serve your Classic Salad Recipes.
Nutritional Snapshot of the Classic 7 Layer Salad
I always like to have a general idea once in a while, even with comfort food classics like this 7 layer salad. Because this salad contains bacon, eggs, and a creamy dressing, it is certainly heartier than your average green salad. Remember these numbers are just estimates based on my standard ingredient amounts, so they can shift slightly based on how much dressing you decide to slather on top!
- Serving Size: 1 cup
- Calories: 310
- Fat: 26g
- Protein: 11g
- Carbohydrates: 10g
- Fiber: 3g
- Sugar: 4g
- Sodium: 450mg
Share Your Experience with This Retro Salad Recipe
Well, that’s my method for making sure your 7 layer salad is the talk of whatever gathering you bring it to! I genuinely hope this recipe brings you a little bit of that wonderful, straightforward comfort food feeling. Once you’ve tried assembling this classic dish, I would love to hear about it! Head over to our Contact page and let me know: What was your absolute favorite layer that made the cut? And where are you planning to serve your beautiful layered vegetable salad next—a BBQ or a holiday feast?
PrintClassic Make-Ahead 7 Layer Salad

Prepare this classic 7 layer salad ahead of time for your next gathering. It features crisp lettuce, sweet peas, hard-boiled eggs, sharp cheddar cheese, bacon, and a creamy dressing, layered beautifully in a glass bowl.
- Prep Time: 30 min
- Cook Time: 10 min
- Total Time: 40 min
- Yield: 8 servings 1x
- Category: Side Dish
- Method: Layering
- Cuisine: American
- Diet: Vegetarian
Ingredients
- 1 head iceberg lettuce, chopped
- 1 cup frozen green peas, thawed
- 4 hard-boiled eggs, chopped
- 1 cup sharp cheddar cheese, shredded
- 8 slices bacon, cooked and crumbled
- 1 cup chopped celery
- 1 cup cherry tomatoes, halved
- 1 cup mayonnaise
- 2 tablespoons white vinegar
- 1 tablespoon sugar
- 1 teaspoon salt
- 1/2 teaspoon black pepper
Instructions
- Prepare the dressing: In a small bowl, whisk together the mayonnaise, white vinegar, sugar, salt, and black pepper until smooth. Set aside.
- Prepare the layers: Ensure the peas are thawed and drained well. Chop the eggs and shred the cheese. Cook the bacon until crisp, drain the grease, and crumble it.
- Assemble the salad in a large, clear glass bowl to show the layers. Start with the lettuce as the base layer.
- Add the next layer of thawed peas evenly over the lettuce.
- Place the chopped hard-boiled eggs over the peas.
- Add the shredded cheddar cheese as the fourth layer.
- Sprinkle the crumbled bacon evenly over the cheese layer.
- Add the chopped celery as the sixth layer.
- Arrange the halved cherry tomatoes on top as the final layer.
- Spread the prepared creamy dressing evenly over the top tomato layer, sealing all the ingredients.
- Cover the bowl tightly with plastic wrap. Refrigerate for at least 4 hours, or preferably overnight, to allow the flavors to meld.
- When ready to serve, remove the plastic wrap. You do not need to toss the salad before serving; guests can scoop down through the layers.
Notes
- Making this salad ahead of time is key; chilling for several hours lets the dressing slightly soften the top layers, improving the texture.
- If you are making this for a potluck or BBQ, keep the salad chilled until you arrive at the event.
- For a variation, you can add toasted pecans as an extra layer or sprinkle them on top just before serving.
- This recipe is a perfect side dish for a crowd at any family gathering.
Nutrition
- Serving Size: 1 cup
- Calories: 310
- Sugar: 4
- Sodium: 450
- Fat: 26
- Saturated Fat: 9
- Unsaturated Fat: 17
- Trans Fat: 0
- Carbohydrates: 10
- Fiber: 3
- Protein: 11
- Cholesterol: 115