
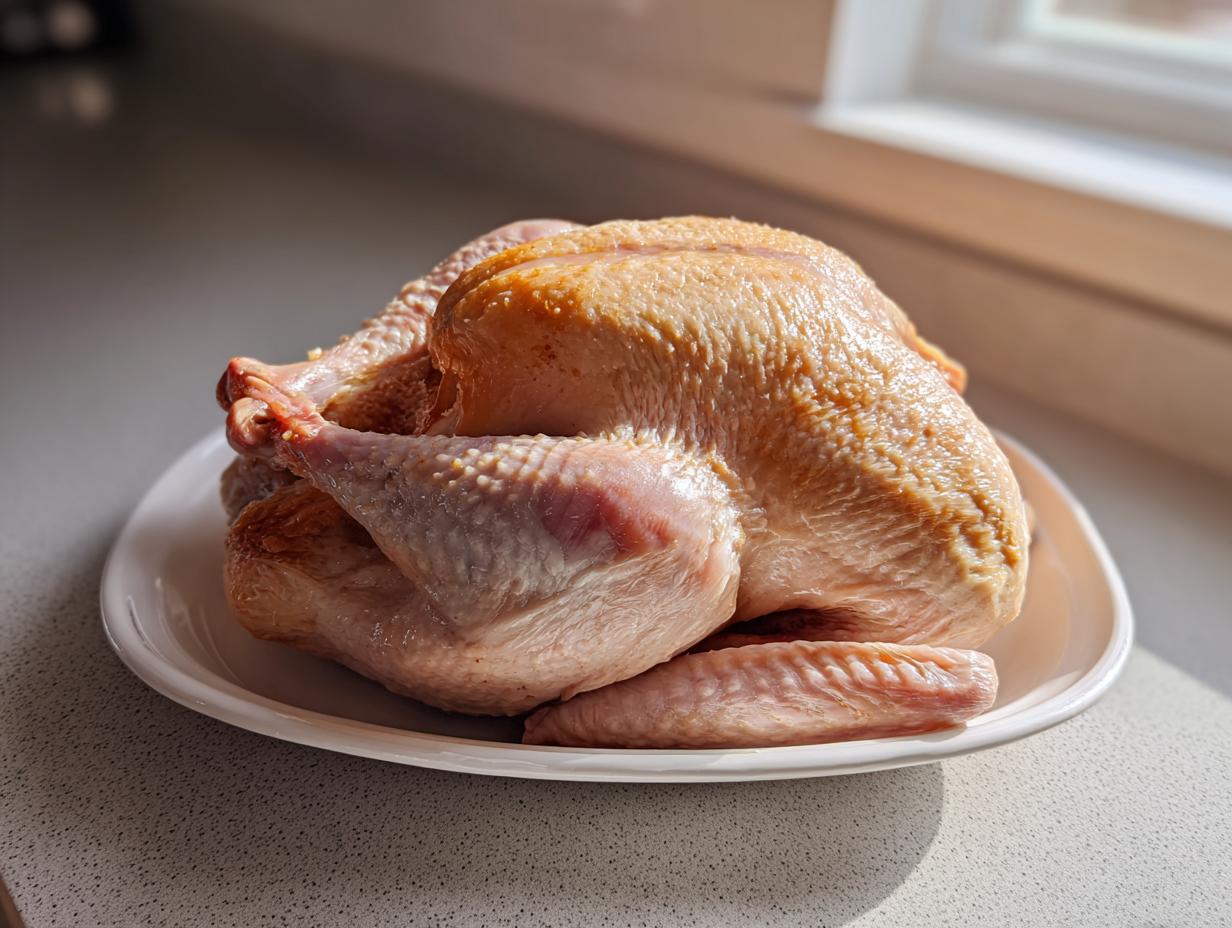
There’s nothing sadder than carving into a beautiful, golden-brown bird only for it to taste dry. I know that stress well—the pressure of making the holiday centerpiece perfect can make you skip steps, and that usually results in disappointment.
But you won’t have that problem this year! I’m sharing my straightforward, citrus herb turkey brine recipe because it’s the absolute best turkey brine I’ve ever tested. This easy turkey brine takes just 20 minutes of active prep and guarantees unbelievably moist and flavorful meat. For me, reclaiming simplicity during the holidays is everything, and this brine is the non-negotiable step that makes amazing flavor effortless.
- Why This Citrus Herb Turkey Brine Recipe Delivers a Juicy Turkey Brine
- Gathering Ingredients for Your Easy Turkey Brine
- How to Prepare the Wet Brine for Turkey Instructions
- How to Brine a Turkey Using This Wet Turkey Brine Recipe
- Tips for the Best Turkey Brine Experience
- Serving Suggestions for Your Flavorful Turkey Preparation
- Storage and Reheating After Using the Turkey Brine
- Frequently Asked Questions About Turkey Brine
- Share Your Juicy Turkey Brine Results
Why This Citrus Herb Turkey Brine Recipe Delivers a Juicy Turkey Brine
If you’ve sworn off roasting a whole bird because it ends up dry, trust me, you just needed this step! This wet turkey brine recipe isn’t just magic; it’s great, simple science. The perfect salt and sugar balance creates incredible flavor, but more importantly, it works to draw itself into the meat, resulting in that unbelievably juicy turkey brine we all dream about.
The citrus and fresh herbs aren’t just for smelling up your kitchen, honestly. They infuse every single muscle fiber, giving you truly flavorful turkey preparation without needing hours of fussing over rubs later on. Once you see how tender this method makes your bird, you’ll never skip it.
The Science Behind a Perfect Turkey Brine
It boils down to something called osmosis, but don’t worry about that word! In simple terms, the salt slightly dissolves the protein in the turkey muscle fibers. When the solution is added, the meat basically drinks up that salty, sugary liquid and holds onto it tightly while it cooks. This held water is what keeps your turkey moist and tender, even when the oven gets hot.
Gathering Ingredients for Your Easy Turkey Brine
The beauty of this recipe is that everything you need is straightforward—nothing tricky here! We are relying on quality basics to do the heavy lifting for your easy turkey brine. Here is exactly what you need for your standard batch:
- 1 cup Kosher salt
- 1 cup packed brown sugar
- 1 gallon cold water
- 1 whole lemon, halved
- 1 whole orange, halved
- 1 head garlic, halved crosswise
- 1 bunch fresh thyme
- 1 bunch fresh rosemary
- 1 tablespoon black peppercorns
Ingredient Clarity and Preparation Notes
Make sure those citrus fruits are halved, and cut through that whole head of garlic right across the middle; we want all those flavorful centers exposed! I always insist on Kosher salt for this project over standard table salt. Kosher salt has larger crystals, which dissolve more evenly and give you much better control over the saltiness. You absolutely don’t want to accidentally oversalt your bird!
How to Prepare the Wet Brine for Turkey Instructions
Creating the Brine Concentrate
Okay, now we get making your liquid magic! Grab a big stockpot—this is where we build the flavor base. Dump in your Kosher salt and brown sugar right alongside four cups of your gallon of water. Set that pot over medium heat. You need to stir this mixture constantly! Don’t walk away; we are waiting until you see that salty, sugary cloud totally disappear. That means they’ve dissolved completely.
Once everything is dissolved and the liquid is clear again, kill the heat immediately. Now toss in all those wonderful aromatics: your lemon and orange halves, the whole head of garlic, fresh thyme, rosemary sprigs, and those peppercorns. Give it a good stir to let those flavors start mingling right away.
Cooling the Turkey Brine Quickly
This next part is super important for food safety, so pay attention! We need this liquid cold before the turkey goes in—you can’t put a big bird in warm liquid. So, step three is your rapid cool-down phase. Add the rest of your 12 cups of ice-cold water right into that hot pot of flavor. Stir it up well to bring the temperature down fast.
We want this ready for the bird as soon as possible. If you can’t wait, you can always toss in a few extra bags of ice to chill it down further. You must ensure the liquid is cool to the touch before you commit your turkey to soak, or you risk bacteria growth, and nobody wants that on their holiday centerpiece!
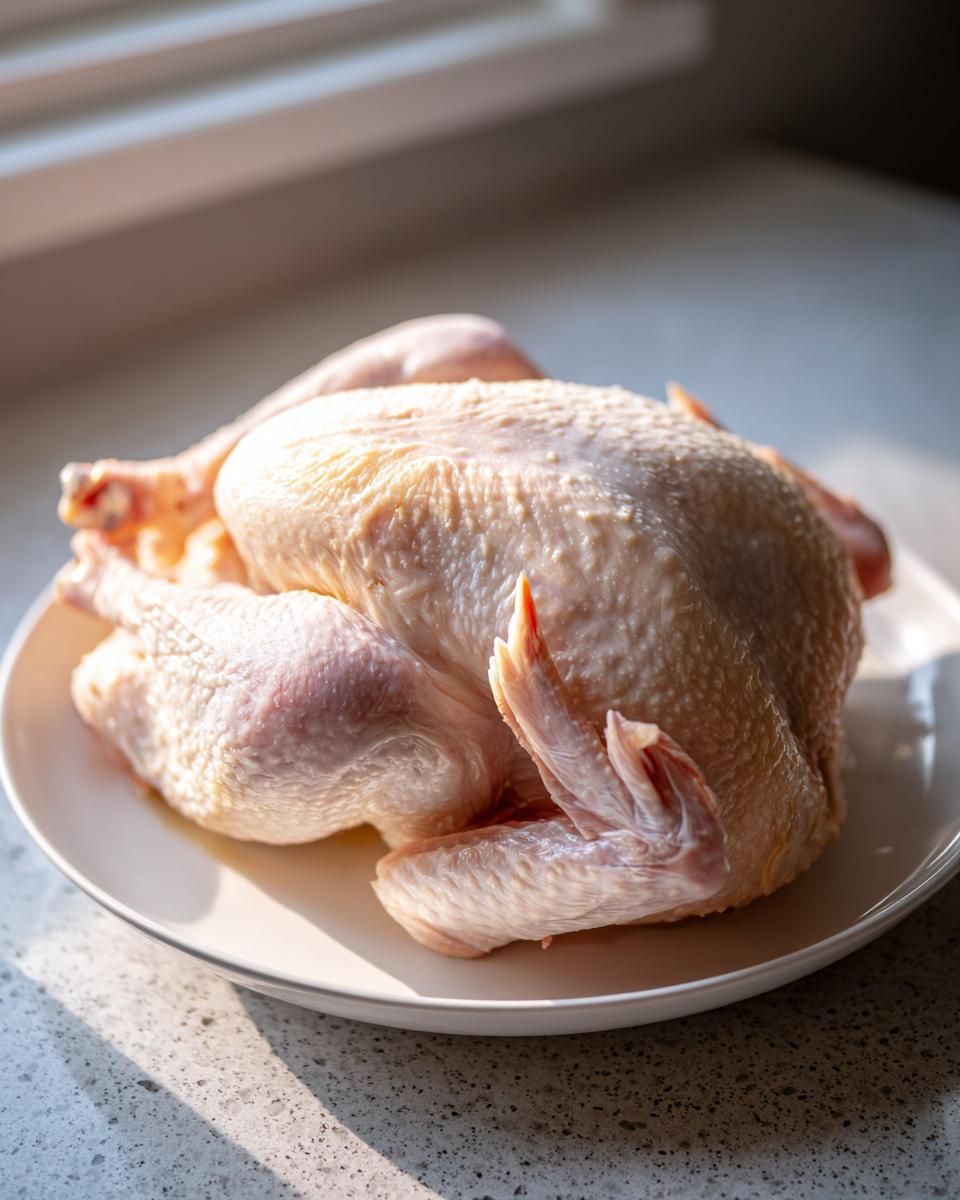
How to Brine a Turkey Using This Wet Turkey Brine Recipe
Now for the main event—we need to figure out exactly how to brine a turkey to maximize that lovely moisture gain! First, you need the right vessel for the job. I usually break out a big, clean cooler if I’m doing a large bird, but a good heavy-duty brining bag works wonders too. You need something food-safe where your turkey can fit completely underwater.
Take your thawed, ready turkey and gently lower it into the container. Then, pour that beautifully cooled citrus-herb liquid right over the top. You must verify that the bird is fully submerged. If it’s peeking out at all, just add some extra plain, very cold water until it’s covered. Now it’s time for waiting!

Submerging the Bird and Refrigeration Timing
Seal that cooler or bag up tight and get it into the fridge. This is where our brining timing guide comes into play. For standard holiday birds, you’re looking at 12 to 24 hours soaking time. For a perfect 12-pound turkey, I always aim for exactly 18 hours—that’s my sweet spot. Don’t get greedy! Brining longer than 24 hours will start to compromise the texture, making it a little too salty or mushy, so stick to that 24-hour maximum.
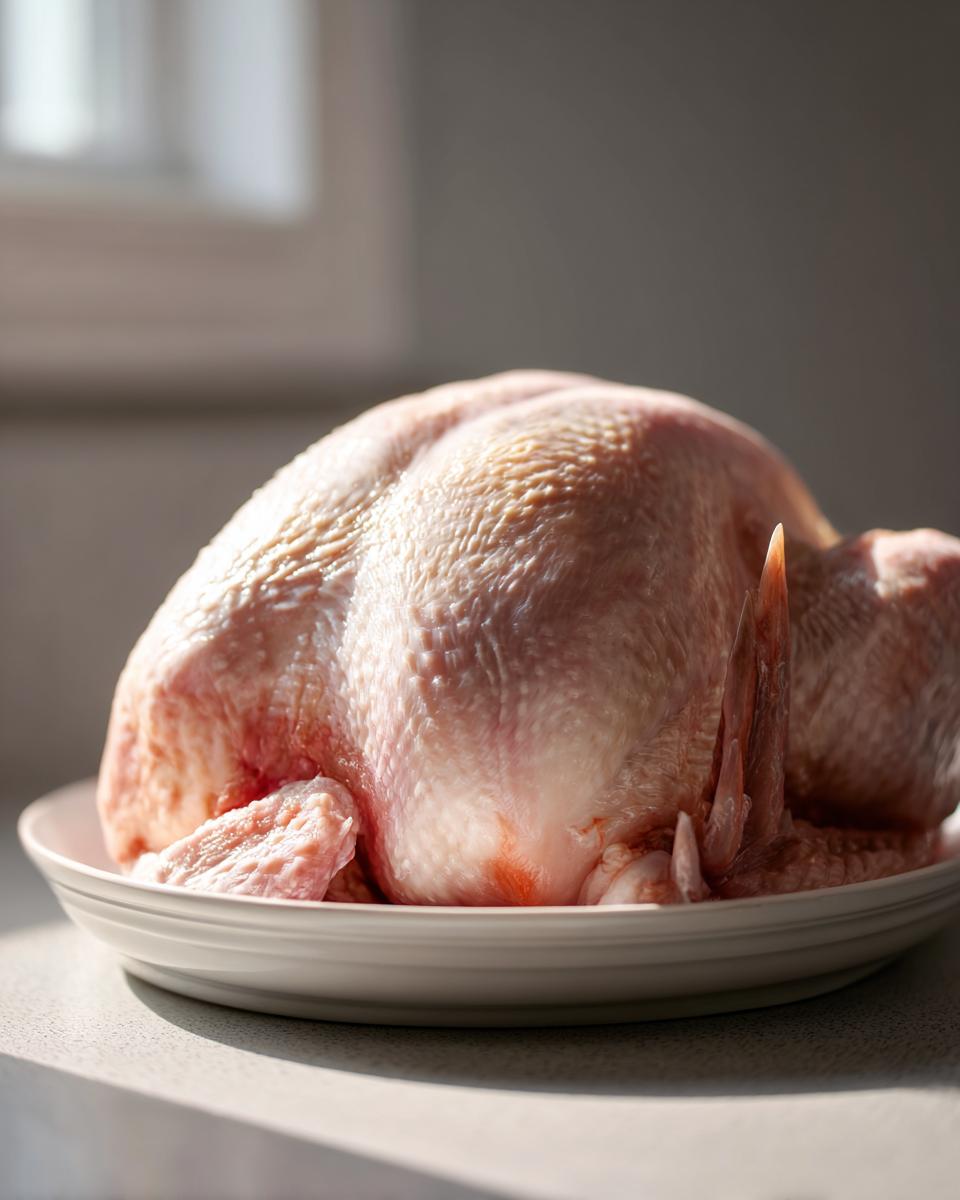
Rinsing and Drying for Crispy Skin
Once the time is up, take the turkey out, and honestly, dump that brine down the drain—we are totally done with it. Now, the second most important step for great texture: you have to rinse that bird thoroughly. Run it under cold water inside and out, scrubbing gently to wash off all that surface salt and any clinging herbs. You don’t want a salty skin when you pull it out later!
After rinsing, you need paper towels, and you need lots of them. Pat every single surface completely, totally, absolutely dry. I mean bone dry! Seriously, this step is crucial for those coveted crispy skin roast turkey tips. If there’s any moisture left, the skin will steam instead of crisping up beautifully.
Tips for the Best Turkey Brine Experience
I know that once you’ve mastered this wet brine, you’ll feel like you’ve unlocked the code to the best turkey brine ever. But even pros make small adjustments, so here are a few things I’ve learned over the years that might help you customize or scale things perfectly. If you’re prepping ahead, remember that making a big batch of brine is just as easy as a small one; it’s a perfect recipe to anchor your ahead-of-time cooking!
Scaling Your Turkey Brine Recipe
If you’re hosting a bigger crowd than usual, scaling up is simple. The recipe ratios hold true! If you happen to be working with a larger size bird, say one that weighs closer to 15 pounds, just bump up the salt and sugar to 1.5 cups each. Remember to increase the water component to 1.5 gallons and add some ice to keep it cold. It’s an easy tweak!
Alternative: Considering a Dry Turkey Brine
Now, while this citrus-herb wet brine is my go-to for maximum moisture, I know some folks prefer dry brining, especially for smoking. If you’re leaning that way, you just skip this whole liquid bath, as detailed over at this great resource. Instead, you rub the turkey down with a mixture of salt, sugar, and your herbs. Then you let it rest uncovered in the fridge for 2 to 3 days. It yields incredibly crisp skin, but this recipe right here is the one that pumps the most liquid into the bird.
Serving Suggestions for Your Flavorful Turkey Preparation
We’ve done the hard work getting that turkey unbelievably juicy, so now we need sides that match that level of quality without stressing you out! After all that effort making a truly moist turkey recipe centerpiece, the last thing you want is to be running around frantically cooking complicated sides right before dinner.
The goal here aligns perfectly with the Pure Plate Path: nourishment and simplicity. You want sides that complement that bright citrus and rosemary infusion, not ones that fight it. And yes, you absolutely need a great gravy to pour over everything, which is why you should check out my tips for making the best fall-apart tender pot roast gravy—it’s perfect for turkey drippings too!

Pairing Sides for Your Holiday Turkey Cooking
When you have a perfectly seasoned bird, keep the accompaniments clean and classic. You don’t need 15 different bowls of complicated casseroles!
- Simple Roasted Root Vegetables: Toss carrots, parsnips, and maybe some small onions with just olive oil, salt, and pepper. Pop them into the oven for the last hour of roasting. They char up nicely and taste incredible next to that savory turkey.
- Creamy, Buttery Potatoes: You have to have potatoes, right? I always make a big batch of simple mashed potatoes. A little cream, a good amount of butter, and just a hint of garlic powder is perfection.
- A Bright Green Element: Don’t skip something green for balance! Simple steamed green beans finished with a squeeze of fresh lemon juice right before serving cut through the richness of the meat beautifully.
These simple pairings ensure your focus stays on enjoying the moment, not on juggling complicated recipes. Everything on the plate should feel intentional but easy!
Storage and Reheating After Using the Turkey Brine
Phew! You did it. Dinner is done, everyone is happily stuffed, and now you are looking at a mountain of delicious leftovers. The great news is that all that hard work you put into that initial brine really pays off here. Because the meat retained so much moisture, your leftover turkey stays flavorful for days longer than an un-brined bird!
Storing it properly is key, though. You don’t want to lose that juiciness to dry air in the fridge. I always recommend slicing the meat off the bone right away since it makes reheating much easier later on. Keep the white meat separate from the dark meat, as they reheat slightly differently.
Use airtight containers, or even heavy-duty freezer bags, to store those slices. Try to press out as much air as you can before sealing them up. This will keep them tasting fresh in the refrigerator for about three to four days, which is usually just enough time to build a few new meals out of your bird!
When you’re ready to reheat those precious leftovers, the absolute best trick is to add liquid back in. Don’t just blast it in the microwave! Whether you’re reheating slices for a sandwich or making a full plate, you need broth. Chicken or turkey broth works perfectly fine. Place your sliced turkey in a baking dish, add just a splash of broth around the bottom—maybe half an inch deep—cover that dish tightly with foil, and heat it slowly at 300°F (150°C) until it’s warm all the way through.
That steamy environment created by the foil and the broth protects that beautiful moisture you locked in. If you’re looking for ideas for turning those leftovers into something new, you have to check out how I make the creamiest mashed potatoes; they are the perfect base when you top them with that warm, moist sliced turkey and a little homemade gravy!
Frequently Asked Questions About Turkey Brine
Can I use this wet turkey brine recipe for a turkey breast?
Absolutely! This recipe is fantastic for a smaller turkey breast brine, especially if you’re cooking for a smaller crowd or just don’t want to tackle a whole bird. The flavor infusion is just as good. The main change you need to make is the time. Since a turkey breast is much thinner and smaller than a whole bird, you need to keep a closer eye on the clock.
I highly recommend cutting the brining time down significantly. For a 3 to 5-pound turkey breast, stick to about 4 to 6 hours submerged in the liquid. Don’t leave it overnight like you would a whole bird! Check it early, rinse it well, and you’ll still get that incredible juiciness you expect from our main thanksgiving turkey brine method.
What is the basic turkey brine ratio if I want to adjust the flavor?
That’s a wonderful question because customization is key! The most reliable, universal basic turkey brine ratio aims for about 1 cup of salt and 1 cup of sugar for every gallon of water. This gives you that perfect equilibrium that encourages moisture retention without making the meat taste like a salt lick.
If you want to go lighter on the sugar, you can reduce it slightly, maybe down to 3/4 cup per gallon, especially if you are adding salty ingredients later, like soy sauce. But for the flavor profile in this specific recipe—the citrus and herbs—the 1:1 ratio of salt to sugar (relative to the water volume) works best to balance everything out perfectly.
Do I need to rinse the turkey after using the turkey brine?
Oh, yes, this is non-negotiable, so please don’t skip this part! While brining is amazing for moisture, a lot of that salty solution is coating the outside of your turkey when you pull it out. If you roast it immediately without rinsing, the skin will be intensely salty and might even taste grainy.
You need to rinse it thoroughly under cold running water, inside and out. I spend a good minute just flushing out the cavity. After rinsing, you must pat it bone dry with paper towels. Rinsing washes away the excess surface salt, and drying is what gives you that beautiful, golden, non-soggy skin when it comes out of the oven. Trust me on the drying bit!
Share Your Juicy Turkey Brine Results
I feel like we’ve had such a great session learning all the ins and outs of making this work for your kitchen! Getting that perfect, flavorful, moist bird feels like such an achievement, and I really want to know how it turned out for you. Did you use the lemon and orange, or did you sneak in some extra rosemary?
Don’t keep all that wonderful, juicy success to yourself! If you try this wet method out for your next big meal, please come back and tell me about it. Did you finally conquer the dry bird monster?
Take a moment to rate the recipe right below—your feedback helps other busy cooks find the path to simple, nourishing meals, too. And if you have any burning questions that came up while you were brining, pop over to my contact page and let me know! I love hearing success stories, so I hope you’ll share your experience with this turkey brine recipe soon. Maybe you can even compare notes with others who tried the other method over at this link!
PrintThe Ultimate Easy Turkey Brine for an Incredibly Juicy Holiday Turkey (Wet Brine)

Follow this straightforward wet turkey brine recipe, infused with citrus and herbs, to guarantee a moist and flavorful holiday turkey. This method is simple to prepare and ensures your roast turkey remains tender.
- Prep Time: 20 min
- Cook Time: 3 to 4 hours (depending on turkey size)
- Total Time: 24 hours
- Yield: 10 servings 1x
- Category: Poultry
- Method: Wet Brining
- Cuisine: American
- Diet: Low Lactose
Ingredients
- 1 cup Kosher salt
- 1 cup packed brown sugar
- 1 gallon cold water
- 1 whole lemon, halved
- 1 whole orange, halved
- 1 head garlic, halved crosswise
- 1 bunch fresh thyme
- 1 bunch fresh rosemary
- 1 tablespoon black peppercorns
Instructions
- In a large stockpot, combine the salt, brown sugar, and 4 cups of water. Heat the mixture over medium heat, stirring until the salt and sugar fully dissolve. This creates your brine concentrate.
- Remove the pot from the heat. Add the lemon halves, orange halves, garlic, thyme, rosemary, and peppercorns to the concentrate. Stir well.
- Add the remaining 12 cups of ice-cold water to the pot to cool the brine quickly. Stir to combine.
- Place your whole turkey (about 12-14 pounds) into a food-safe container large enough to hold it completely submerged, such as a large cooler or brining bag.
- Pour the cooled brine mixture over the turkey, ensuring the bird is fully submerged. If needed, add more cold water.
- Cover the container and refrigerate for 12 to 24 hours. For a 12-pound turkey, 18 hours is a good target. Do not brine longer than 24 hours.
- Remove the turkey from the brine. Discard the brine solution. Rinse the turkey thoroughly inside and out with cold running water.
- Pat the turkey completely dry with paper towels. This step is necessary for crispy skin when roasting.
- Proceed with your preferred cooking method, such as roasting or smoking. Do not add extra salt to the turkey before cooking.
Notes
- For a 15-pound turkey, increase the salt and sugar to 1.5 cups each, and use 1.5 gallons of water plus ice.
- If you prefer a dry turkey brine, skip this wet method. Rub the turkey with a mixture of salt, sugar, and herbs, and let it rest uncovered in the refrigerator for 2-3 days.
- This wet brine is excellent for both oven roasting and smoked turkey preparation.
Nutrition
- Serving Size: 1/10th of turkey
- Calories: 50
- Sugar: 5
- Sodium: 1200
- Fat: 0
- Saturated Fat: 0
- Unsaturated Fat: 0
- Trans Fat: 0
- Carbohydrates: 10
- Fiber: 0
- Protein: 1
- Cholesterol: 0