
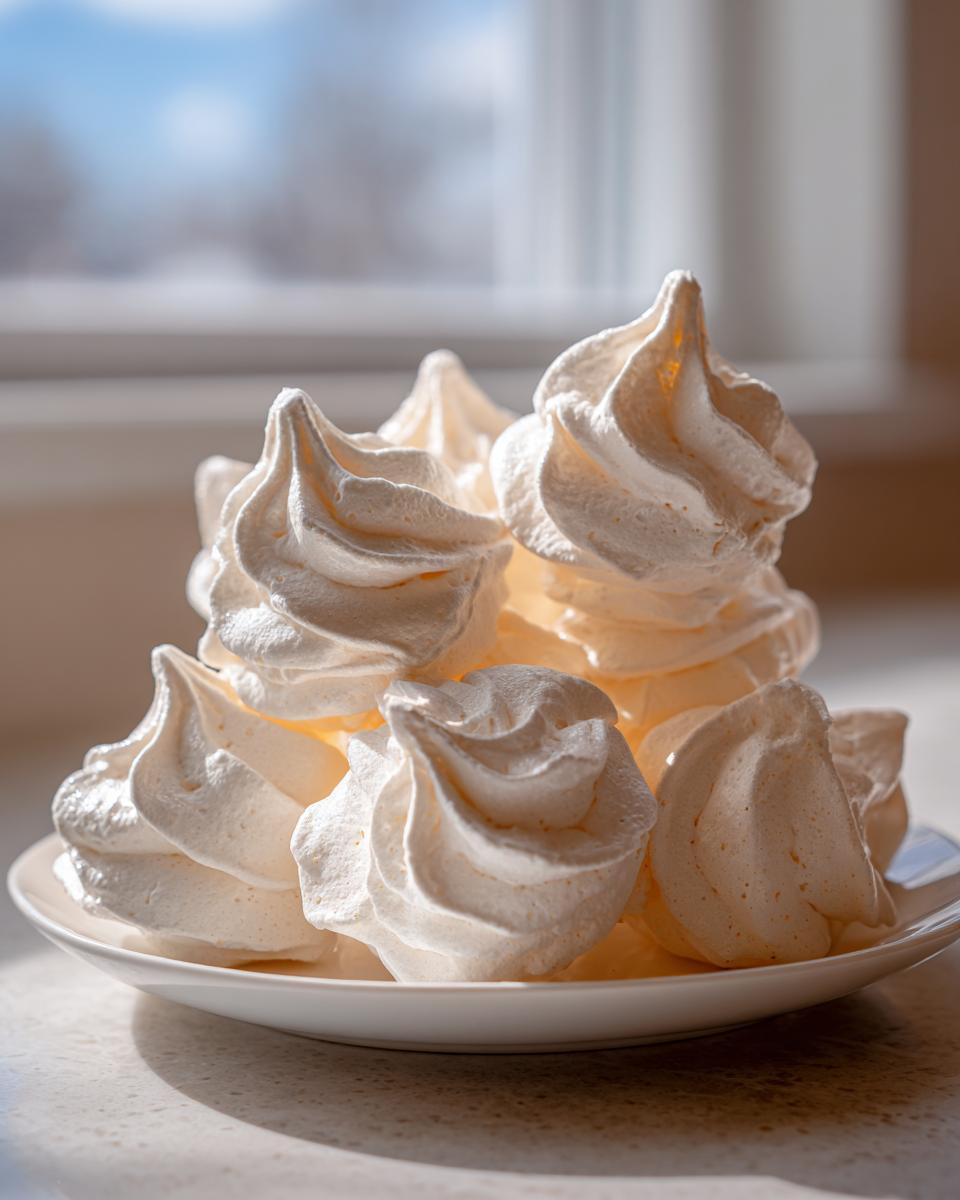
Let’s be honest: getting perfect meringue is scary! It feels like walking a tightrope—one wrong move, and suddenly, your beautiful potential becomes weeping, sticky sludge. That’s exactly why I dedicated so much time to finding a recipe that just works. When I was deep in the corporate marketing trenches, I needed simple, reliable comfort food. These classic French meringue cookies are the answer. Forget the stress; this foolproof recipe guarantees you get those light, airy cookies with that crisp exterior and delicate center that just melts in your mouth. It’s baking purity that even I, Sarah Miller, perfected when I was refocusing my life back onto simple, nourishing home cooking. You can read more about my journey to find simplicity in the kitchen over on the About page!
- Why This is the Best Meringue Cookies Recipe for Beginners
- Ingredients Needed for Perfect Meringue Cookies
- How to Make Meringue Cookies: Step-by-Step Instructions
- Expert Meringue Cookie Tips and Tricks for Success
- Variations for Your Meringue Cookies
- Serving Suggestions for Delicate Sweet Treats
- Storage and Shelf Life for Crispy Meringue Cookies
- Frequently Asked Questions About Meringue Cookies
- Share Your Perfect Meringue Cookies Creations
Why This is the Best Meringue Cookies Recipe for Beginners
If you’ve been burned by weeping meringue or cookies that collapse the second they leave the oven, I get it. Those failures kept me away from egg whites for years! That’s why I made sure this is truly a no fail meringue recipe. We’re taking all the guesswork out of things so you can focus on enjoying the process.
Here is why this easy meringue cookies recipe is your new best friend:
- No messy, complicated Swiss or Italian methods—this is the simple French technique, perfected.
- We use cream of tartar to build unbeatable structural stability, stopping collapse before it starts.
- You get that signature, ultra-light texture, making them one of my favorite light and airy desserts.
- The slow, cool dry-out guarantees a crisp exterior and zero frustrating cracks.
Seriously, once you try it this way, you’ll see how easy it is to create these delicate beauties. I link to my no-bake fudge recipe next, but trust me, these meringues are just as satisfying with fewer ingredients!
Ingredients Needed for Perfect Meringue Cookies
When making these, precision is everything, which is why I list out exactly what you need. Don’t try to cheat on the quality here because the meringue really shows what you put into it! We’re keeping this simple foundation pure.
- 4 large egg whites, room temperature
- 1 cup superfine granulated sugar (caster sugar)
- 1 teaspoon pure vanilla extract
- 1/4 teaspoon cream of tartar
- Pinch of salt
That’s it! Just five things, but those tiny details matter a whole lot for a perfect result.
Ingredient Notes and Substitution Guidance
First, always use room temperature egg whites—they whip up so much higher and faster than cold ones, trust me on this one. If you can’t find superfine sugar, just pulse your regular granulated sugar in your food processor for about 30 seconds, but stop before it becomes powder. We need that slightly gritty texture to help the meringue stabilize. Also, remember what I said before: avoid baking these on rainy or super humid days if you can. Moisture is the number one enemy when trying to get truly crispy meringue cookies. The great news is that these are naturally wonderful gluten free meringue cookies, perfect for everyone!
How to Make Meringue Cookies: Step-by-Step Instructions
Okay, now for the fun part—turning those fluffy whites into actual meringue cookies! It’s like magic, but it’s really just technique. We’re following the recipe steps precisely because that careful addition of sugar makes all the difference between heavenly clouds and sticky messes. Make sure you have your baking sheets lined and your oven ready to go to its lowest setting, usually around 200°F or 225°F.
When I first tried this, I dumped the sugar in too fast, and I swear, the egg whites just deflated in defeat! It took me practicing a few times to really learn patience during the sweetening step. But once you see those perfect, shiny peaks form, you’ll be hooked! If you are planning on adding any kind of topping later, make sure you check out my recipe for cookie icing that hardens fast for the perfect finish!
Achieving Stiff Peak Meringue Cookies
This is where you need to pay attention. Get your mixer going on medium speed with your egg whites, cream of tartar, and salt until they look foamy and have those soft little waves—that’s the initial soft peak stage. Then, you turn the speed up slightly higher. Now, add that beautiful superfine sugar, just one tablespoon at a time. You need to wait a good 30 seconds between each spoonful! Once all the sugar is in, turn the mixer up high and just watch. You want the mixture to look extremely stiff, glossy, and smooth. When you lift the whisk, the peak should stand straight up without curling over—that’s your stiff peak, your ultimate stiff peak meringue guide success! That feeling when you finally get that glossy meringue? It’s the best.
Piping and Drying Your Meringue Cookies
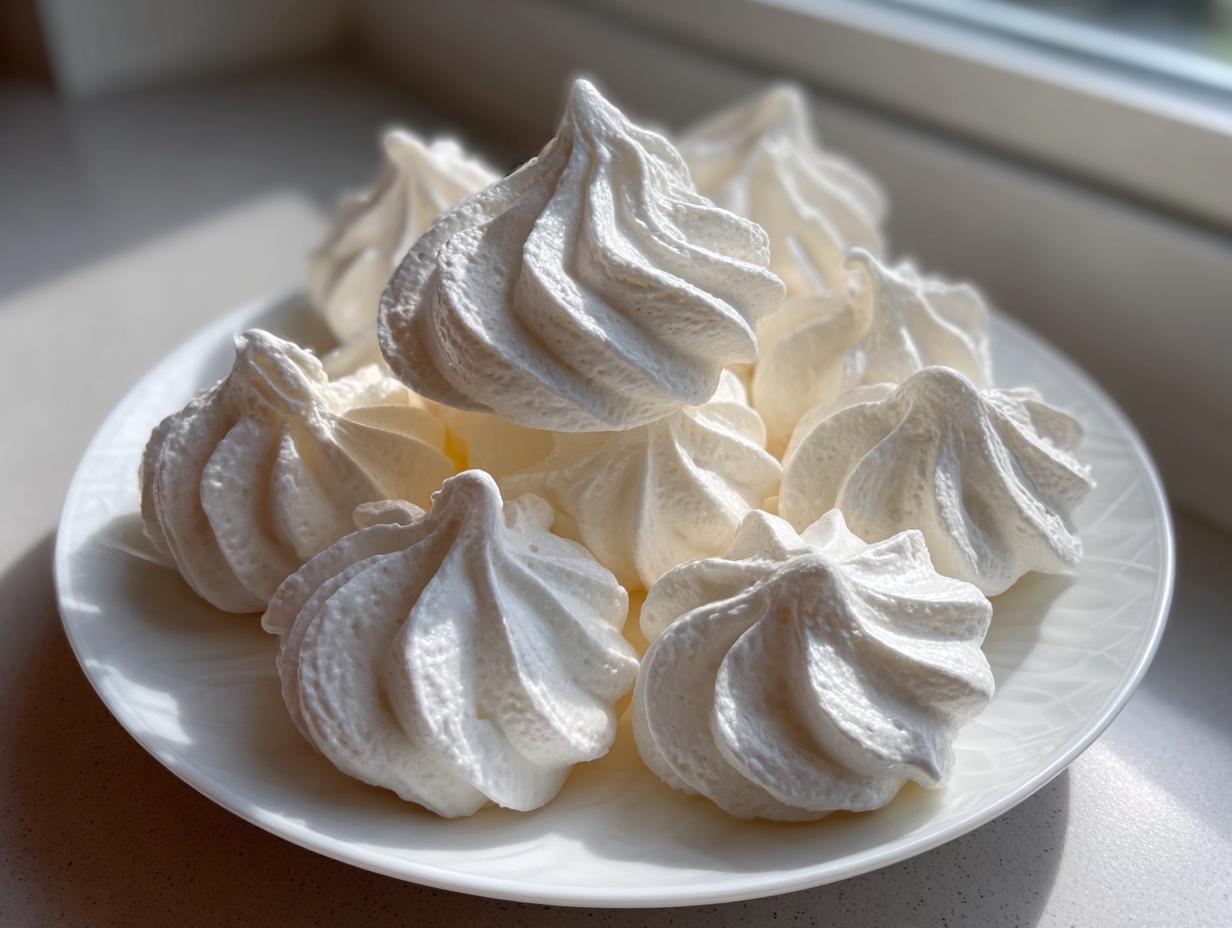
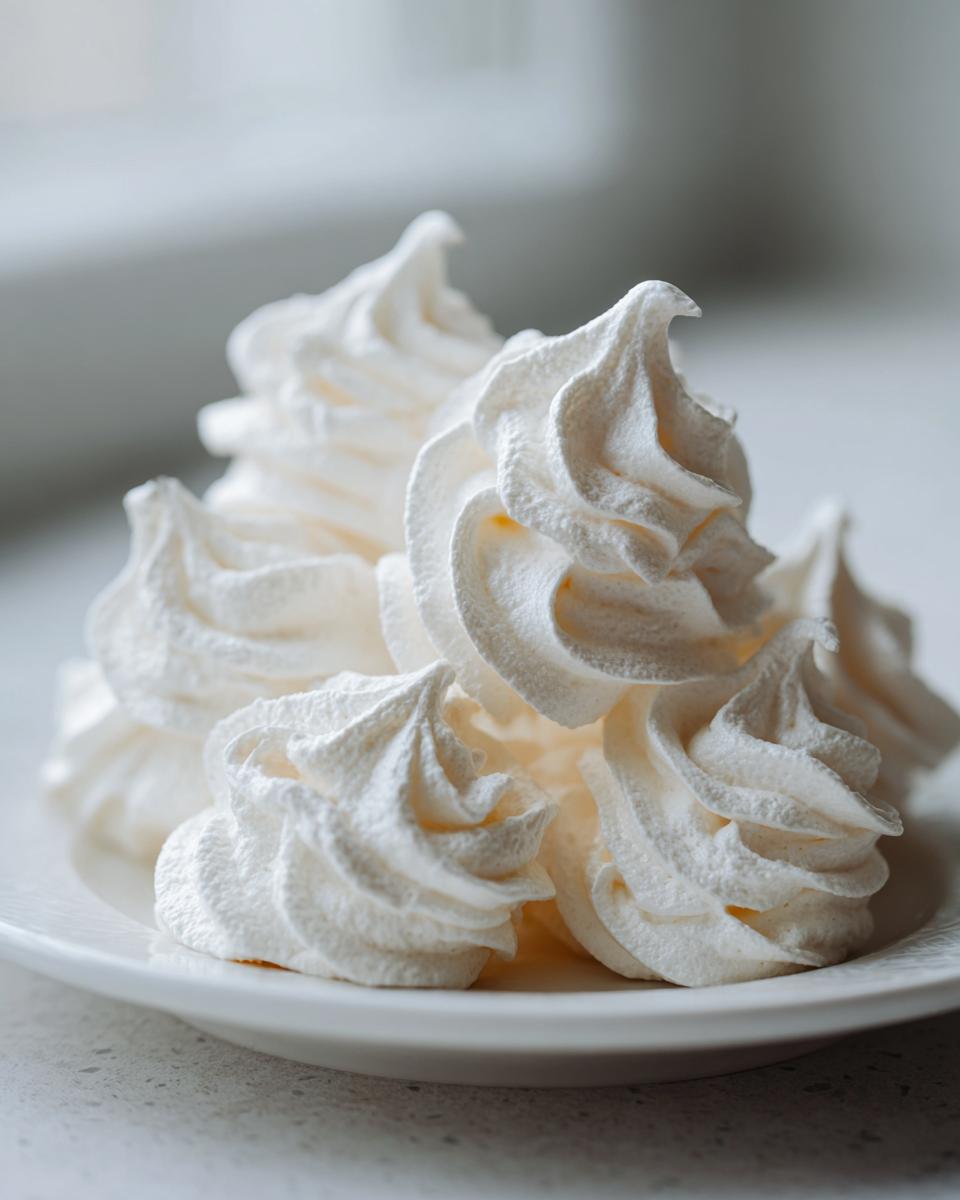
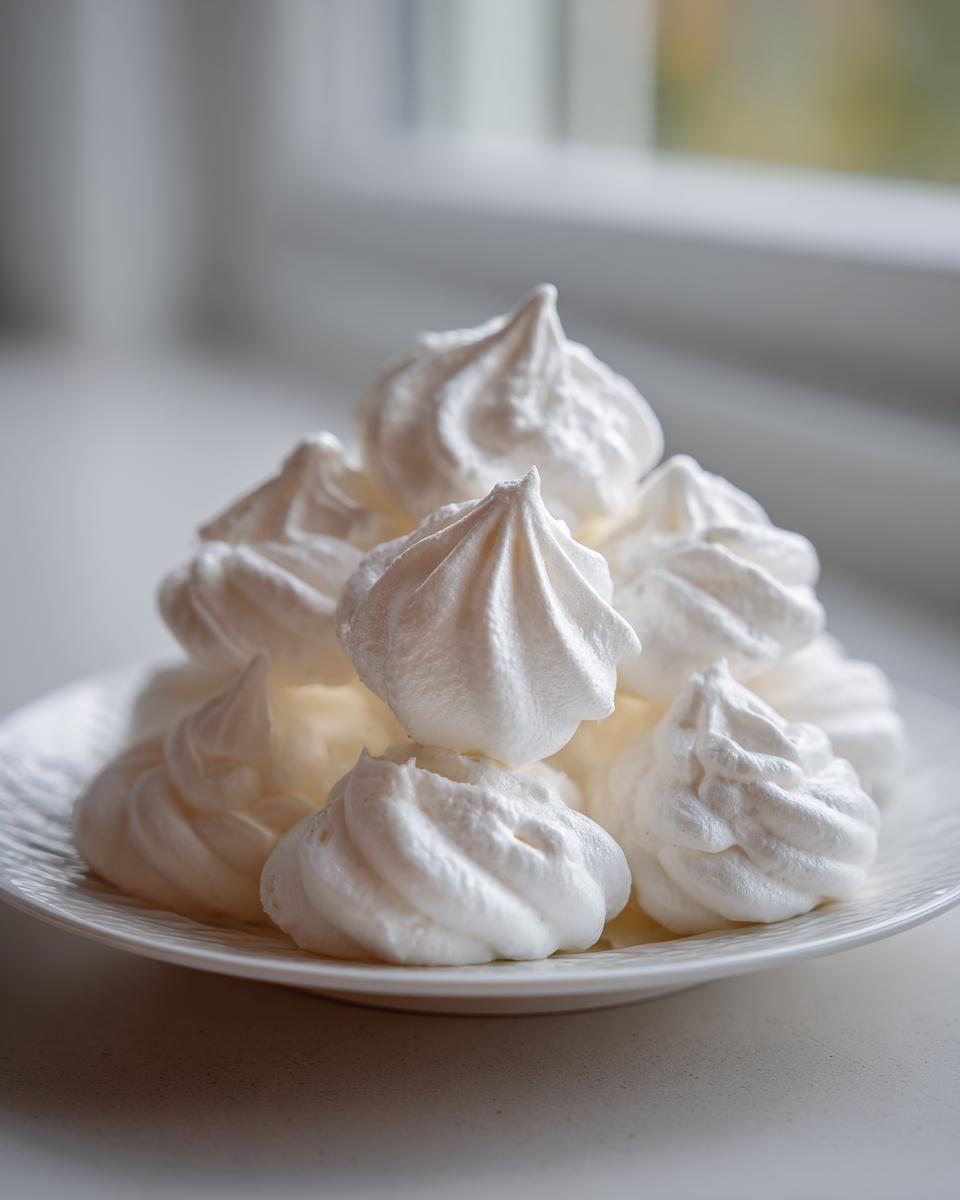
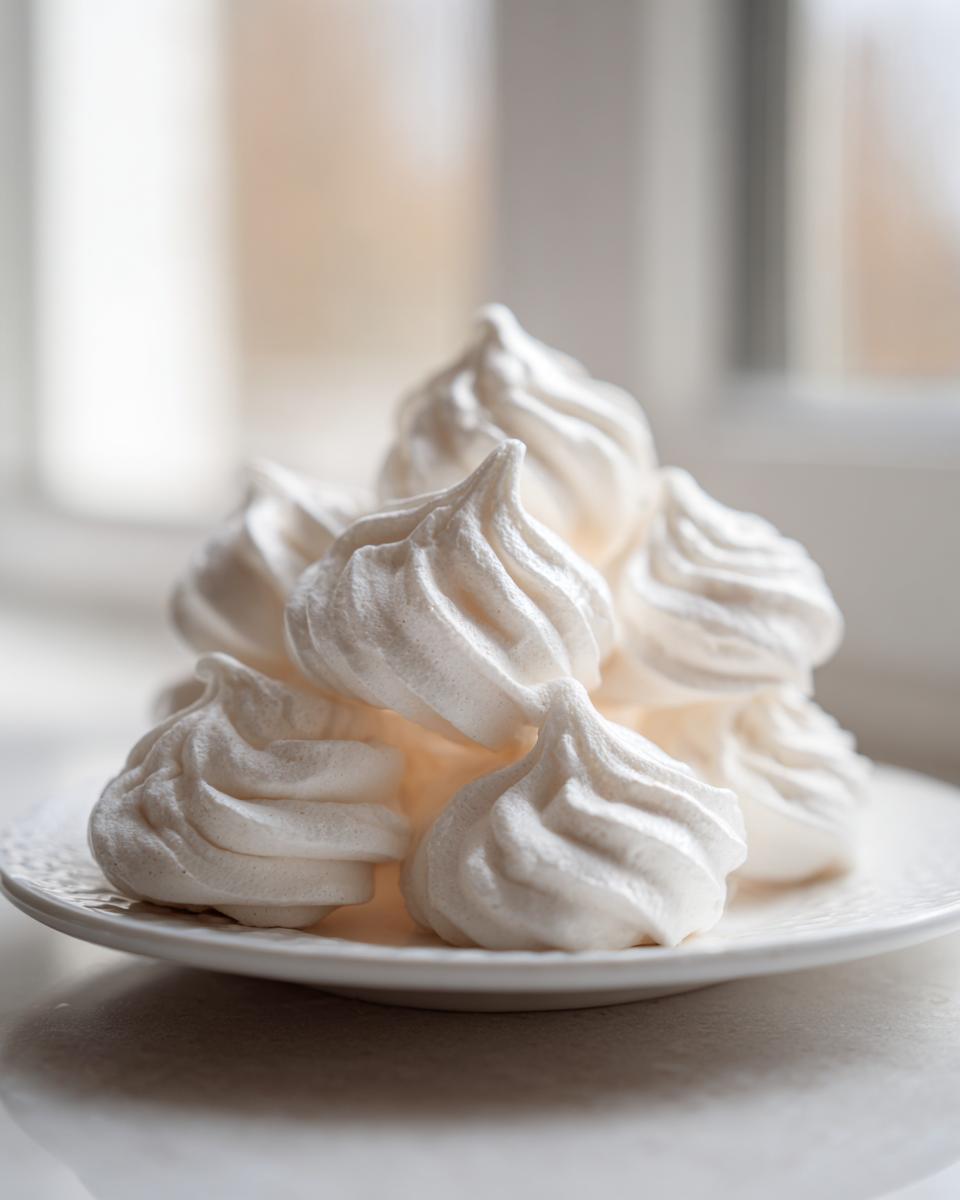
Once you’ve mixed in that vanilla, load everything into your piping bag. I love using a star tip for classic little kisses, but frankly, spooning them out works too if you aren’t feeling fancy. Pipe them onto your parchment paper, making sure they have an inch or so of breathing room between each one. Pop them into that very low oven. Remember, we are drying them, not really baking them! The next most important part? Turning the oven off after about an hour and cracking the door open with a wooden spoon. You absolutely must leave them inside that cooling oven for at least two hours, or even better, leave them overnight. This slow, gentle cooling is the secret weapon for getting those perfectly crispy meringue cookies without any annoying cracks!
Expert Meringue Cookie Tips and Tricks for Success
Even with the best easy meringue cookies recipe, sometimes things go a little sideways. Don’t fret! Knowing how to troubleshoot is what separates the nervous first-timer from the seasoned baker. These little white clouds can be dramatic sometimes, but once you understand their quirks, you’ll master them.
The biggest mistake I see people make is rushing the sugar integration. If your meringue is weeping—meaning little beads of syrup are forming on top—it means the sugar hasn’t fully dissolved into the egg whites. Keep beating! If your meringue cookies are becoming brown, your oven is way too hot. Remember, we are drying, not baking. Keep that temperature low and slow—that’s the golden rule for keeping them pristine white.
For those sticky cookies that just won’t crisp up, I promise you, it’s the weather. If it’s raining, skip it! If you really must bake, add an extra five minutes to the drying time in the turned-off oven. Mastering these little details are the best meringue cookie tips and tricks I can pass along. If you need a savory palate cleanser after all that sweetness, you might want to check out my biscuit dough pizza bites!
Variations for Your Meringue Cookies
Once you have that perfect batch of basic egg white cookies whipped up, the sky is totally the limit for customizing! These little puffs are like blank canvases waiting for a splash of color or flavor. I love how easily you can pivot from a classic vanilla treat to something totally different without changing that wonderful, airy structure.
For a gorgeous chocolatey twist, just take about three tablespoons of high-quality cocoa powder, sift it really well, and gently fold it in along with your vanilla extract at the very end. Be gentle—you don’t want to knock out those precious air bubbles we worked so hard to create! This gives you a rich, almost brownie-like hint against the sweet base.
If you’re looking for zing, citrus zest is your friend. Lemon or orange zest folded in right before piping brightens everything up immediately. It’s phenomenal. And if you want that beautiful pink hue or a hint of berry flavor—think strawberry variations—try crumbling up a couple of tablespoons of freeze-dried fruit right into the stiff batter. It gives you amazing natural color and concentrated flavor. It’s such a simple way to elevate your delicate sweet treats.
My favorite way to use this technique, especially in the summer, is making a slightly tart, beautifully pink version, almost like a strawberry milkshake. You can find a fun way to incorporate strawberry flavoring with my homemade strawberry milk recipe for flavor inspiration!
Serving Suggestions for Delicate Sweet Treats
These meringue cookies are so light, they practically float off the plate! While they are incredible completely on their own—and I mean, *perfect* with my morning coffee—they really shine when used as presentation pieces. Don’t just serve them in a bowl!
For a really stunning presentation, line them up on a large platter—think of it as building out your simple dessert platter ideas. They look amazing nestled right next to something rich, like fudgy brownies or tart lemon bars. Or, take one of these delicate sweet treats and float it right on top of a mug of rich hot chocolate, like the recipe I have perfected here. It’s elegant, it’s easy, and everyone asks how you made something so beautifully simple!
Storage and Shelf Life for Crispy Meringue Cookies
You’ve put in the time to dry these beautiful meringue cookies out perfectly, so let’s make sure they stay that way! The storage rule is super simple, yet absolutely vital: use an airtight container and keep them at room temperature. No fridge, please! The fridge is basically a humidity factory, and that moisture will seep into your hard work instantly.
Why is humidity the enemy? Because meringue is basically just sugar and dried-out air pockets. If they soak up moisture from the air, they lose that amazing crackly crunch and turn sticky almost overnight. Stored correctly, these little gems will stay perfectly crisp for nearly two weeks, but honestly, they usually disappear way faster than that!
Frequently Asked Questions About Meringue Cookies
When working with egg whites, questions always pop up, and that’s totally normal! I remember feeling like I needed a manual just for whipping air into sugar. Below, I’ve gathered the most common concerns newbie bakers have when tackling these lovely, delicate sweet treats. If you’re looking for more general sweet inspiration, check out my guide to healthy desserts!
Can I make meringue cookies without a stand mixer?
Oh, absolutely you can! We didn’t always have fancy mixers in my early baking days. It’s definitely more work, but you can achieve those stiff peaks using either a strong arm and a balloon whisk or a reliable hand mixer. If you use a hand mixer, keep the speed high after the initial foam forms. Just know that if you’re trying to get that perfect stiff peak meringue guide results, it will take about 10 to 15 minutes of constant beating—so put on some good music! This is totally doable for anyone trying this beginner meringue recipe manually.
Are meringue cookies low calorie?
This is a tricky one! Technically, looking at the nutrition facts, a single cookie is only about 45 calories, which sounds great for a low calorie cookies option. However, that calorie count comes almost entirely from sugar (about 11 grams per cookie) since there is virtually no fat or protein. So, while they are wonderfully light and ethereal, they are still a pure sugar treat. Enjoy them for what they are—beautiful, airy sweetness!
What causes my meringue cookies to weep?
Weeping, those little beads of syrup forming on the surface, almost always points back to one thing: undissolved sugar. If the sugar hasn’t completely melted into the egg whites while whipping, those sugar crystals will start to release moisture as they bake or cool, causing the weeping. The fix, while making your meringue cookies, is to stop mixing periodically and rub a tiny bit of the mixture between your fingers. If you feel any grit, keep beating until it’s completely smooth! Otherwise, humidity is the next suspect.
Share Your Perfect Meringue Cookies Creations
Whew! You made it! Seriously, I am so excited for you to try these. Baking those unbelievably light and airy meringue cookies is such a rewarding feeling. Once you see those crisp, white kisses coming out of the oven, you’ll be hooked on this simple recipe forever.
When you finish up your batch, I would absolutely love to see what you made! Did you make fun holiday shapes, or did you stick to classic kisses? Snap a photo and tag us on social media—it truly makes my day to see my recipes working beautifully in your kitchens. You can always reach out or share feedback right here on the blog by leaving a comment below, or use the Contact page if you have a burning question.
Go ahead and give this recipe a star rating if it worked its magic for you! I’m always refining things here at Pure Plate Path, and knowing what works helps all the other nervous beginner bakers out there feel confident!
PrintFoolproof Classic French Meringue Cookies Recipe: Light, Crisp, and Melt-in-Your-Mouth Perfect
Follow this simple, tested French meringue recipe to create light, airy meringue cookies. You will achieve a perfectly crisp exterior and a delicate center that melts in your mouth. This is a no-fail recipe for beginner meringue bakers.
- Prep Time: 20 min
- Cook Time: 90 min
- Total Time: 2 hours 50 min
- Yield: About 3 dozen 1x
- Category: Dessert
- Method: Baking
- Cuisine: French
- Diet: Gluten Free
Ingredients
- 4 large egg whites, room temperature
- 1 cup superfine granulated sugar (caster sugar)
- 1 teaspoon pure vanilla extract
- 1/4 teaspoon cream of tartar
- Pinch of salt
Instructions
- Preheat your oven to the lowest setting, typically between 200°F and 225°F (95°C to 105°C). Line two large baking sheets with parchment paper.
- In a very clean, grease-free bowl of a stand mixer fitted with the whisk attachment, combine the egg whites, cream of tartar, and salt.
- Beat the egg whites on medium speed until they become foamy and soft peaks form. This takes about 3 to 5 minutes.
- Increase the mixer speed to medium-high. Begin adding the superfine sugar, one tablespoon at a time, waiting about 30 seconds between additions. This slow addition is key to stable meringue.
- Once all the sugar is incorporated, continue beating on high speed until the meringue is very stiff, glossy, and holds sharp peaks when you lift the whisk. Rub a small amount between your fingers; if it feels gritty, keep beating until the sugar is fully dissolved.
- Beat in the vanilla extract for the last minute.
- Transfer the meringue to a large piping bag fitted with your desired tip (a star tip creates classic meringue kisses).
- Pipe small mounds or shapes onto the prepared baking sheets, leaving about one inch between each cookie.
- Place the baking sheets in the preheated oven. Bake for 1 to 1.5 hours, depending on the size of your cookies and your oven’s temperature. The goal is to dry them out, not brown them.
- Turn off the oven, prop the door open slightly with a wooden spoon, and allow the meringue cookies to cool completely inside the oven for at least 2 hours, or preferably overnight. This slow cooling prevents cracking.
- Once completely cool and dry, store your crispy meringue cookies in an airtight container at room temperature.
Notes
- Ensure your mixing bowl and whisk attachment are completely free of any grease or egg yolk; fat prevents the egg whites from whipping properly.
- If you do not have superfine sugar, pulse regular granulated sugar in a food processor for 30 seconds to create a finer texture.
- Avoid making these on humid or rainy days, as moisture in the air prevents the meringue from drying out properly.
- For low calorie cookies, this recipe is naturally low in calories due to the high air content, but the sugar content remains high.
Nutrition
- Serving Size: 1 cookie
- Calories: 45
- Sugar: 11g
- Sodium: 2mg
- Fat: 0g
- Saturated Fat: 0g
- Unsaturated Fat: 0g
- Trans Fat: 0g
- Carbohydrates: 11g
- Fiber: 0g
- Protein: 0.5g
- Cholesterol: 0mg