
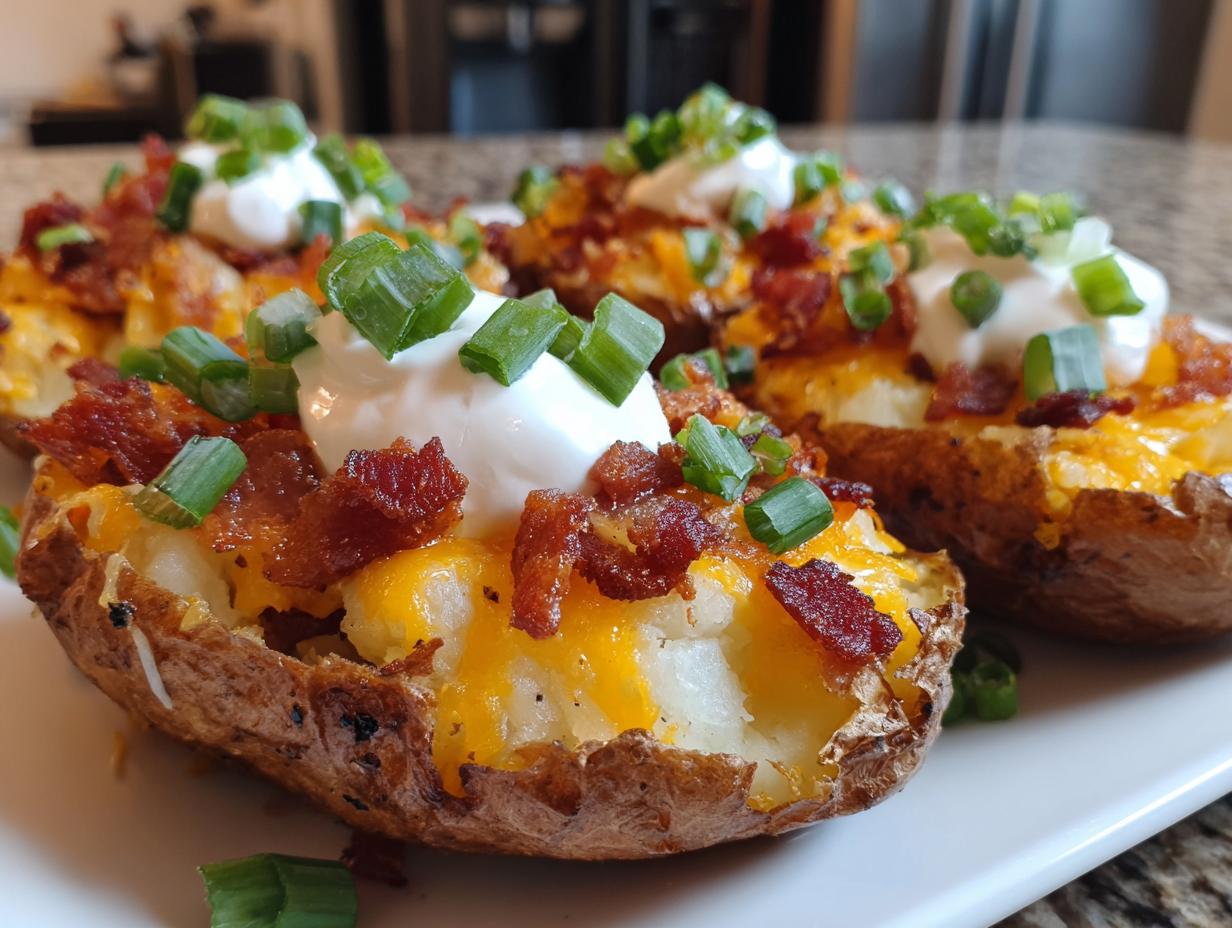
When the big game is on or friends are gathering, you just need that one appetizer that disappears first, right? For me, that’s always been the classic, loaded potato skins. It’s so easy to settle for soggy versions, but I made it my mission to crack the code on making them perfectly crispy, just like the pub version, right here in my own kitchen. Reclaiming simple joys, even through snack food, is what Pure Plate Path is all about. Trust me, mastering these amazing potato skins is easier than you think, and they taste incredible!
- Why This is the Best Potato Skins Recipe You Will Make
- Gathering Ingredients for Loaded Potato Skins
- Step-by-Step Instructions for Crispy Potato Skins
- Tips for Perfect Game Day Appetizers: Making Potato Skins
- Serving Suggestions for Your Potato Skins
- Storage and Reheating Instructions for Leftover Potato Skins
- Frequently Asked Questions About Easy Potato Skins
- Estimated Nutritional Data for Cheesy Appetizer Recipes
- Share Your Perfect Potato Skins Experience
Why This is the Best Potato Skins Recipe You Will Make
I know you’re busy, so let me tell you exactly why you need this recipe for your next get-together. We’re hitting every mark for the perfect snack. Forget those flimsy, soft shells! If you loved my guide on jalapeño poppers, you’ll agree these are even better.
- We focus on getting that wonderful, pub-style crunch every single time.
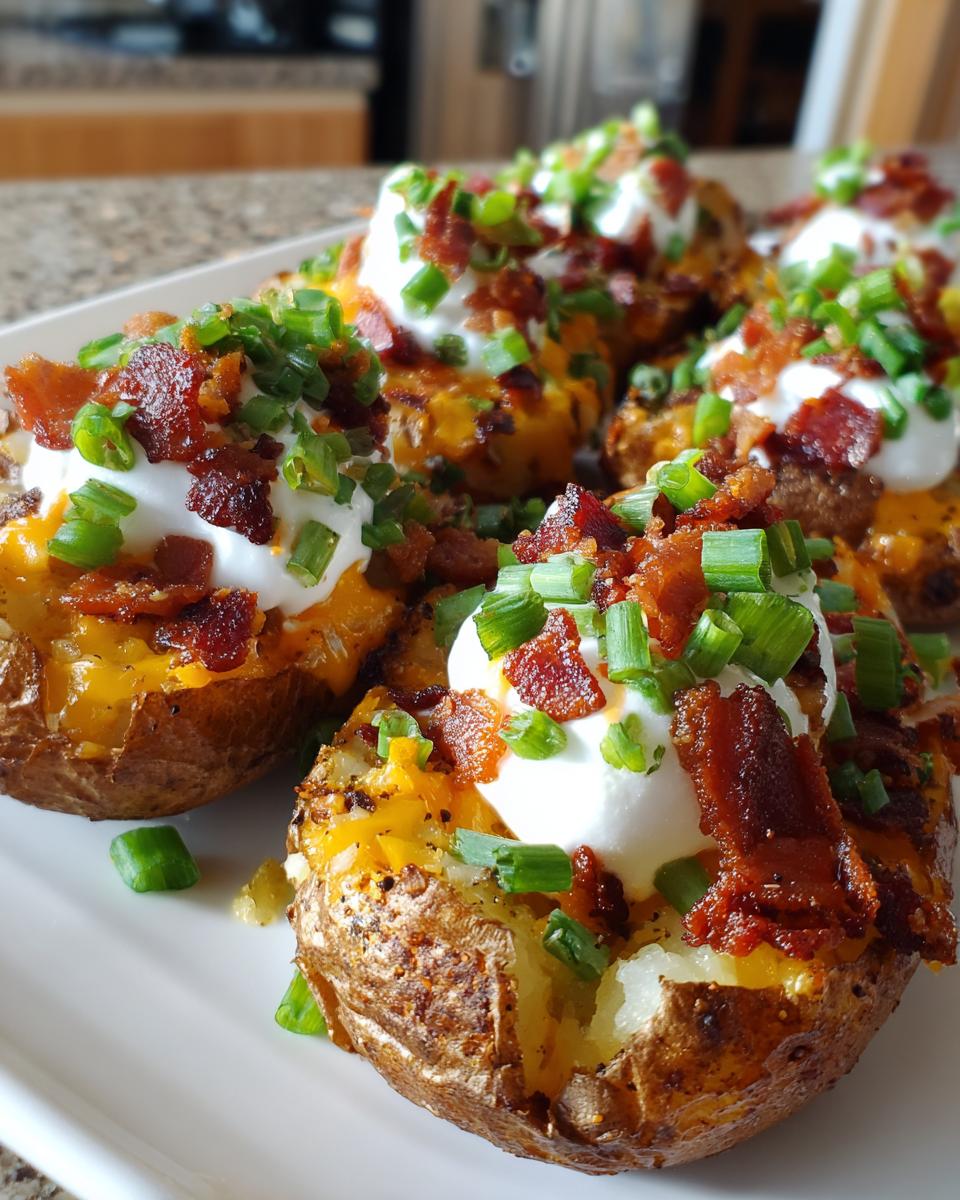
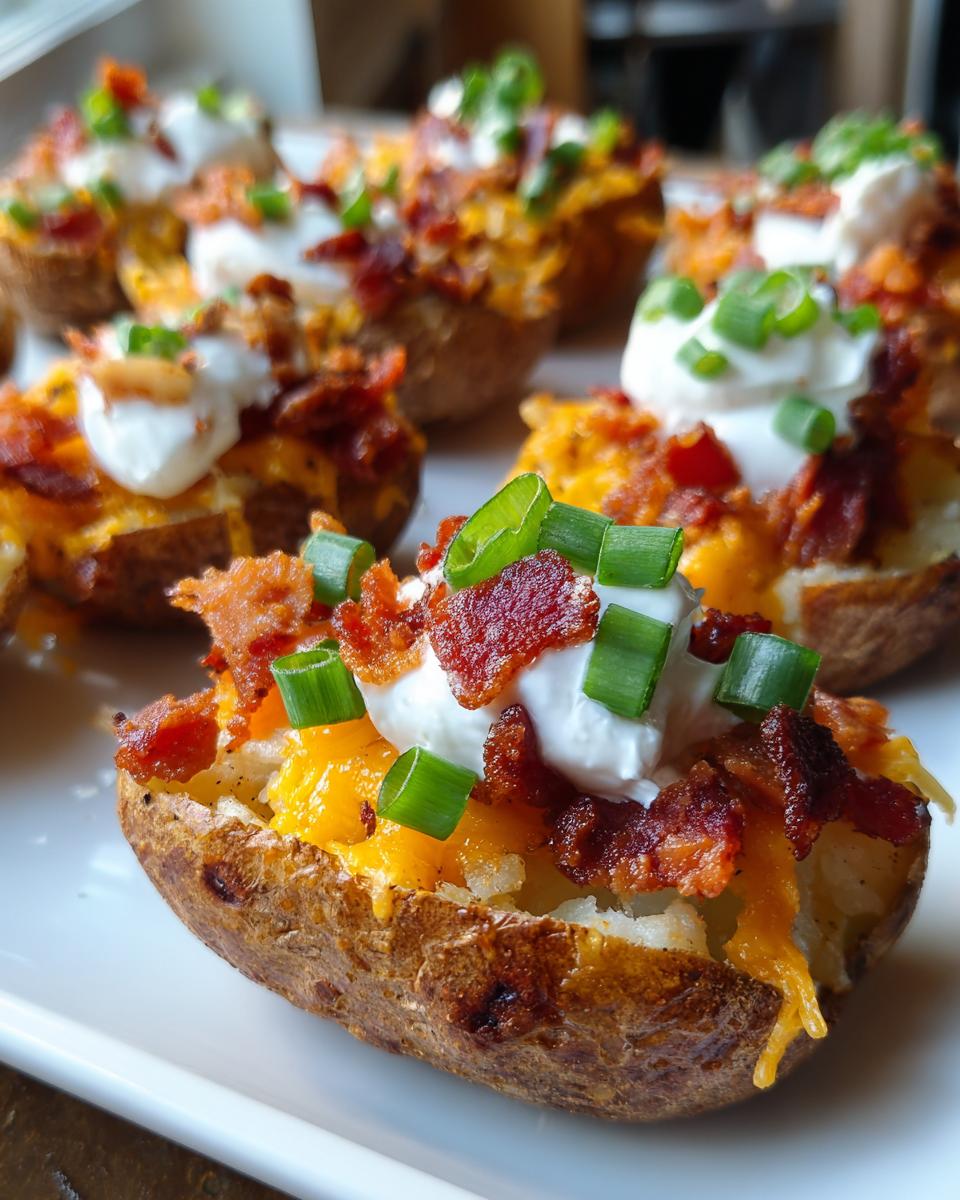
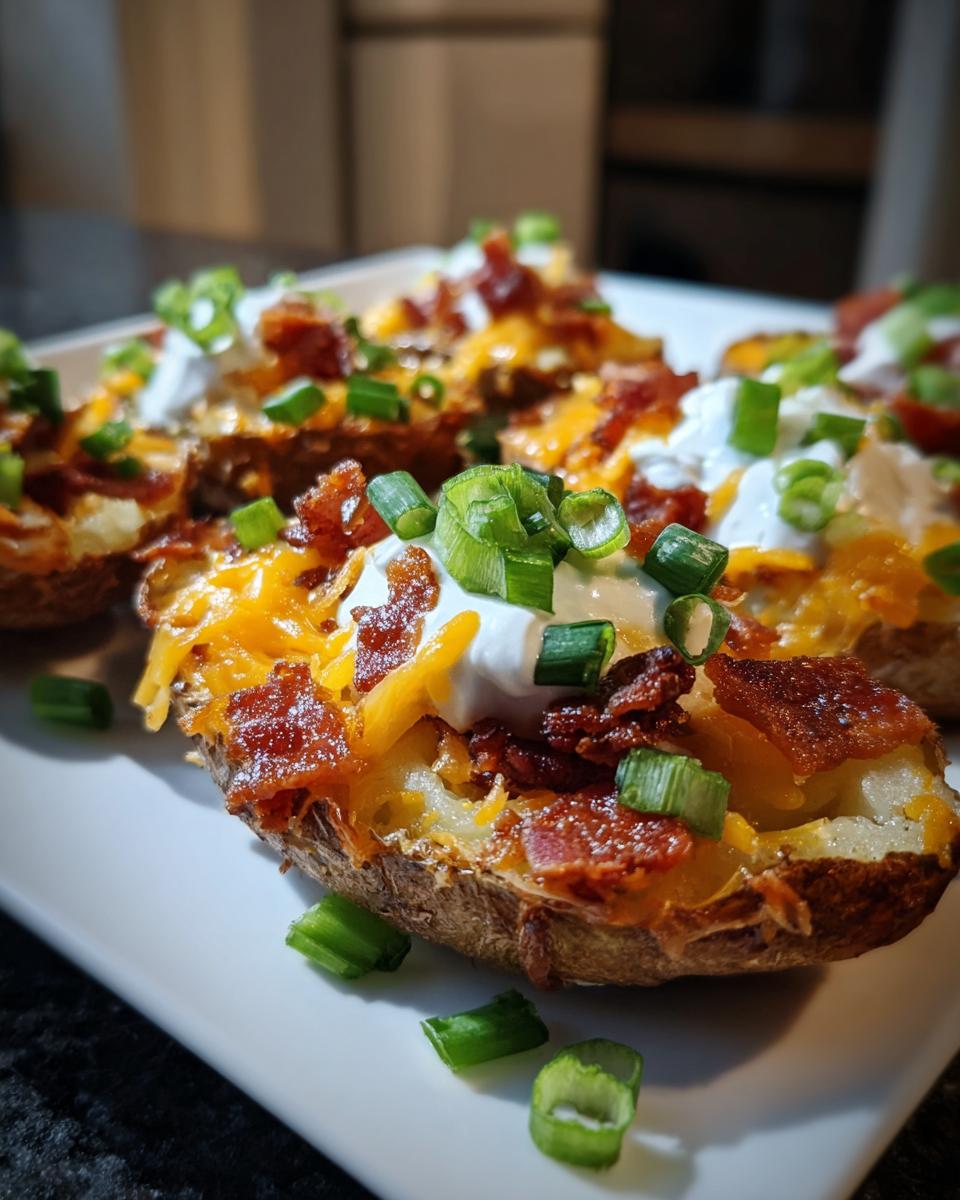
- The flavor is the classic trio: sharp cheddar, smoky bacon, and fresh green onion.
- It’s surprisingly straightforward for such a show-stopping appetizer. These are truly the best potato skins around.
Achieving Truly Crispy Potato Skins
The secret isn’t frying, which gets messy! It’s all about the double-bake. First, we bake the whole spud until it’s cooked through. Then, after scooping, we brush the shells with oil and give them a quick solo bake. This literally dries out the potato walls, making them the perfect vessel to hold all that cheesy goodness without getting soggy the second you pull them out of the oven.
Gathering Ingredients for Loaded Potato Skins
When it comes to perfect potato skins, you need quality components. Don’t skimp on the cheese! I always have these on hand, especially when I know game day is coming up. Here’s what you’ll need to gather for a big batch of these amazing bites.
- 6 large Russet potatoes (these bake up best!)
- 2 tablespoons olive oil
- 1 teaspoon salt, 1/2 teaspoon black pepper
- 1 cup shredded sharp cheddar cheese
- 8 slices bacon, cooked and crumbled
- 1/2 cup sour cream and 1/4 cup chopped green onions for topping
Ingredient Notes and Simple Substitutions
Russets are non-negotiable for me; they give you that fluffy interior and sturdy shell we need for crispiness. If you’re hosting vegetarians, just omit the bacon entirely! That sharp cheddar cheese is important—don’t grab mild, or you’ll miss that salty cheddar punch we love so much in these appetizers. Everything else is pretty straightforward, just make sure your bacon is nice and crispy before you crumble it up!
Step-by-Step Instructions for Crispy Potato Skins
Okay, now we get down to the fun part! Following these steps exactly is how we move from a regular baked potato to the incredible, crunchy potato skins everyone fights over at parties. Timing is important here, so make sure your first bake is done before you reduce the heat. It’s a little bit of waiting, but I promise the payoff is huge!
First Bake: Preparing the Potato Shells
We start at 400 degrees Fahrenheit. The first thing you need to do is give those Russets a really good scrub—get every bit of dirt off! Then, using a fork, prick each potato all over. Seriously, don’t skip this; you don’t want a potato exploding on you! Bake them right on the oven rack for about 50 to 60 minutes until they feel solid when you squeeze them gently. Once they’re done, pull them out and just let them rest until they’re cool enough to touch without burning yourself.
Scooping and Pre-Baking for Crispy Potato Skins
Once they’re handled, slice each potato in half lengthwise. Now, here’s where you make the shell: use a spoon to gently scoop out most of that fluffy potato inside, but you absolutely have to leave about a quarter-inch border all the way around. We need that sturdy wall for our **potato skins**! Reduce your oven heat to 375°F. Brush the outside and inside surfaces of those hollow shells lightly with olive oil and sprinkle with your salt and pepper. Pop them back in for 10 minutes naked, just to start drying out those edges.
Loading and Melting the Cheese
Time for the best part! Pull those shells out; they should already feel a bit drier. Now, layer that sharp cheddar cheese generously over the inside, don’t be shy! Then, sprinkle that cooked, crumbled bacon evenly across the cheese. Slide the loaded shells back into the 375°F oven for another 8 to 10 minutes. You’re waiting for that cheese to get perfectly melted and bubbly around the edges. Once they look golden and glorious, pull them out immediately so the cheese doesn’t seize up!

Tips for Perfect Game Day Appetizers: Making Potato Skins
When you’re making these for the big game, timing is everything, right? You want them piping hot when everyone arrives! If you want guaranteed crispy **potato skins**, try wrapping the whole potato in foil before the initial bake. Some chefs swear by that, though I stick to the naked bake for maximum crunch. Remember what I said about that extra oil after scooping? If the shells still look damp after the first 10 minutes, brush them with a tiny bit more oil and give them another 5 minutes alone in the oven. Trust me, that extra five minutes is the difference between good and legendary!
For efficiency during a party, I always prep the bacon and chop all the green onions the day before. It cuts the final loading time down to almost nothing! Also, if you need to make these ahead, bake them loaded, but skip the sour cream and onions until serving time. Serve them with the toppings in small bowls so everyone can decorate their own perfect skin. I promise, these are the party snacks everyone asks for the recipe to!
Serving Suggestions for Your Potato Skins
Once those amazing, crispy potato skins come out of the oven, they’re ready to go straight to your dipping station! While the green onions and sour cream are mandatory for the classic version, I love having a simple, mild sauce nearby. A cool ranch dip or even a little bit of that garlic sauce I make works beautifully alongside these savory bites.
They honestly make an incredible appetizer centerpiece for any game day spread, but they’re hearty enough that they can even stand in for a lighter lunch sometimes! Just make sure you have plenty, because these loaded **potato skins** never last long!
Storage and Reheating Instructions for Leftover Potato Skins
It’s rare that we ever have leftovers when I make these, but when we do, proper storage is crucial so you don’t lose that hard-earned crispiness! If you happen to have any remaining loaded potato skins—and I mean *if*—you need to handle them gently.
First things first: Do NOT try to store them already topped with sour cream or fresh green onions. Those will just get yucky and soggy in the fridge. Cool the fully loaded skins (bacon and cheese only) completely down to room temperature. Then, line an airtight container with a paper towel—this helps absorb any lingering moisture—and place the skins in a single layer if you can manage it. They should be fine in the refrigerator for about three days.
Now for the reheat! The microwave is your enemy here; it turns everything soft instantly. I highly recommend using a toaster oven or a regular oven set to about 350 degrees Fahrenheit. You want the heat circulating around them to crisp up that shell again. If you have an air fryer, that’s even better—just pop them in at about 350°F for 5 to 7 minutes until the cheese is melted and the edges feel firm again. Serve them fresh from the oven with a new dollop of sour cream and some fresh onions, almost like they were just made!
This simple method keeps the texture perfect, even for leftovers from my Texas Roadhouse style salmon night when we make extra appetizers for lunch the next day!
Frequently Asked Questions About Easy Potato Skins
When I first started making these for parties, I had a million questions, too! These **potato skins** are generally simple, but a few little quirks can trip you up. Here are the top things people often ask me about these **Easy Potato Skins**, especially if they are trying to find the best potato skin recipe.
Can I use my air fryer instead of the oven for crispier skins?
Oh, absolutely! If you have an air fryer, use it for those extra crispy potato skins! Once you’ve scooped them out and brushed them with oil for that second bake step, place them in the air fryer basket. Cook them at about 380°F for 6 to 8 minutes before adding toppings. They come out incredibly crunchy—it’s fantastic for making these Game Day Appetizers even faster!
What if I want vegetarian Cheesy Appetizer Recipes?
That’s no problem at all, and it’s a great way to lighten things up slightly. Simply omit the bacon completely. To make up for the lost salty punch, consider adding some finely minced shallots sautéed in butter, or even substitute your favorite veggie bacon bits. You still get that fantastic texture with the cheese underneath. They are still amazing **Party Snacks**!
How far in advance can I assemble the Loaded Potato Skins Recipe?
I always prefer to do things in stages when I’m hosting! You can bake the potatoes and scoop the shells a full day ahead. Just keep the empty shells tightly wrapped in the fridge. When you’re ready to serve, oil them up and do that 10-minute pre-bake. You can also assemble the cheese and bacon layer, refrigerate them—which helps everything set—and then bake when your guests arrive. It really helps streamline the process for those busy Friday night game days!
What are the best potatoes to use for Potato Shell Recipes?
You absolutely must stick to Russet potatoes! They have that thick, sturdy skin that holds up wonderfully to baking and scooping, and they have the fluffiest interior starch, giving you that perfect contrast between the crispy outside and the soft inside. Anything waxy, like Yukon Golds, just won’t give you the structural integrity needed for the best **Loaded Potato Skins Recipe**.
Estimated Nutritional Data for Cheesy Appetizer Recipes
Now, I know we aren’t usually counting every single calorie when we’re throwing down for game day, but I always think it’s helpful to have a general idea of what we’re enjoying! Since these are such a satisfying snack—meaning a couple of these practically count as a full meal—I pulled the estimated nutritional breakdown based on two skins.
I want to be super clear here, just like when I talk about my quick, easy weeknight dinners. This data is just an estimate based on the standard ingredients I listed. If you use extra bacon or tons of sour cream, your numbers will definitely shift!
- Serving Size: 2 skins
- Calories: Approximately 310
- Total Fat: 19g
- Carbohydrates: 25g
- Protein: 11g
See? Not bad for a hearty, cheesy appetizer! They give you a good amount of protein and fiber for something this comforting. It just proves that wholesome eating can absolutely fit into your celebrations!
Share Your Perfect Potato Skins Experience
I truly hope you’ve got your Russets ready to go! When you finally bite into one of these crispy, loaded potato skins, let me know what you think down in the comments. Did they turn out perfectly crunchy? What’s your must-have topping besides the classic bacon and cheddar?
Hitting that perfect balance between simple cooking and amazing results is what we’re all after. Don’t forget to leave a star rating if these became your new favorite party snack!
PrintCrispy Loaded Potato Skins: The Ultimate Game Day Appetizer

Make pub-style potato skins that are perfectly crispy, loaded with melted cheddar, bacon, and fresh toppings. This easy recipe delivers a satisfying, crowd-pleasing appetizer for any gathering.
- Prep Time: 20 min
- Cook Time: 70 min
- Total Time: 90 min
- Yield: 12 skins (6 servings) 1x
- Category: Appetizer
- Method: Baking
- Cuisine: American
- Diet: Vegetarian
Ingredients
- 6 large Russet potatoes
- 2 tablespoons olive oil
- 1 teaspoon salt
- 1/2 teaspoon black pepper
- 1 cup shredded sharp cheddar cheese
- 8 slices bacon, cooked and crumbled
- 1/2 cup sour cream
- 1/4 cup chopped green onions
Instructions
- Preheat your oven to 400 degrees Fahrenheit. Scrub the potatoes clean and prick each potato several times with a fork.
- Bake the potatoes directly on the oven rack for 50 to 60 minutes, or until the skins are firm and the insides are tender.
- Remove the potatoes from the oven and let them cool until you can handle them safely. Reduce the oven temperature to 375 degrees Fahrenheit.
- Slice each potato in half lengthwise. Carefully scoop out most of the inside flesh, leaving about a 1/4-inch thick shell. Reserve the scooped potato for another use.
- Brush the outside and inside of each potato skin lightly with olive oil. Sprinkle the inside of the shells with salt and pepper.
- Place the potato skins cut-side up on a baking sheet. Bake for 10 minutes to dry out the shells and start crisping them.
- Remove the shells from the oven. Fill each shell generously with shredded cheddar cheese and crumbled bacon.
- Return the loaded potato skins to the oven and bake for another 8 to 10 minutes, until the cheese is fully melted and bubbly.
- Remove from the oven. Top each potato skin with a dollop of sour cream and a sprinkle of fresh green onions before serving.
Notes
- For extra crispy potato skins, after scooping out the flesh, you can brush the inside of the shells with a little extra olive oil and bake them for 15 minutes before adding the cheese and bacon.
- You can substitute turkey bacon or omit the bacon entirely for a vegetarian option.
- Prepare the bacon and chop the green onions ahead of time to speed up assembly.
Nutrition
- Serving Size: 2 skins
- Calories: 310
- Sugar: 2
- Sodium: 350
- Fat: 19
- Saturated Fat: 10
- Unsaturated Fat: 9
- Trans Fat: 0
- Carbohydrates: 25
- Fiber: 3
- Protein: 11
- Cholesterol: 45