
Oh, that smell! There is truly nothing better than walking into a kitchen filled with the yeasty, warm aroma of bread fresh from the oven. For so long, I felt like truly great Italian bread—the kind with that loud, crackly crust and a fluffy, chewy center—was reserved for specialized bakeries. But here at Pure Plate Path, we believe that nourishing, delicious food should be accessible, even when life is busy. That’s why I’m sharing this recipe. It takes simple pantry staples and transforms them into bakery-style perfection without any fuss. This recipe cuts through the complexity so you can enjoy a rewarding, homemade loaf with minimal stress. If you love bringing simple goodness back to your table, you’ll want to check out my guide on quick, easy weeknight dinners, too—this bread pairs perfectly with them!
- Why This Easy Crusty Italian Bread Recipe is Your New Go-To
- Simple Bread Ingredients for Your Homemade Italian Bread
- Step-by-Step Instructions for Quick Italian Bread
- Tips for Success with Your Artisan Bread Recipe Easy
- What to Serve with Italian Bread
- Storage & Reheating Instructions for Your Warm Italian Loaf
- Frequently Asked Questions About Making Italian Bread
- Understanding the Nutrition of Homemade Italian Bread
- Share Your Golden Brown Italian Loaf
Why This Easy Crusty Italian Bread Recipe is Your New Go-To
I’m telling you, this recipe is the one that finally made me put down the phone and stop checking bakery hours! It’s honestly the best of both worlds. We pull off genuine, Bakery Style Bread at Home, which is incredibly satisfying, but it doesn’t take all day. This is truly a Quick Italian Bread that works beautifully even when I only have a small window of time to bake.
Here’s why it moves to the top of your recipe rotation:
- It’s absolutely beginner-friendly—if you can stir and knead for a bit, you can master this.
- The active rise time is manageable, getting you to that warm loaf fast.
- It hits all the textural notes: crisp outside, tender inside.
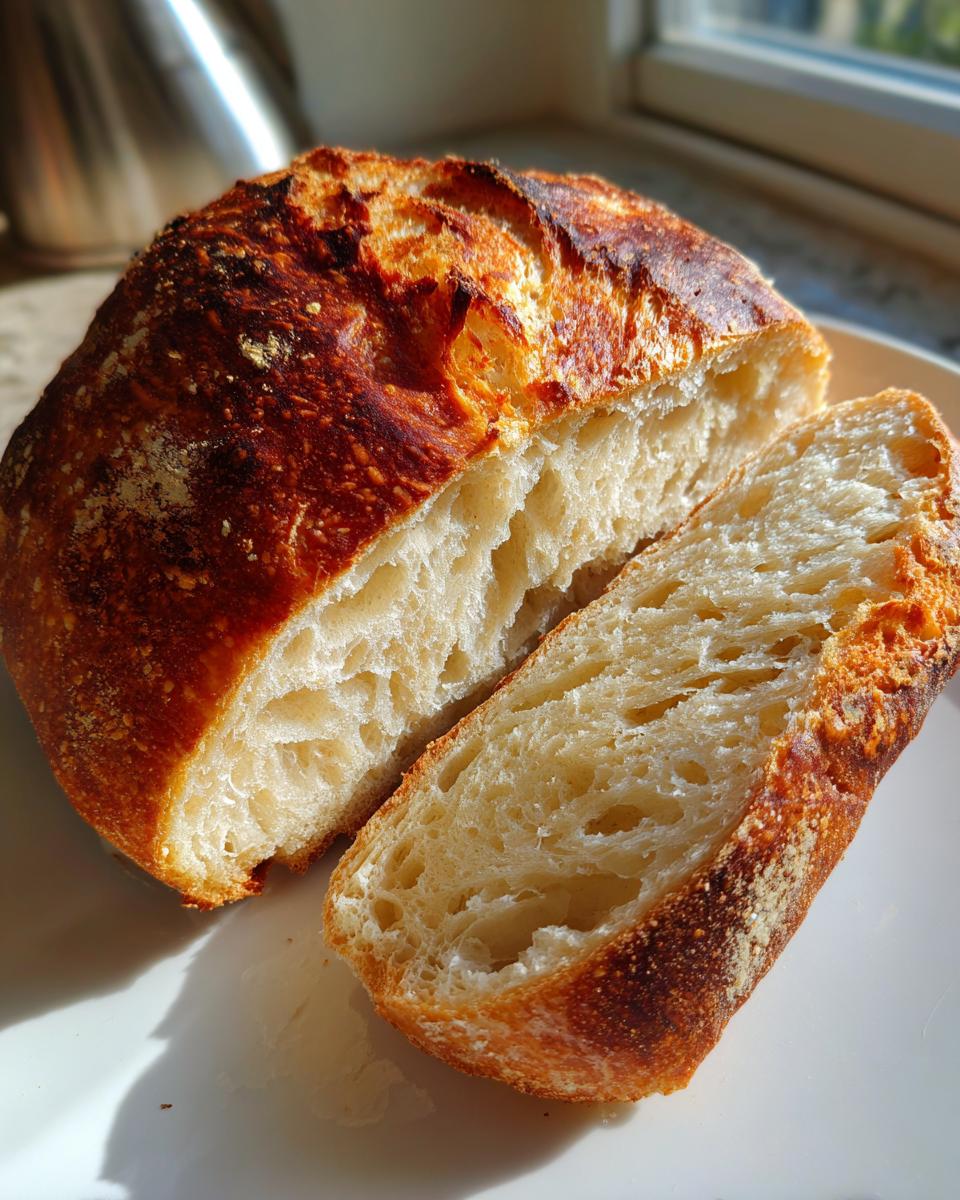
Achieving that Perfect Crispy Crust Bread Tutorial
The secret weapon, which you’ll see later in the instructions, is steam! Don’t skip that shallow pan in the oven. Creating that burst of steam right when the Italian bread goes in is the trick to getting that audible, crackly crust we all dream about. It makes all the difference between a soft sandwich roll and a rustic loaf.
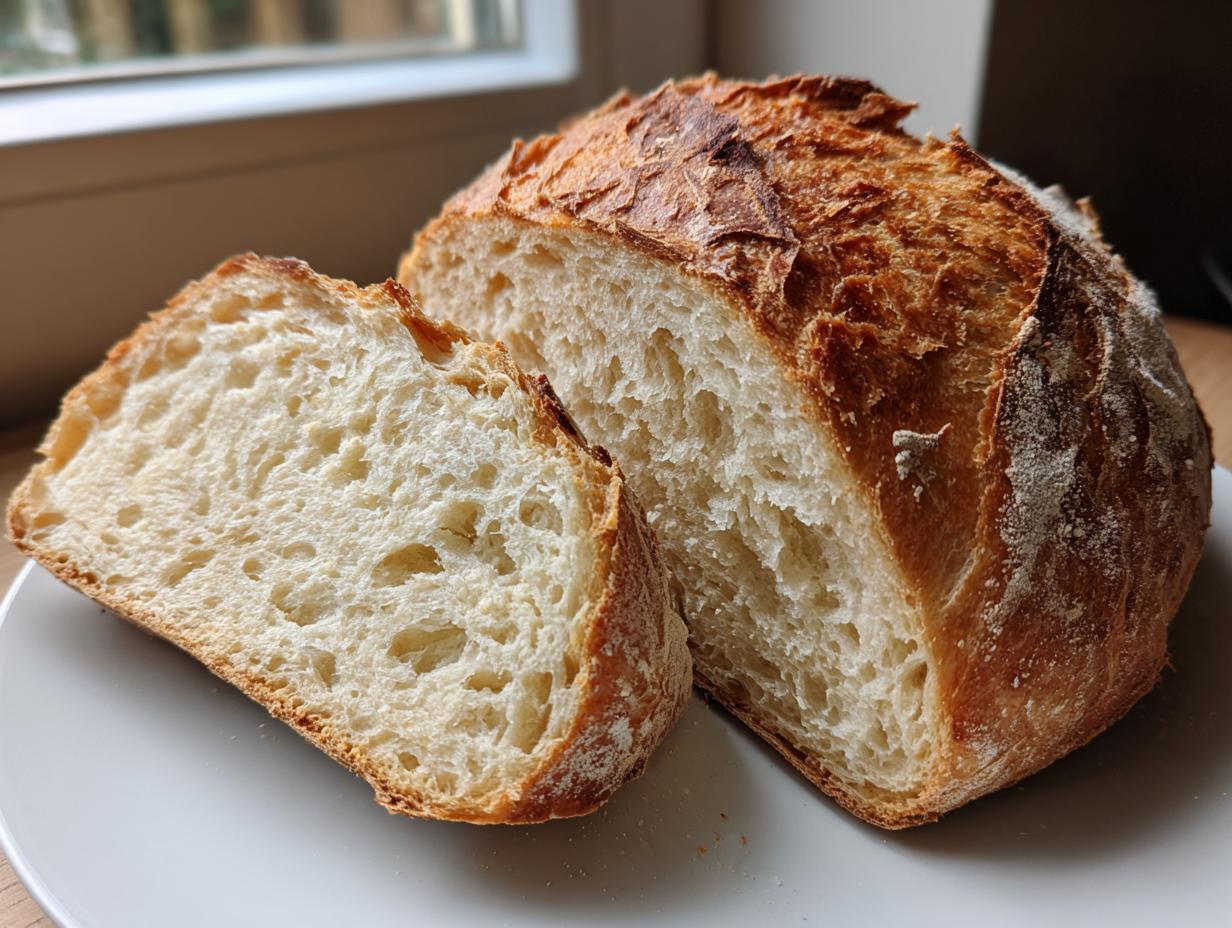
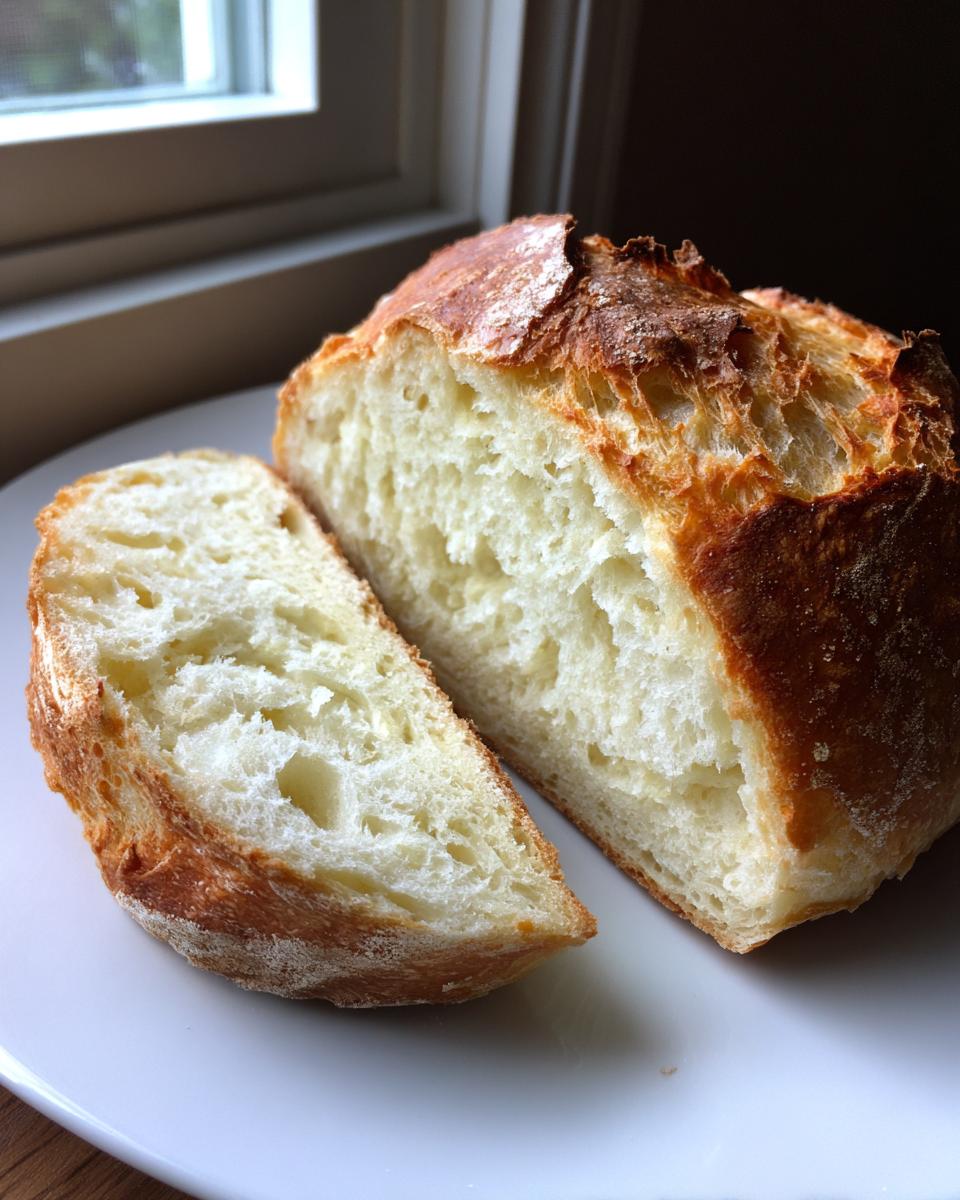
Soft and Chewy Italian Loaf Interior
That wonderful, airy texture inside comes from giving the dough the right amount of attention during the kneading phase. A solid 8 to 10 minutes of work creates the gluten structure needed for that Soft and Chewy Italian Loaf. Plus, resting the dough properly lets the yeast do its thing naturally, resulting in a wonderfully light crumb instead of a dense brick!
Simple Bread Ingredients for Your Homemade Italian Bread
Back when I first started trying to bake real bread, I was intimidated, but I learned quickly that the best recipes rely on the simplest things! You don’t need fancy flours or sourdough starters for this loaf. Seriously, these are simple bread ingredients that I bet you already have in your pantry right now. Having quality yeast and knowing how warm your water is makes a huge difference, though. If you want to see something else simple that speeds up prep time, check out my recipe for easy egg bites!
- 3 1/2 cups all-purpose flour
- 1 1/2 teaspoons salt
- 1 teaspoon granulated sugar
- 2 1/4 teaspoons active dry yeast (that’s usually one standard packet!)
- 1 1/4 cups warm water (aim for 105°F to 115°F—warm like a nice bath, not hot!)
- 2 tablespoons olive oil, plus more for greasing the bowl
Ingredient Notes and Substitutions for Italian Bread
When you measure flour, don’t scoop it directly from the bag with the cup! You’ll pack it down too much. Always spoon the flour into your measuring cup and level it off with a knife. That small step keeps you on track. Also, make sure your yeast is fresh! If your water mixture doesn’t foam up nice and bubbly, your yeast is old, and you’ll need to swap that out before proceeding with your Italian bread.
Step-by-Step Instructions for Quick Italian Bread
Okay, let’s get this dough moving! This is where the magic happens, and pay attention to those timing cues because they are what switch this from “okay bread” to “oh wow, I baked this?” You can roast some amazing teriyaki salmon while this is rising, which is perfect planning!
Activating Yeast and Mixing the Dough for Your Italian Bread
It all starts with the yeast. Pour that warm water (remember, 105 to 115 degrees—too hot and you kill it!) in a big bowl, stir in the sugar, and sprinkle the yeast right on top. Wait about five to ten minutes, and you should see a happy, bubbly layer form. If it looks flat, toss it and grab new yeast! That foam is your proof the yeast is alive and ready to make your Italian bread soar.
Once you see the foam, stir in the olive oil, the salt, and then half of your flour. Mix until it’s just combined, then gently mix in the rest until a shaggy mass appears. Don’t overmix yet; we are just combining things!
Kneading and First Rise for a Soft and Chewy Italian Loaf
Now, get your hands dusty and turn that shaggy mess out onto the counter. You have to knead this dough by hand for a solid 8 to 10 minutes. Trust me, push, fold, turn, repeat—keep going until it feels smooth and elastic, not sticky. That kneading builds the structure for that perfect Soft and Chewy Italian Loaf interior.
Then, oil up a clean bowl, toss the dough in, cover it, and let it hang out in a warm spot for about an hour and a half—or until it’s doubled! I remember the first few times I tried this, I kept poking it too soon. You have to be patient with the first rise; that’s when the dough really develops its character.
Shaping and Second Rise Before Baking Your Crusty Italian Bread Recipe
Once it’s doubled, punch it gently—just to get the big air bubbles out. Shape it into a nice round or oval shape and place it on your prepared baking sheet. Cover it lightly and let it rest again for about 30 to 45 minutes. While it’s doing its happy puffing up thing, go ahead and preheat your oven to 400°F. And here’s a crucial tip I found out about after burning a few loaves: make sure you set that shallow pan on the bottom rack *while* it heats up. We need that heat ready for the steam! If you want that truly crackly sound, check out this fantastic guide on how to bake the perfect crust.
Tips for Success with Your Artisan Bread Recipe Easy
Baking bread is such a rewarding feeling, especially when you nail that crispy exterior. Everyone asks me how to get that professional look without hauling equipment home. Remember, we are aiming for an Artisan Bread Recipe Easy execution here, so pay close attention to the steam—it’s non-negotiable for that championship crust!
If you want extra crackle, here’s my little trick: once the loaf is in the oven, quickly spray the oven walls with water a couple of times in the first ten minutes. Careful, it steams up fast! That moisture locks in the heat and creates that beautiful, thin, shatteringly crisp surface.
Now, on the flip side, if you accidentally skip the steam pan or you know you prefer a softer crust for cutting delicate sandwiches—that’s totally fine too! Just leave the steam pan technique out. Either way, this bread is incredible. You can whip up my creamy garlic sauce while it cools for the perfect pairing dip!
When you get that beautiful golden loaf out, make sure you use an external guide like this one for a little extra confidence on baking times: Homemade Italian Bread with Crispy Crust Tutorial. Seriously, don’t worry if your first loaf isn’t perfect; that’s how we learn to bake great bread!
What to Serve with Italian Bread
The hardest part about baking this gorgeous loaf is waiting for it to cool down so you can actually eat it! But once you slice into that golden exterior, you’ll realize how versatile this bread is. Forget buying those stale slices from the store; this fresh one is ready for everything. It’s my absolute favorite accompaniment to a big bowl of Sunday sauce, like the one I make for my easy lasagna, but that’s not all it can do!
Here are a few simple ways we enjoy our Italian Bread for Dipping and building meals around:
- Drizzle high-quality olive oil with a little cracked black pepper and flaky sea salt. Pure heaven!
- Use sturdy, thick slices to soak up every drop of a hearty soup or stew.
- Pile it high for hearty deli sandwiches—it holds up really well.
- Make quick bruschetta! Toast slices lightly, rub with garlic, and top with fresh tomatoes.
Storage & Reheating Instructions for Your Warm Italian Loaf
If you miraculously have any bread left over (which I doubt!), storage needs to be handled carefully so we protect that crust! Don’t put your Warm Italian Loaf in a plastic bag; that traps moisture and makes the crust soft and sad by morning. Keep it loosely wrapped in a clean kitchen towel at room temperature for about two days.
When you want to recapture that fresh-from-the-oven texture, just a little trick fixes everything. Wrap the cooled slice or loaf tightly in aluminum foil and warm it in a 350°F oven for about 10 minutes. This heats the inside perfectly while heating the foil acts like a gentle steamer to soften the crumb, and then you can peel the foil off for the last two minutes to ensure the crust snaps again! Perfection without the hard work.
Frequently Asked Questions About Making Italian Bread
I always get great questions once people start trying this recipe! Baking can feel a little mysterious at first, but once you understand the basics of yeast and flour, you’re set. I pulled together a few things I frequently hear about needing a truly great starter loaf.
Can I make this Rustic Italian Loaf without kneading?
That’s a great question, especially if you want to try a true No Knead Italian Bread version! While this recipe performs best with the 8 to 10 minutes of kneading to get that optimal structure, yes, you *can* make a passable loaf without it. The difference is that the interior won’t be as uniformly light and chewy; it’ll be a bit denser, leaning toward a rustic structure, like a very soft focaccia perhaps. For true control over the interior texture, I always recommend giving the dough the full knead mentioned in the steps.
How long does this Easy Homemade Bread stay fresh?
Because this Easy Homemade Bread recipe doesn’t use any preservatives, it tastes absolutely divine on the day it’s baked, especially when it’s warm! Typically, kept loosely wrapped at room temperature, it stays nicely fresh for about two days. By day three, the crust softens quite a bit. But remember that reheating trick I shared? If you wrap it in foil and warm it up for ten minutes, it tastes almost brand new! For more confidence in your baking journey, check out my About Page to see how I approach simple wellness.
If you’re looking for other great tips on achieving the perfect balance between crust and chew, have a look at what my friends over at Ben’s Recipes are doing when they tackle their Perfect Italian Bread—it’s similar science!
Understanding the Nutrition of Homemade Italian Bread
Wellness is a huge part of what we focus on here, and just because it’s homemade doesn’t mean we can ignore what we’re fueling our bodies with! I always calculate the nutrition based on one large loaf yielding about 12 full slices, but of course, if you cut bigger pieces for dipping, your numbers will change.
It is really important to remember that these figures are just estimates based on the ingredients in our specific Italian bread recipe. Since we control the ingredients completely, you know exactly what’s going into your food, which is way better than those mystery store-bought loaves!
For one slice (about 1/12th of the loaf), here’s what you can generally expect:
- Calories: Around 150
- Fat: Roughly 2 grams
- Protein: About 5 grams
- Carbohydrates: Approximately 30 grams
It’s amazing how good these simple ingredients are for you. Notice the low cholesterol! That’s because we skipped the eggs and used natural olive oil. You’re getting honest energy from those carbs, perfect to help you through your busy day when paired with one of my wholesome meals.
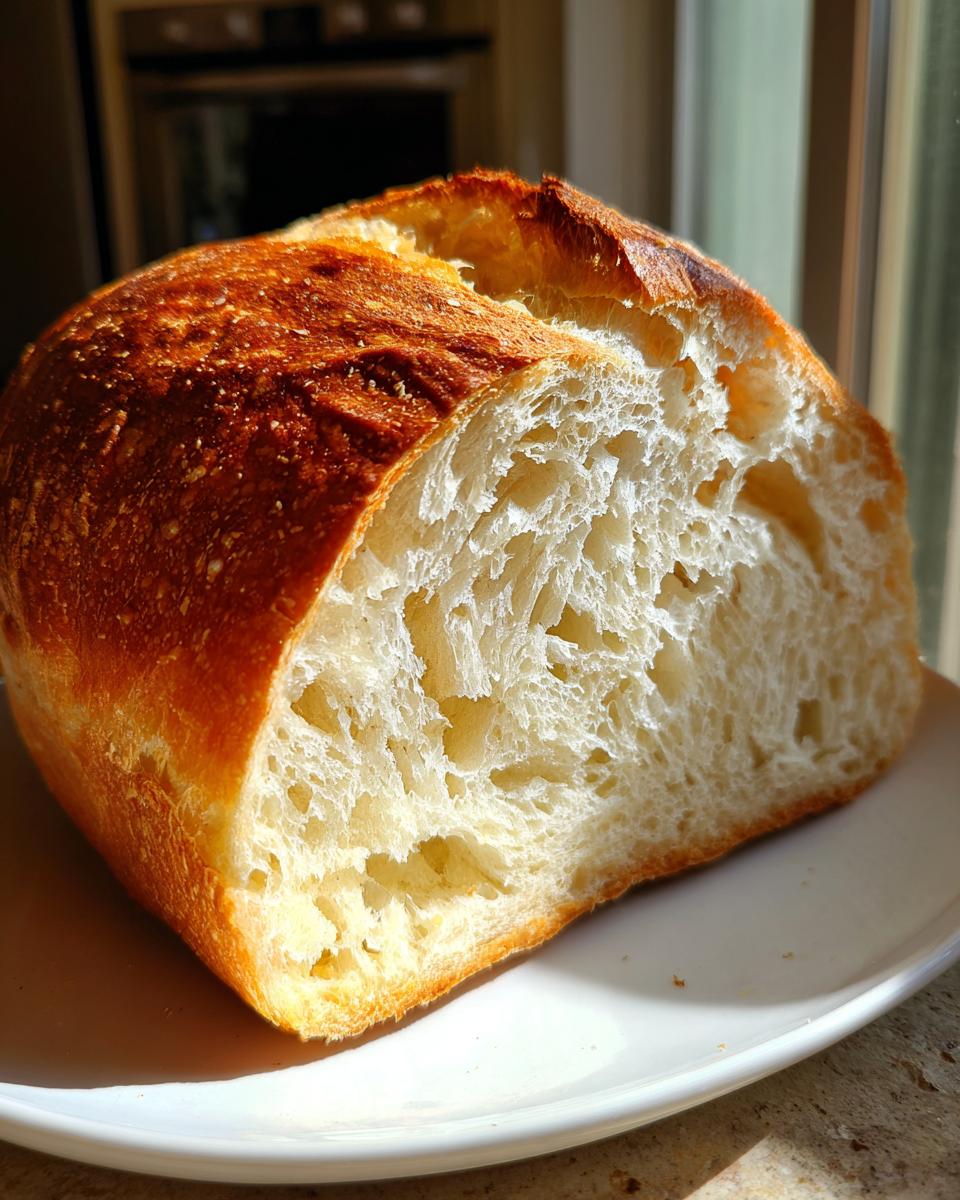
Share Your Golden Brown Italian Loaf
Now comes the best part! Did you manage to get that deep, beautiful Golden Brown Italian Loaf? I truly want to see your beautiful creations. Please take a picture of your crumb and crust and share it! Drop a rating and tell me in the comments below how you used your fresh loaf—was it for dipping, or did you make the ultimate sandwich? If you ran into any issues, please reach out via my Contact Page so we can troubleshoot! And if you want to see how others nailed their crusts, take a peek at the results over at Naya Baker’s site for inspiration!
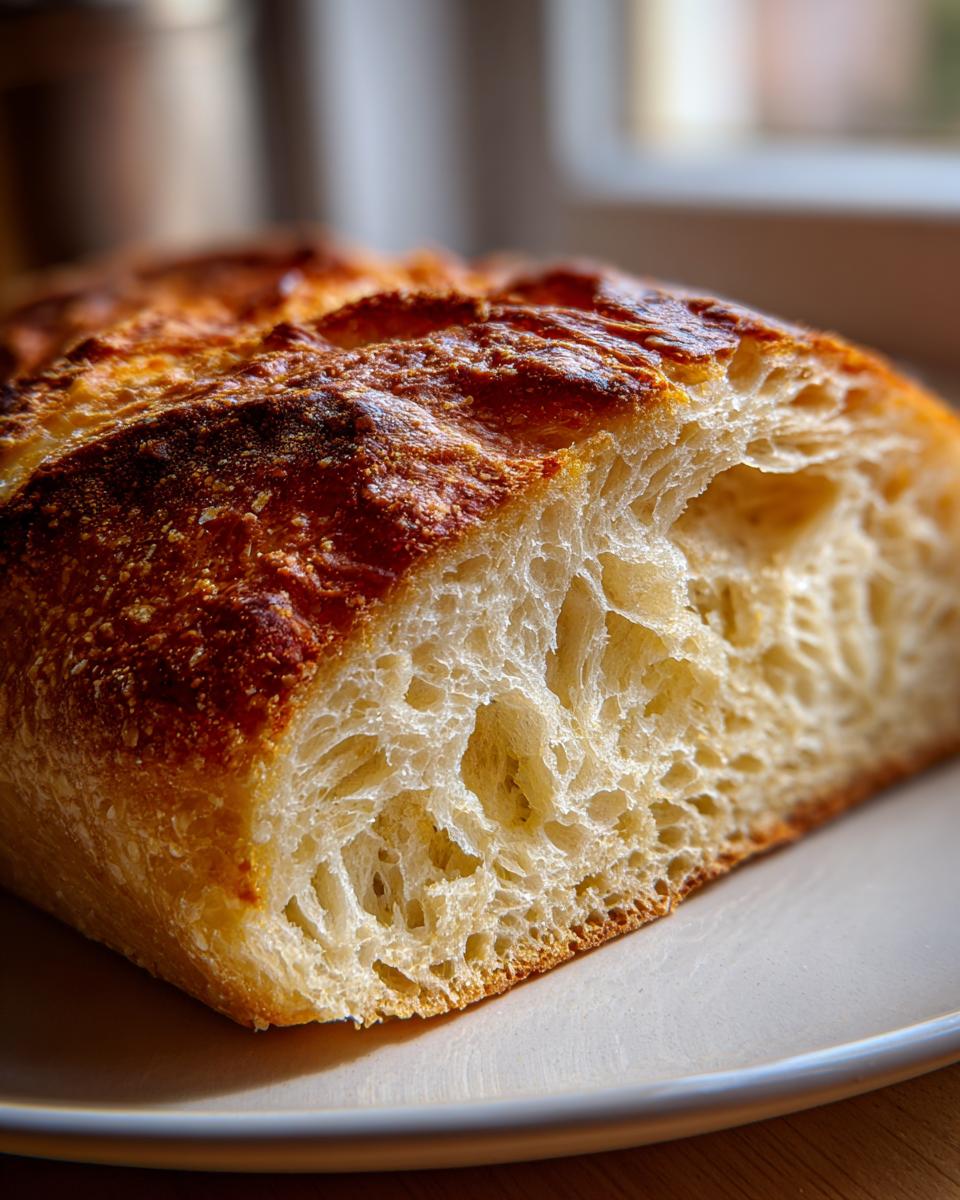
PrintEasy Crusty Italian Bread Recipe: Bakery Style Loaf at Home
Make bakery-quality Italian bread at home with this easy recipe. You achieve a golden, crispy crust and a soft, chewy interior using simple ingredients. This loaf is perfect for serving with pasta sauces or making sandwiches.
- Prep Time: 20 min
- Cook Time: 35 min
- Total Time: 2 hours 5 minutes
- Yield: 1 large loaf 1x
- Category: Bread
- Method: Baking
- Cuisine: Italian
- Diet: Vegetarian
Ingredients
- 3 1/2 cups all-purpose flour
- 1 1/2 teaspoons salt
- 1 teaspoon granulated sugar
- 2 1/4 teaspoons active dry yeast (1 packet)
- 1 1/4 cups warm water (about 105-115°F)
- 2 tablespoons olive oil, plus more for the bowl
Instructions
- In a large bowl, mix the warm water, sugar, and yeast. Let this stand for 5 to 10 minutes until it becomes foamy. This shows the yeast is active.
- Add the olive oil, salt, and half of the flour to the yeast mixture. Mix until just combined.
- Gradually add the remaining flour until a shaggy dough forms.
- Turn the dough out onto a lightly floured surface. Knead the dough for 8 to 10 minutes until it becomes smooth and elastic.
- Lightly oil a clean bowl. Place the dough in the bowl, turning it once to coat. Cover the bowl with plastic wrap or a clean kitchen towel.
- Let the dough rise in a warm place for 1 to 1.5 hours, or until it has doubled in size. This is the first rise.
- Gently punch down the dough to release the air. Shape the dough into a round or oval loaf.
- Place the shaped loaf on a baking sheet lined with parchment paper or in a loaf pan. Cover it loosely.
- Let the dough rise again for 30 to 45 minutes, or until it looks puffy. This is the second rise.
- Preheat your oven to 400°F (200°C). Place a shallow pan on the bottom rack while preheating to create steam for a crispier crust.
- Before baking, lightly brush the top of the loaf with water and score the top surface with a sharp knife if desired.
- Carefully place the loaf in the oven. Pour about 1/2 cup of hot water into the shallow pan on the bottom rack to create steam, then quickly close the oven door.
- Bake for 30 to 35 minutes, or until the crust is deep golden brown and the internal temperature reaches 200°F (93°C).
- Remove the bread from the oven and transfer it to a wire rack to cool completely before slicing. Enjoy this homemade Italian bread warm.
Notes
- For an extra crispy crust, spray the inside walls of the oven with water a couple of times during the first 10 minutes of baking.
- If you want a softer crust, skip the steam pan method.
- This bread is excellent for dipping in olive oil or serving alongside your favorite pasta dishes.
Nutrition
- Serving Size: 1 slice
- Calories: 150
- Sugar: 1
- Sodium: 250
- Fat: 2
- Saturated Fat: 0.5
- Unsaturated Fat: 1.5
- Trans Fat: 0
- Carbohydrates: 30
- Fiber: 1
- Protein: 5
- Cholesterol: 0